


How to Paint Kitchen Cabinets

Have you been wanting to paint your kitchen cabinets? Here's a quick tutorial to help ya out!
But keep in mind....this project is not a quick, easy project. It will take a lot of patience, sweat, and maybe even some tears. You WILL run into issues and it WILL take longer than you were expecting. But keep the end goal in mind and you’ll power through!
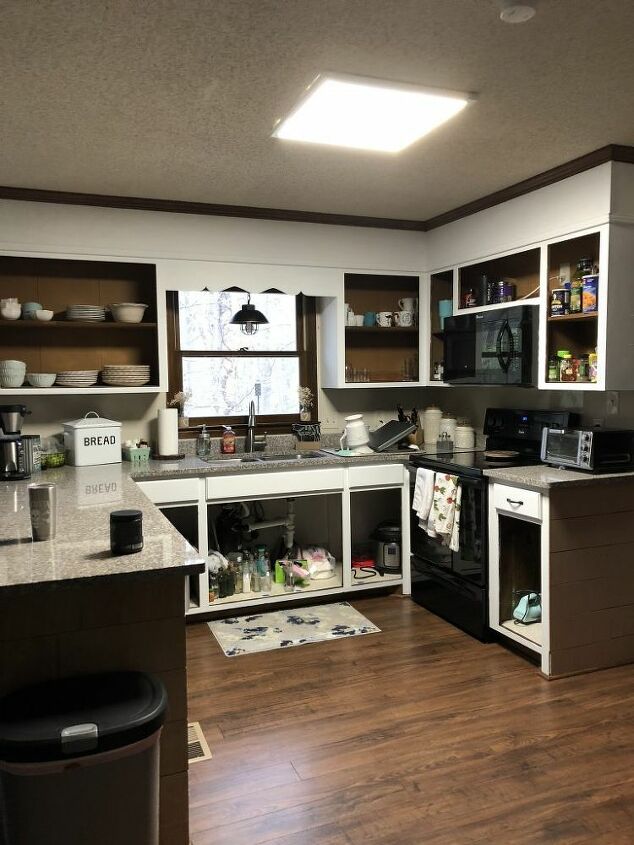
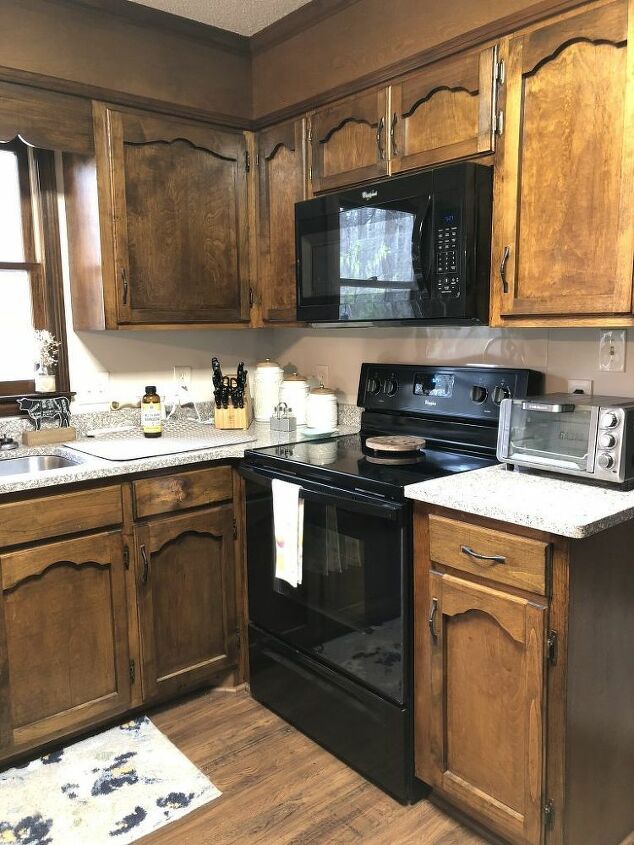
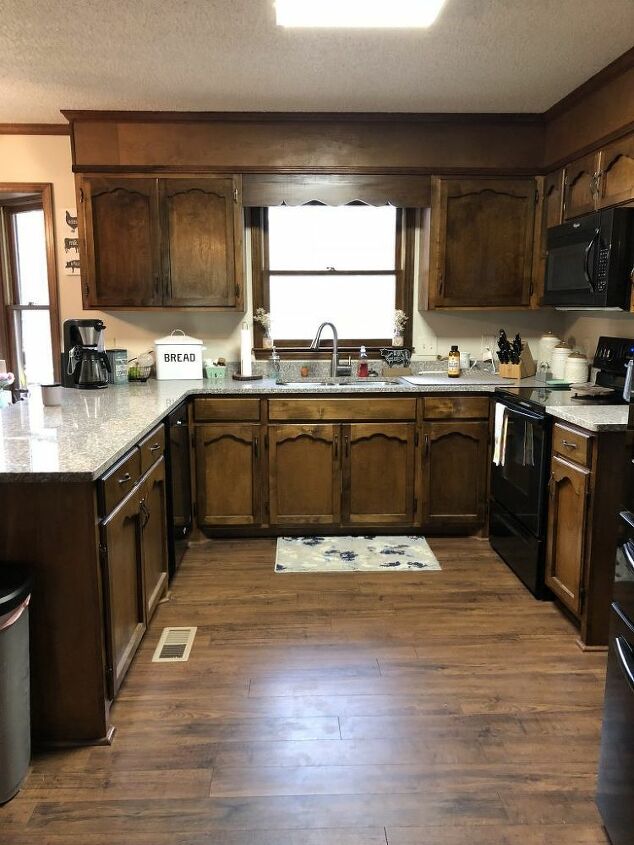
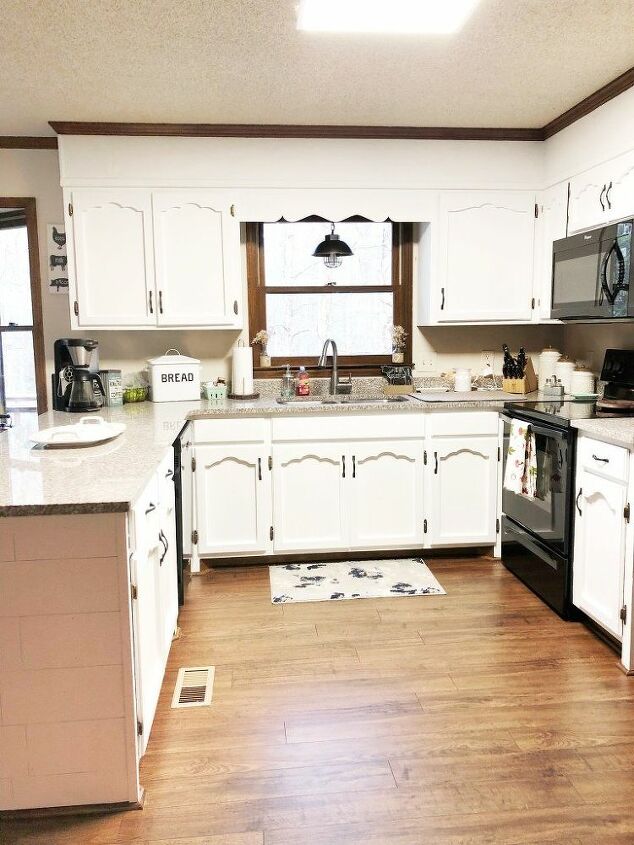
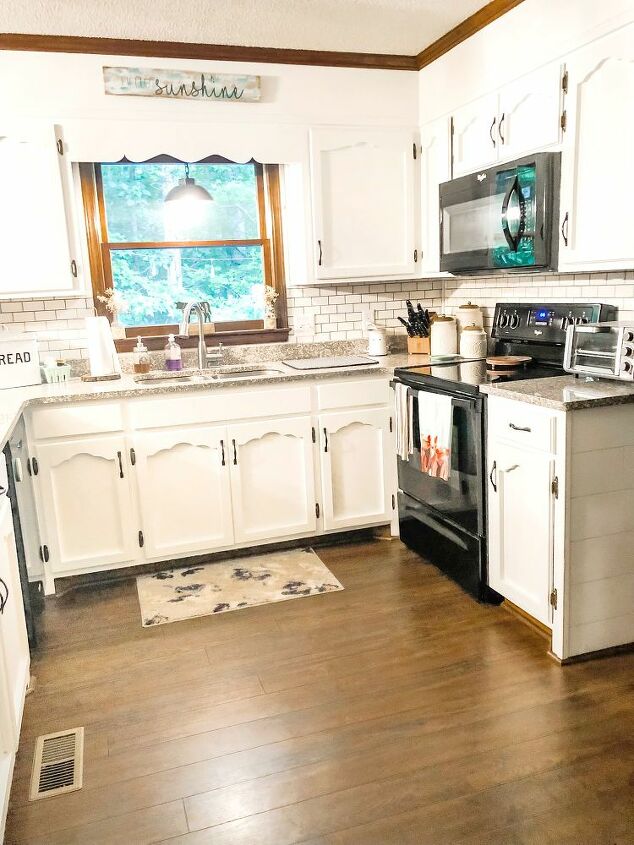
Here is what our kitchen looked like before:

Now on to what you need to complete your kitchen makeover:
- Degreaser
- Washcloths
- Sander & Sandpaper
- Primer (I used Kilz)
- Cabinet Paint (I used Heritage Collection All in One Chalk Paint - Cashmere)
- Mini Foam Rollers
- Paint Brushes
- Drop Cloths
Step 1: Take apart your kitchen
- Remove all doors and drawers
- Remove all hardware
- Label your drawers and doors with tape so you know which one goes where when you reassemble them all
- Tape off any spots where you don't want to get paint on it
- Lay down drop cloths to cover your floors and kitchen counters
Step 2: Clean your cabinets
- Use the degreaser and thoroughly clean your cabinets and wipe them down with a dry, clean towel
Step 3: Sand Cabinets
- Lightly sand your cabinets
- You do not need to sand them all the way down just rough them up so that the paint will stick!
- Make sure you wipe off any dust or debris
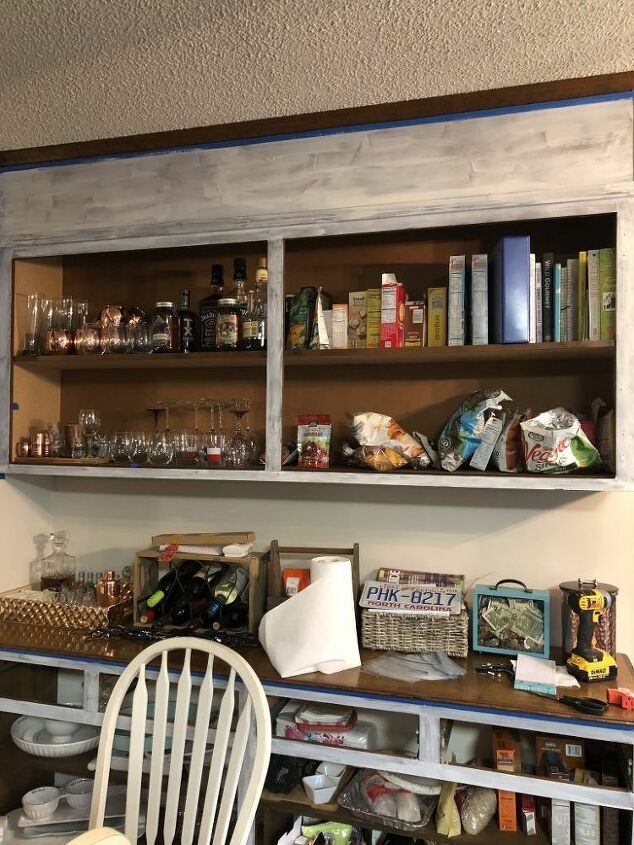
Step 4: Prime cabinets
- Use the primer and do two coats (I only used one coat but would recommend two)
- Here's what they looked like after one coat of the primer:
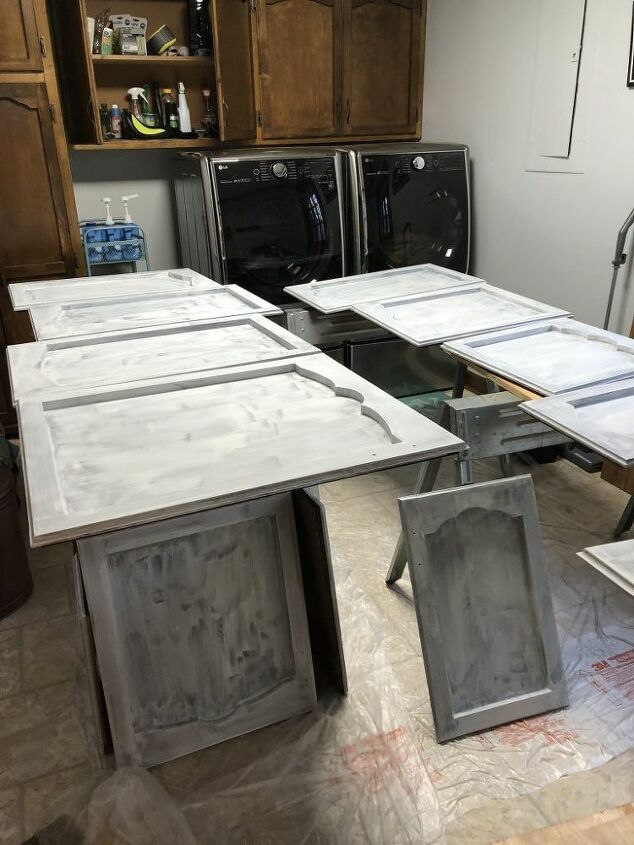
- Use the small brush for the corners and then use a foam roller for the larger spots
- Be sure to not let any paint pool in corners or drip
- The first coat of primer will not look good! Don’t worry!!! I chose not to paint the inside of my cabinets because the inside wasn’t real wood, but if you want to you can paint both sides!When it comes to painting the frames of the cabinets you will want to tape off the edges and again you can paint the insides if you want, I chose not to!
Step 5: Paint!
- Once the primer has dried, use the cabinet paint for your next coat and paint it the same way you did with the primer
- Be sure to read the instructions on your paint to see how long it needs to dry in between coats. Mine wasn’t too long since I used a chalk paint.
In the end it took 4 coats; the one coat of primer and then 3 coats of paint. I was expecting it to take less coats but it usually always takes more coats when you’re painting a dark color white. This is where it really tested me. I’d tell myself it was the last coat and then when I’d come back after it was dry I’d scream or cry (or both) because I realized I had to paint another coat!
I used two of the 32 oz jars of paint from Heritage Collection, surprisingly that’s all I needed for all 3 coats because it has very good coverage but I would recommend getting an extra small jar to have some extra for touch ups.
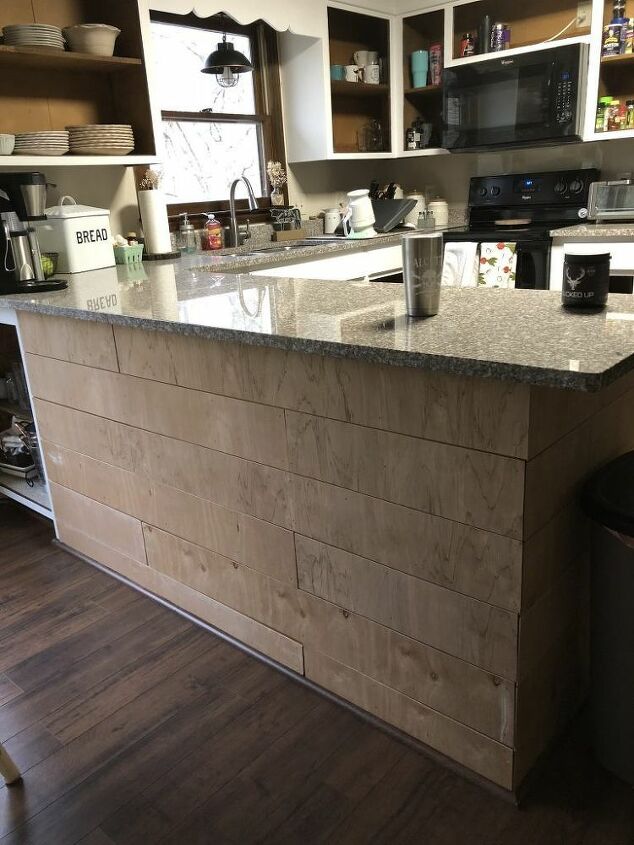
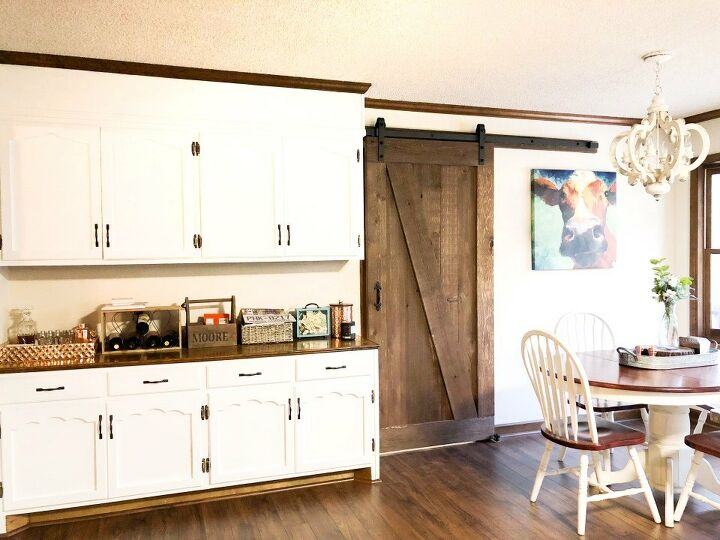
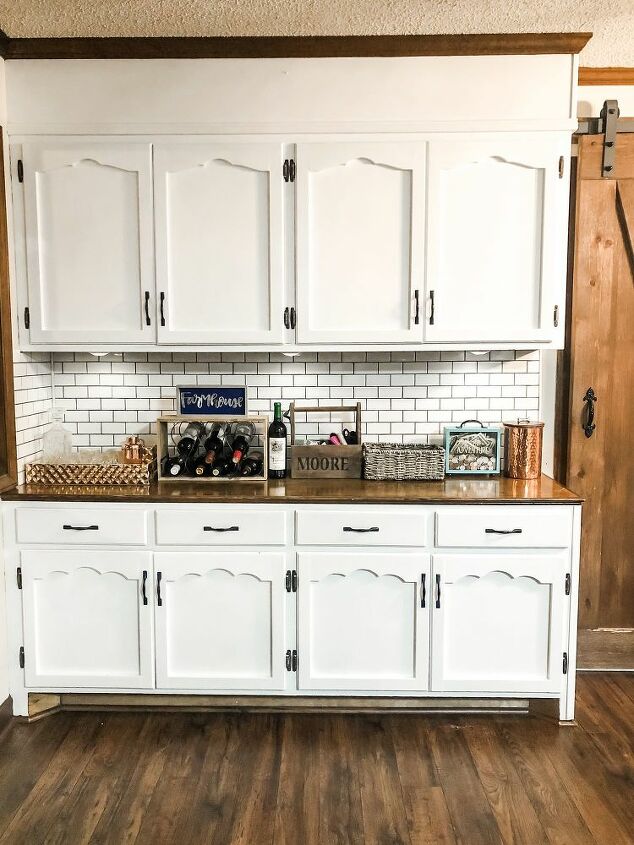
Instead of just painting the sides of our cabinets and the back of the island section we decided to shiplap it to tie in the shiplap in our living room.
I'll share another post later on how to add shiplap! But here's a picture of it in the process:
Step 6: Reassemble your kitchen
- Once the paint is dry you can put it all back together!
- Put all of the hardware back on
- Rehang all of the doors and put the drawers back in!
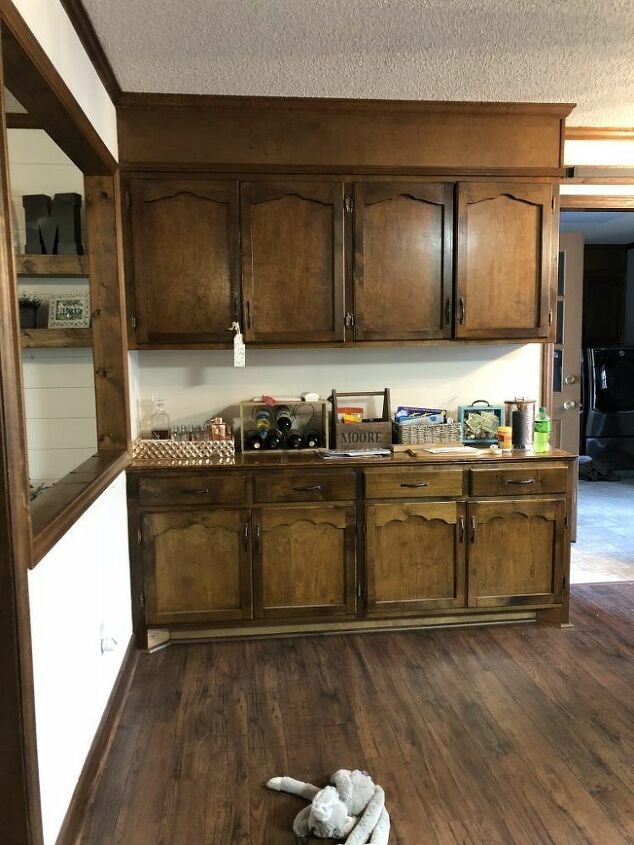
Here’s some more before pictures:
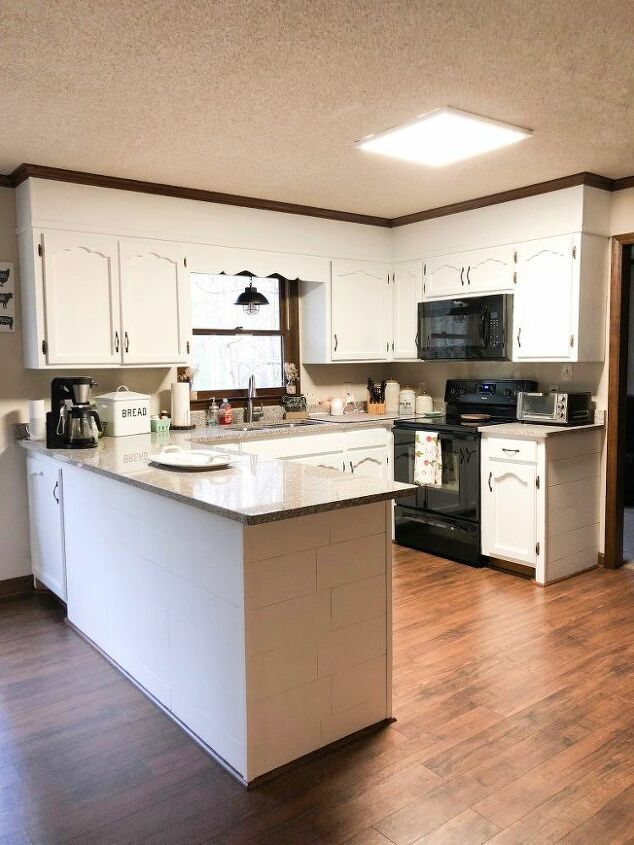
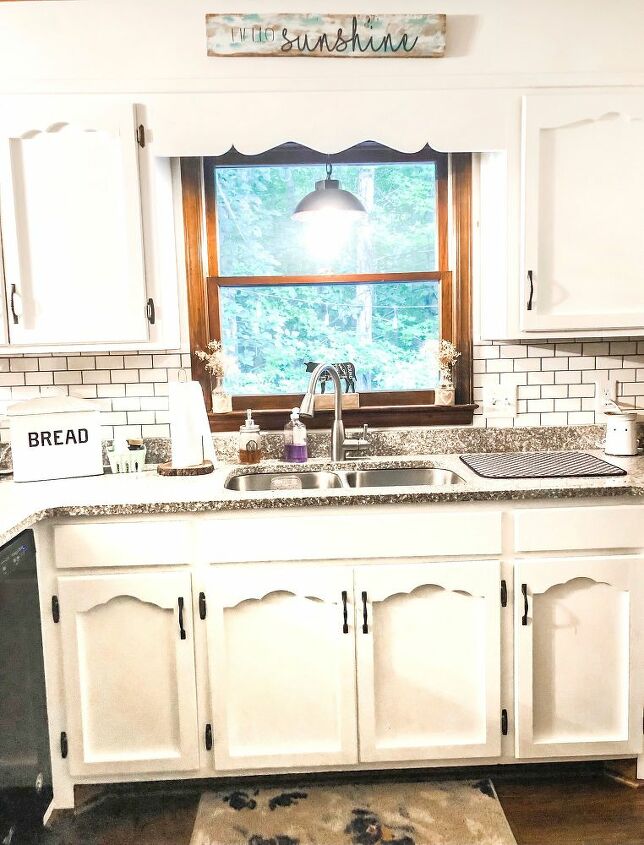
And here she is in all of her white & bright glory!!!
I couldn't be happier with how it turned out!
This is definitely a huge project but it's so worth it!
**Update**
We finally finished adding back splash so I wanted to add some updated pictures with that also!
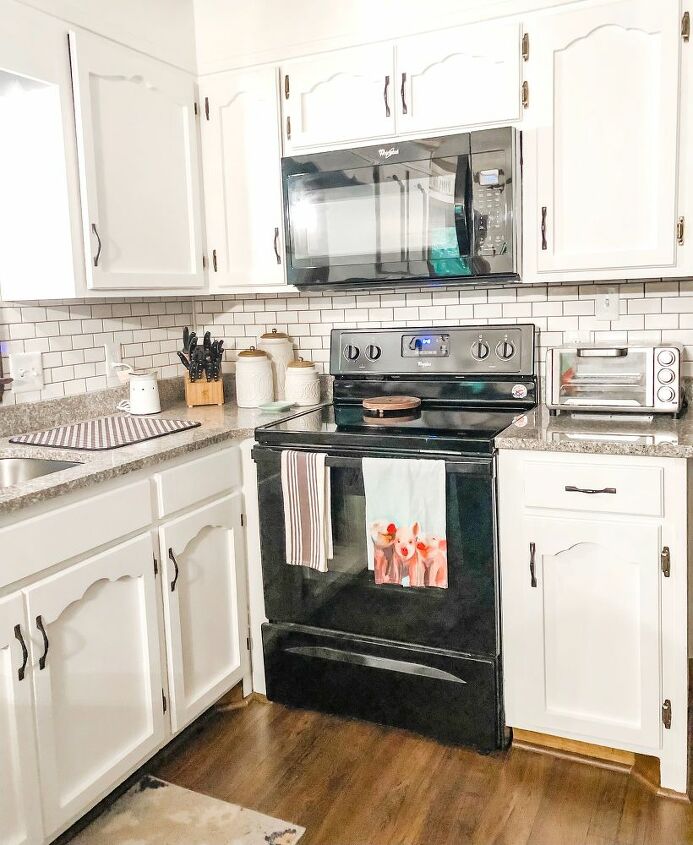
I was close to picking a hexagon design but decided to go with the subway tile because I know I won't get tired of it and it won't go out of style! We used sheets of subway tile from Lowe's and a gray grout.
I would recommend if you're going to do subway tile to just get the single pieces instead of sheets. The sheets caused us to have a lot more cuts to make which made it take longer!
I stuck with a white back splash so that it kept the kitchen bright since the floors are darker and the trim is wooden!
I couldn't be happier with how it turned out!
I officially got my farmhouse kitchen full of white cabinets, subway tile, and shiplap!!!!
Resources for this project:
See all materials


Comments
Join the conversation
-
My cabinets r not real wood and the are bad on bottoms like water damaged. Will I still be able to paint.
-
Looks great!


Frequently asked questions
Have a question about this project?
MY EXACT LAYOUT!!!! What a great before & After! IM SO DOING THIS!!! Ready to brighten my dark kitchen up!
My QUESTION is, Why CHALK PAINT! Curious. Is it easy to clean? How has your kitchen been holding up?? Any more tips or suggestion other than my ???
TIA
G
I am debating on painting my cabinets but they are oak doors and I hate to cover them. Can paint be removed later without ruining the oak should that ever need to be done?
Would this also apply for laminated cabinets