


Trash To Functional Treasure : Upcycle Part 1

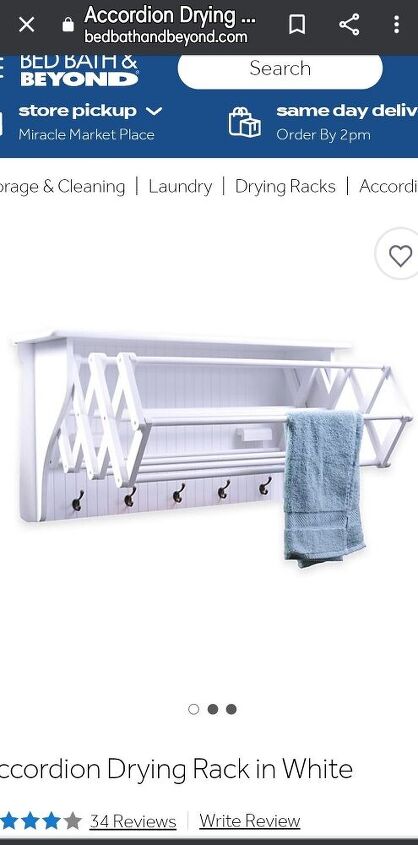
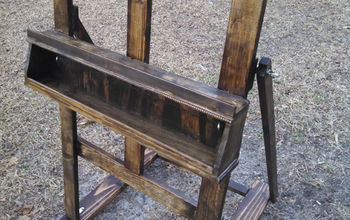
Driving through my development several months ago I spotted a weird shelf like thingy on the side of the road. I had to stop and inspect it, as soon as I did I knew it was very salvageable and had to come home with me.
Upon further inspection I realized it's original purpose was to hang wet clothes on then fold up when not in use. Cool concept! Several key pieces were broken which I assume is why it was discarded. I considered fixing it and using it for the same purpose but it's much too big for my home plus It's very heavy!
I decided to take the "accordion" components off, clean up and repair the main piece and repurpose it. The result is a Beachy shelf with hooks great for Florida lifestyle ie: hang bathing suits, towels and beach bags near a pool area, dressing room or bathroom.
I still have many pieces left and will show you in part 2 and 3 how I used some of them.
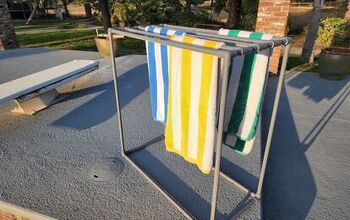
This is what the drying rack should look like. When I found it the hooks were corroded and the accordian was broken in several places.
I completely took it apart then sanded down the surface and filled in any holes.
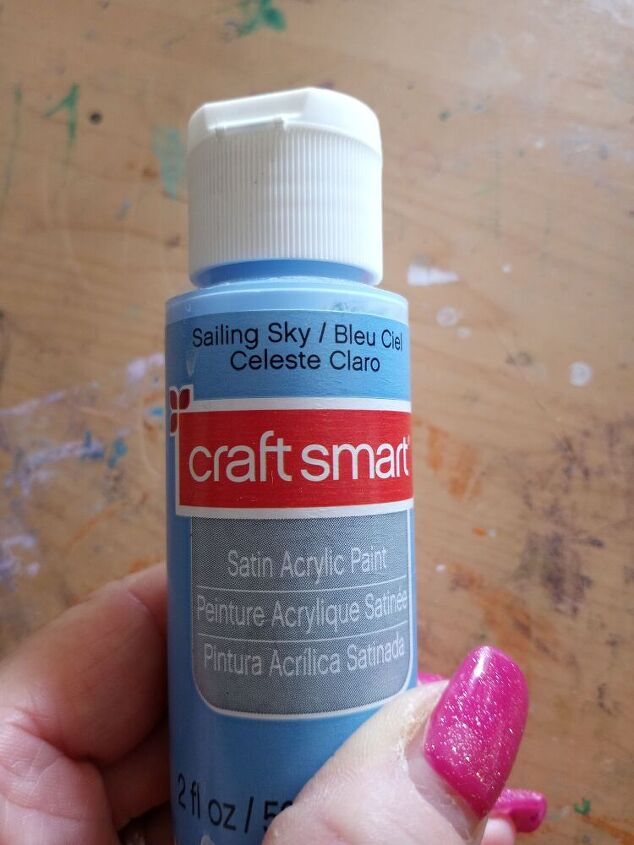
Once the surface was sanded and cleaned I applied Craftsmart Sailing Sky with a large dry brush
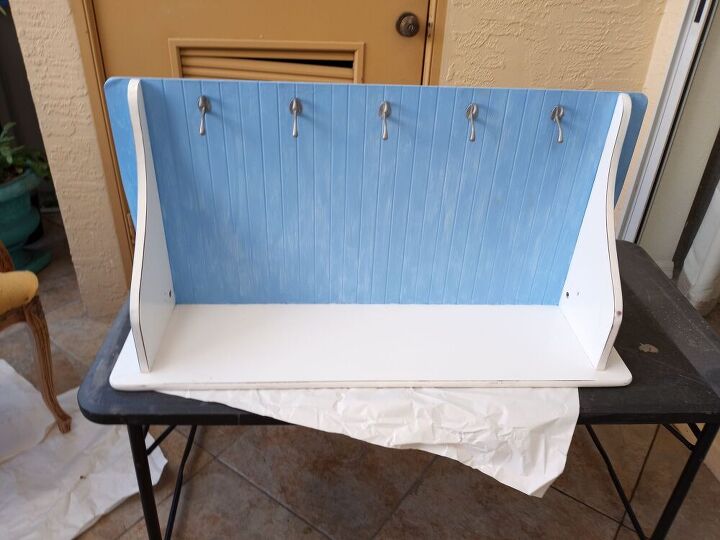
This is a picture of the piece after the accordian was removed. I patched the holes, gave the entire piece a sand then cleaned it well.
I painted the hooks with Craftsmart Silver paint and dry brushed the body area *the part I wanted blue* with Craftsmart Sailing sky
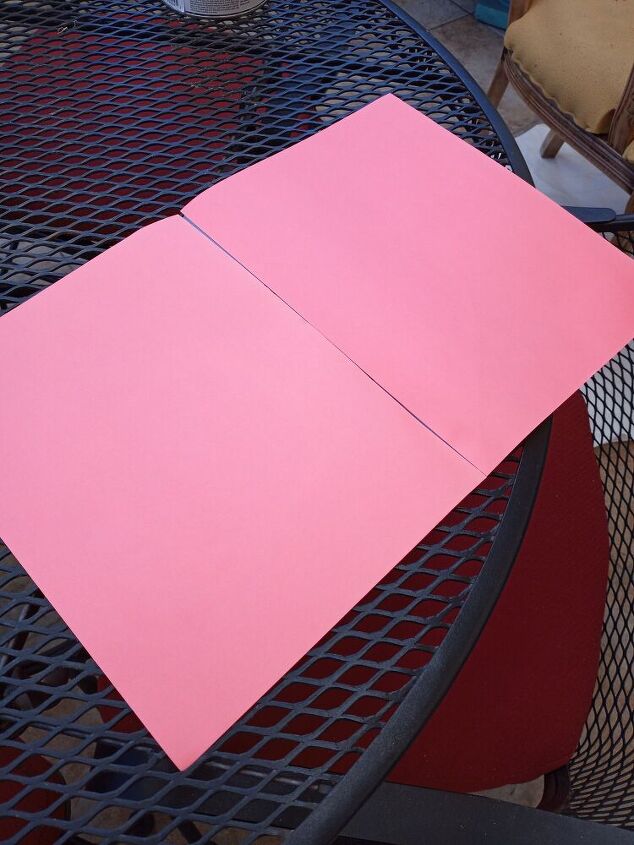
To create a graphic I taped two 8x11" pieces of paper length wise then folded it in half
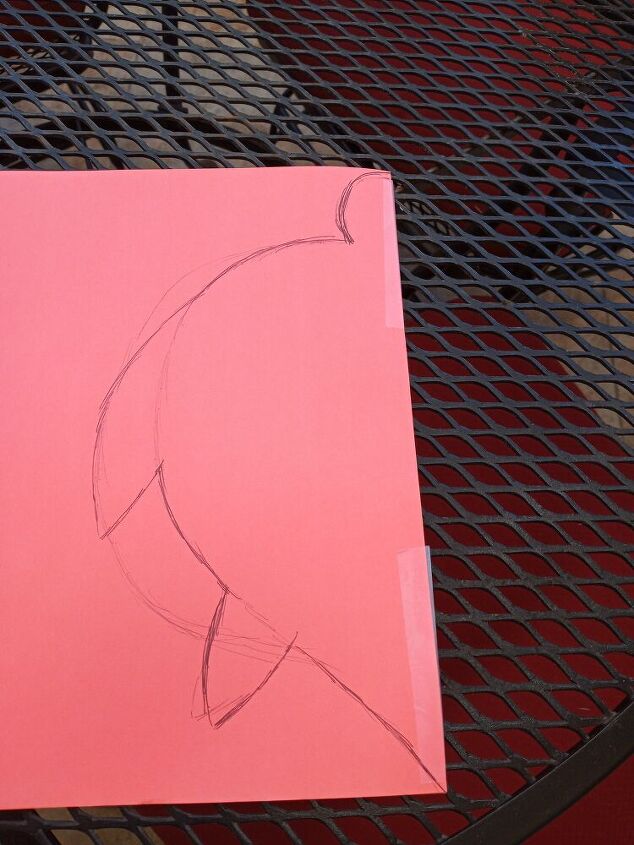
I then folded the paper at the taped area and drew the outline of a sea turtle.
** Note, I technically only drew half **
Then I cut along the edges of my drawing; once opened it was a full sea turtle template
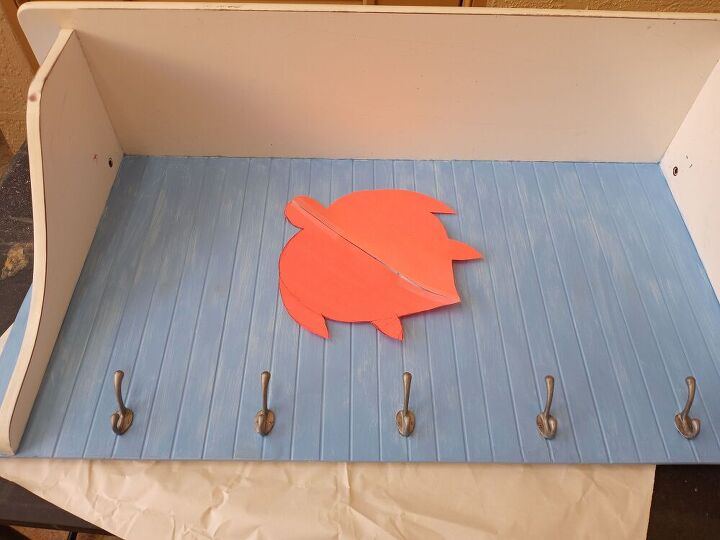
Doing this gave me the flexability to determine if the size and placement were to my liking. Once it was I gave the middle area of the template a little pressure which made the tape adhere just enough to stay in place when I traced it with a pencil.

I simply traced the outside of my graphic very lightly with pencil. Originally I was going to do a pattern inside the graphic but opted for a solid bright green.
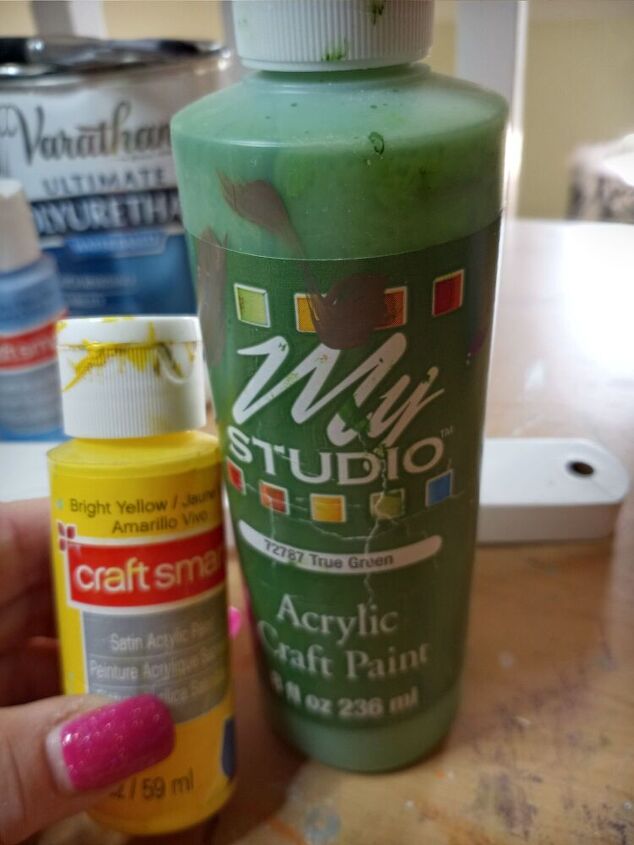
I settled on a solid bright green which I created by mixing Craftsmart Bright Yellow and My Studio True Green. The ratio was about 70% yellow to 30% Green
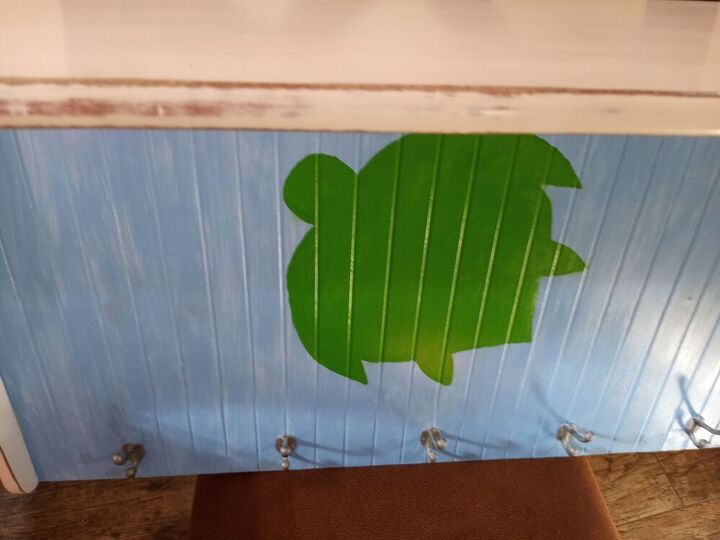
Sometimes less really is more. My original plan was to do a lot more detail on the turtle but I really like the simplicity of it this way and decided to just leave it.
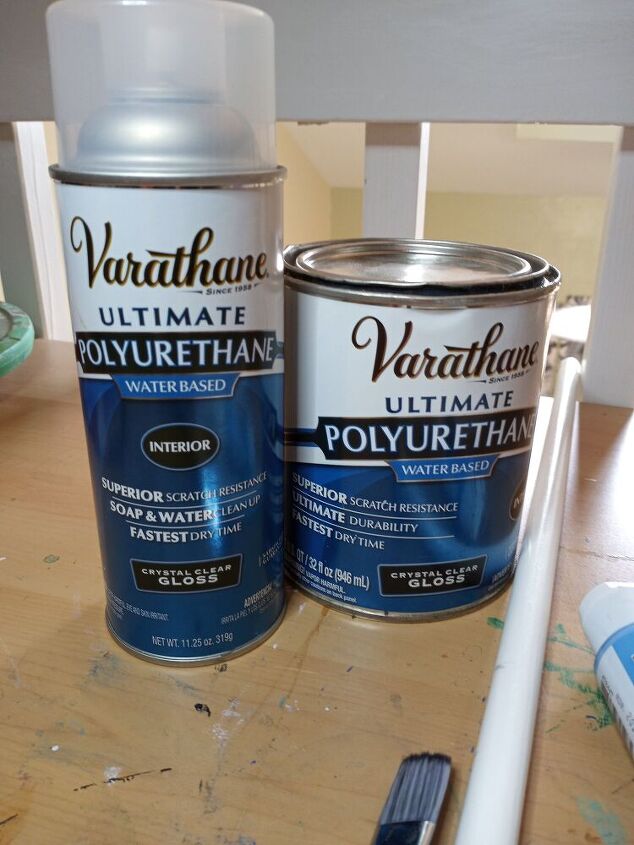
Whenever I apply paint I let it dry then seal it with a few coats of Varathane Polyurethane Spray. Once that's dry I apply even coats of Varathane Polyurethane with a disposabe foam brush.
In the past I found my painted areas would smear when poly was applied first with a brush.
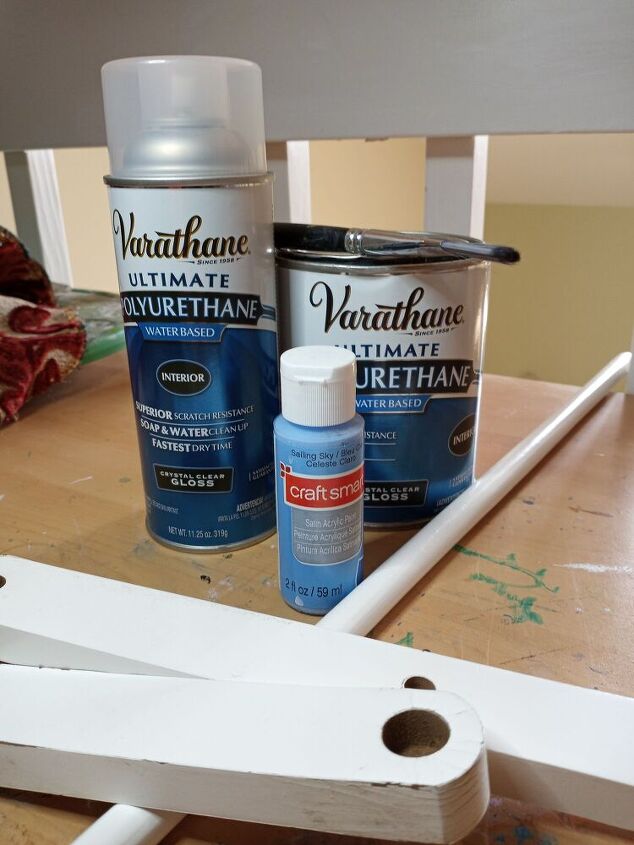
- The brush I used to apply the blue
- One of the many dowels from the original drying rack
- Varathane Spray
- Varathane liquid
- Craftsmart Sailing Sky
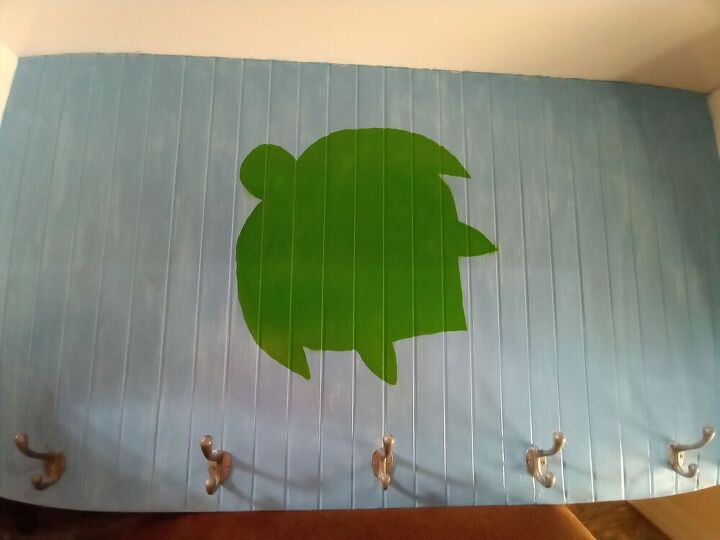
Here she is, all painted, sealed and ready to be loved again. I'm very happy with the outcome of this piece and look forward to hearing from you!


Frequently asked questions
Have a question about this project?