


Dated to Updated Shabby

by
Gina
3 Materials
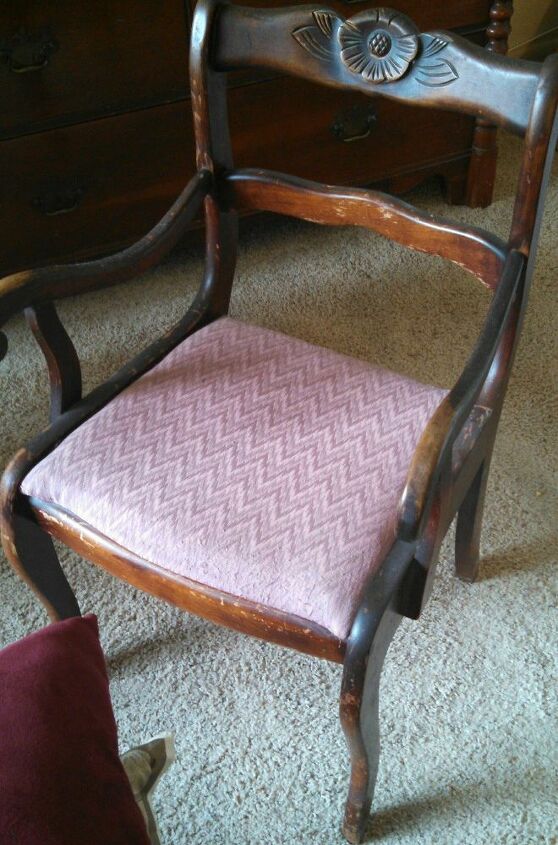
I was given these antique chairs and held on to them for months contemplating refinishing with stain or painting. Since I was redoing to sell and the "shabby" look is selling fast in our area I just went for it.
Took off the seats and sanded them down. You normally don't need to sand using chalk paint but the chairs had seen better days.
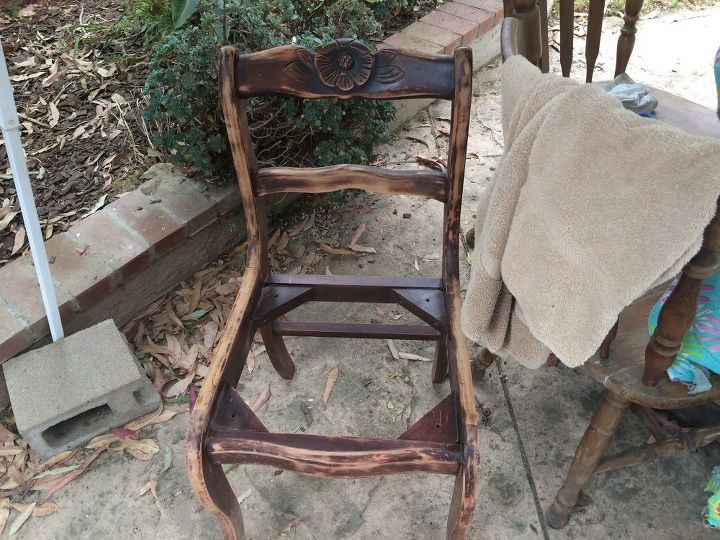
Sand
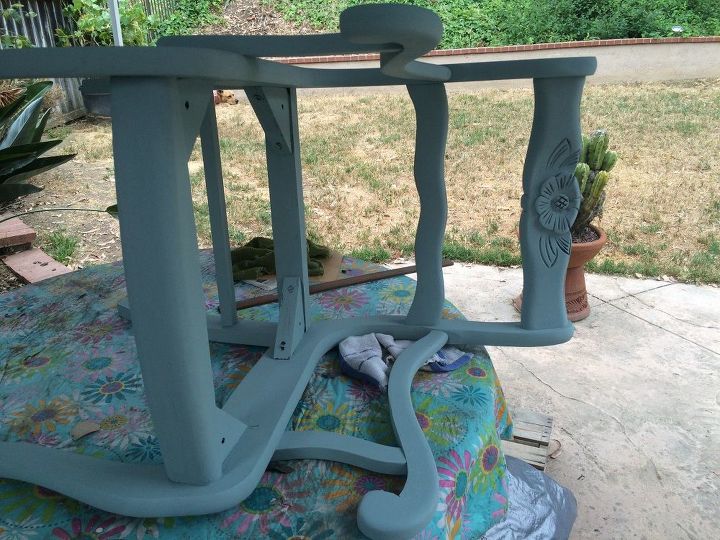
Painted quickly and in different strokes as the brush strokes enable the dark wax to really look cool.
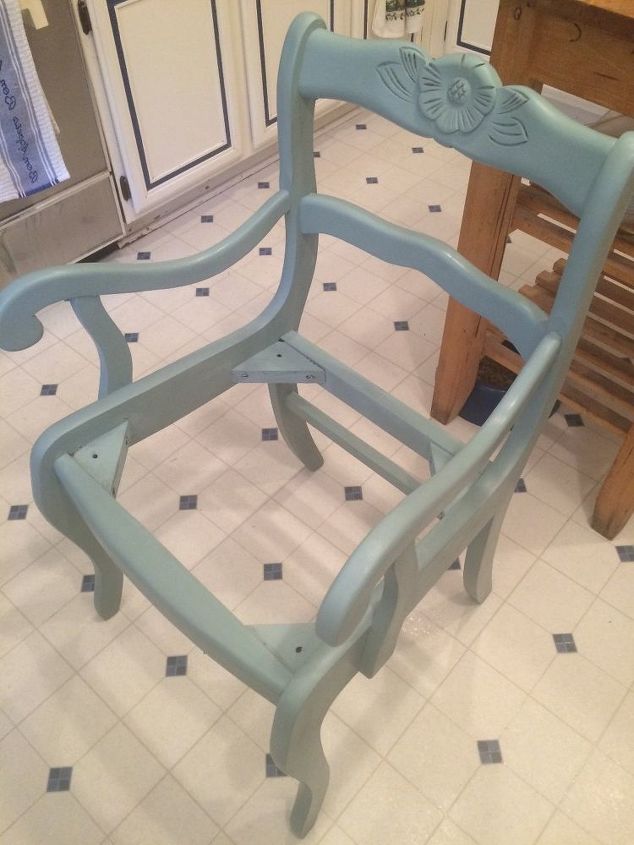
Finished painting but it was 100 outside so clear waxed inside. The clear wax hardens/seals the paint and slightly darkens it. I forgot to take a picture of shabbying (re-sanding) to make it look worn on edges and areas that natural wear would occur. Then I dark waxed it and worked 1/4 chair at a time as the longer it sits the darker it gets and can harden on you.
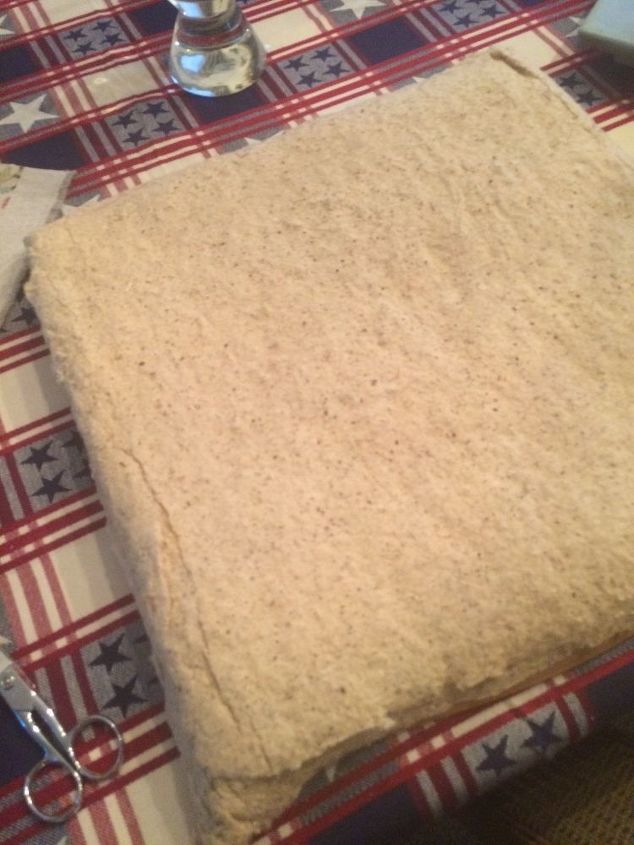
The old padding had seen better days and was flat so I added 1/2 inch foam cut to size.
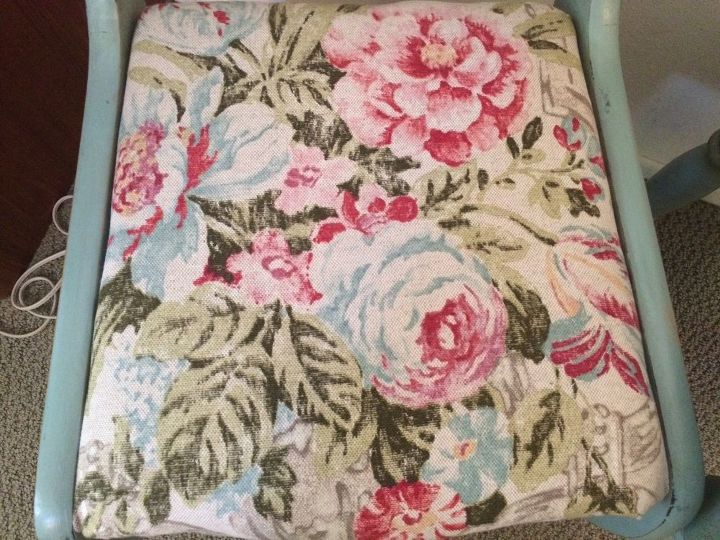
Fabric was mostly beige with this floral pattern so I positioned it and then cut around to achieve the look I was going for. 8 inch scraps I'll use in frames or make pillows.
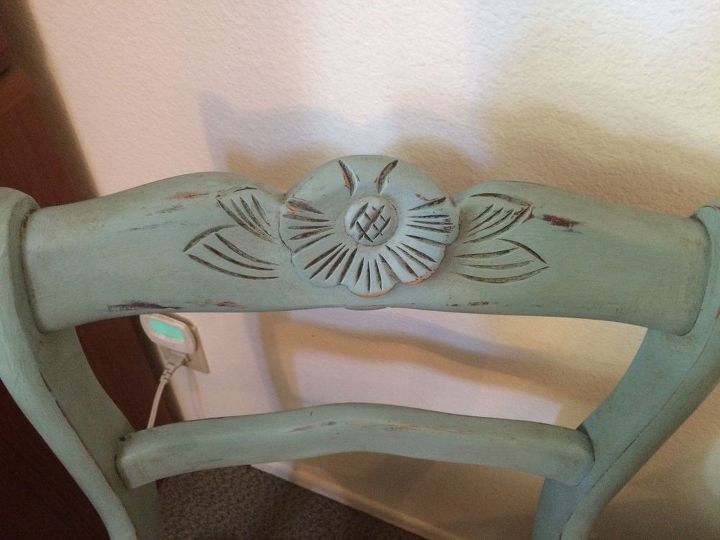
Dark wax really brings out the details
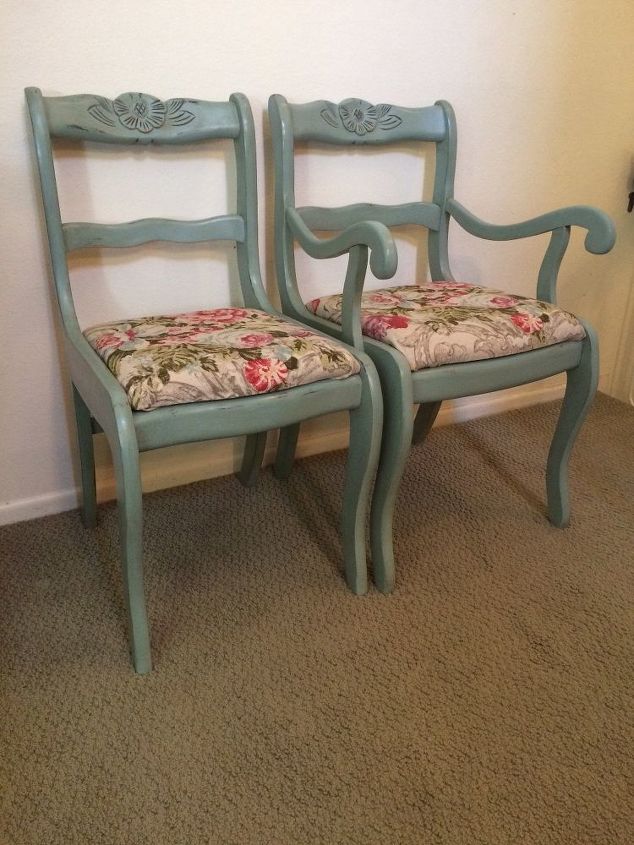
Finished chairs
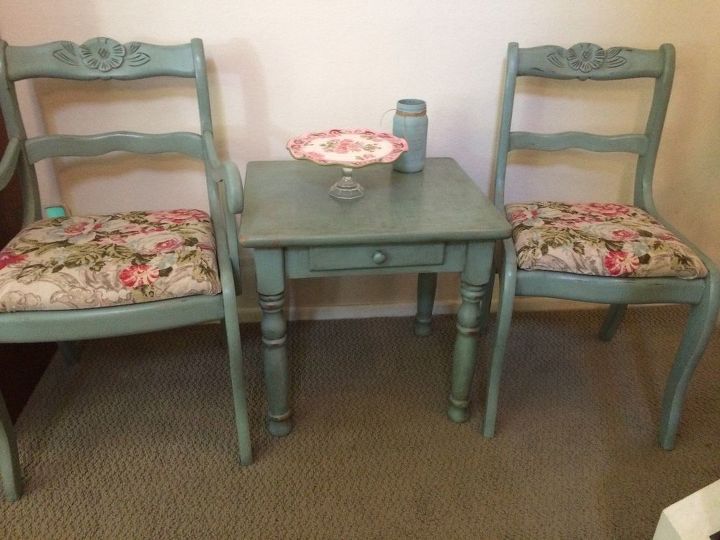
I also did a side table in the same method.
Comments
Join the conversation
2 of 4 comments
-
WOW! Beautiful! They had good bones and show the love they received. You brought out the character and details that were lost. The fabric for the seats is just right. The side table looks like its part of the set. Great Job!
-
Thank you


Frequently asked questions
Have a question about this project?