


How to Get a Vintage Finish on Painted Furniture UncategorizedHow to G

In this post I will show you how to get a vintage finish on painted furniture. There are several applications that you could use to achieve an antique look, however there is one that i find to be the easiest.

The common methods to achieving an antique look are by:
Sanding
glazing
dry brushing
waxing
milk paint
and/or a combination of all of these!
I have tried all of these methods and they all create a vintage looking finish however some require more work than others.
The method that I will show you today is how to create a vintage look on furniture with Milk Paint.
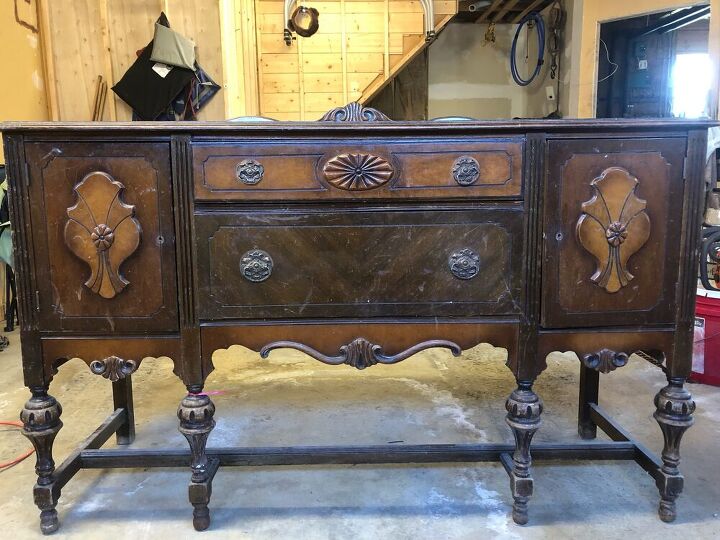
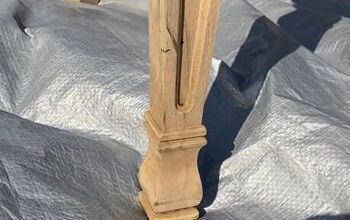
I will begin by saying that I had no intentions of painting this buffet. I wanted to remove the existing finish and apply a new finish to bring out the natural wood.
Well, that was not going to work. When I sanded the old finish off it was very apparent that the top and bottom drawer were made from different wood.
I like the top drawer, but the bottom drawer was UGLY. I have no idea what it is but it’s not pretty.
I will apologize for the photos here as they were taken in my garage under a fluorescent light.
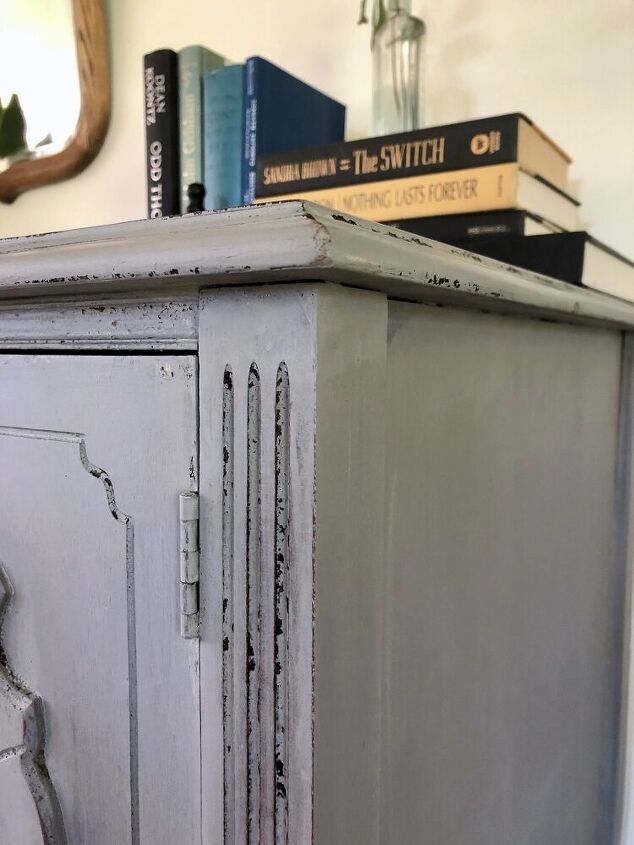
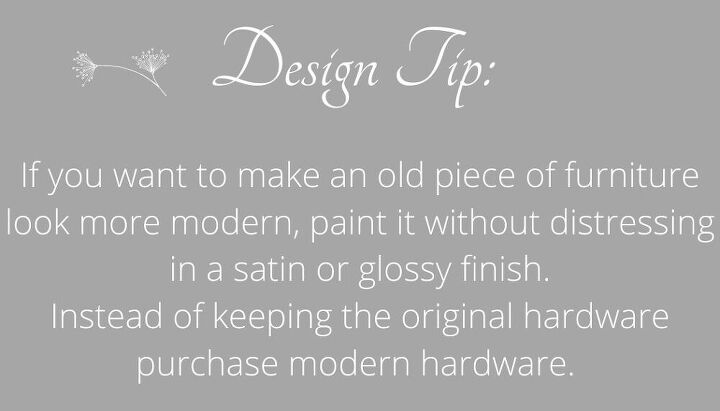
With the revealed ugly wood I had to decide what to do. I know that if the buffet were to be painted then I wanted it to be a vintage looking finish.
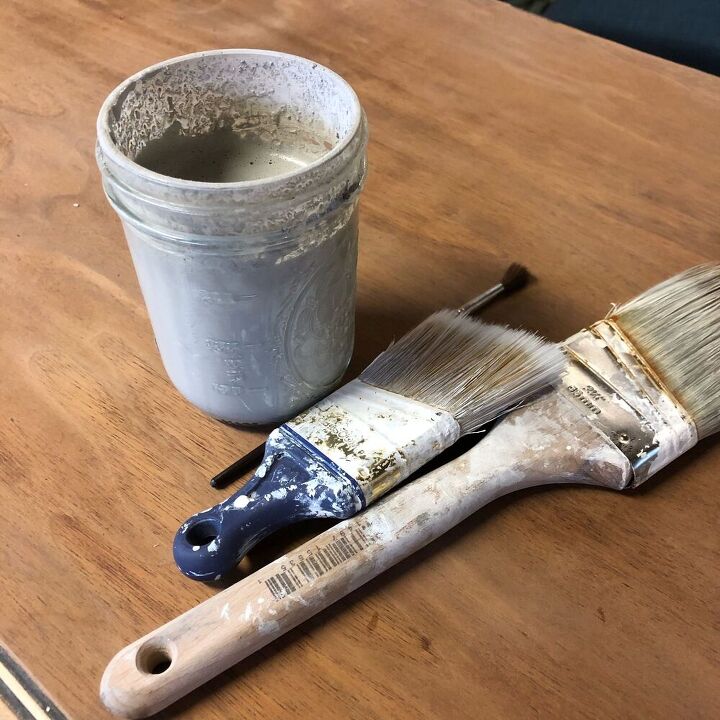
I decided to use milk paint and therefore chose to use Miss Mustard Seed Milk Paint.
If you check out their website all of your milk paint questions will be answered. I found this website to be very thorough and complete.
After looking at the color choices I decided to use Schloss. This ended up being the perfect greige color for my home.
Knowing that I wanted a vintage look to my buffet I mixed the paint to the desired thickness that I wanted. (I did not use a bonding agent because I wanted the finish to chip). The directions for mixing are on the website and clearly stated on the bag as well.
I found that 1/2 powder and 1/2 water was a bit too thick for me so I just added a little bit more water until it was the consistency I wanted.
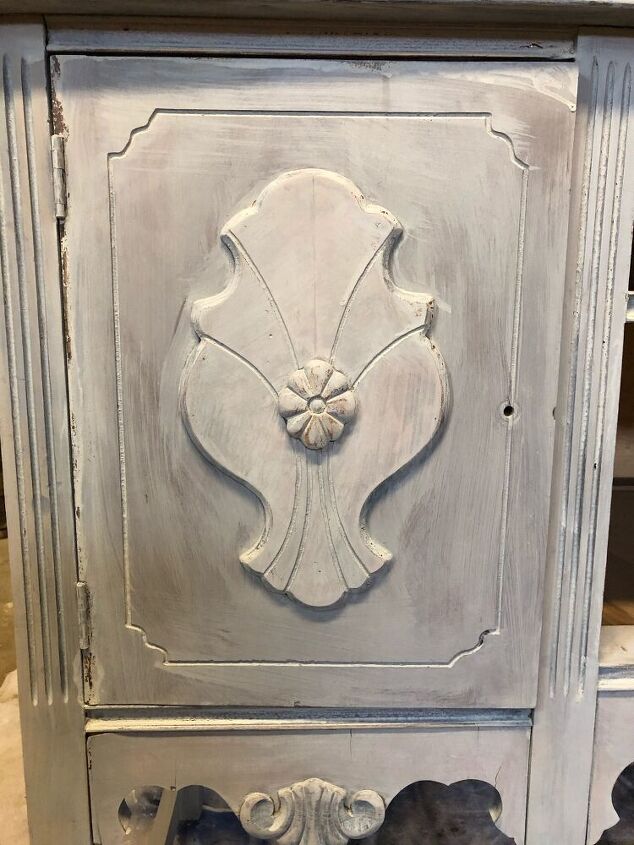
This photo shows the door with one coat. This is where you want to scream, swear, and wonder what in the world you are doing. Calm down. It all works out.
One of the great things about milk paint is the fast dry time. I was able to apply another coat within a 1/2 hour. BUT….
BEFORE YOU APPLY ANOTHER COAT SAND THE ENTIRE PIECE WITH A FINE GRIT SAND PAPER.
Don’t skip this step as it will create a soft finish in the end. It is worth it!!
I painted and sanded 3 times on this piece to get the look that I wanted. I almost left it at 2 coats, but decided to put on a 3rd and I am glad I did.
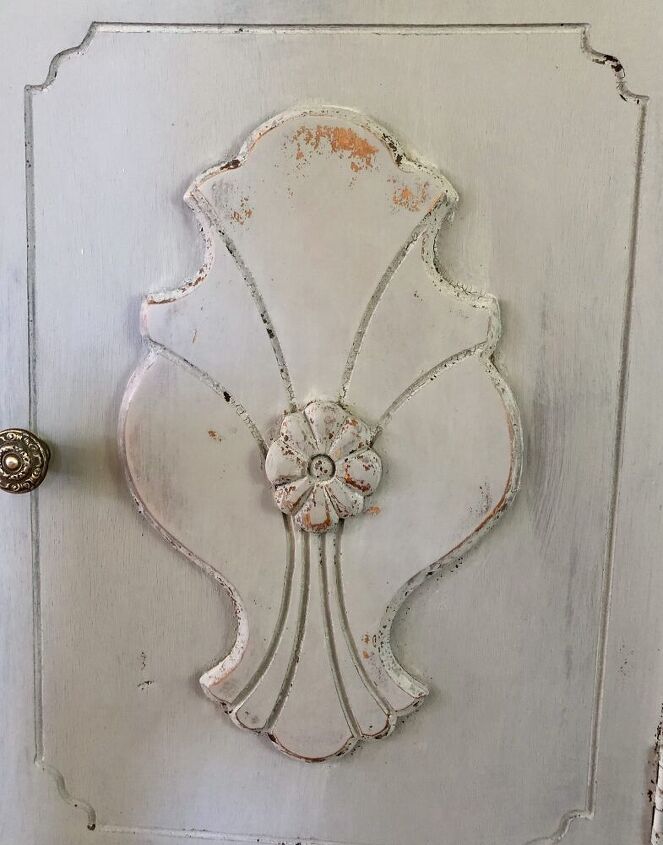
After the paint is dry, this is where the fun begins! You can distress as much or as little as you want with your sand paper.
And, because I used mild paint vs. latex paint the distressing was easy. I just sanded until I got the look I wanted.
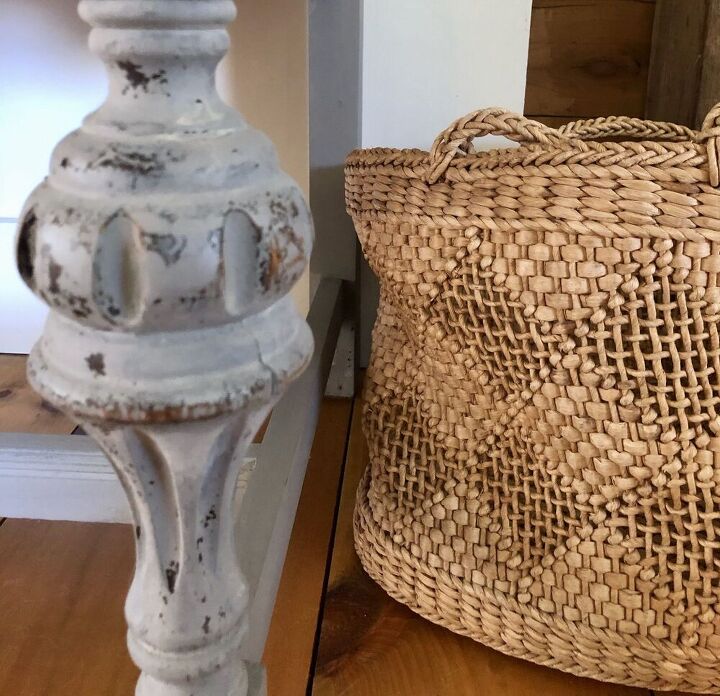
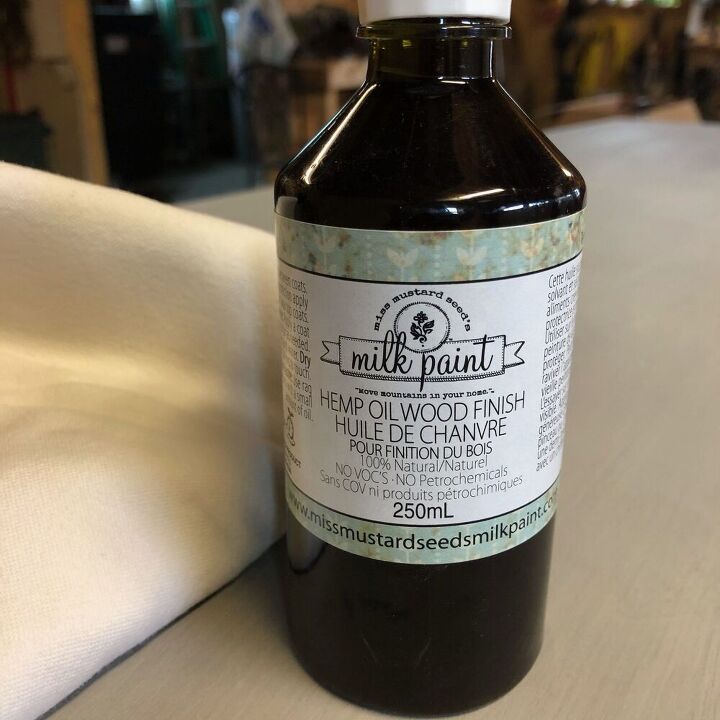
Once I sanded to my desired finish I decided to use hemp oil as a finish coat. I just applied it all over with a lint free clean cloth.
I have not used this before so I will let you know how it ages. I can say that it looks and feels amazing.
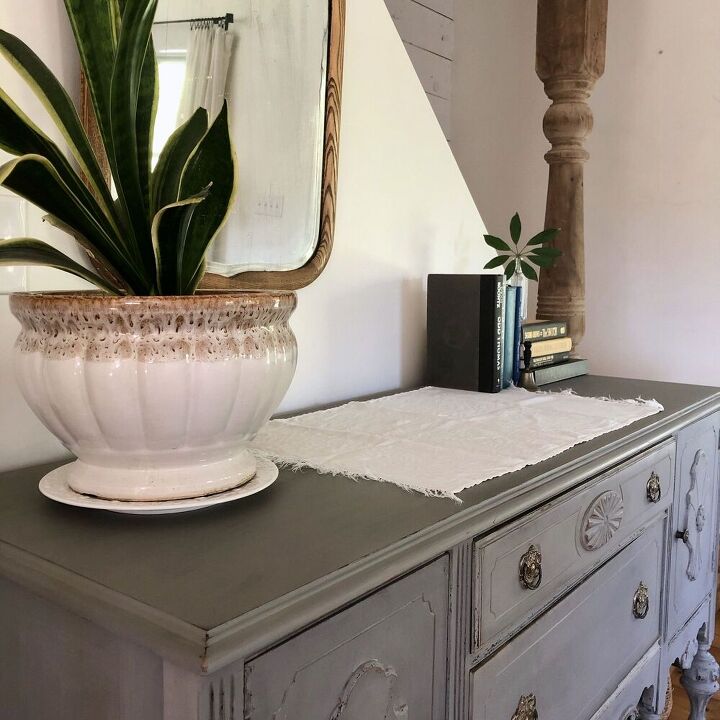
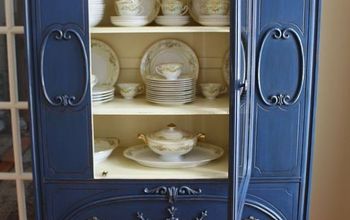
Once the buffet was painted and finished I re-attached the original drawer pulls after I buffed them with Brasso. I am so glad I was able to use the original pulls and knobs.
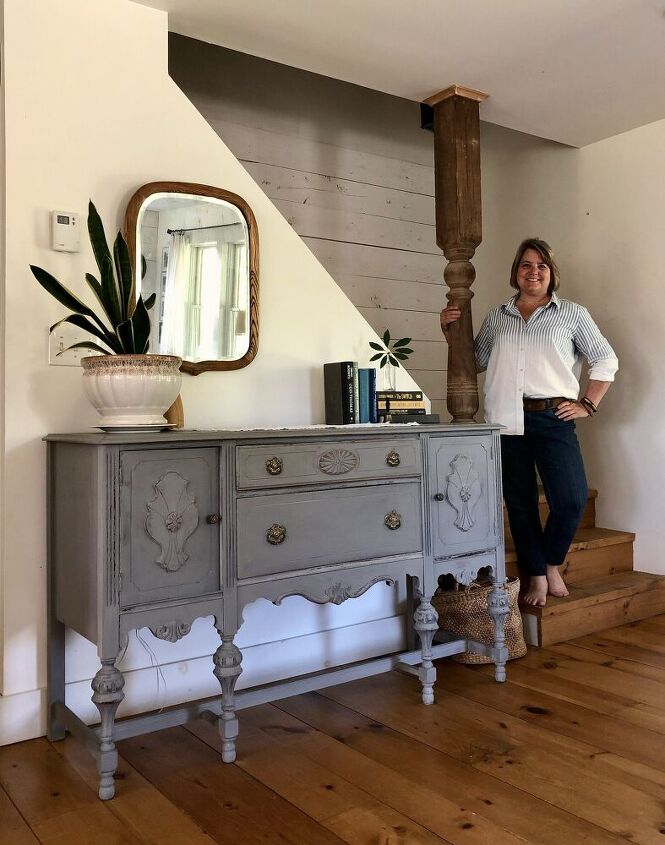
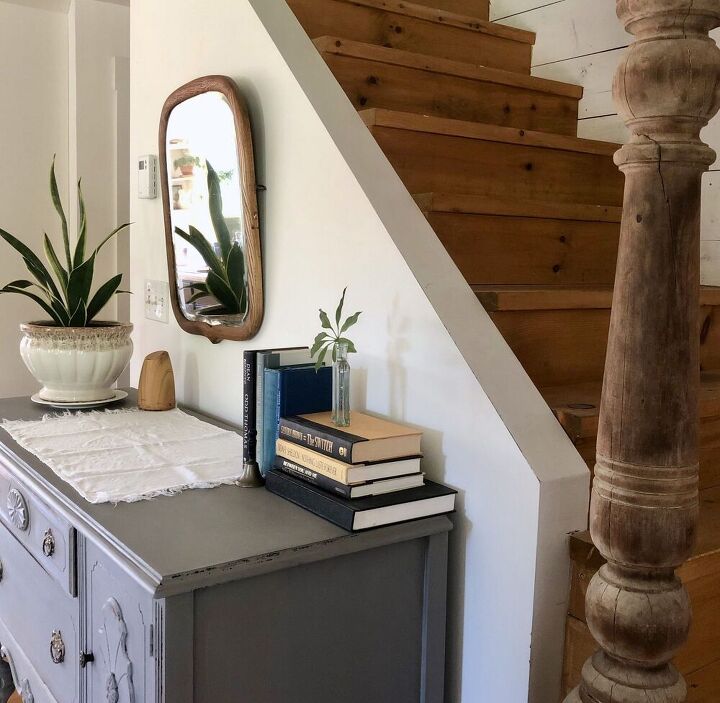
I am so happy to have this buffet and learning how to get a vintage finish on painted furniture using Milk Paint was so much fun!
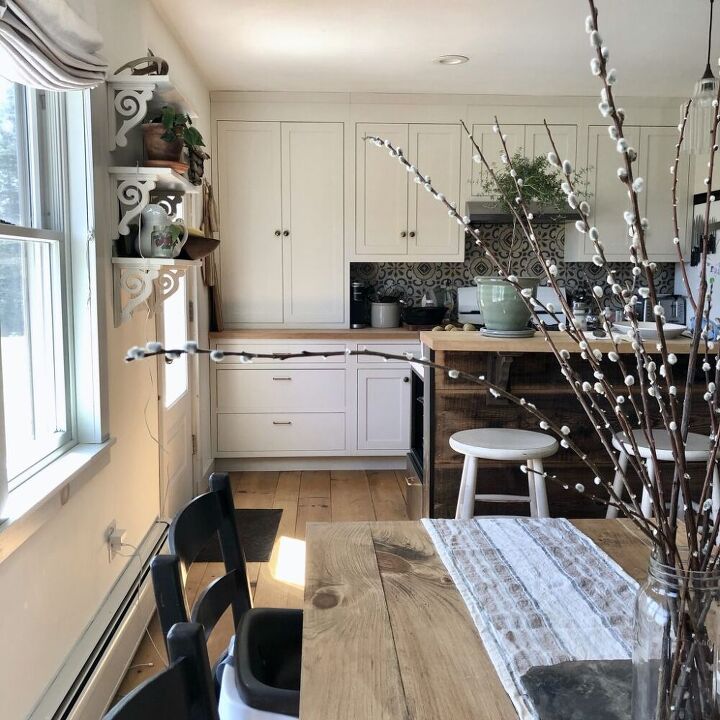
This is now desk storage for all of the household and blogging office supplies and since it is right by the kitchen it will also serve as an actual buffet too;)
For more in depth milk paint tutorials you can check out the creator herself at missmustardseed.com
I hope you found this to be helpful and may gives you the nudge to makeover your own furniture!
It is so much fun to find items on marketplace or second hand and give them new life! It is just amazing what paint can do!
Do you have a favorite technique to get a vintage finish? Let me know;)
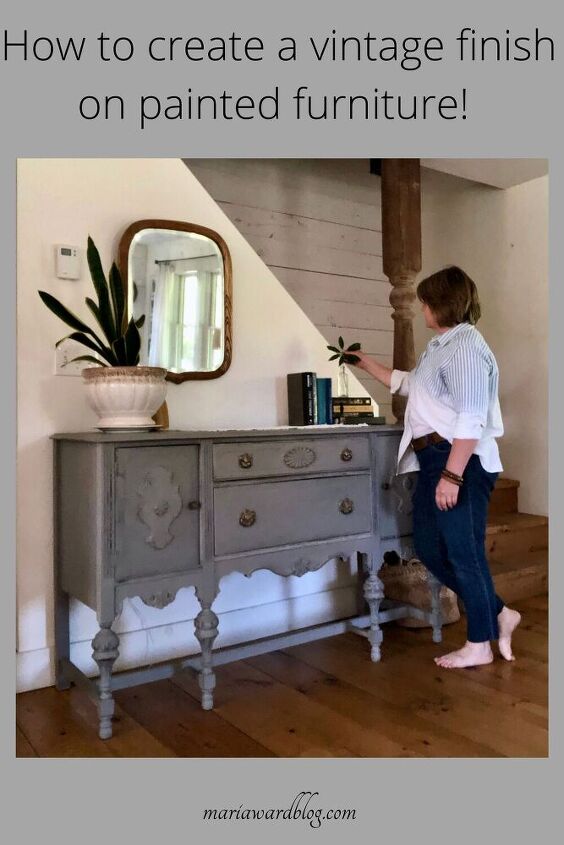
As always I thank you for being here! Be sure to pin the image below so others may see this too. Thanks!
PIN THIS!
The month of April, Inspiration, Highlights, Plans
April showers bring May flowers Hello friends! In today's post I am re-capping the month of April where I will be sharing with you all of the things about April here on the blog!! April in Vermont is like Winter in other states, and the Spring season is not always easy. Our weather can go from...
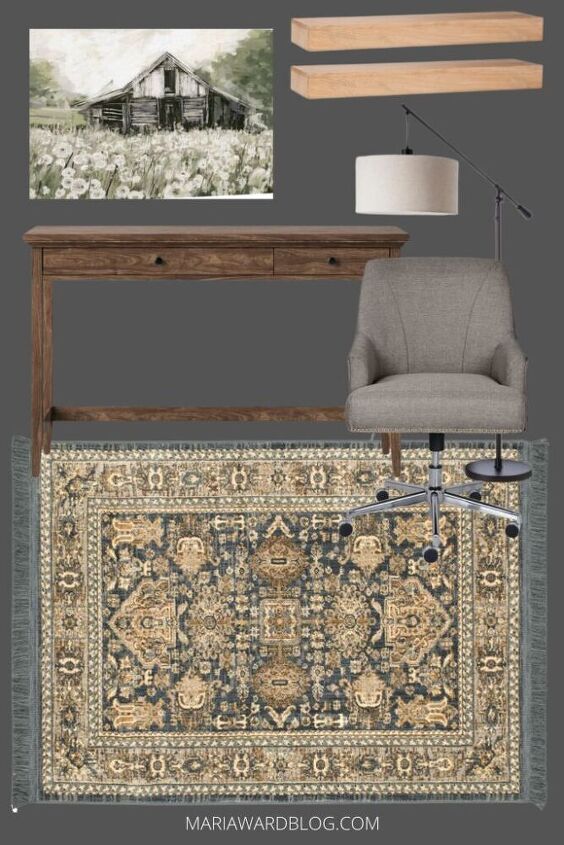
Work from Home Office Mood Boards
For this moody Monday post I am featuring three different work from home office mood boards to help you visualize the different decor choices for your work from home office. You can check out other Moody Monday posts here too. For those of you working from home I'm sure you are finding you are spending...

Wayfair Way Day Sale 2021 is a great way to update your home!
The Wayfair Way Day sale is a great way to update your home on a budget! This sale begins at midnight April 28 and last for 48 hours. There are MANY items and categories on sale up to 80% off AND with free shipping too. Wayfair began this yearly sale in 2018 as...
How to diy Roman Shades for beginners
If you have wondered how to diy a roman shade I've got you covered! This tutorial is simple and for a beginner which is why I can do it and you can too! Several years ago I attended a beginner sewing class hoping I would become the next Martha Stewart. Although that never happened I...
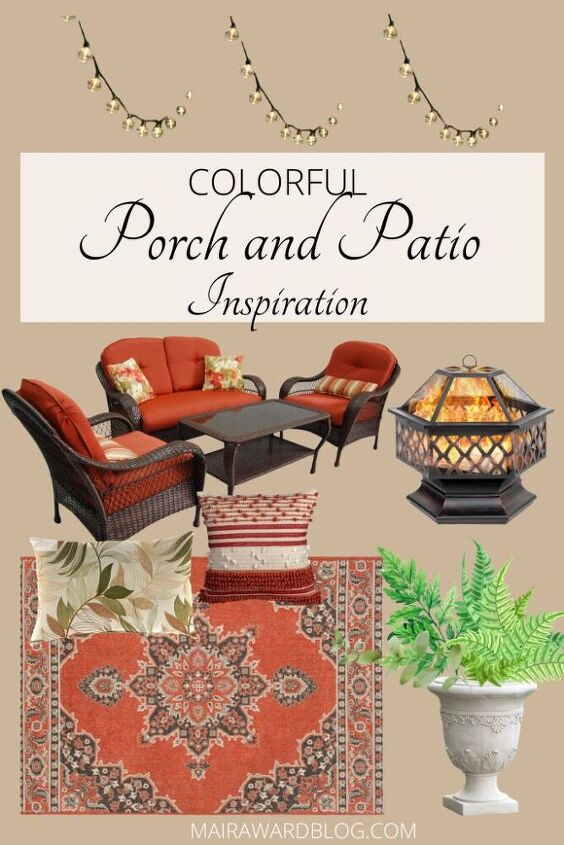
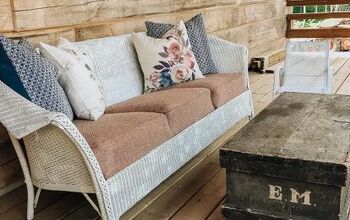
Porch & Patio Mood Board – Moody Monday
Happy Monday and welcome to Moody Monday - Porch & Patio. Today is the first day (actually the second) , but it is the first weekday of the new week and I hope you all will look forward to this new series that i will do on a mostly weekly basis. Mostly, because sometimes life...
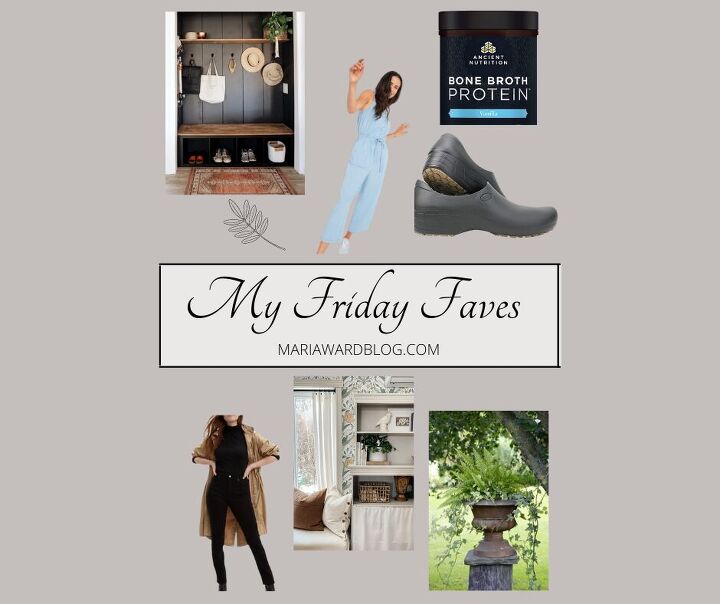
My Friday Faves
Hello friends and Happy Friday!!! I am so glad to be inching our way closer and closer to Summer. Closer and closer to warmth on the skin and sun on the face. Closer and closer to getting a life that feels normal again. Today I am sharing with you some things from the around the...

Laundry Room Transformation – from impractical to functional
We recently completed a laundry room transformation in a small condo unit that is a rental. I will explain the changes that were made and why, relating to the size and function of the room. As with most room re-do's there was some give and take involved to work within the existing space, plumbing and...
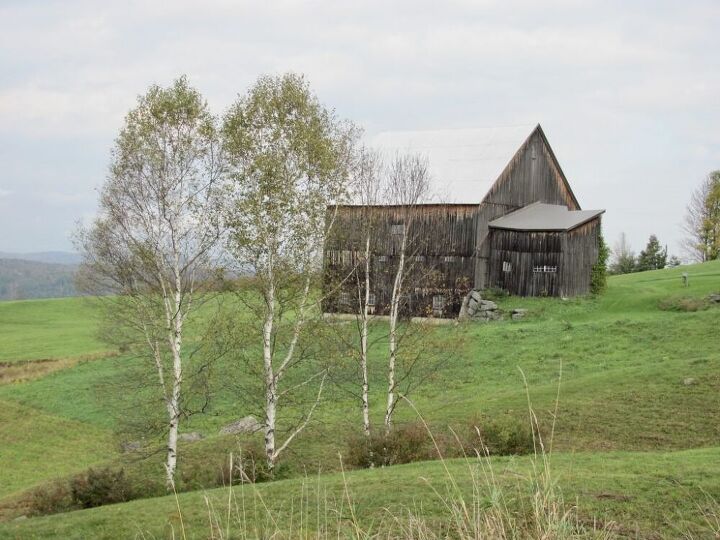
My Friday Faves
Happy Friday! It is time for another round of My Friday Faves. This is my list of things that I have like this week, and maybe you will too. I took this photo of the barn a year or two ago when I was out for a ride with a friend. We would stop at...
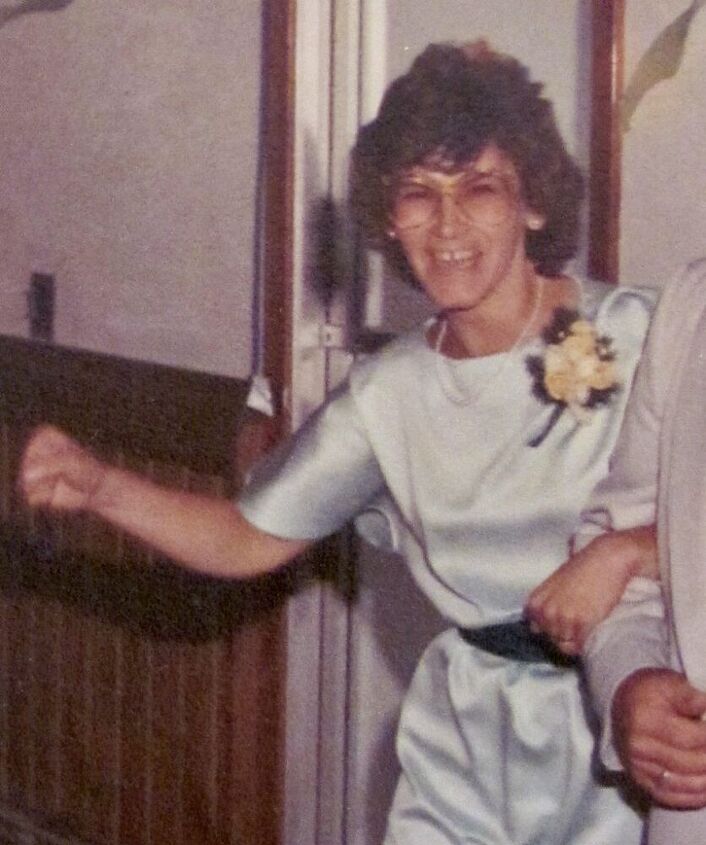
Mother’s Day Gift Guide…and some advice
I hope you find this Mother's Day Gift Guide helpful in choosing the perfect gift for the one who loved you first. Check out the end of the post for a little advice...even if you don't want it. PIN THIS! CLICK THE PHOTO TO SHOP Turn on your JavaScript to view content The gifts that...

My Friday Faves
Happy Friday Friends!!! As we are about to leave March behind, sugaring season is wrapping up, and the weather has been awesome, I am so very happy to see this new season arrive. Today I have a list of some of my favorite things for the week that you may like as well. Sit back,...


Comments
Join the conversation
-
It looks beautiful! Great job!
-
Beautiful! I've been looking for a buffet like this for a long time, It's just like the one that my grandparents had.


Frequently asked questions
Have a question about this project?
I have a buffet very similar. Did you do anything to the handles at all?
Did you put a primer down to protect against bleed through?
How old is your house