Turn a $60 Computer Armoire Into a Cricut Craft Cabinet

by
Pinspired to DIY
(IC: blogger)
5 Materials
$350
2 Weeks
Medium
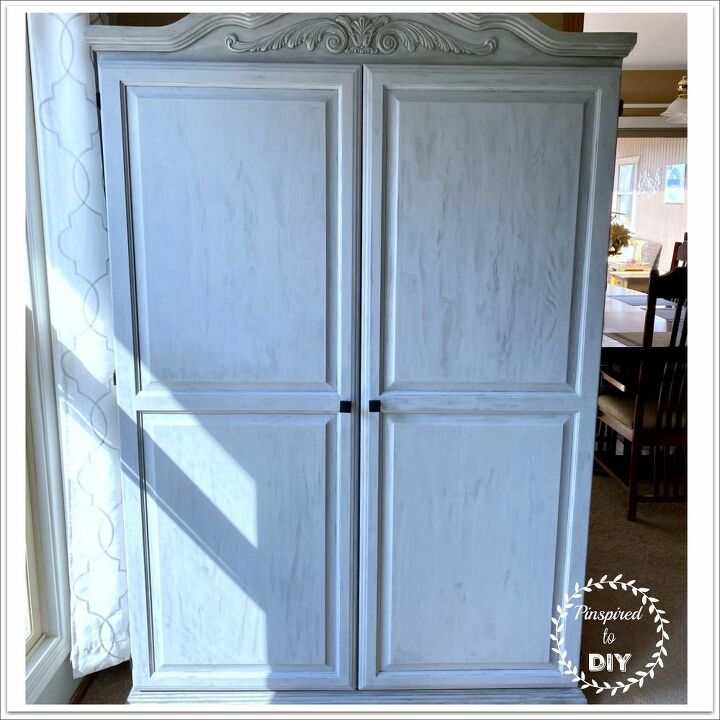
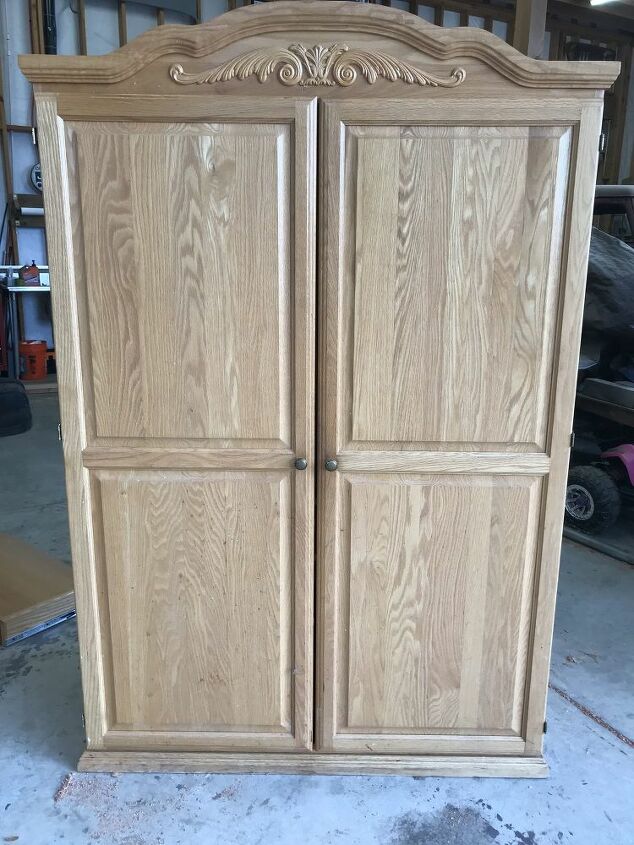
We are in the process of remodeling our home office, and with that, my desk space in the office no longer exists (Hubs works at home full time so it made more sense for it to become his office instead of a shared office). I needed an area for crafting, but the only room with space is my living room, so, I had to find a solution where my crafting space could be in the living room, without looking like a crafting space (since that would make my OCD-ish tendencies flare!) I searched Facebook Marketplace and Craigslist for weeks until I found the perfect solution: an oak computer armoire that someone was selling for $60! I added some shelving for my vinyl sheets to the top shelf and I refinished it to create the perfect crafting space. Best of all, when the doors are closed, it blends in with the furniture and you can't tell it contains crafting supplies! Here is an abbreviated version of my tutorial for converting this to my craft cabinet. You can find the full tutorial, more pictures, and links to the items I used to organize this cabinet on my blog post located here: https://www.pinspiredtodiy.com/cricut-craft-cabinet/
Here are a couple of before pictures so you can see what I started with.
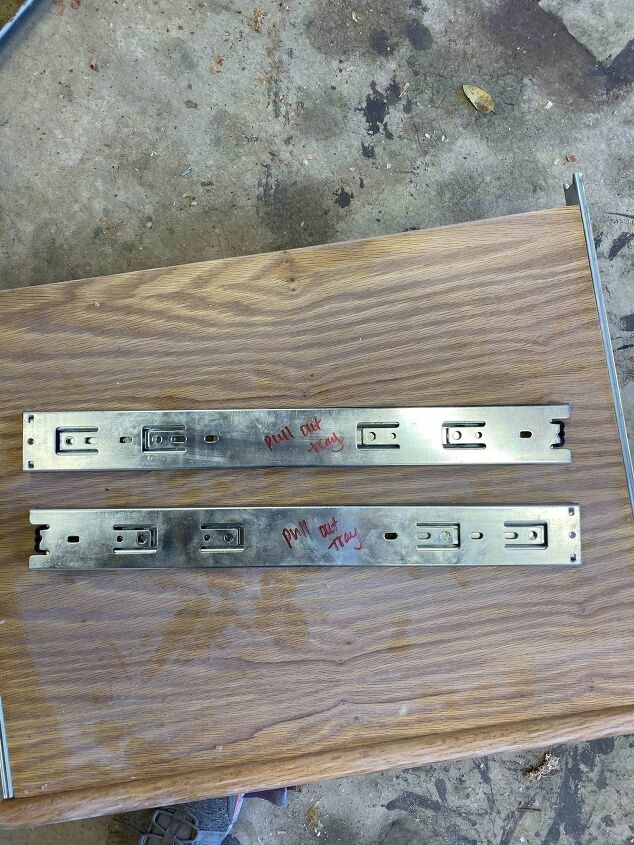
To begin the process of transforming this armoire into the perfect craft cabinet, I first had to clean everything on the cabinet (it was very dirty and had paint splatters all over it...). First, I removed the doors and hinges, followed by the drawers and pull-out shelves, as well as all drawer slides. I made sure to label which drawers or shelves the slides went to as I pulled them off to make re-assembly easier.
I cleaned the entire armoire, as wells as all hardware, including the drawer slides for the drawers and shelves, and then I lightly sanded the armoire.
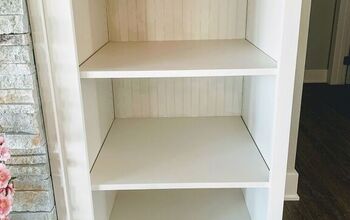
I then painted the area behind and above where the shelves were going, and then added in the shelving boards.
I then painted the remainder of the interior of the armoire, as well as the exterior.
I also painted the doors, all shelves, and then the drawer fronts on all drawers.
While those were drying, I used black spray paint to paint the hinges black.
Once the paint on the armoire had completely dried, I used weathered wood antiquing gel on the exterior of the armoire and on the front of the doors.
I then reassembled the drawers and shelves, and reinstalled the door hinges and doors. I put new hardware on the drawer front and on the doors, using black metal drawer pulls instead of the wood pulls that were on their before.
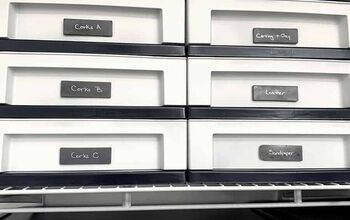
I installed peg boards and baskets on the doors to organize my crafting supplies, and I added in some desk organizers to organized pens, paper, markers, paintbrushes, and my Cricut tools. I also installed a monitor mount
Lastly, I added in all the organization supplies I had purchased and filled them with my craft supplies. I now have a compact but useful crafting cabinet in my living room that blends in with the other furniture! Here are some additional pics:
Don't forget to visit my blog post for further information and details about the craft cabinet conversion!
Enjoyed the project?
Resources for this project:
See all materials
Any price and availability information displayed on [relevant Amazon Site(s), as applicable] at the time of purchase will apply to the purchase of this product.
Hometalk may collect a small share of sales from the links on this page.More info

Want more details about this and other DIY projects? Check out my blog post!
Published January 8th, 2020 4:03 AM
Comments
Join the conversation
2 of 58 comments
-
 LT
on Jan 18, 2023
Awesome piece!!! All of your craft supplies are confined behind doors. Love it! love it! Now I'm am on the hunt for the right cabinets. Thinking about different cabinets for different crafts, sewing, resin, paper, remodeling tools. I love making things, so I have all kinds of products stored in plastic containers. It would be lovely to open doors on a cabinet and have all of my products in one area instead of giant plastic containers. Thank you for sharing.
-
-













Frequently asked questions
Have a question about this project?
At the top it shows $350, is that the total amount of money you spent on this project?
How do you mount the pegboard?
Just wanted to say good job! That’s beautiful and so well organized… now I’ll be on the lookout for a cabinet like that one. Thanks for sharing!