


Vintage Dining Table Top Redo
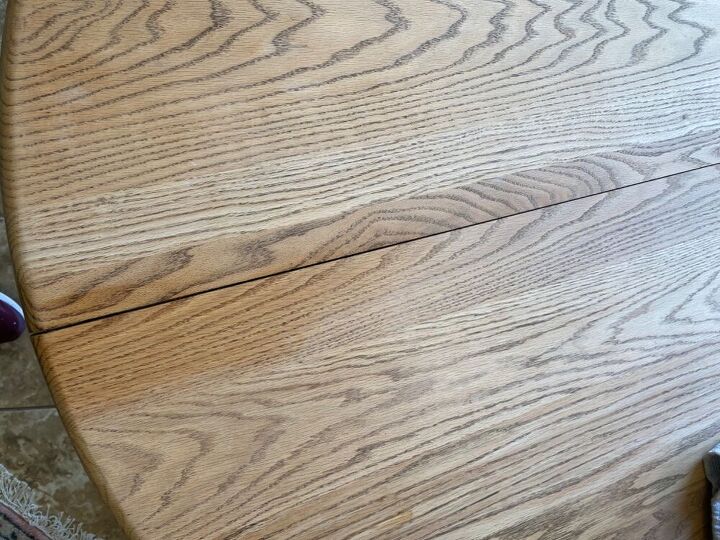
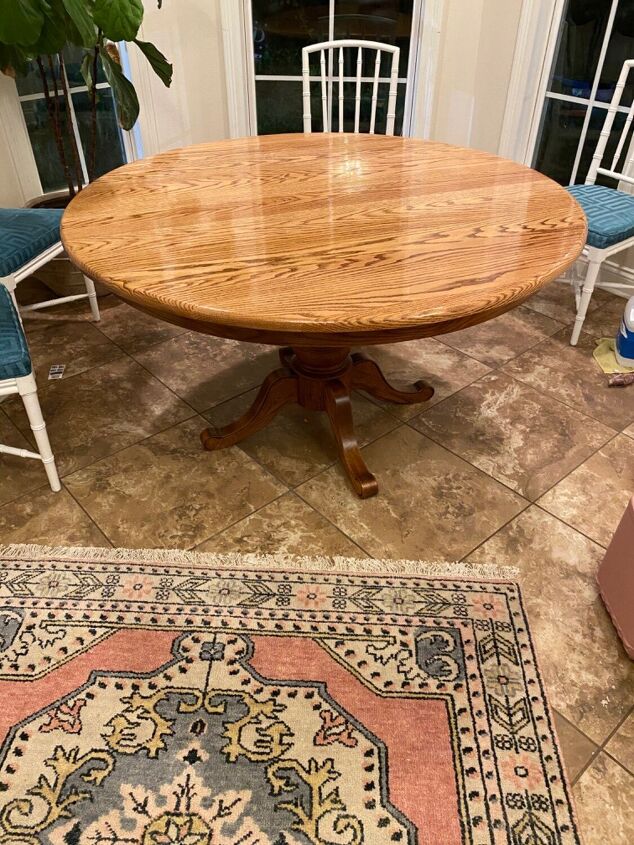
This sold oak dining table
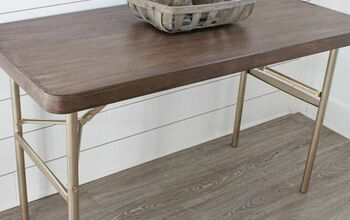
had tons of food stains , and ugly markings on the top. Unfortunately it needed some TLC. We stripped it, stained it and put a new clear coat. Solid wood tables with out veneer are hard to find. This one came out beautifully , if you ask me!
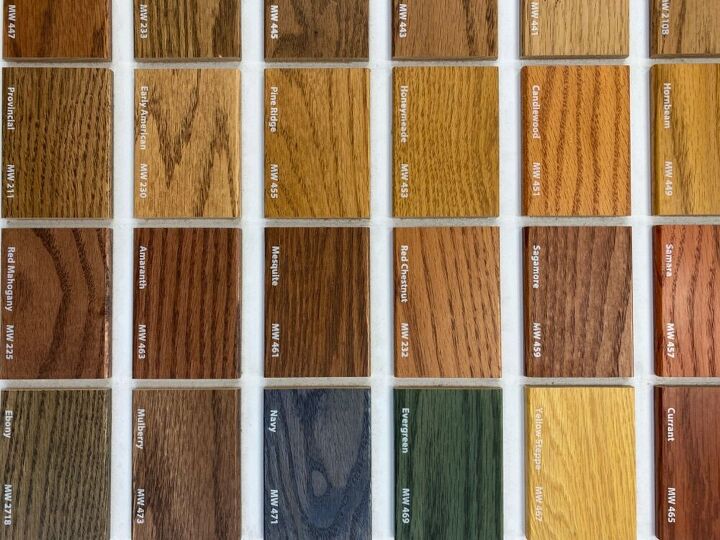
We knew we wanted something lighter than the precious mahogany colored stain so we chose to go with a color called cedar wood. This ended up being perfect because it brought out the natural grain of the oak with out being a really dark and saturated tone. Very natural .
In order to clean with mineral spirits it’s important to note you need to be working in a ventilated area with good circulation . The smell is very strong . This step needs to be repeated sometimes three times in order to get any stains or markings out of the wood. The wood needs to dry COMPLETELY prior to applying stain or any clear coat . If possible, letting dry overnight is ideal.
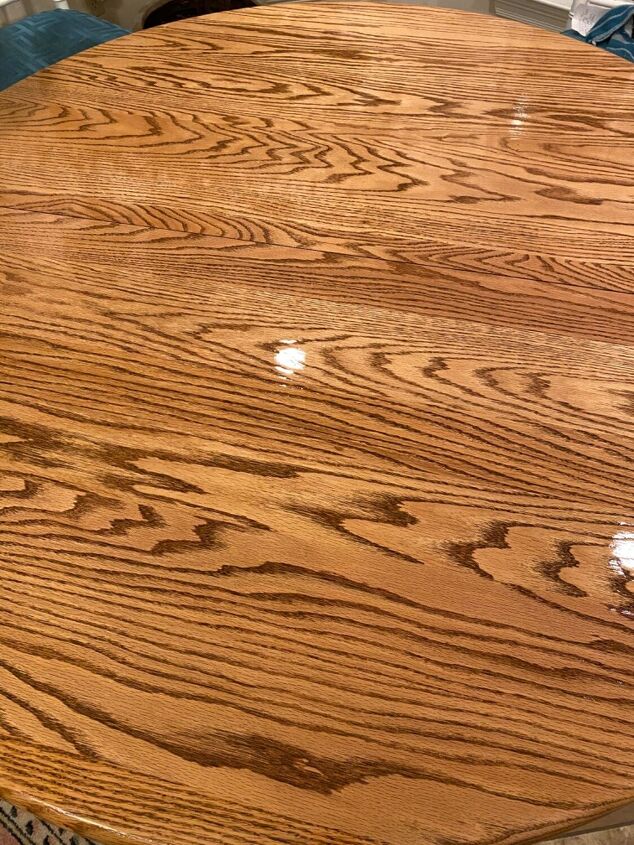
We used Minwax stain which is an oil base. In our opinion this is ideal when working with high traffic areas as it is water resistant . In between staining you need to wipe off any tacky areas. We stained the table in three separate coats to get the most efficient even tone.
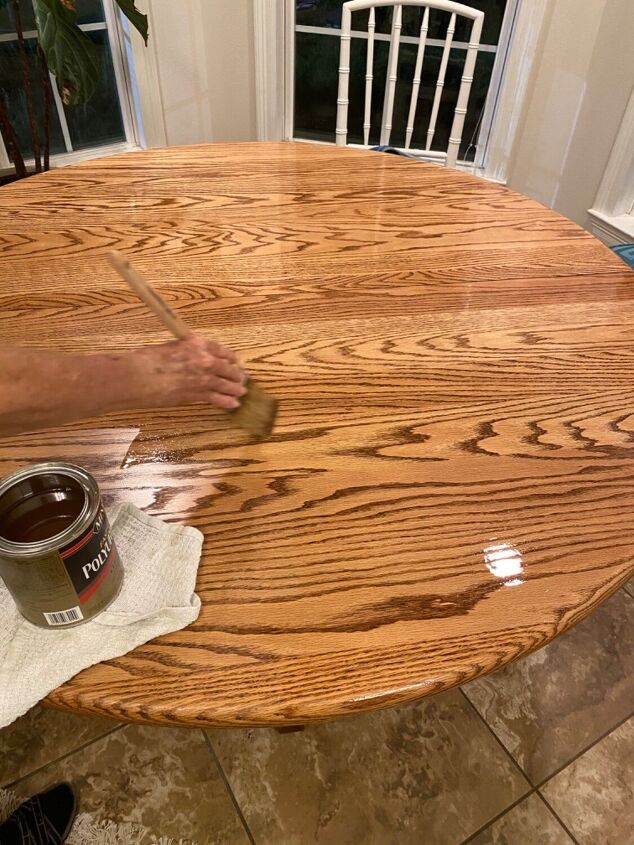
We used the Sherwin Williams recommended top coat. I personally like a semi gloss coat for cleaning purposes . We ended up choosing a satin because it doesn’t show specs of dirt and has the most forgiving finish in my opinion . Gloss and high gloss show streaks and even finger prints. This coat you paint on , with a natural bristle brush. A synthetic brush will not work. The most important step in the entire process is sanding between coats . It’s very important to stand because it will make the grain stand up.
This seems to go with out saying but it is very very important to let the wood you are working on dry for a MINIMUM of 48 hours prior to eating on it or putting anything on top. This step is so important because if we don’t, you can get rings and dents from finger prints . Be patient ! And tada! You have a like new table , for not a lot of cash!


Comments
Join the conversation
-
So inspired! We have the same table, 25 years young, but some of the finish is missing in places. I love the natural wood finish too. Ours is in golden oak. Thank you for sharing!!


Frequently asked questions
Have a question about this project?