


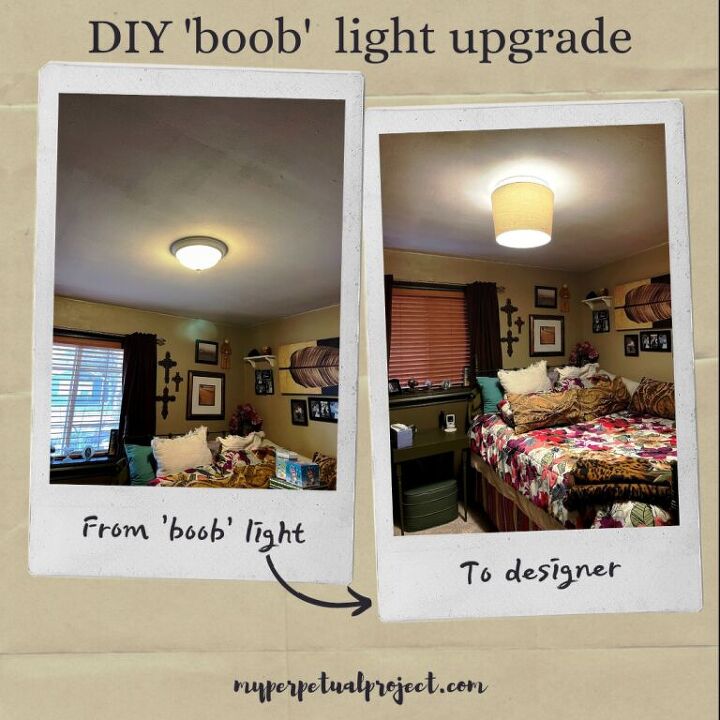
Just Another 'boob' Light Upgrade!

By now, I'm sure that you have heard the term 'boob' lights. I just heard it about a year ago....maybe it's not even that long; but, once I did, I noticed that there were pins on Pinterest and posts on blogs showing people DIYing their 'boob' lights from several years ago.

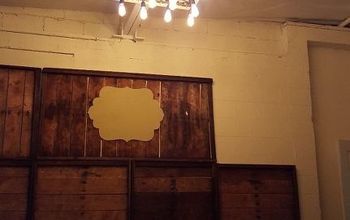
On the off-chance this is the first time you've heard the term, this is what a 'boob' light looks like. After I heard the term and realized that most of my ceiling fixtures were this type (except the ones we had already changed out just because we wanted something different), I was surprised!
While I thought about replacing the 'boob' globes with something else, I hadn't gotten around to doing anything when one of my sons gave me a hanging lamp kit for Christmas. The kit is from IKEA. He bought one years ago when we went to IKEA (for my first time) while I was visiting and I know I've commented on how much I love it on every trip since  Evidently, he noticed and searched around to find one for me.
I was SO thrilled to get one! But, I had no idea where I'd use a hanging lamp since all of our rooms have ceiling fixtures. I'm not comfortable working with electricity myself, so I wasn't about to remove a fixture, patch the hole and install a hanging lamp.
A few months after receiving the lamp kit, I saw yet another post showing someone DIYing their 'boob' light. Hmmmm, could I use just the shade from the kit on one of my 'boob' lights?
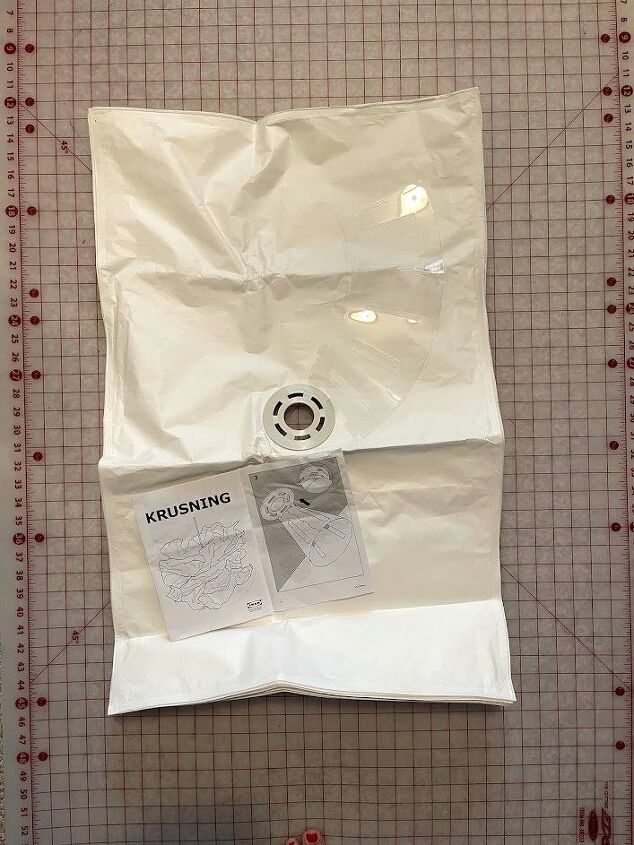
I decided to give it a try on the one in my sewing/craft room. I removed the glass globe from the fixture like you do to replace the light bulbs. After the globe was removed, I took the shade out of the packaging and looked through the instructions.
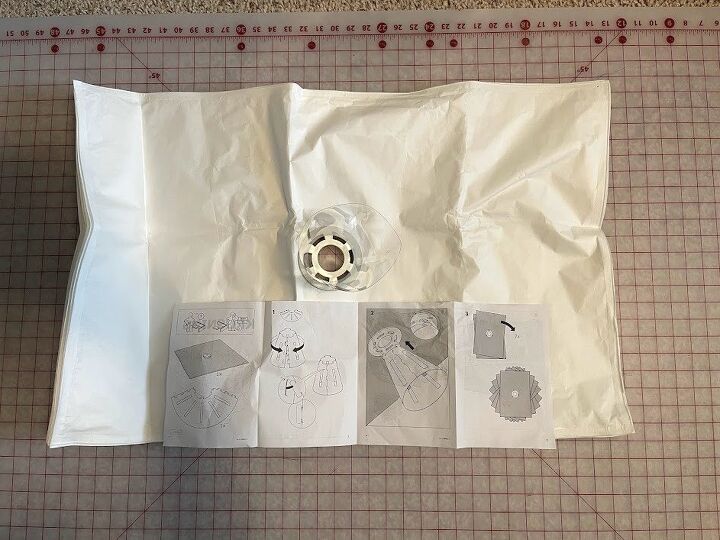
The shade is made from 7 sheets of dense paper that are attached to each other in the center of each sheet. Since this kit is made to be used with a lightbulb hanging from the center, they provide a piece of flexible, hard plastic that forms a cylinder to attach to the inside of the shade. Even though I wasn't going to be using the cord to make it into a hanging lamp, I did attach the plastic cylinder anyway.

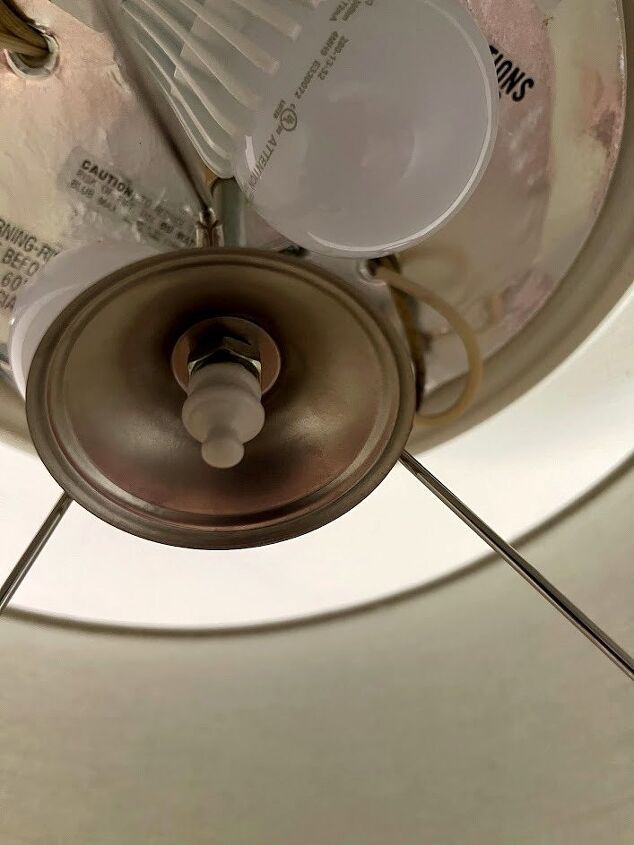
Now it was time to attach the shade to the long screw that held the glass globe to the fixture. You won't believe this, but that screw is called a 'nipple'. Go figure! Since the hole in the center piece of the shade is larger than the screw, I had to find something to make it fit. I cut a circle from a plastic food container lid and then cut a hole in the center. I sat the circle inside the plastic cylinder slipped it over the screw & attached the shade to the fixture with the original knob.
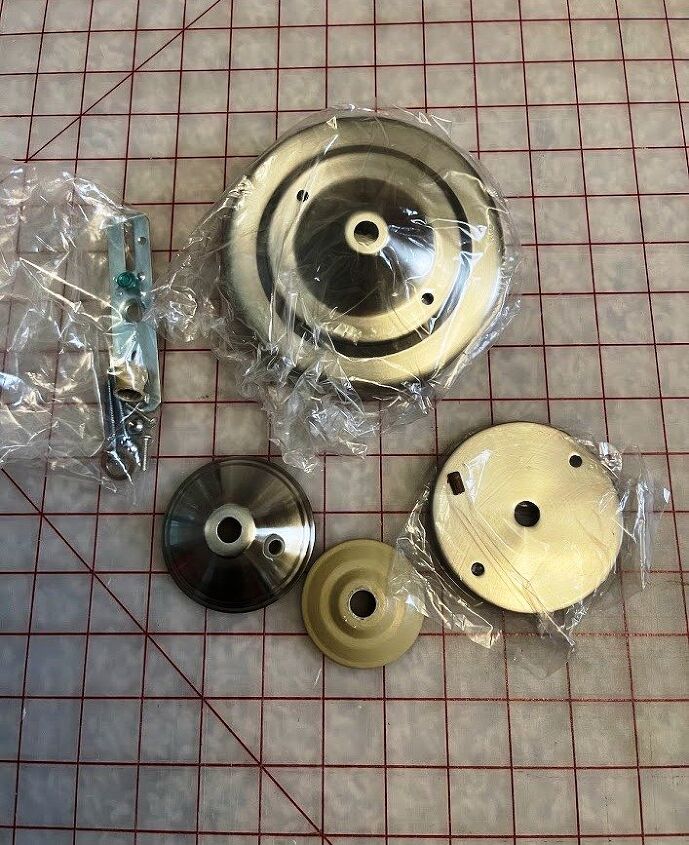
After I had the shade attached, I found a bag of extra pieces from previously purchased fixtures & decided to use the smaller of the 2 silver pieces pictured below instead of the piece of plastic.
With shade attached, since the paper was close to the bulbs, I wondered if it would get too warm. The bulbs are LED and the shade is made to be used with a regular light bulb (there is no warning against using an incandescent one) so it should be fine.
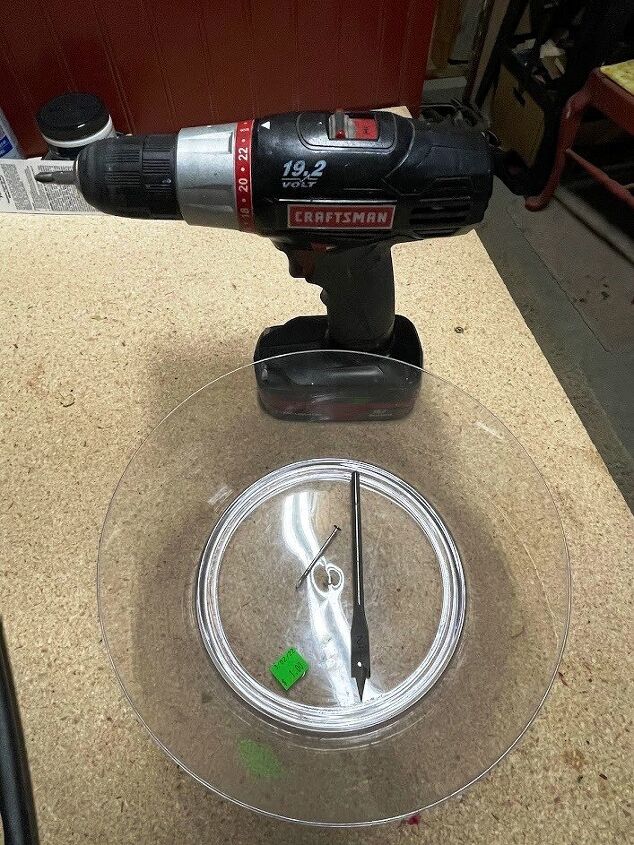
To be on the safe side, though, I thought I should put up a barrier between the shade & bulbs. I reinstalled the globe but the light was muted too much with both the globe & shade. I would need to find another option. I thought that a clear, hard plastic bowl might work. I measured the width of the light fixture and then went thrift shopping.
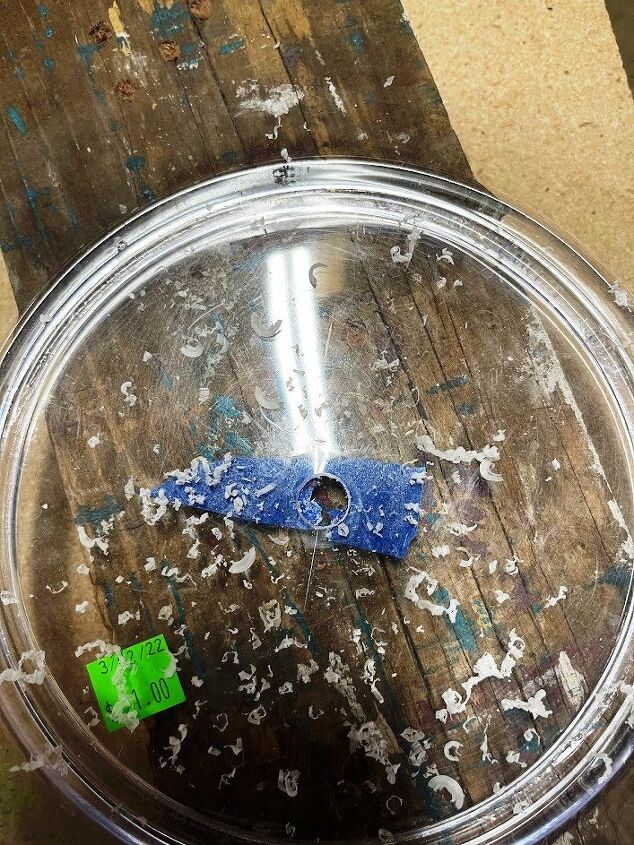
I found the perfect size clear plastic bowl at the first stop. Better yet, it was only $1! I brought it home and drilled a hole in the center of the bowl. To prevent the bowl from cracking, I applied painter's tape to the area to be drilled then used a nail and gently tapped a pilot hole before drilling the hole.
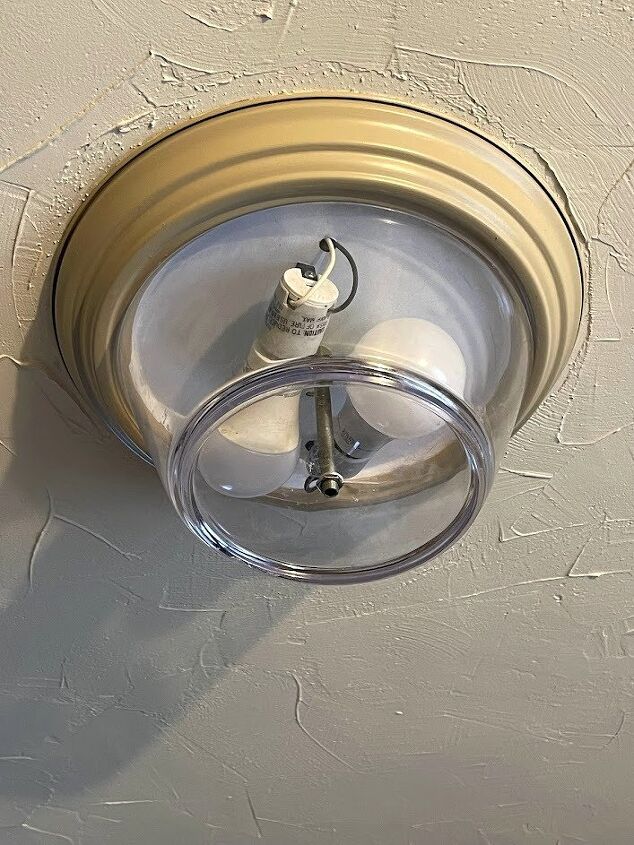
I then attached it to the long screw. As you can see, there isn't a lot of thread below the bowl so I used a thin bolt to attach it to the fixture.
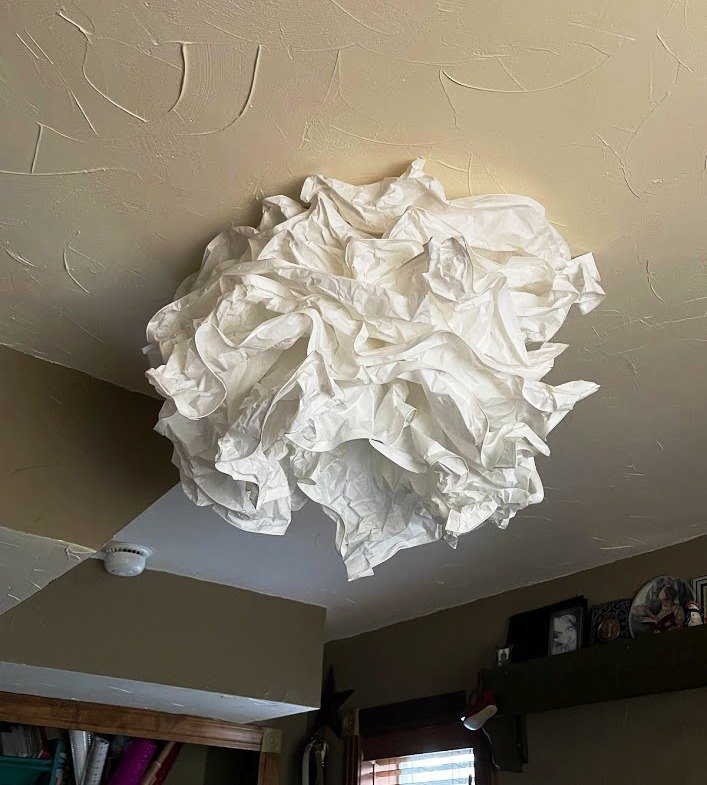
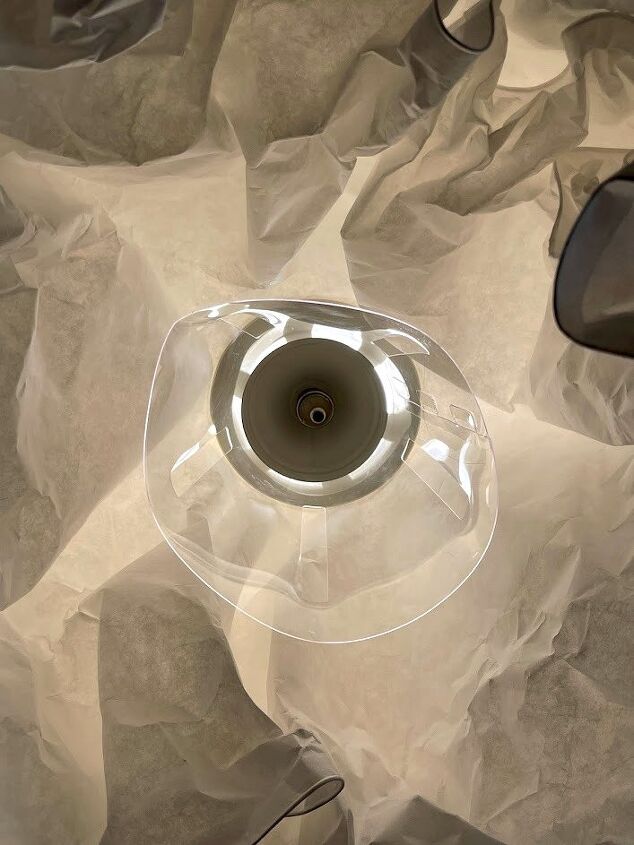
Now that the bulbs were enclosed, using the original knob from the light fixture, I attached the shade to the long screw. Once the shade was in place, I followed the instructions and scrunched the sheets of paper until the shade resembled a flower.
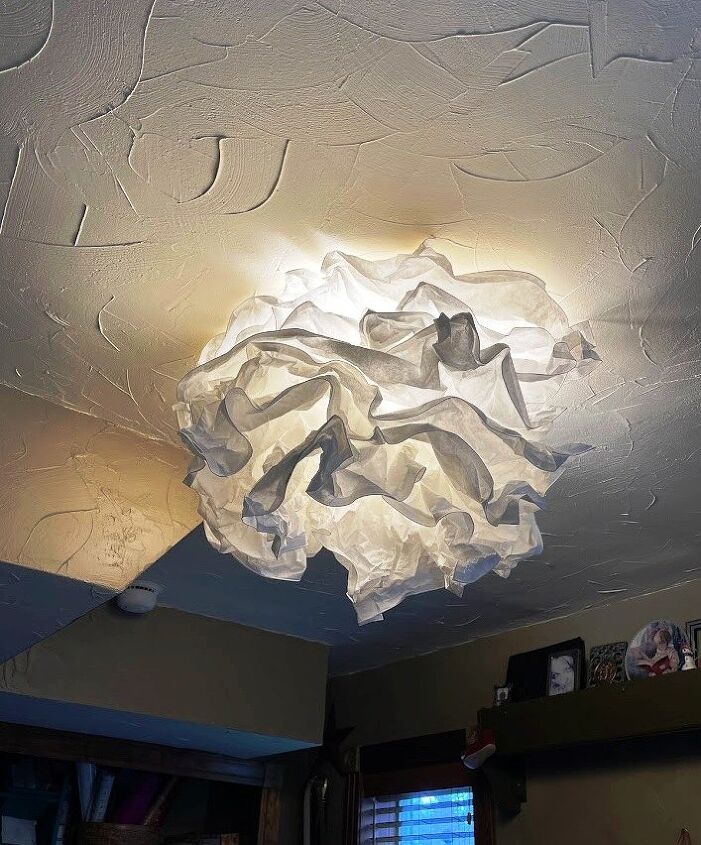
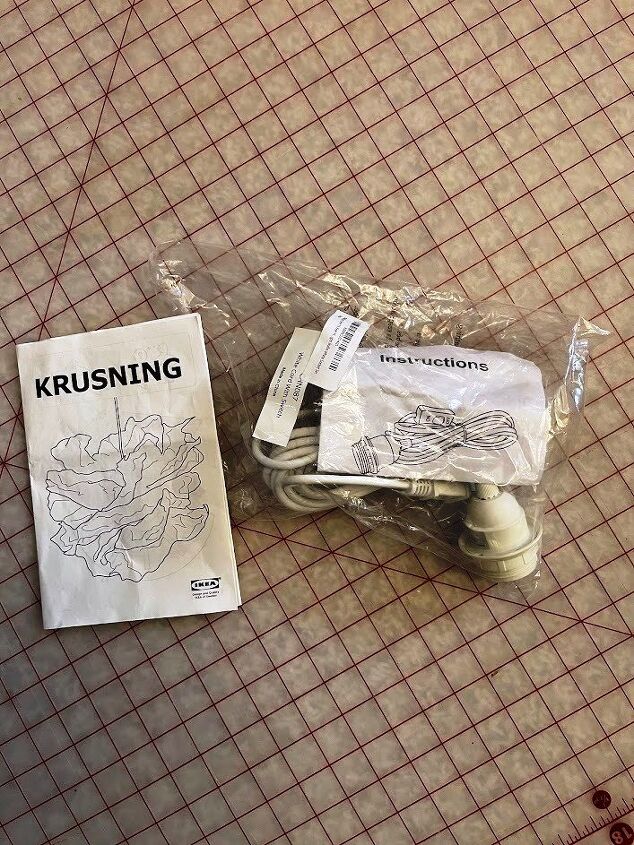
I am in love with it! These shades are not easy to find but there are a few on Etsy. If you decide to look for one, I saw some listings where they were selling just the shade. **I plan to use the cord that came with it for a future project**
Because it was so easy to attach that shade, I decided to also update the 'boob' lights in the laundry room and spare bedroom. The easiest DIY I've seen is to use lampshades. I wanted the shades to cover the base of the fixture so I measured the outside diameter of each fixture so the shades would be wide enough.
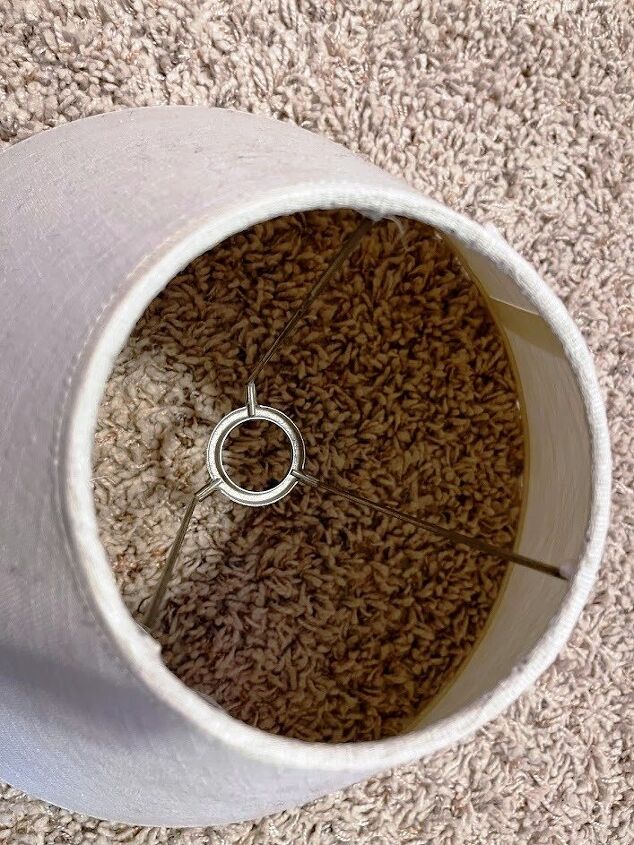
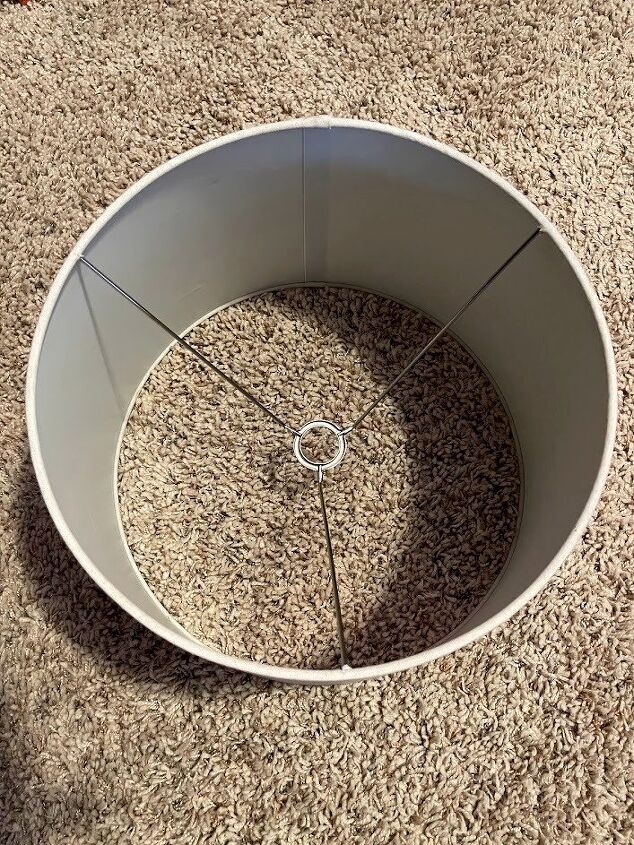
Once I had my measurements, I went back to the thrift shops to look for shades! Amazingly, I found what I was looking for at the first store! Each lampshade was $3! For this DIY, the best shades to use are the ones that are designed to go under a light bulb on a lamp. This design is called UNO and will allow the lampshade to be attached closer to the fixture when you turn the shade upside down so that the bottom of the shade is near the ceiling.
The lampshades that I found were a nice cream color which looks good in both of the rooms so I didn't feel the need to change that. If you find a shade in a color that doesn't work, you can cover it with material, paint it, or remove the material and cover the frame with beads, twine, etc.
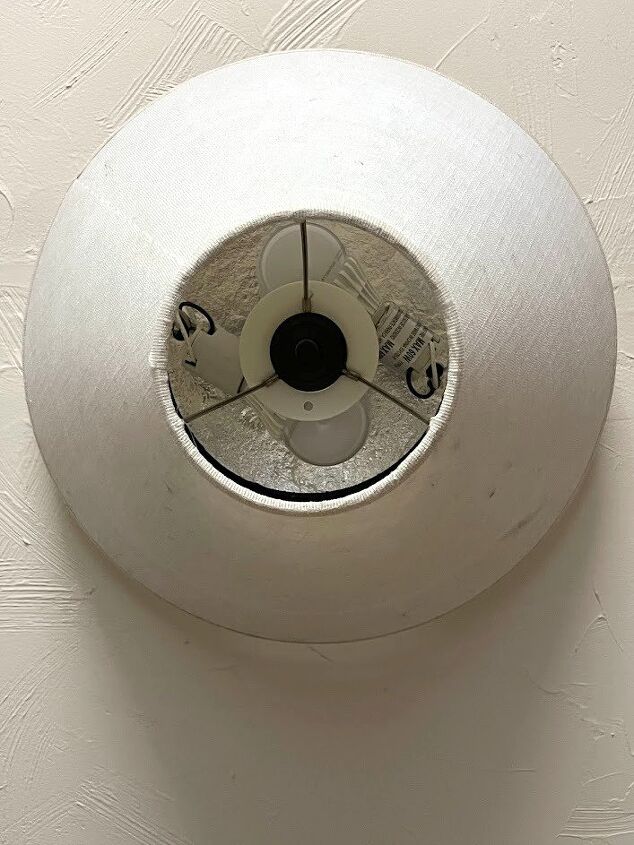
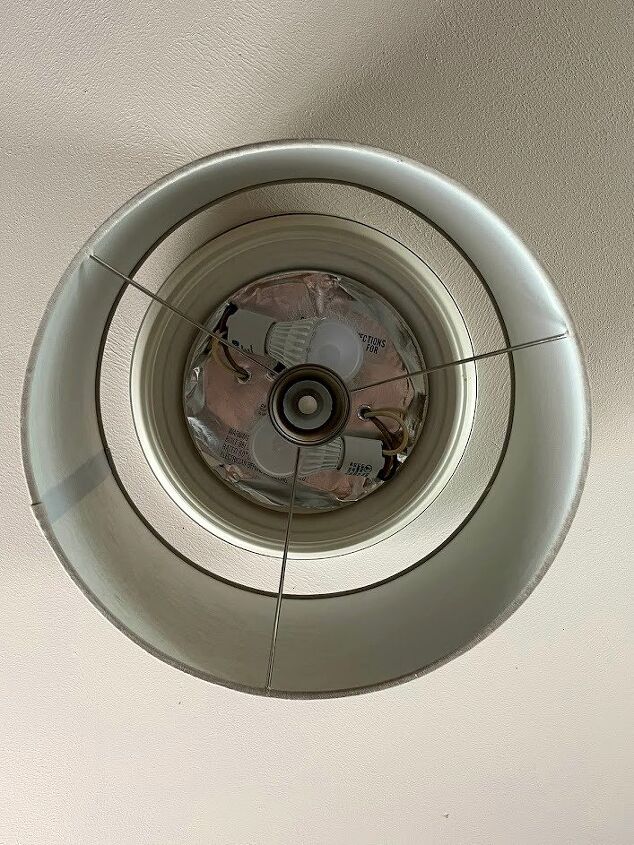
I removed the glass globes from both of the fixtures, then used the same knobs to attach the shades to the long center screw.
Now, you may be asking, 'Can't you see the old fixture when you look up'? Yes, yes you can. I'm not bothered by being able to see the light bulbs because, frankly, I don't usually look up at the light when I'm standing directly below it. However, if you think this might bother you, you can find examples on Pinterest on how to camouflage the bulbs.
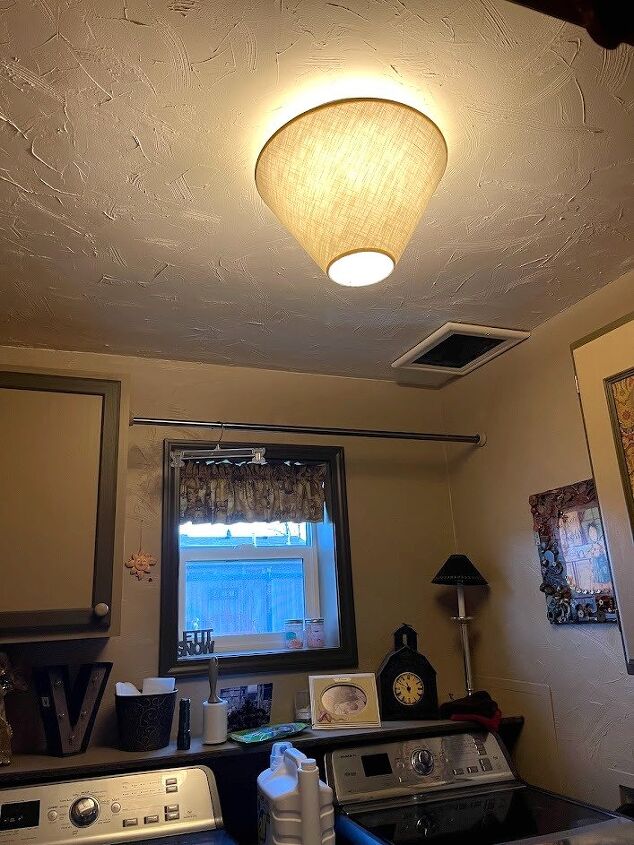
You'll also notice that the light is more 'directed' with the shades than with the globes. My laundry room feels like it has mood lighting now 
At first, I wasn't sure I liked the inverted lampshade in the laundry room but now that it's been up for a bit, I am liking it more!

The spare bedroom still has good lighting, and the rim of the fixture still shows above the shade. The reason for this is that the long screw is only threaded at the bottom. I can replace that with one that is fully threaded and bring the shade closer to the ceiling; but since the rim blends well with the shade, I think I'll leave it as is.
I have kept the globes in case I decide to switch back to the 'boob' look or if I replace the fixtures I'll have them to donate with the old ones.
If you also have 'boob' lights in your home, now you know that you can easily upgrade them without the hassle and cost of removing the fixture to replace them with a new one. You can find additional inspiration on Pinterest. Have fun and let me know if you try this project.
Instructions:
If using IKEA shade
Put a piece of painter's tape over area to be drilled
Create pilot hole using a nail & hammer
- To prevent cracking, gently tap to create a hole
Drill hole in plastic bowl large enough to fit over center screw
Remove glass globe from fixture
Attach bowl to center screw with nut
Attach shade to center screw with decorative nut
If using regular lampshade
Remove glass globe from fixture
- Attach lampshade to center screw using same decorative nut
Resources for this project:
See all materials


Comments
Join the conversation
-
We recently downsized our home all ceiling lights in our new place are the " boob light fixtures", honestly, I don't see anything wrong with them.
-
GAUDY


Frequently asked questions
Have a question about this project?
I thought the light need a little air or vented to avoid overheating?
fire hazard with over heating lamps/bulbs and fabric materials or a glass cover and no air
I don't mean to be negative but it just looks like a lamp shade stuck upside down on the ceiling...Maybe a smaller shade??
It is very dusty where I live and I also have pets, so a big consideration when I do any project is...how easy is it to clean? How do you clean the paper fixture? I love the look of it.