


Easy DIY Command Center Idea
Easy DIY Command Center Idea
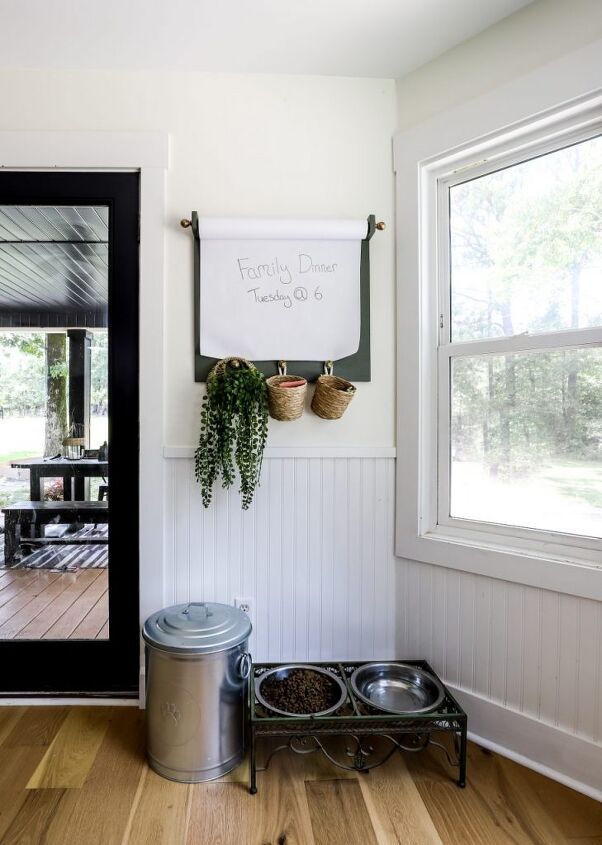
Create an easy command center to keep your family & daily life more organized
See the complete post & links here!
Does anyone else feel like summer came & went way too fast?
For our family the end of the year is always the busiest & I feel like I am always forgetting something…
So before the chaos begins I decided to take control & create a command center that also doubles as cute decor.
This command center was such a super simple build & I only needed a few of my favorite WORKPRO® Tools!
Easy DIY Command Center Idea
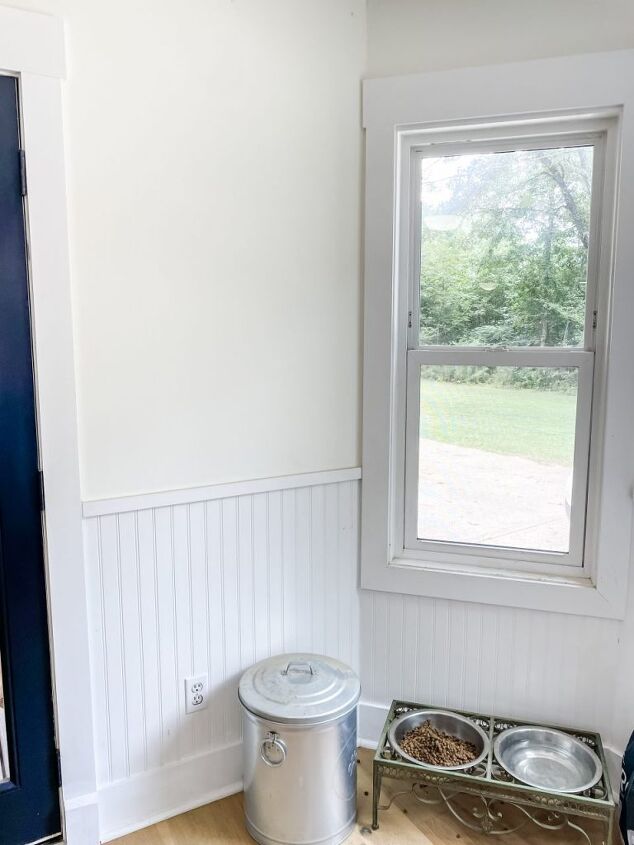
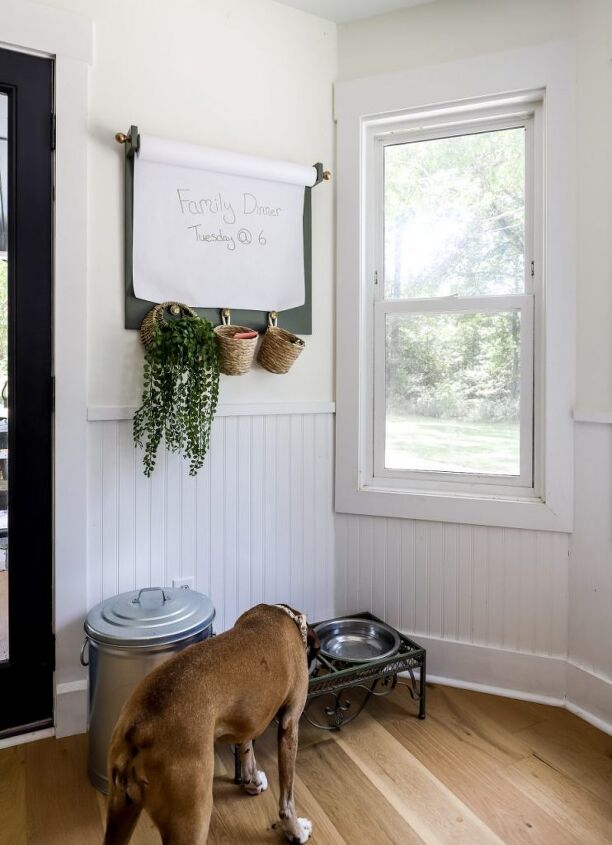
Our command center is going to hang in our kitchen because it’s where we spend most of our time & I wanted it in a super convent place.
I also didn’t want it to be an eyesore or something that would look cluttered so I chose to do a one board hanging wall version.
Supplies:
- Project Panel
- 1×4 Scrap Pieces
- WORKPRO ® Jigsaw
- WORKPRO ® Hole Saw Kit
- Level
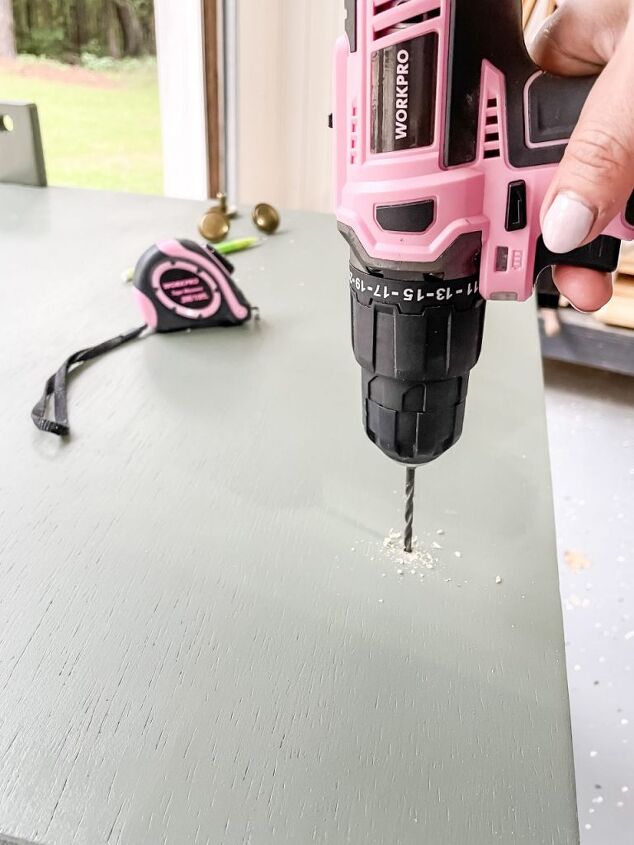
- WORKPRO® 20V Pink Cordless Drill
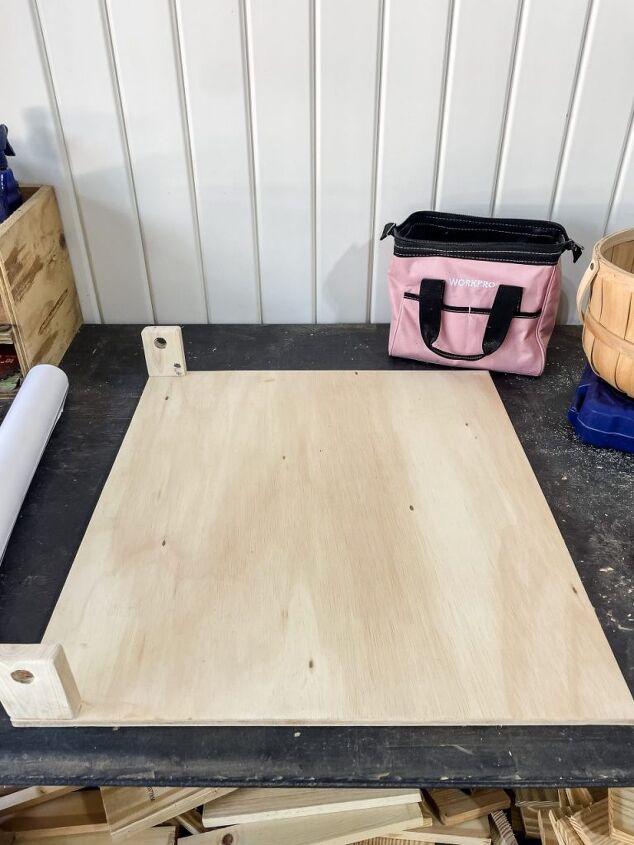
Cutting the Frame
Start by measuring your space & determining the size you want your command center to be.
I went two inches wider than my scrap paper roll so about 26″ total.
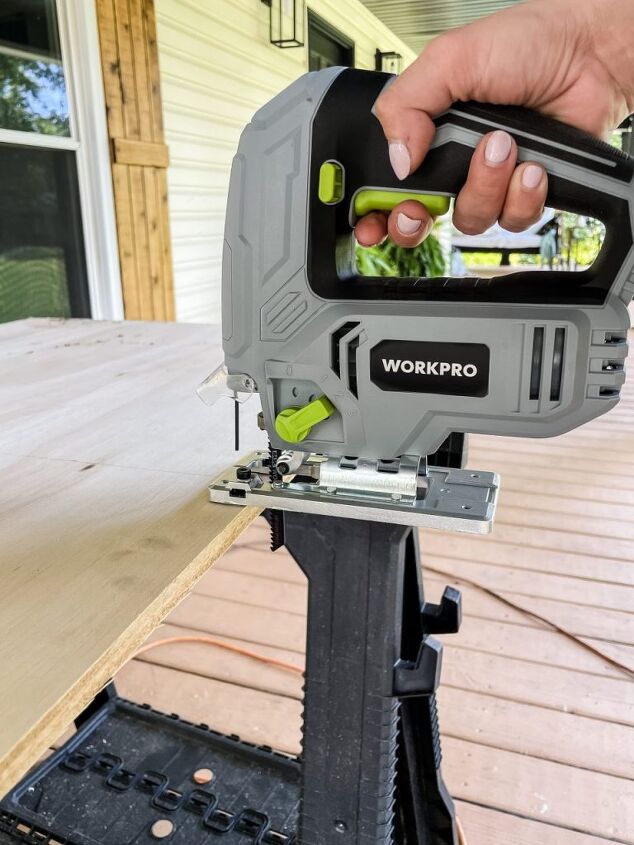
My jigsaw did the trick, cutting the panel to size.
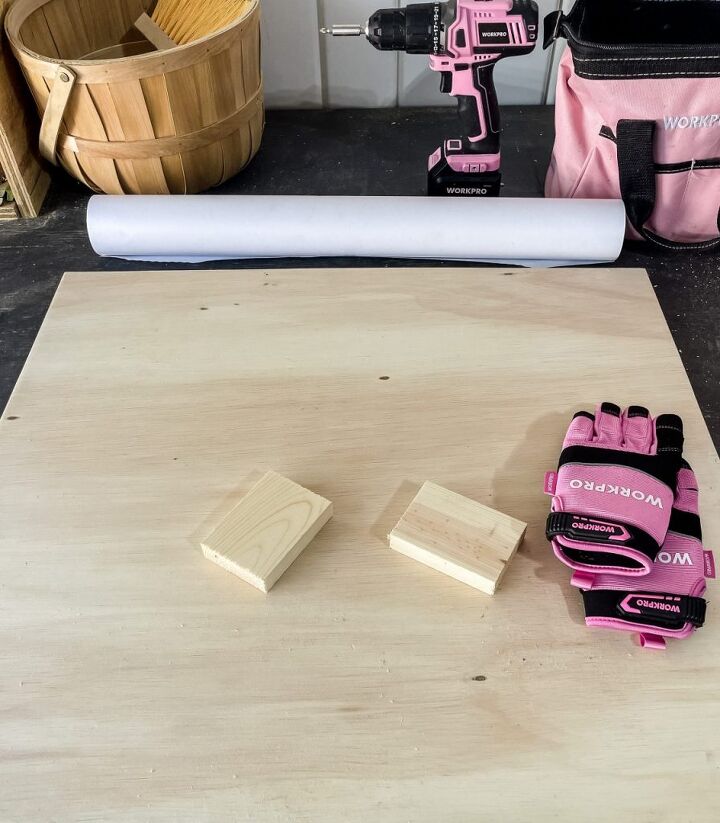
Once the panel was cut down to size I also cut 2 small pieces of 1×4 scrap wood to 2 1/2″.
These are the pieces that are going to hold the craft paper roll in place.
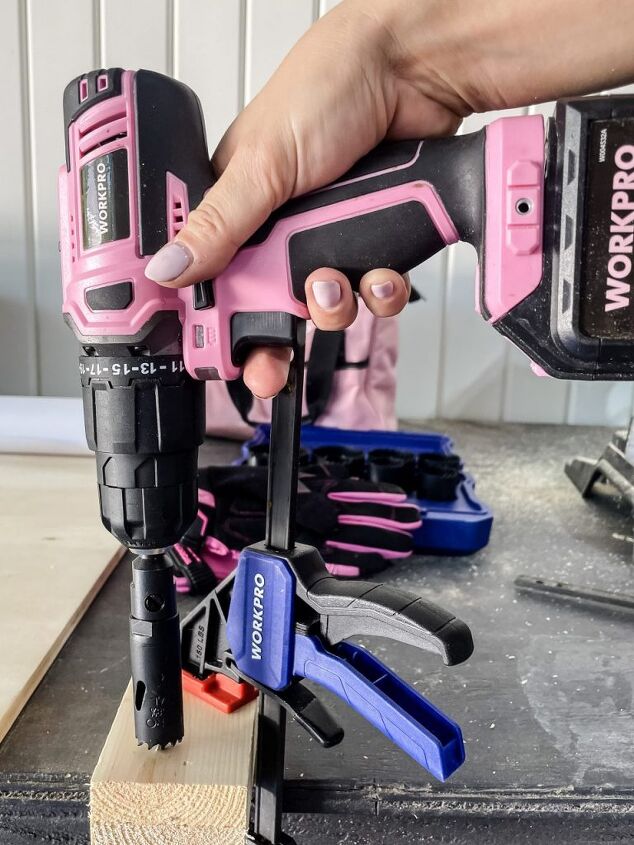
I used my 7/8″ hole saw to cut a hole in each of the scrap pieces.
This hole saw kit is my favorite because it has every size you could possibly need!
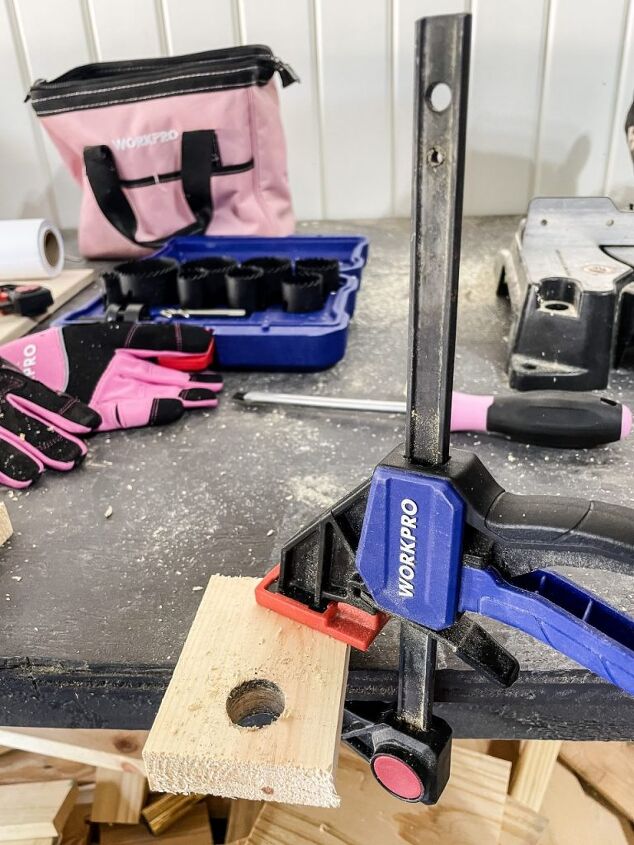
These holes are just big enough for the rod to slide through but once the finals are attached to each end they won’t slip back through.
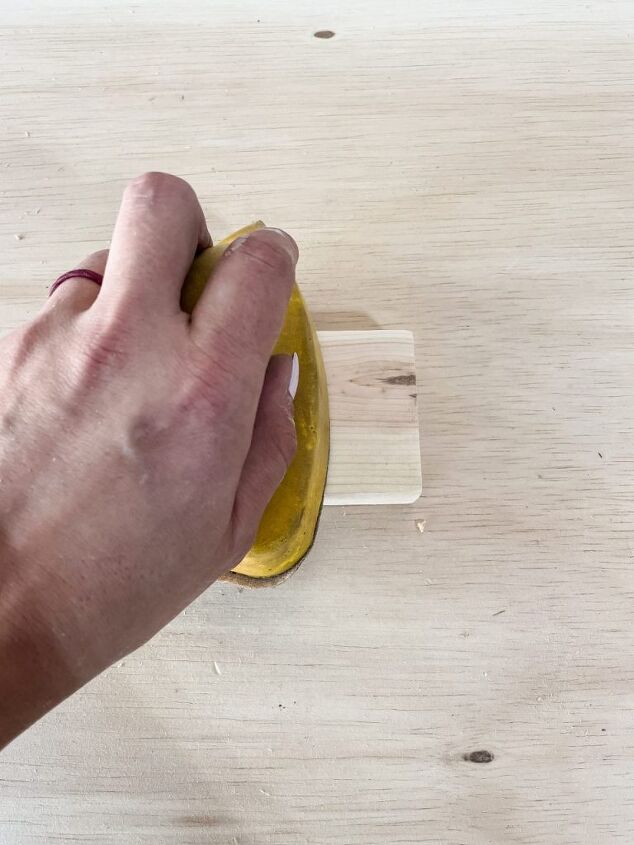
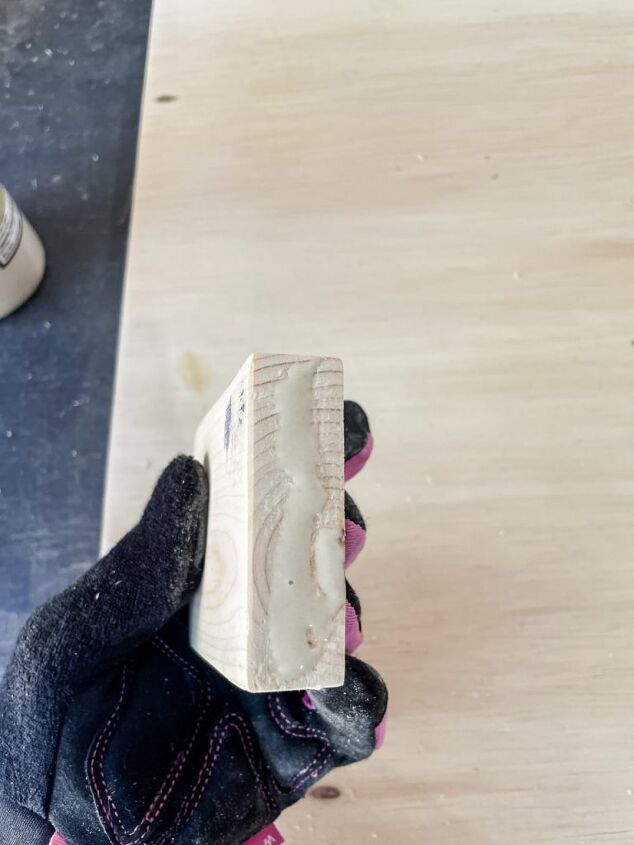
Once the rod holders were done I sanded them & the board with 220 grit sandpaper for a nice smooth finish.
To attach the rod holders to the frame I used wood glue & small screws.
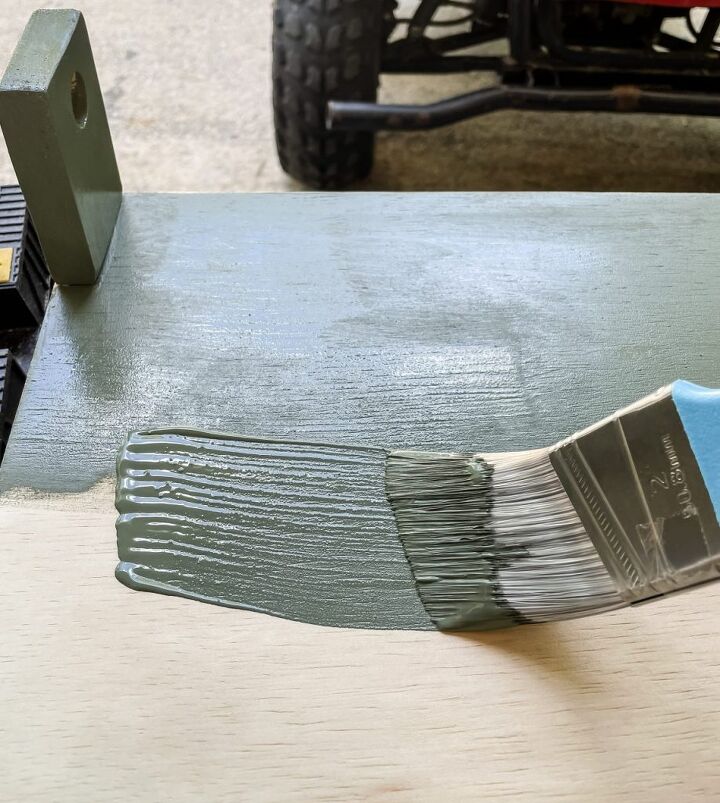
Painting The Frame
For the frame I went with Rosemary, it’s my most favorite green & will be the perfect pop of color for that corner.
While the frame was drying I added a little Rub N Buff to the rod to give it some character.
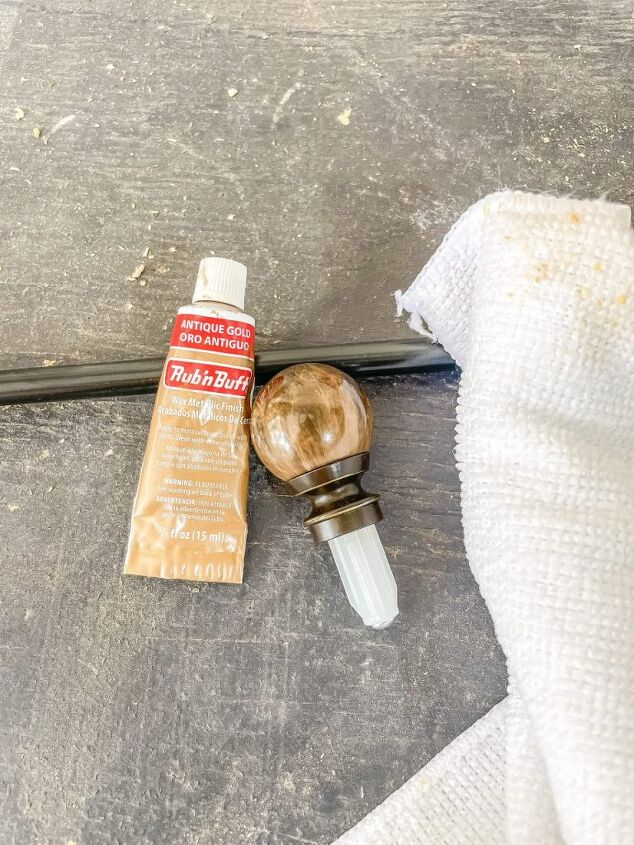
Once the frame was dry it was time to add the knobs!
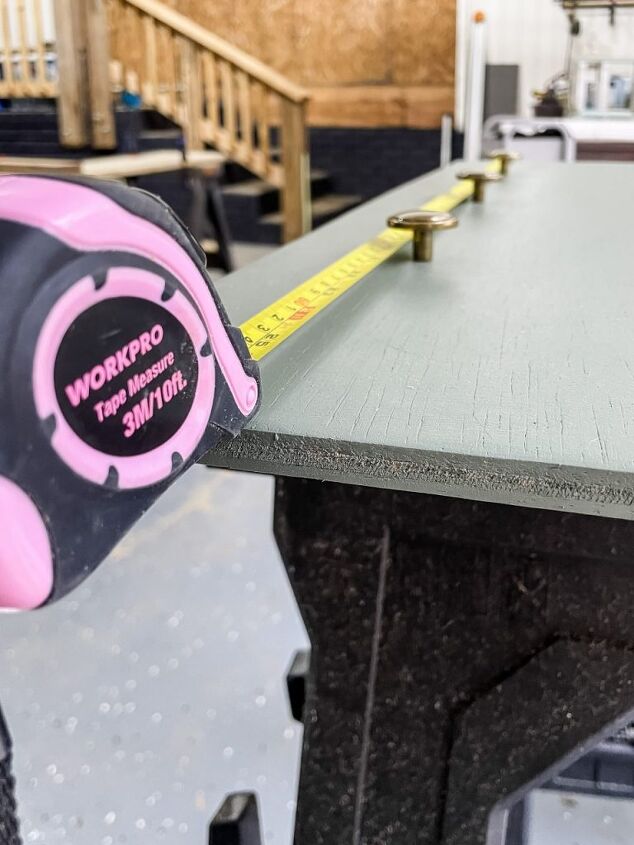
I pre drilled three holes along the bottom, spaced equally apart.
Equal Spacing Formula: Take the length of the board (26″) minus the width of all the knobs (about 3″ total) = 23. Take that number (23) & divide it by how many spaces there will be (4) = 5 3/4″ that’s the distance between each knob 😉
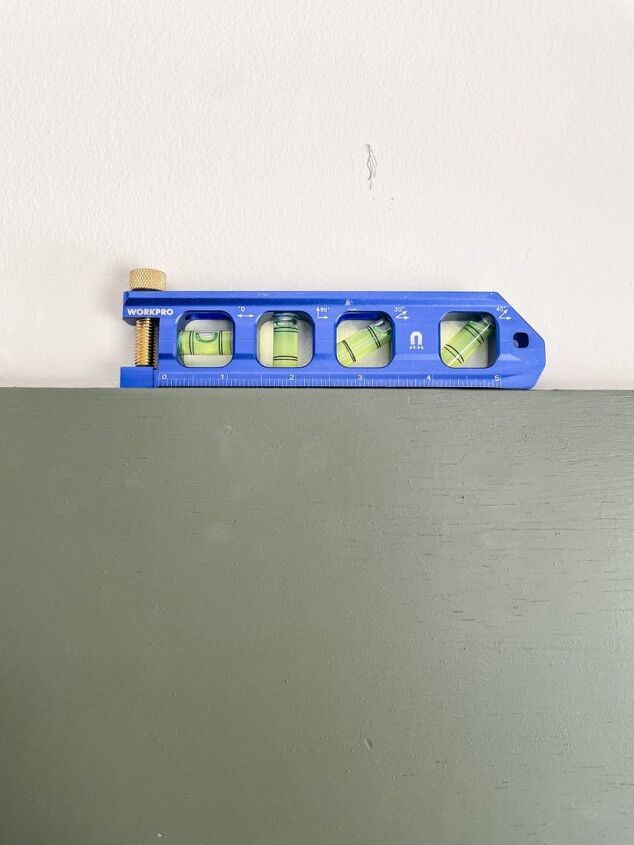
Finally it’s time to hang my new command center up!
I absolutely recommend using a level to hang anything on a wall, this one is awesome because it can do multiple angles too!
Finishing Touches
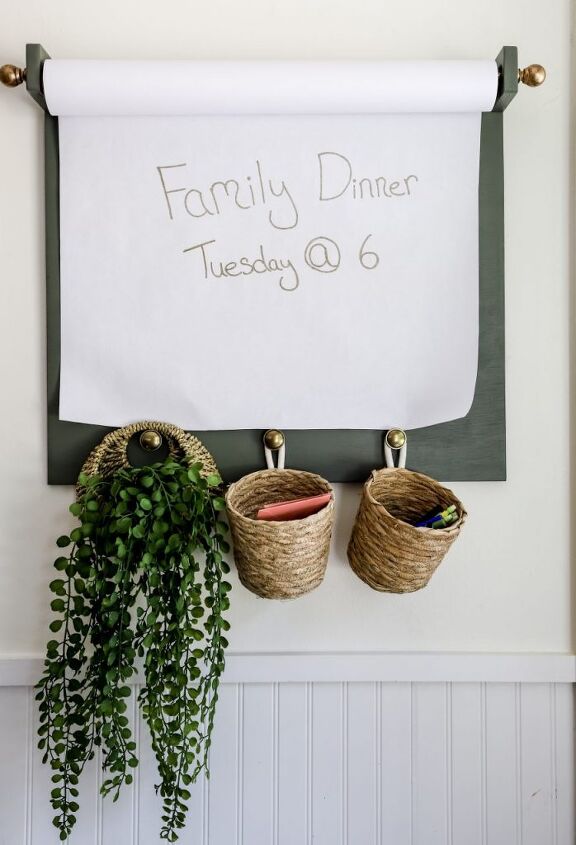
Now it’s time for the finishing touches!
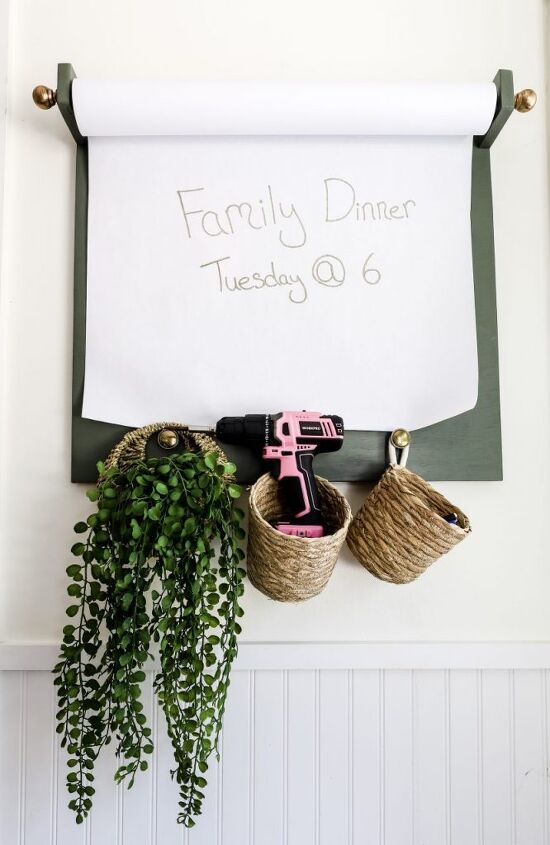
I added these two little hanging baskets to hold all of our daily essentials.
One will hold important notes, forms, & mail.
The other will hold pens, pencils, & also these cute mini EverBrite flashlights!

You might think flashlights are strange to put in a command center but we have been having a lot of storms causing power outages lately & these mini flashlights can light up a room!
Plus I like to take one with me when I’m putting the chickens up for the night, I’m a scaredy cat when it comes to snakes 😅
I found this cute little hanging plant for the last knob but it’s also a great place to hang Eli’s little rain coat or an umbrella!
This command center is exactly what we needed to help keep us organized & doubles as super cute decor!
I love how simple it was to build & that it only required a few of my favorite WORKPRO Tools.
Let me know what y’all think & other must have items you want on your command centers.
WORKPRO Tools is having a Back to School promotion on workprotools.store take 20% off site-wide using code “BTS20”! Ends 8/31.


Frequently asked questions
Have a question about this project?