


How I Recycled Tricycles Into Charming Yard Decor

Okay this project will take you back, waaaaayyy back to the days that you got your first set of wheels, no not your first car but your your very first tricycle!! I've been told I used to ride my red tricycle in just my red rubbers and undies but ahhh there's no photographs to prove it so I think it's just a tall tale mom tells to try and embarrass me! Hilarious I know, back to the present let's talk more trash...tossed tricycle trash was how this whole project came about and that's the truth!
Something so simple became such a cute piece of personalized yard decor, a great way to hold onto them as keepsakes even? You'll need to see the before to appreciate it even more.
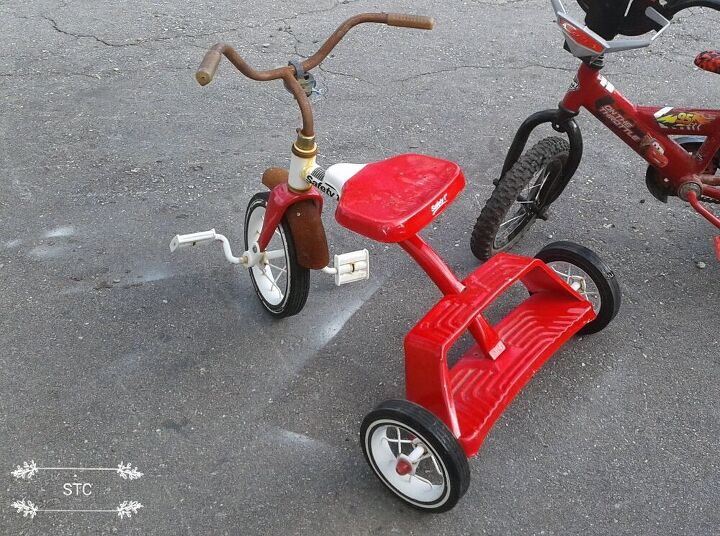
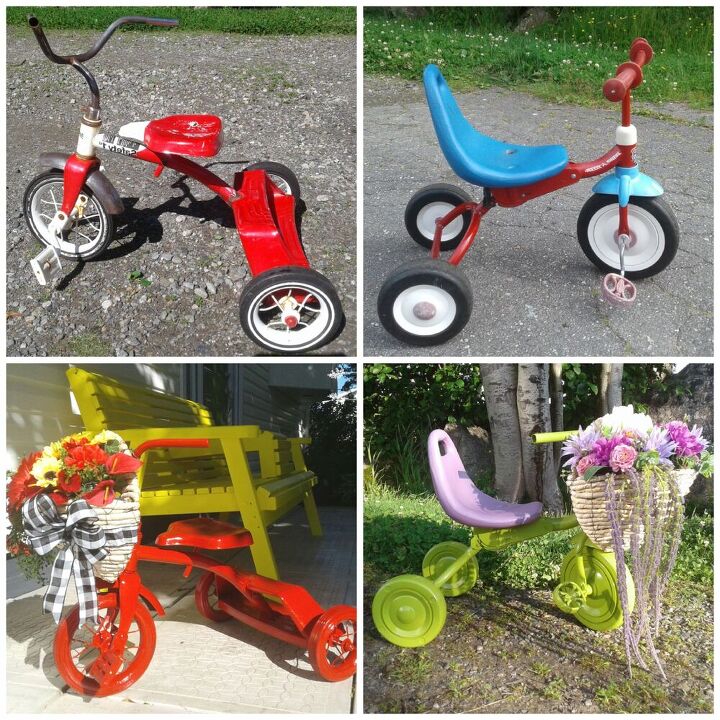
I'll call this one Big Red, it's a solid, all metal tricycle with some rust happening on the chrome parts. As soon as I saw it tossed out to the curb here in my town I knew I'd make it into yard art! Can you believe I scored both bicycles?? The other I kept for my 3 year old nephew but the tricycle was mine, all mine to play with!
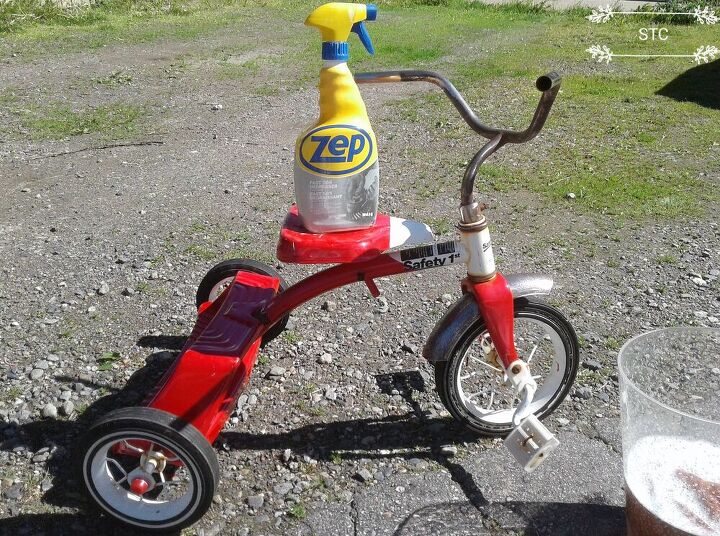
I used a degreaser to give the surface a clean base to adhere the paint onto, the rusty parts I buffed over with some sand paper to smooth it over a little.
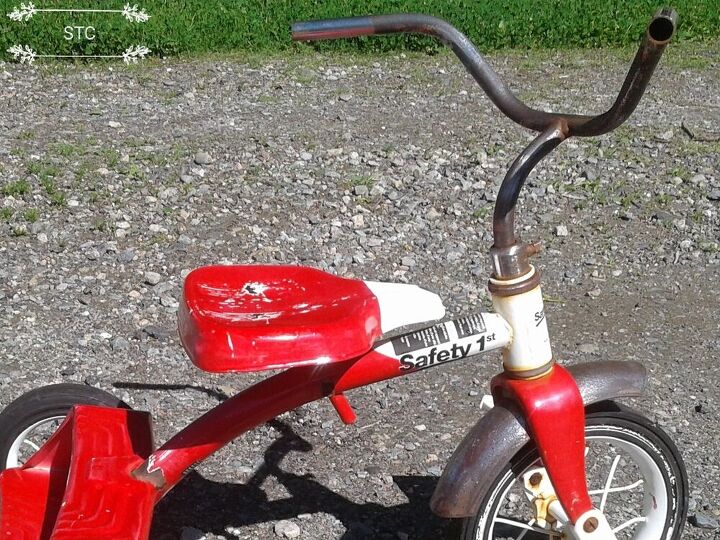
I removed the faded handle grips as well, I wasn't sure if It use them again because they were faded and really no longer needed. The enamel paint had crackled on the seat and frame so I tried to sand those as smooth as I could before the new paint job began. I didn't get an in process photo of the painting but I used Tremclad Enamel paint in Red color because it seemed like the obvious choice to provide easy coverage on an already red bike.
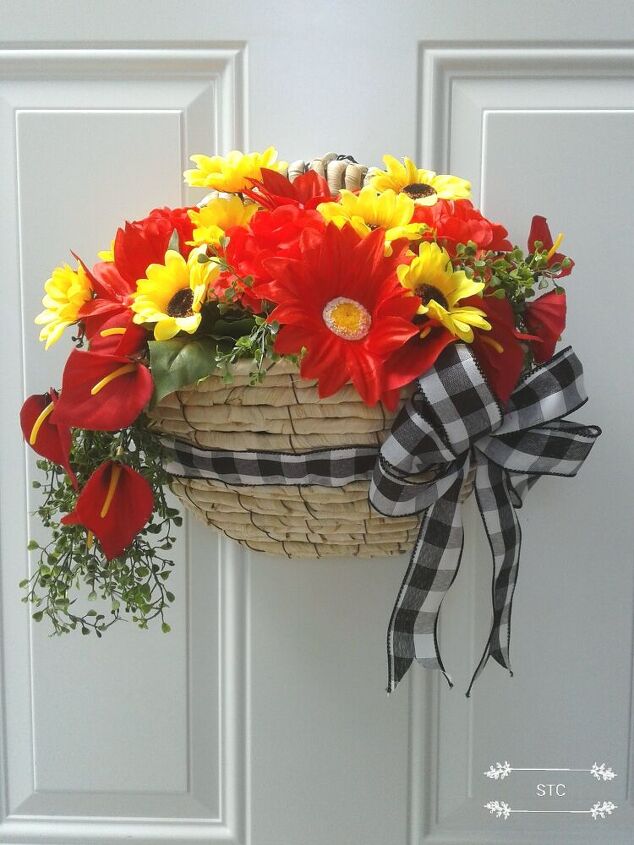
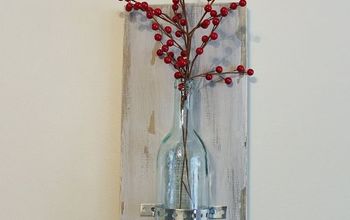
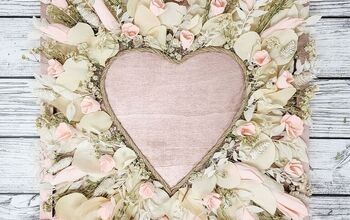
Sorry, but you may need to hop back to my previous post here http://www.hometalk.com/diy/craft/wreaths/making-a-decorative-basket-as-a-wreath-alternative-44419030... on Hometalk. Feel free to take a look into the instructions on how to make this basket because I merged it with this project. You see I made and posted the baskets first as a wreath alternatives for doors as seen here.
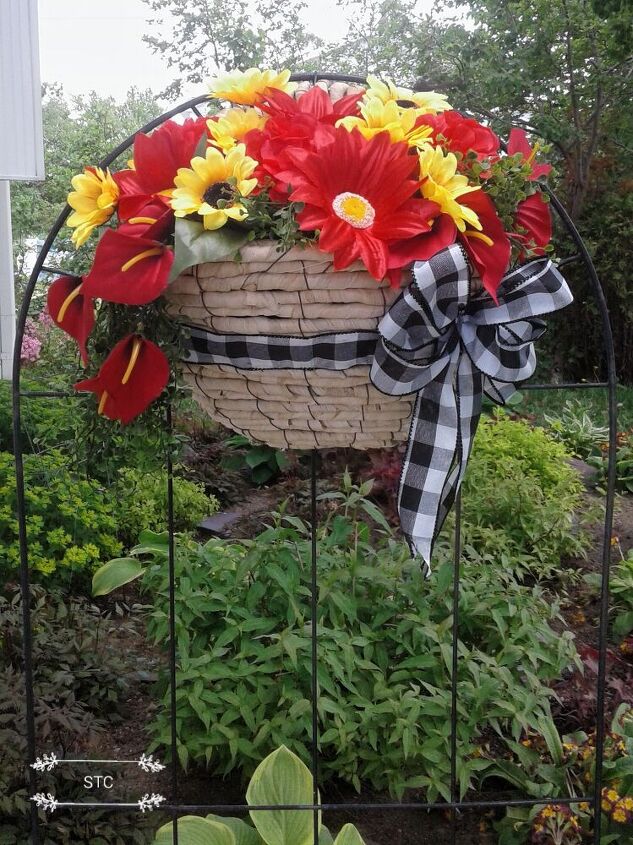
Really the baskets could serve as garden accents on a door, a fence or trellis but when I found the tricycle I knew they would become the icing on the cake for the tricycles!
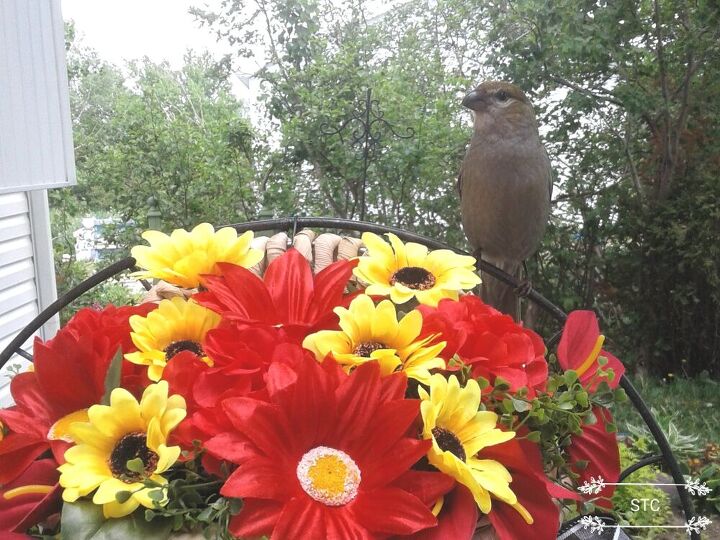
Oh yes, the bird?? These are tamed, wild birds that come to us for sunflower seeds, I had the basket displayed on her perch and curiosity got the better of her! They are so sweet, Pine Grosbeaks have been hand fed by myself mostly, for a few years.
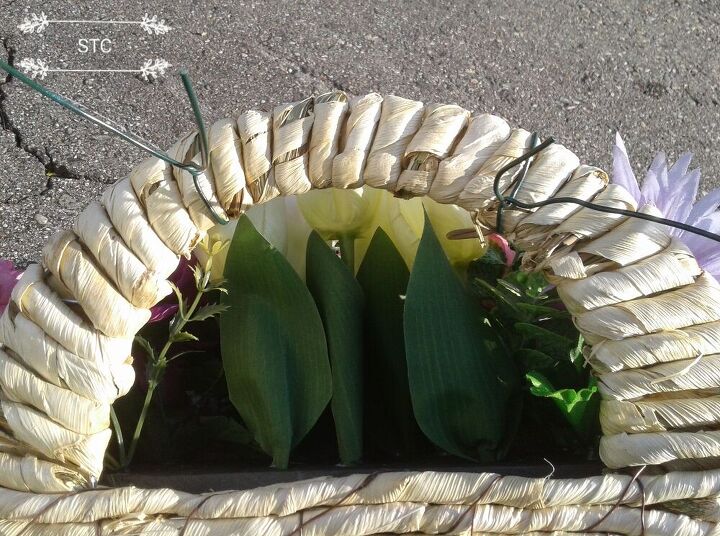
To attach these half baskets to the tricycle I used rubber coated gardening wire, I use it for all of my outdoor projects because it's very versatile and weather protected.
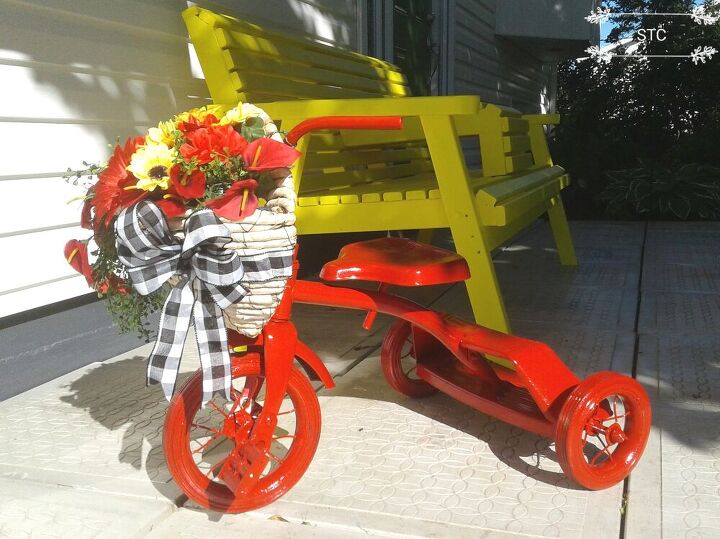
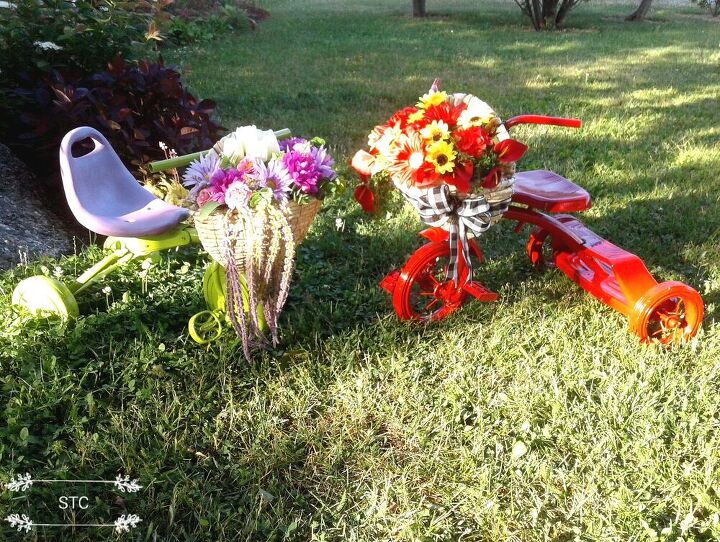
Isn't it sweet? Charming? Cute? I opted to paint the entire bike red so as not to detract from the floral basket. Ahemmmm, really I did it because it made the paint process way easier using one color and mopping over everything with it!
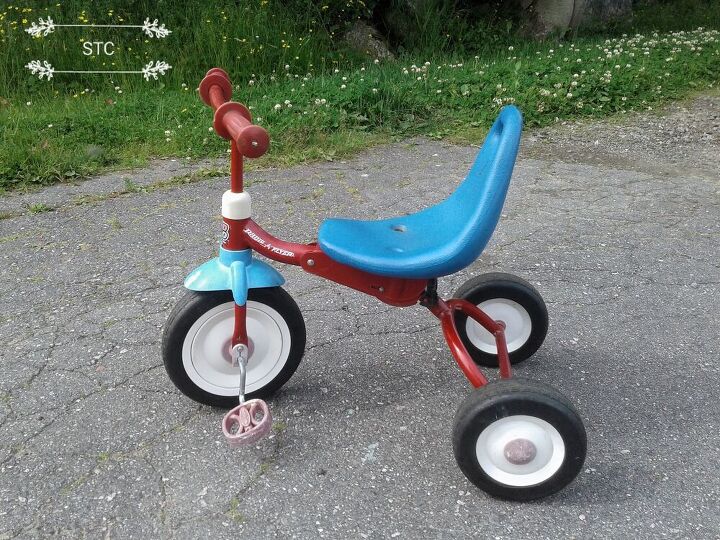
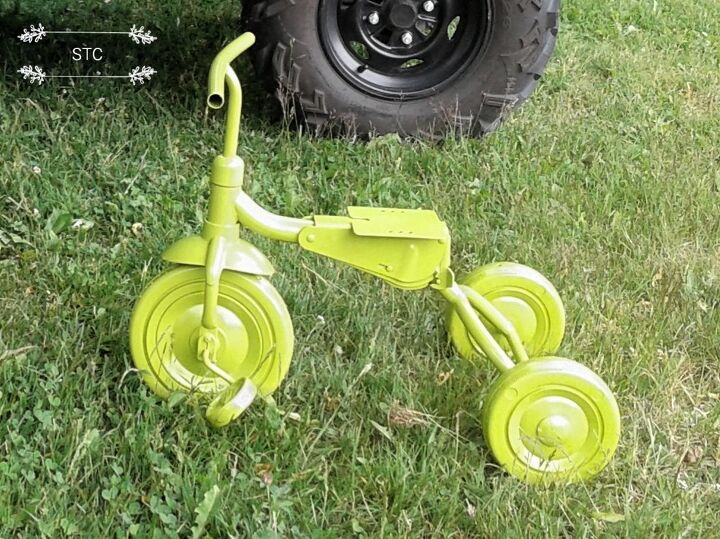
Again, the same sort of deal happening with this one it was discarded and it had a bit of wear and tear showing but still so stinking cute right? I couldn't just leave it there all alone in the trash pile.
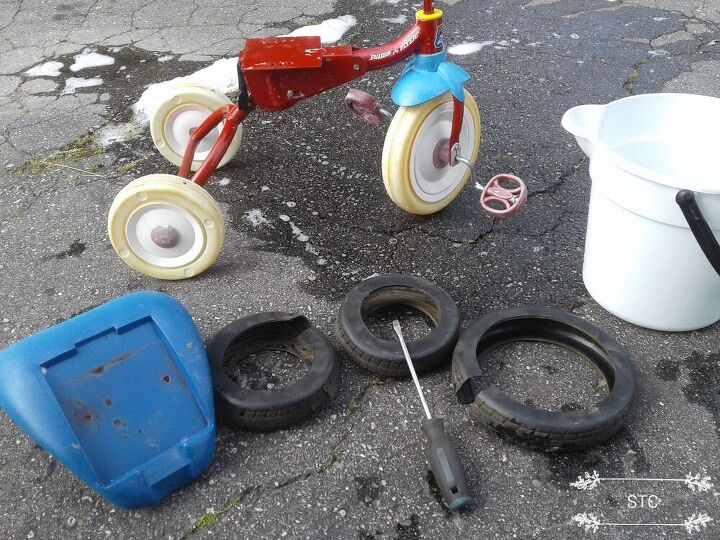
The rubber tires on this one had dried out and cracked open from use and sunlight so I chose to remove those. The plastic seat was screwed onto the trike so I removed it for easier painting. The entire frame and seat got a wash over with some dishwashing soap, it has degreasers into it.
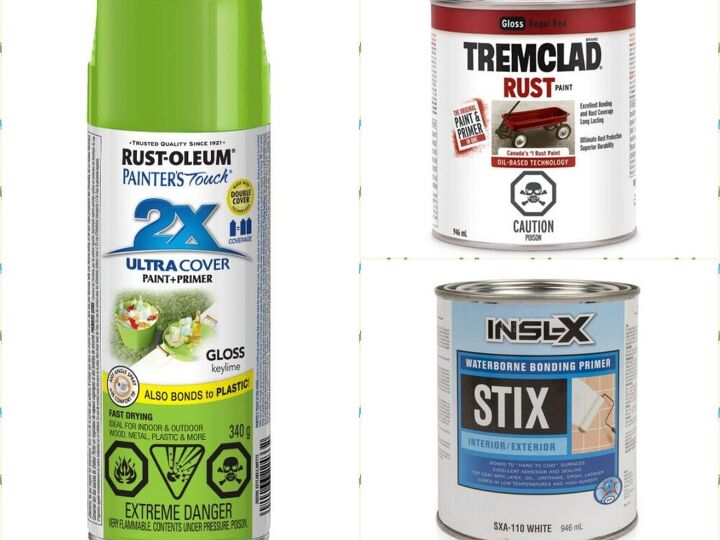
I chose to go a quicker but not always wiser route with this smaller tricycle. As opposed to using the tougher tremclad enamel that I used on the previous bike I chose Rustoleum Paint and Primer in One spray paint. I opted to quickly spray paint the entire frame with it while the Stix was used to prime the tricycle seat.
Although it required several coats to give it full coverage it dried quickly because I used the product outside on a warm day.
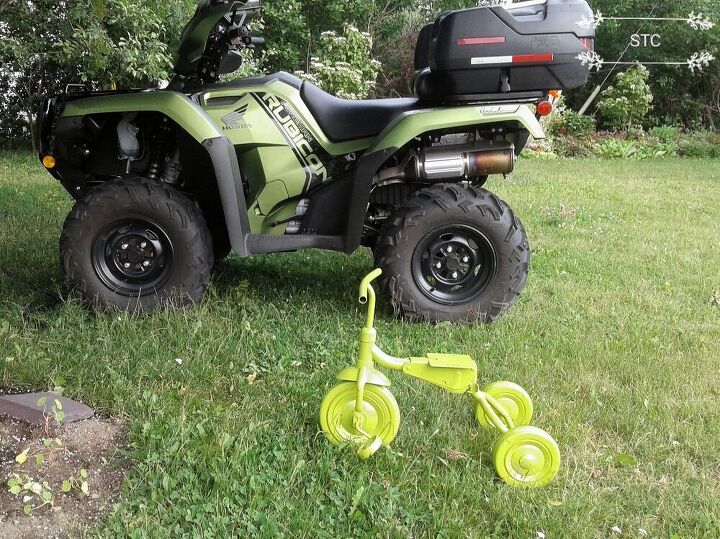
That special memory of when every little boy proudly rides their toy bikes and stares at their dad's big bike and dreams of ....one day! Sorry that moment hit me hard with this photo because it was so true in our case and our son is now a grown man.
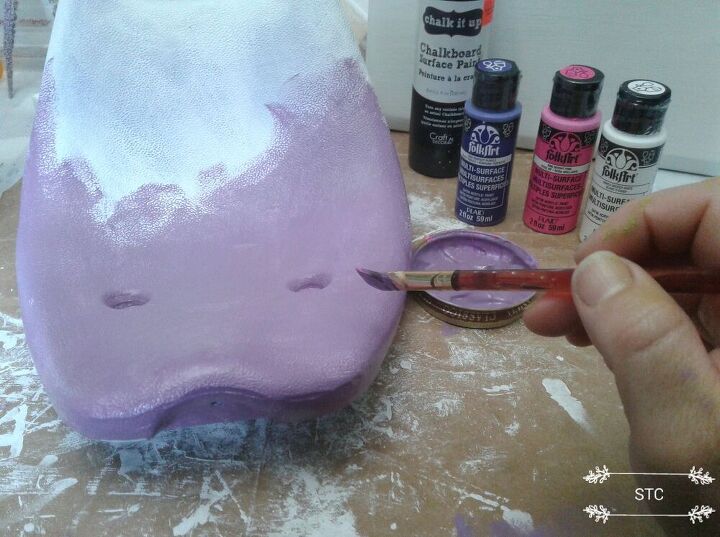
I primed the seat with Stix primer first and then I mixed up the craft paints you see here to give me a color match to the flowers within the basket. I cannot stress enough how wonderful the multi surface paints are from Folk Art, no I'm not paid to say that but I thought I'd share the tip with you all.

Now you'll see where the purple seat idea came from, I love how green and purple accent one another. The basket was attached to the handlebars in the same manner as the red tricycle, easy peasy!
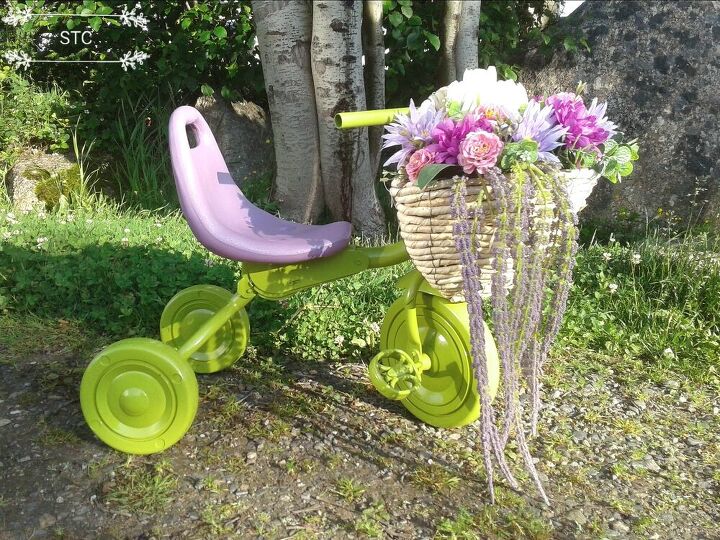
As you maybe saw in the previous post, I had some florals spill out over the basket and I think I'll call this the "good" side I'll use to display it from.
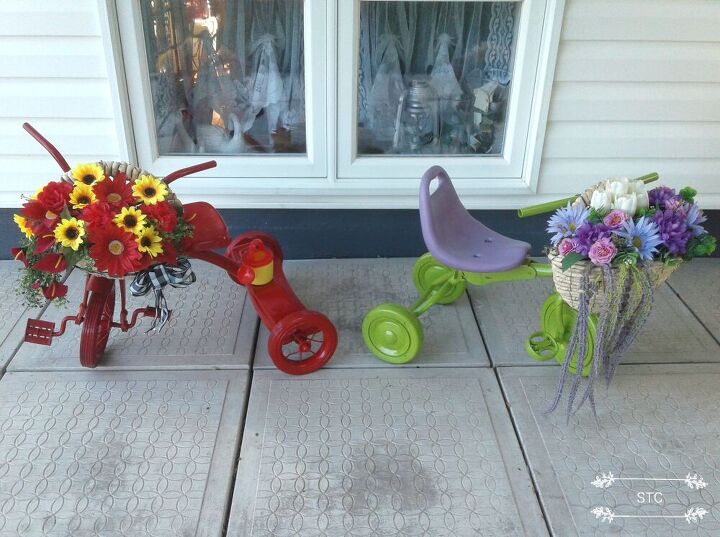
I can't choose a favourite, I love them both because they are just that adorable! I even found a matching toy watering can at the thrift store for the red tricycle! I can also imagine real flowers in those baskets as another option or I could paint the house number onto the purple seat. What would you add onto these?
So now you all have to go find yourselves a Tricycle to put one of these beauties together for your home. Check out what's tossed to the curb, local goodwills, yard sales and you'll surely find one to create a charming piece of yard art! On your mark, get set....go! Remember to Enjoy the Ride everyone, ooops thats another option ... add a sign onto it!
* Note cost is per individual bike including basket cost.
Resources for this project:
See all materials


Comments
Join the conversation
-
CUTE! Love the Red one! Thanks for sharing.
-
Those are SO cute! Thanks for sharing!


Frequently asked questions
Have a question about this project?