


Lamp Post Makeover
2 Materials
4 Hours
Medium
Our lamposts are white and crooked. No, no, they're not politicians, you silly. But they do need some straightening out...and a little black paint. In this post, I'll show you what we did with the first one. The others are still waiting...
Their time will come this summer.
But first a little backstory. Let's rewind a couple of years.
One day, I found some Lily of the Valley bulbs in the garage and figured, meh, might as well chuck 'em into the ground under the lamp post. I told Handan about my brilliant feat of horticulture that night. Part of the ring around the lamp post was inhabited by a small Hosta, still working to gain its footing and claim its rightful bit of planet Earth. I figured the bulbs I’d introduced into Mother Nature’s womb would burst forth in their little slice of the ring and live in perfect harmony with the Hosta. I imagined they’d stretch their leaves out and embrace one-another while singing Kumbaya when the lamp turned on each evening. What’s more harmonious than freaking nature, right?
I didn’t realize that Lily of the Valley is a war-mongering species that will stop at nothing until it dominates whatever pot, plot, ring or garden it’s planted in. I remember last year there was growth and activity, but what did I know from plants? There was green stuff going on, so I figured everything was hunky dory.
Then last spring rolled around, and I noticed one thing immediately: Lily of the Valley is the best-smelling flower my nose has ever had the pleasure of sniffing! When it blossomed, I could smell it from anywhere in the yard. I looked at what I had planted. Jeezum Crow! I only planted three bulbs! Where the hell did the rest come from? And that Hosta is looking a little crowded…
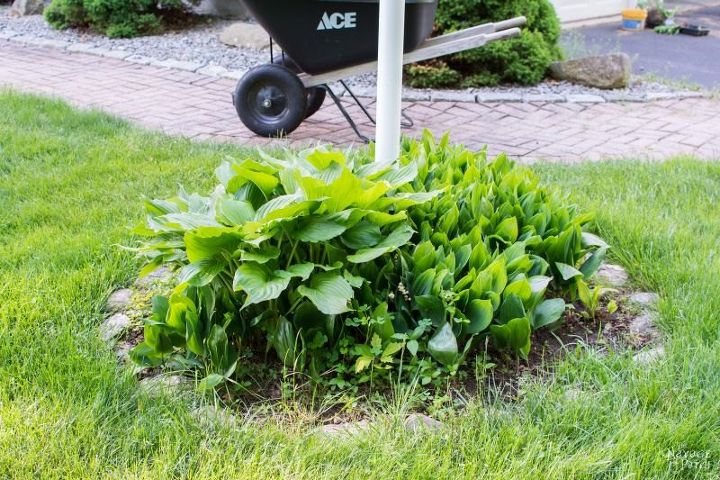
But, whatever, it was green, so all was good.
*****
Two months later…
Handan announced that it was time to give the lamp post a makeover. Not only did she want to dig up everything and plant new stuff, but she also wanted to get rid of the stones and replace them with landscape bricks, make the ring bigger, and paint the post black. It was a pretty quick and easy project, so I presented myself for work duty.
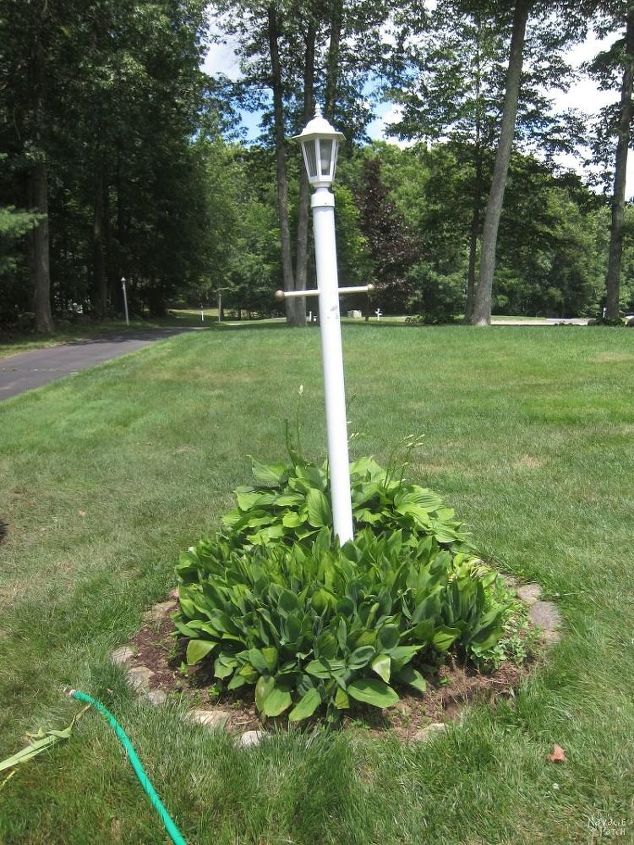
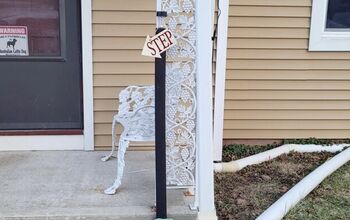
The post (like all of our lamp posts) was leaning way off center, the stone ring was overgrown, weeds had crept in, and the whole thing was an untidy mess.
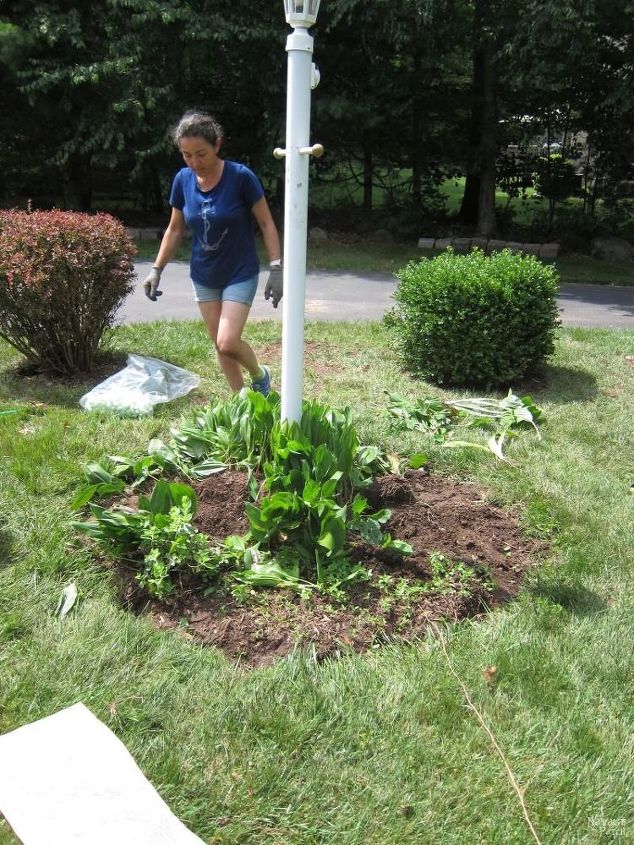
Handan started by pulling out the Hosta and the Lily of the Valley. I was wandering around the yard during this, probably chasing bugs and daydreaming.
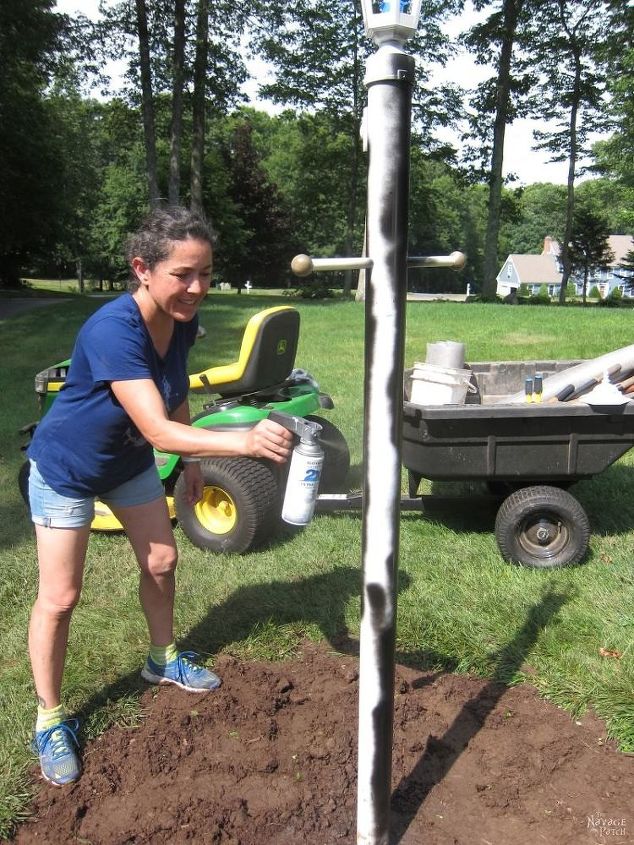
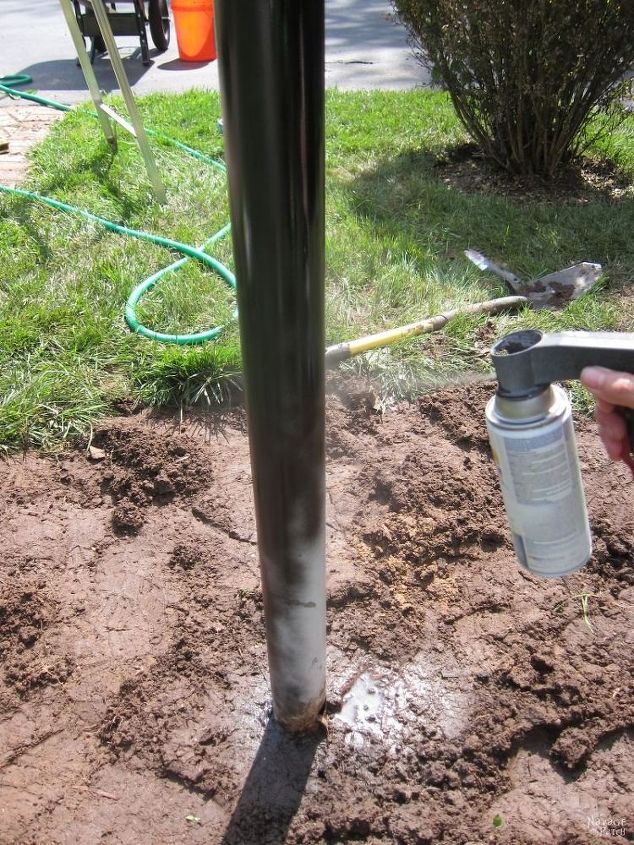
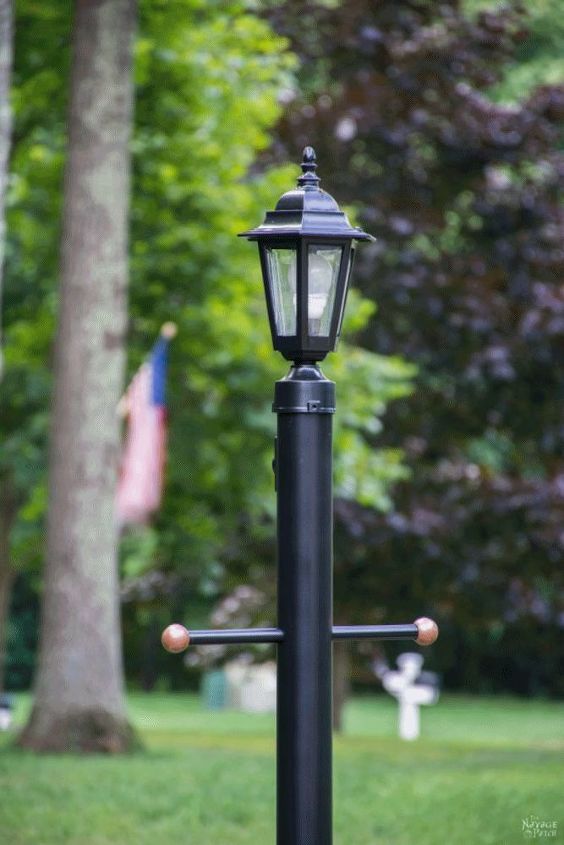
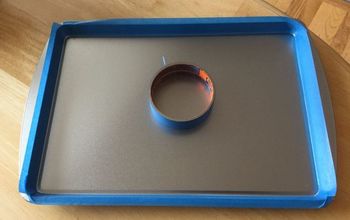
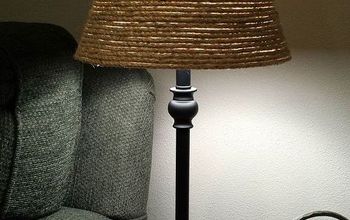
Once she had the stones hauled away (a perfect job for a teenage boy) and the plants removed, I straightened the post by digging it out a little, and then leveling it with a post level. I compacted the soil around the post, so it should stay level for a while. Next, Handan cleaned the post and the light fixture, removed the glass (clear plastic, actually) and taped off the light socket of the lamp. She grabbed a few cans of semi-gloss black spray paint and started spraying.
The next step was perhaps the most dangerous and thrilling. I thought it best that I handle it.
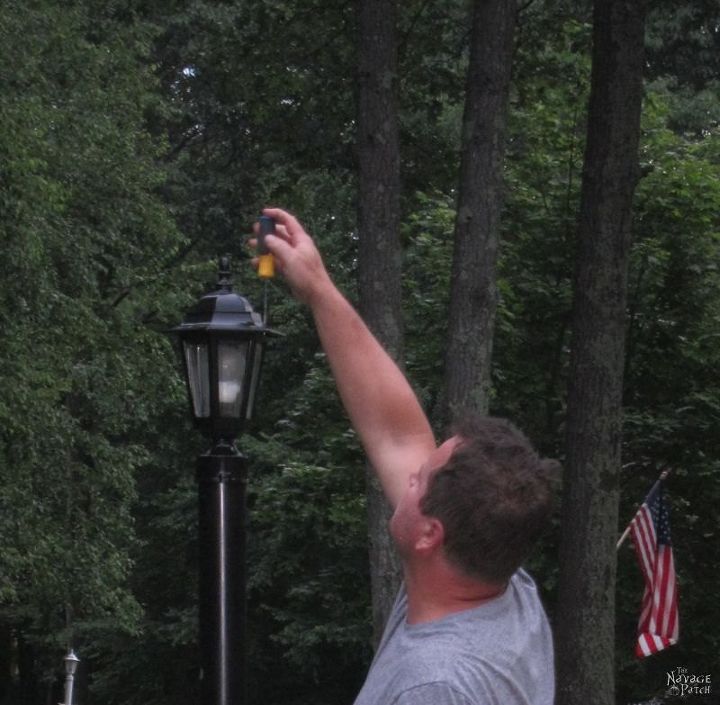
Phew! That was tough!
After I bravely screwed the cap back on, we set about widening the landscape ring and making it into a perfect circle. That is the subject of my next post.
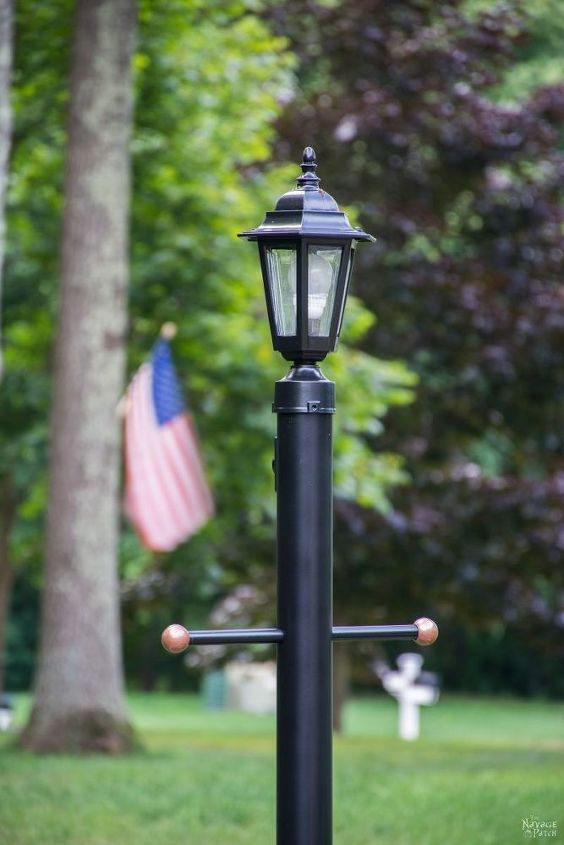
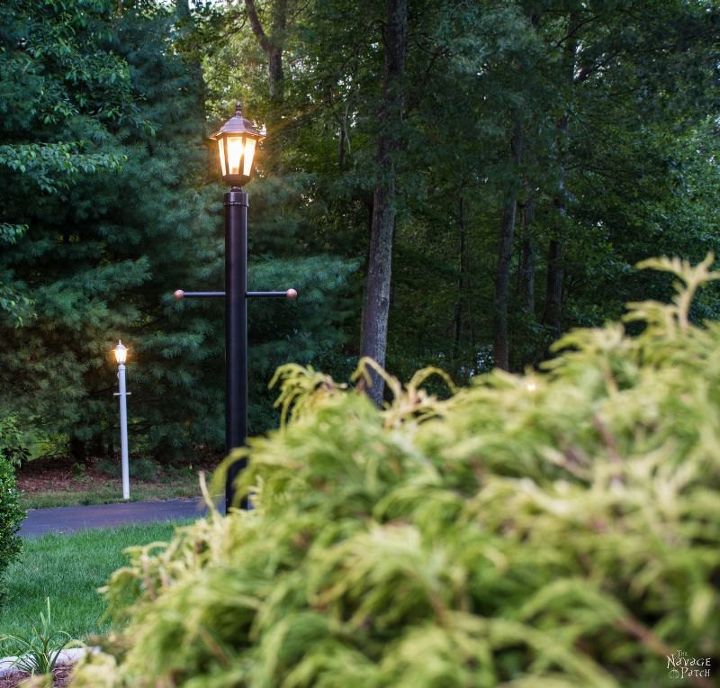
For now, we'll skip ahead to the finished lamp post.

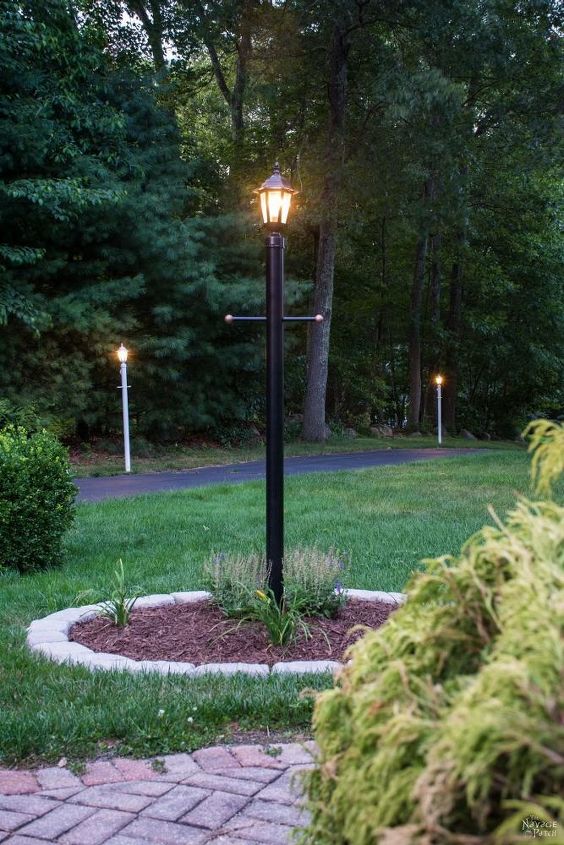
Thanks for reading, and be sure to hop on over to our blog for more fun, DIY, crafts, adventure, recipes and laughter!
-Greg

Want more details about this and other DIY projects? Check out my blog post!
Comments
Join the conversation
2 of 3 comments
-
Looks great !


Frequently asked questions
Have a question about this project?