


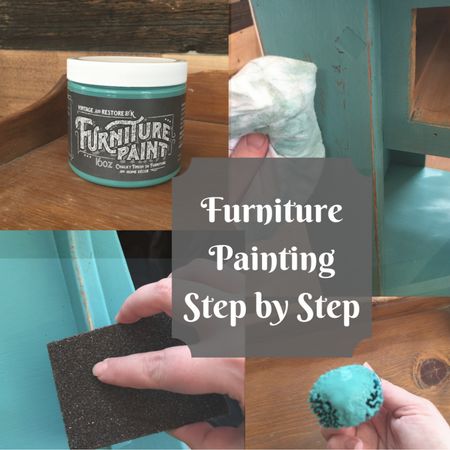
How to Paint Furniture: Step by Step Tutorial

5 Materials
$30
2 Hours
Easy
A detailed overview on how to paint outdated furniture using chalky finish Furniture Paint. Learn the necessary steps to prep, paint and protect your newly painted surface.
Always start with a clean surface. Most projects, a simple soap and water scrub down will work. For surfaces that have built up residue or oils (such as kitchen cabinets), a TSP cleaner works great. For this project, we chose as our Furniture Paint color.
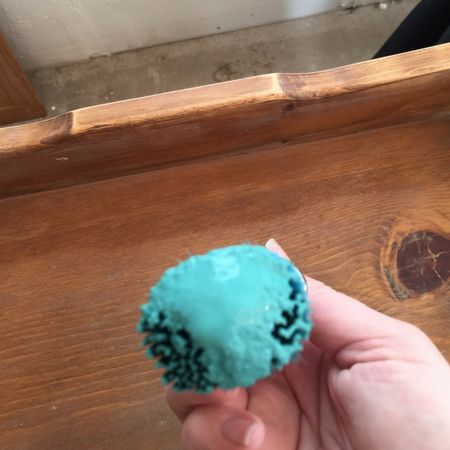
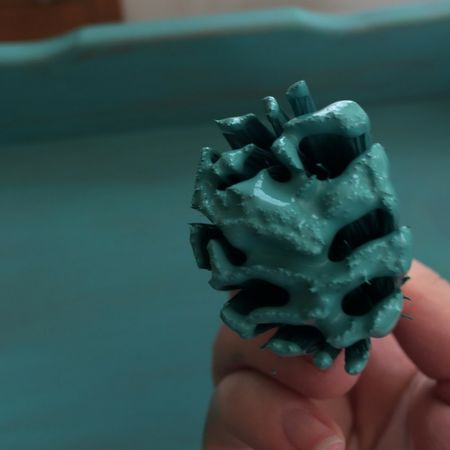
Dip the tip of your paint brush into the jar. You don't need a lot of paint on the first coat. In fact, you will want to make sure the first coat is thin to help with better adhesion and long lasting quality. We recommend for a smooth finish with minimal brush stroke lines.
Spread the paint, using a back an forth motion, with the grain. Don't worry about perfection on your first coat. Because you will be spreading it thin, you may see more brush strokes and the original wood finish may be visible underneath the paint. This is about how thin your first coat.
Once the first coat has dried to the touch (anywhere for 25-45 minutes), you are ready to apply the second coat of paint. This coat is more about coverage. On your second coat, make sure you brush is always wet with paint and apply in the same back and forth motion, with the grain. Be sure to watch out for any paint pooling or drips! Catch these before the paint dries for a more professional looking finish.
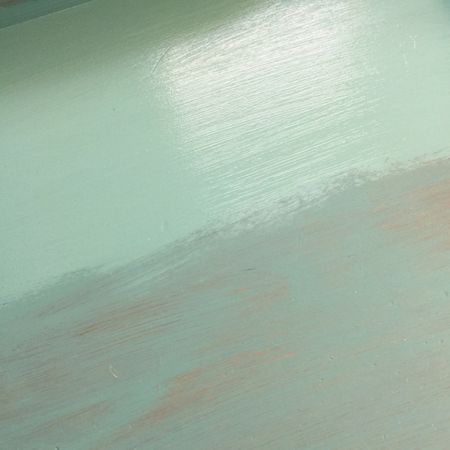
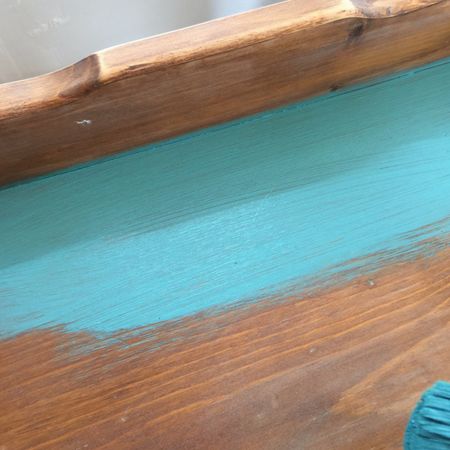
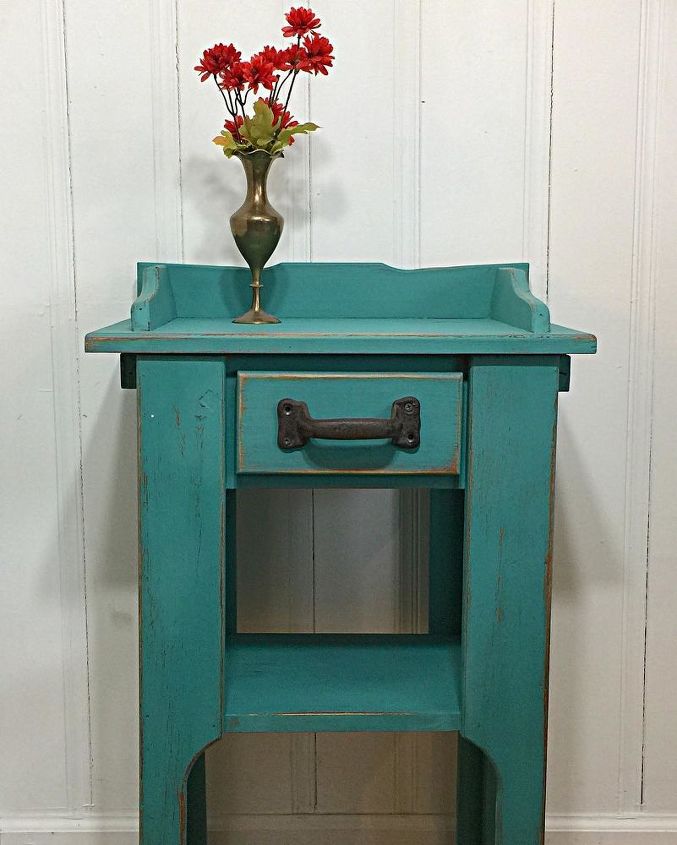
Here, you can see the difference in coverage from the 1st coat of paint to the second coat of paint. Most project will take two coats of paint. Some project or colors may need a third 'touch up' coat. If your project needs a touch up coat, only apply the paint where needed, not to the entire surface. (note: the lighting in this picture made the color look a few shades lighter than what it actually is)
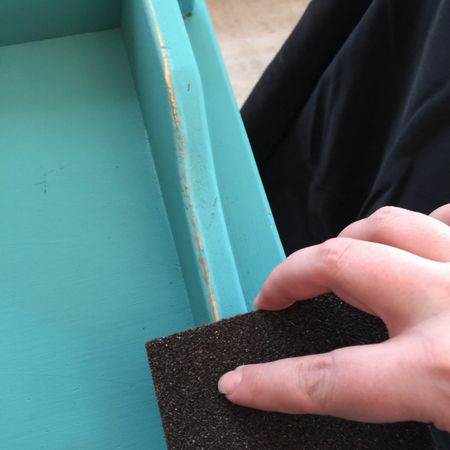
Once the last coat of paint is dry to the touch (about 30-45 minutes), use a sanding block to distress the edges, corners, and anywhere else it would naturally wear. Simply lightly rub the sanding block where you wan the paint to come off. If you prefer to have a more modern look, skip the distressing step.
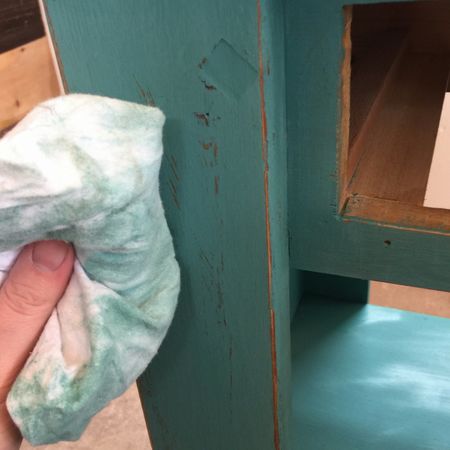
Wipe off any dust from the distressing process. A lint free cloth will do the trick.
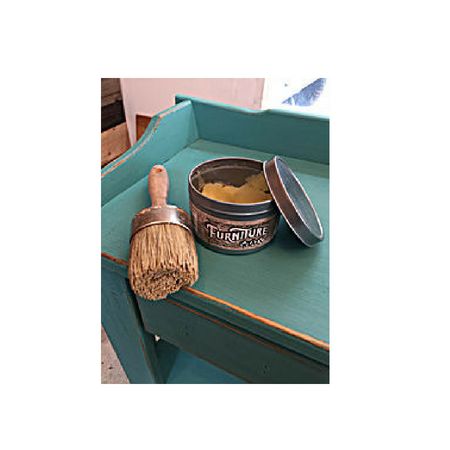
The last step is to protect the finish. For low traffic areas, our all natural works great. For high traffic areas, such as dining room tables and kitchen cabinets, skip the wax and use our Protective Finish. For this project, we chose our clear scented Furniture Wax. Using ChalkPro's EasyWax brush to apply the way, simply rub the wax onto the surface in a circular motion. Wait a few minutes, then buff the wax with a lint free cloth.
For more tutorials and DIY project ideas, visit us at https://vintageandrestorebyk.com


Frequently asked questions
Have a question about this project?
After applying the wax and buffing, should I apply clear coating for extra protection? Is this an option? Or should not be done?