


How to Create an Impressive Dining Room Accent Wall For Only $70

Welcome to today’s episode of LaughCryDIY. Today, we’re going to makeover a dining room by adding a blue accent wall and some DIY wall frame molding.
My friend Kylie is a business coach and she wants a professional background for her Zoom calls. So, we’re going to be creating a renter-friendly dining room accent wall on a budget for her, her husband, and her dog, Mocha.
*Remember to get your landlord’s permission before painting walls or doing big DIY projects on a property.
Tools and materials:
- 25 Dollar Store frames
- Sanding brush
- White spray paint
- Gold spray paint
- White latex paint (optional)
- Blue paint
- Level
- Painter’s tape
- Regular white paint
- Aluminum foil
- Paint tray and roller
- Corner cutting tool
- Paint roller
- Chalk
- Tape measure
- White contact paper
- Hammer
- Nails
- Command strips
- Rubbing alcohol
- Small hand saw (optional)
- Scissors
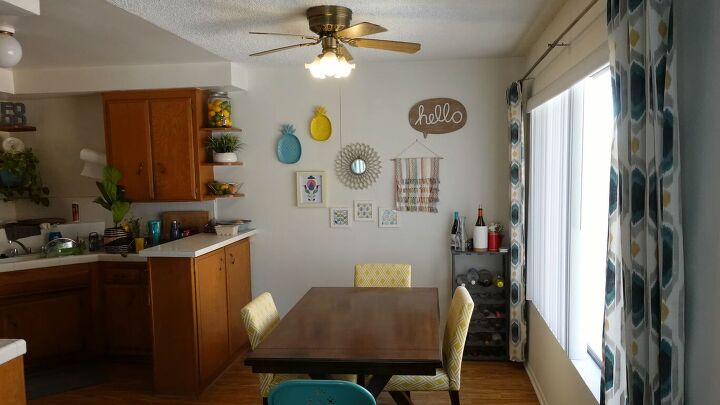
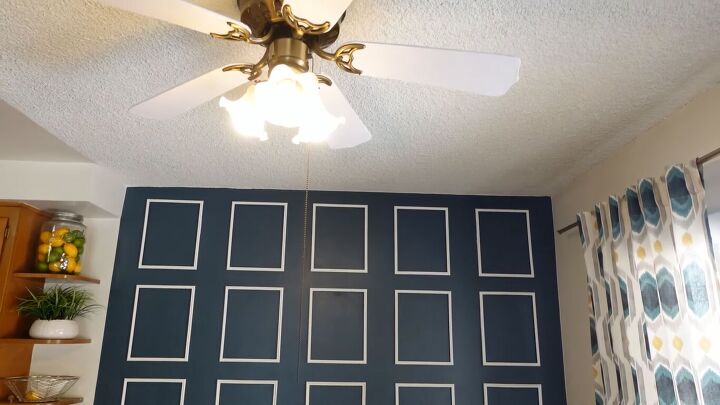
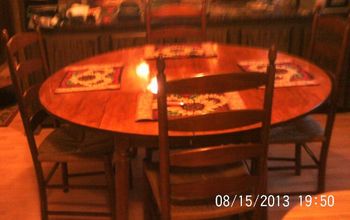
Here’s the dining room before the makeover.
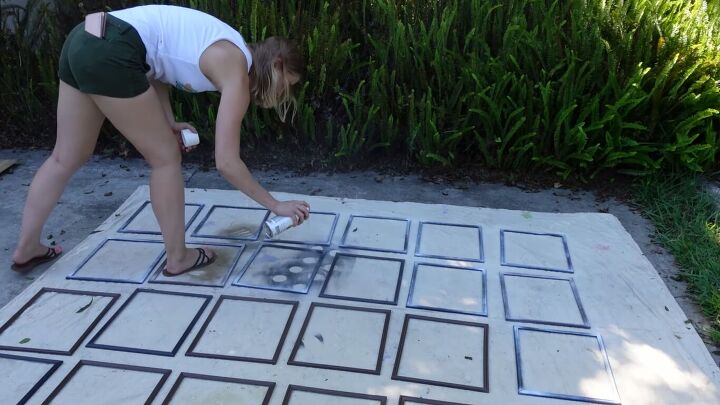
1. Paint
First, spray all the frames white. These are cheap plastic Dollar Store frames in black and brown.
Unfortunately, the brown ones decided not to turn white, so I also coated them with white latex paint instead.
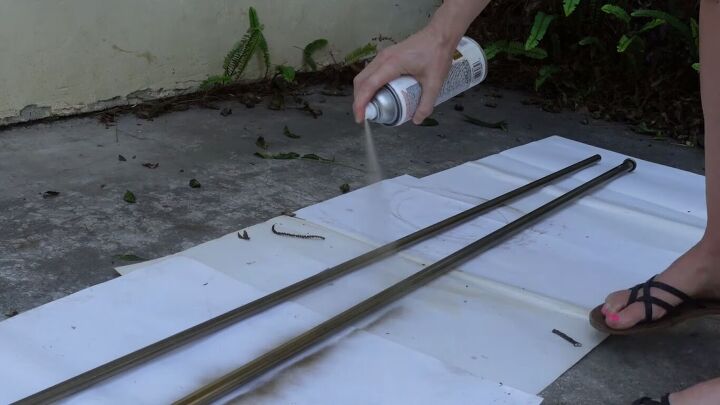
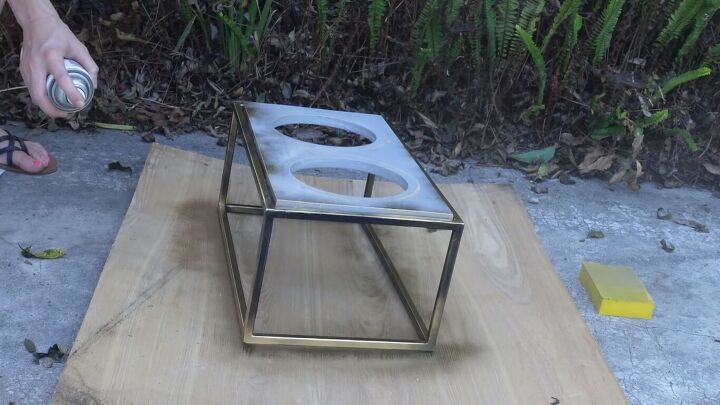
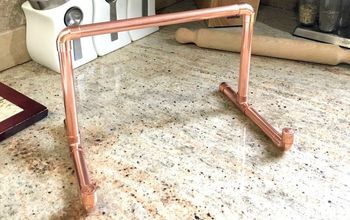
Scuff-sand the curtain rods, dog bowl holder, and wine rack. Then, spray-paint them gold.
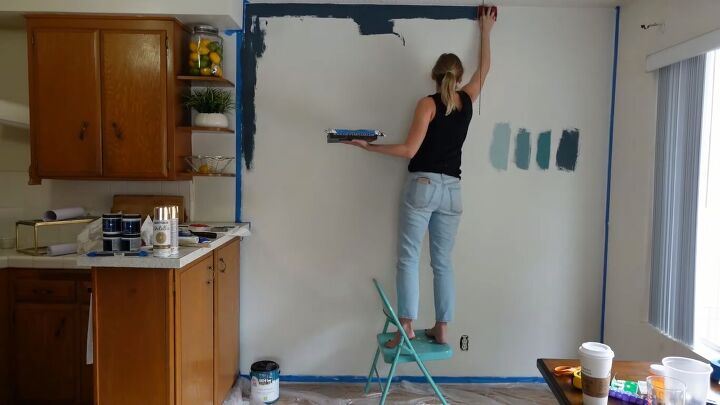
2. Paint the accent wall
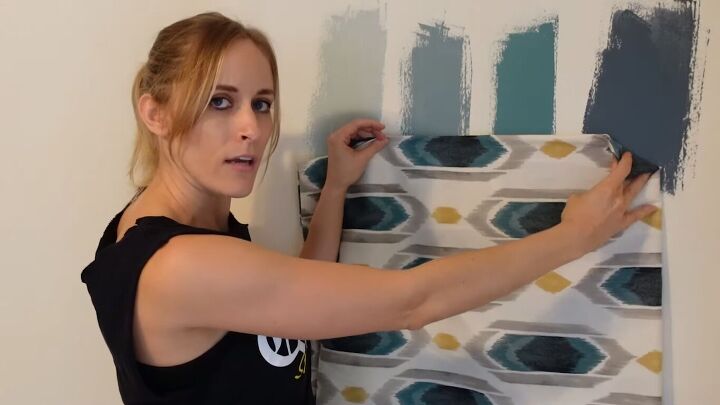
In this house, we are bespoke, we are tailored, and we are Fashion Week. So, for the color options, I custom-color-matched the paint to Kylie’s beautiful West Elm curtains.
Before painting, remove the art, patch the walls, and sand them, then prep the floors.

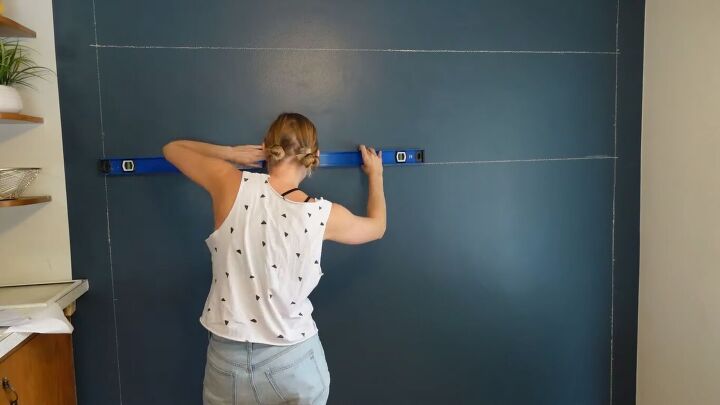
However, one part of painting this accent wall that’s tricky is where the dining room and kitchen meet. We have to decide where exactly to draw that line. Rather than using the shelves or counter as a cut-off, we’re using the architecture—the block above the shelves—as the line.

Use a long level to get an accurate line. Fortunately, the line ended up completely flush with the counter edge, which will look so neat.
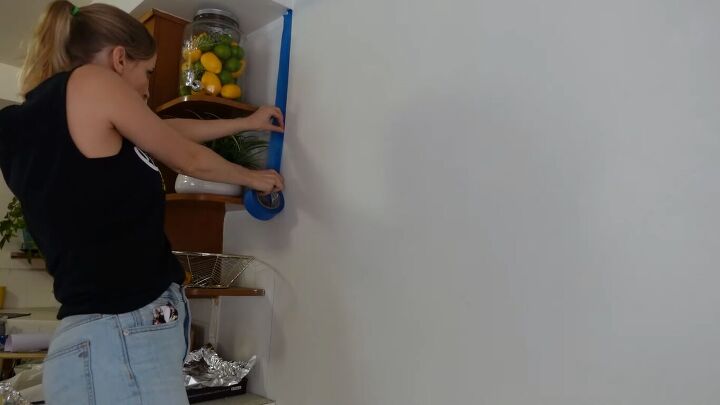
Go along the line edge with painter's tape. Note that even with a perfect line of tape like this, when painting a colored wall, you won’t always get a clean, crisp line, due to wicking. This is when the paint absorbs into the paint layer below it.
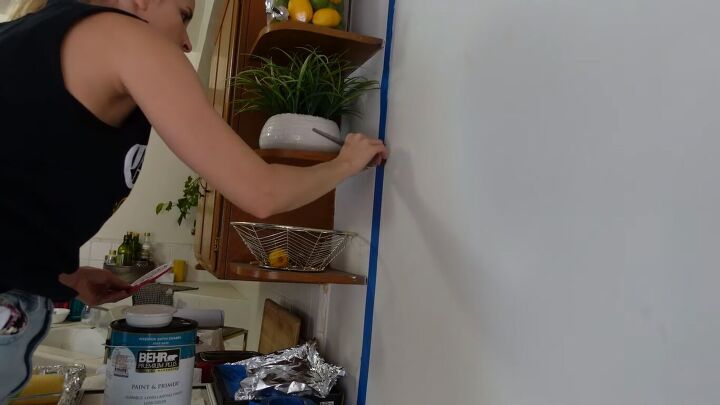
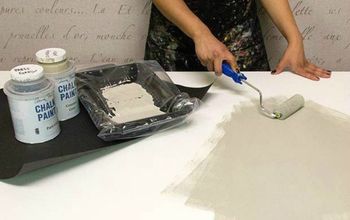
How to prevent paint wicking
Take some white paint and paint a small little line along the tape. This will create a barrier for the dark paint and it won’t bleed through.
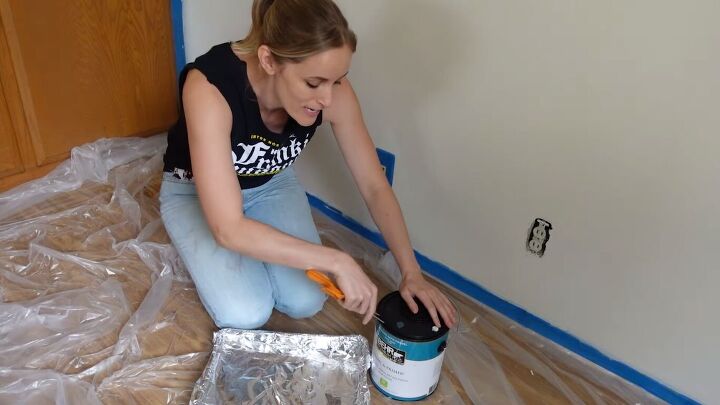
Tip: cover your paint tray with aluminum foil. That way, you can just throw away the foil at the end, rather than wash the whole tray.
First, use a corner cutter tool to go along the edges and ceiling part, then paint the rest with a roller.
As you can see, we went with the darkest blue for our accent wall. I painted two coats of blue.
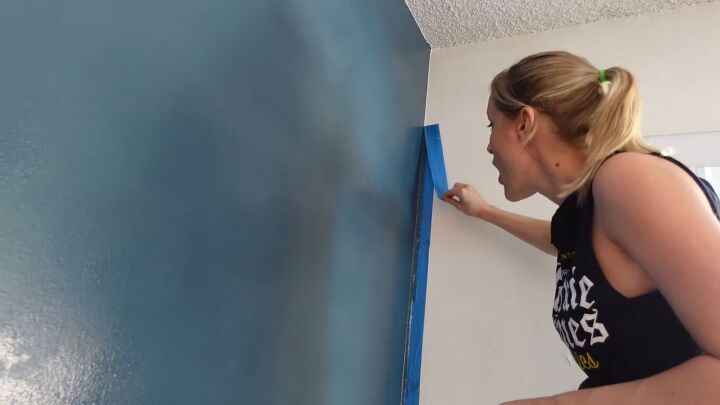
Take your painter’s tape off while the paint is still wet. See how clean that line is?
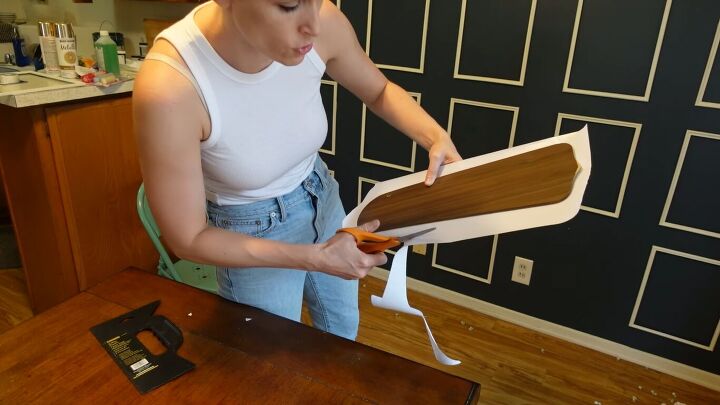
3. Apply contact paper to the ceiling fan
This dining room looks a little crowded, so I want to try and heighten the ceilings. Usually, I would raise the curtains as high as possible, but we can’t do that because there’s some metal plating behind the drywall where the curtains are.
Instead, we’re going to minimize the visual clutter of the ceiling fan by turning the fan blades white, so they blend into the ceiling more.
Cut the contact paper into strips, stick them, and then cut around the border, as shown in the image above.
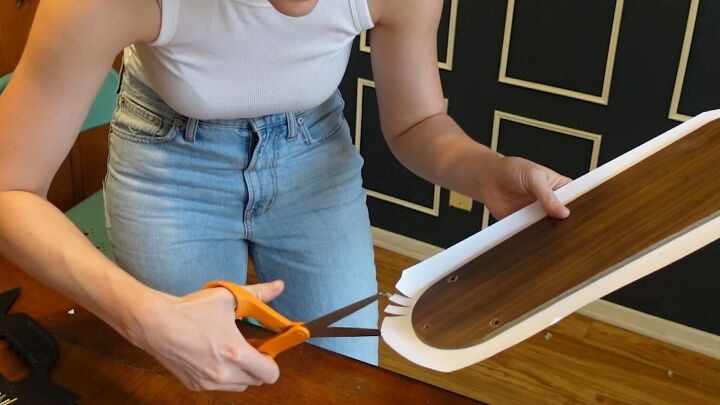
For the curved edges, make little cuts around the edge, then you can shape the contact paper around that curve.
Once done, attach the blades back to the ceiling fan.
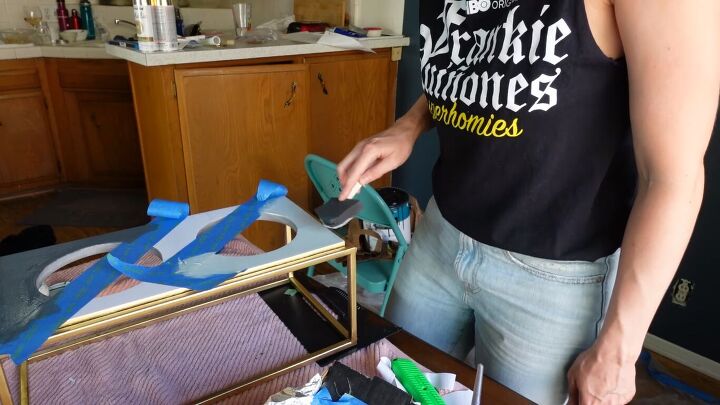
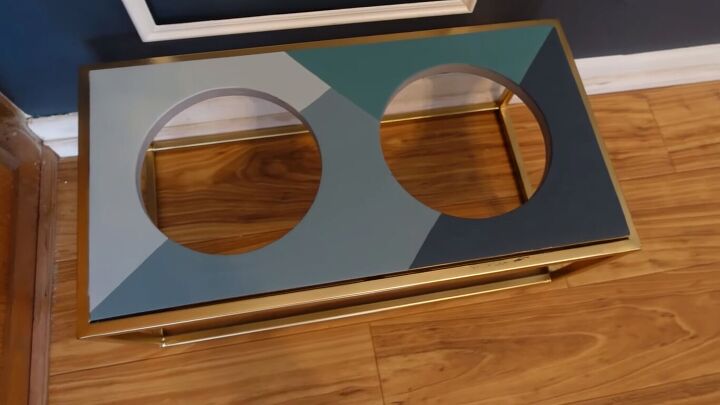
4. Paint the dog bowl holder
I painted the frame gold already, but I decided to create a funky design on the top using the paint swatches I had left over.
First, I covered the top with white vinyl contact paper, then used painter’s tape to form a painted pattern.
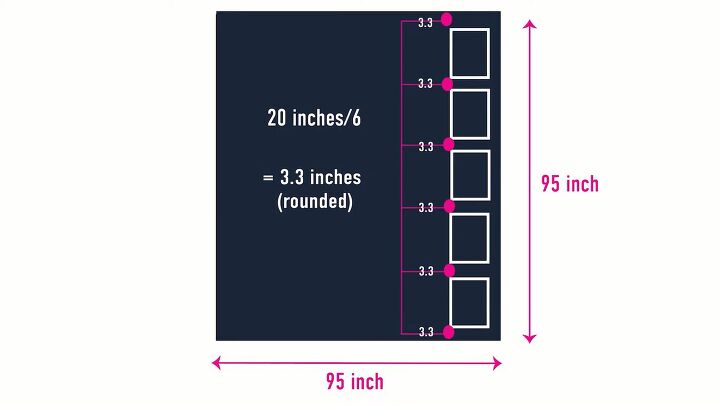
5. Create the DIY wall molding
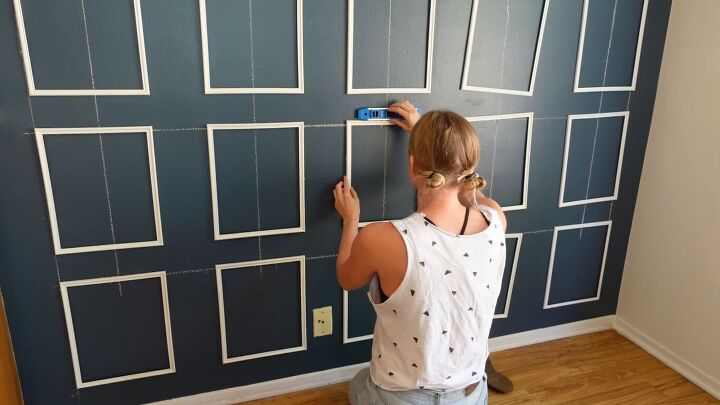
Ok, now for some math. For my grid pattern, I worked out the height and width of the wall (95 x 95 inches). The frames are 15 inches in height so 5 make a total height of 75 inches. That leaves 20 inches to distribute in the gaps between the frames. 20 inches divided by 6 gaps is 3.3 inches per gap.
Do the same for the width, then mark it all out using chalk, a tape measure, and a level.

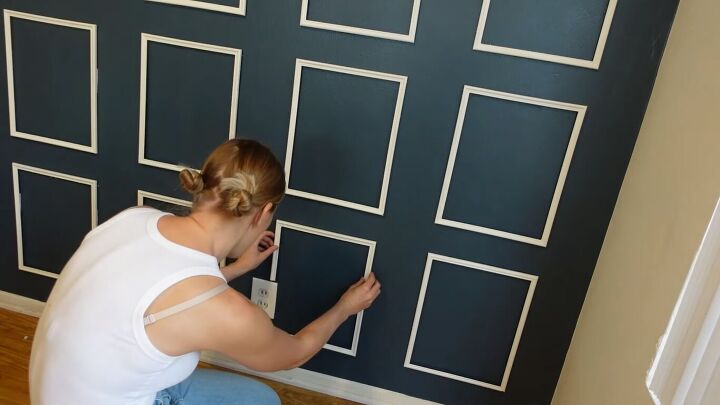
Hammer nails and hang the frames.
I’m using command strips to fix the frames in place.
Tip: read the packaging before using command strips. Technically, you’re supposed to wait 7 days after painting a wall before using them, and you should prep the area with rubbing alcohol. I’m not doing that as I’m short on time.
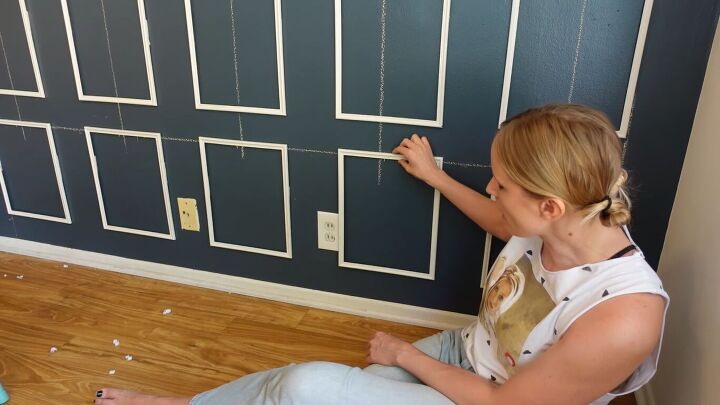
Today’s moment of hell is that one of my frames overlaps with the outlet.
So, I trimmed it with a small handsaw.
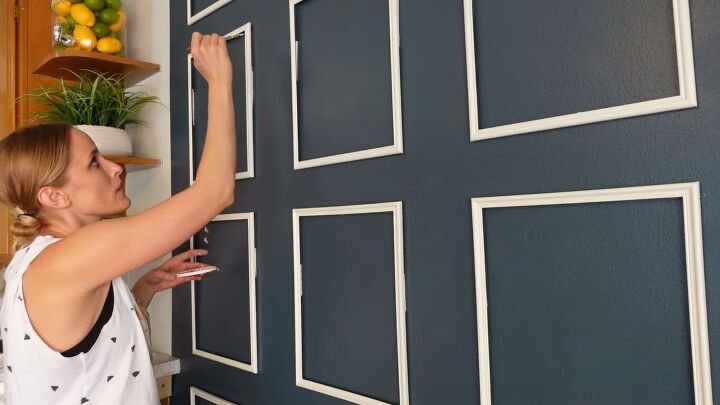
To finish off, I wipe away the chalk and touch up the frames with white paint.
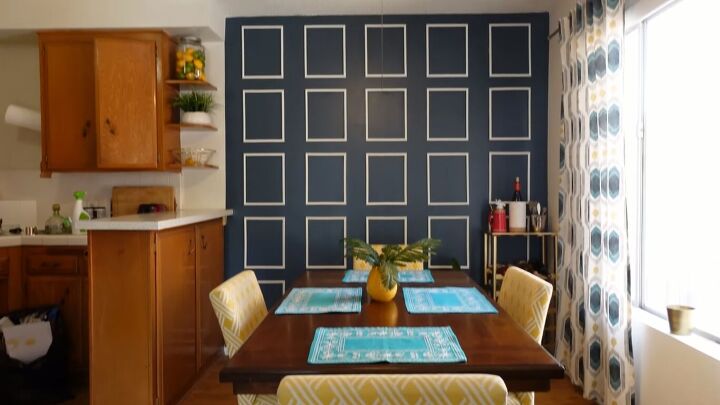
Dining room accent wall
Here’s the final reveal! This dining room accent wall cost $25 for frames, $30 for paint, and $20 in command strips, so really that’s a $70 feature wall.
For more DIY makeovers on a budget, discover how I transformed some old 1970s kitchen cabinets. Are you inspired to makeover your dining room? Let me know your thoughts in the comments below.
DIY home decor using old picture frames
Resources for this project:
See all materials


Comments
Join the conversation
-
Oh, I get it, The Cluttered-Look, aye Bozz? lol
-
Wow, what a transformation! Looks fabulous!


Frequently asked questions
Have a question about this project?
Why didn’t you just spray paint the blades?
I thought that with all the picture frames it would look to busy, but to my surprise it looks great. I have an unusual size dining area and would love some feed back on what to do to it? Thank you. Loved this ,Eva
Doesn't it shrink the room with a dark wall?