


Gorgeous Shiplap at a Fraction of the Price
I have a girl crush on Joanna Gaines and when I grow up, i want to be her. Seriously. Not only are Chip and Jo the definition of "relationship goals", but Jo has made a career doing what she loves and has been such an inspiration to so many people along the way - myself included. Not to mention, she basically introduced the world to shiplap and for that, I am eternally grateful. Shiplap doesn't seem to have been used in the homes in east Tennessee so I wasn't able to salvage any and i definitely wasn't lucky enough to discover it behind some nasty drywall on the infamous "demo day." so we made our own and we spent less than $60 doing so!
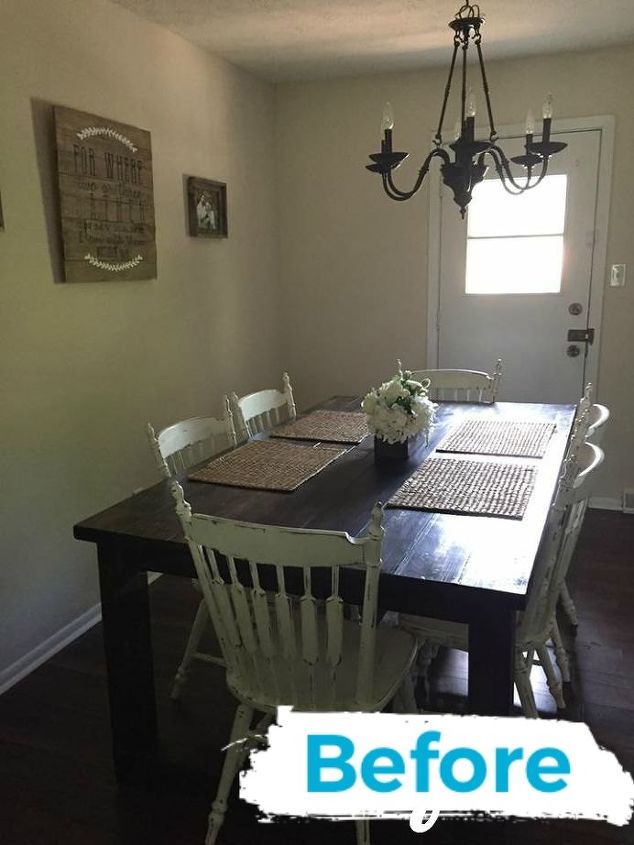
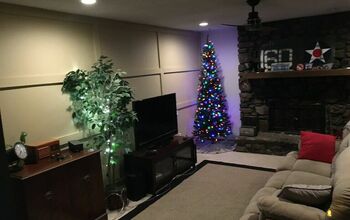
Our dining room hadn't gotten much attention in the time we have been in our house. The door and the door frame had shifted significantly over the years and they had to be replaced. I figured if we are going to have a nice door, we might as well make the rest of the room pretty too.
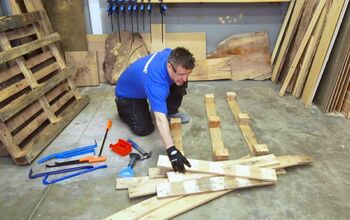
I started by going to Home Depot to get a couple sheets of wood. I decided to use underlayment because it was smooth, light weight, and most cost effective. Here is the link to the product I used.
www.homedepot.com/p/underlayment-common-7-32-in-x-4-ft-x-8-ft-actual-0-196-in-x-48-in-x-96-in-431178/203183010
Tip: be extra nice to whoever is working in lumber when you go to buy yours and take a sharpie with you! The gentleman who was working when I went was kind enough to use their fancy saw and cut the board into 6" strips. You want them cut long ways so that you have longer planks. Be warned - you might have to pay per cut but believe me – it’s so worth it! The sharpie will come in handy on the last piece of every board - it’s basically scrap and you want to mark it as such. If you measure that piece, it will not be an even 6" and it will even vary depending on where you measure. If you put it on the wall, it will mess you up. Don't ask me how I know that, just trust me!
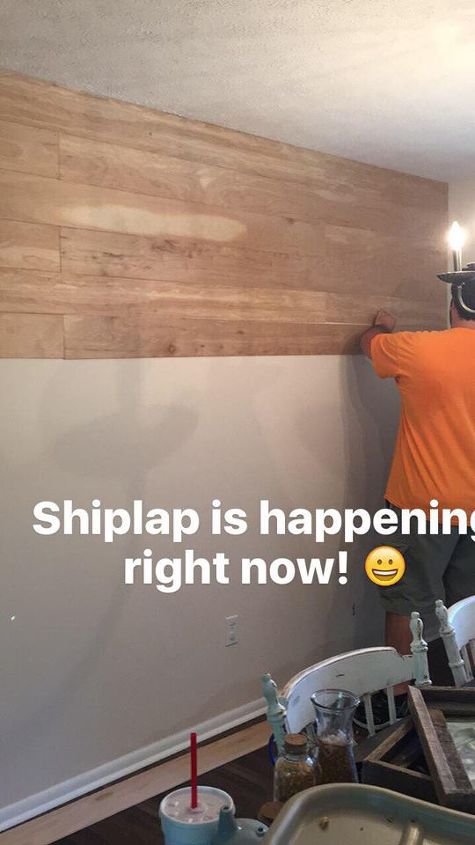
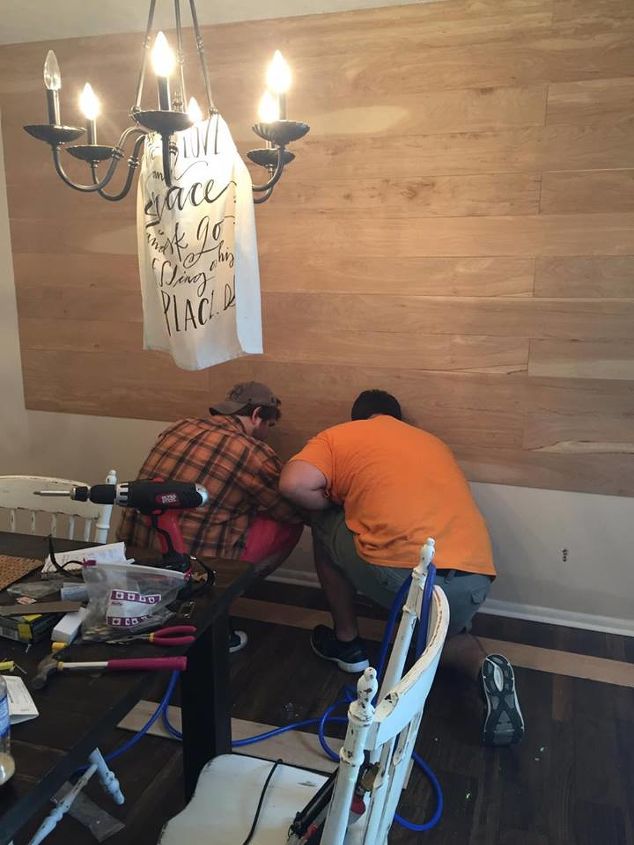
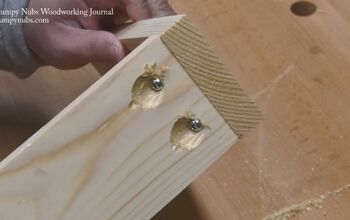
My husband's best friend found himself bored on a Saturday morning so I put him to work. We started on the top left corner of the wall by nailing the board into place using a nail gun. You will probably have to make some cuts of your own at this point. I was able to get two short pieces out of one plank. I staggered mine by using a long piece on the left side of the first row and then a short piece to start the second row. I wanted every other row of mine to line up so I cut all the short pieces to the same length instead of using whatever was left over of the previous row to start the next one.
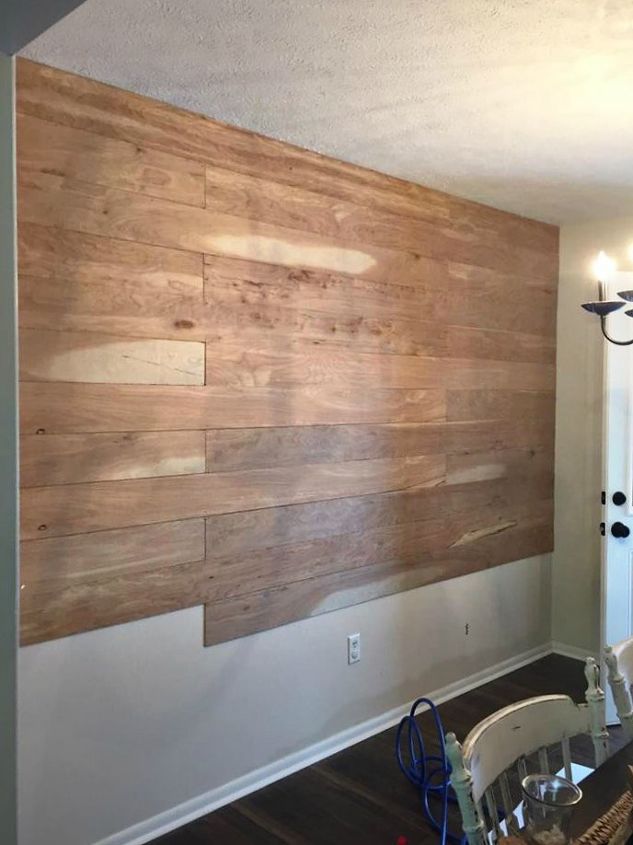
Here is a better picture of the planks so you can see how they are staggered.
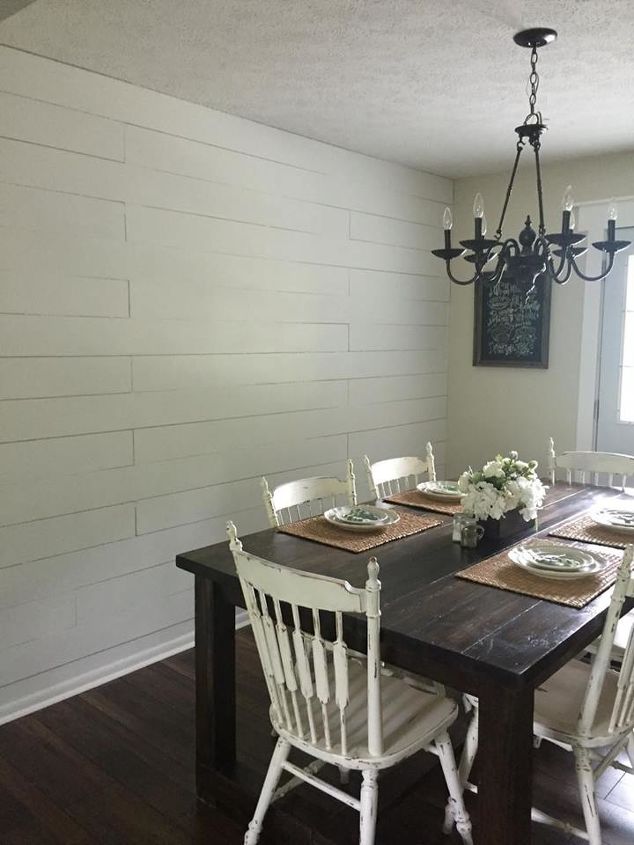
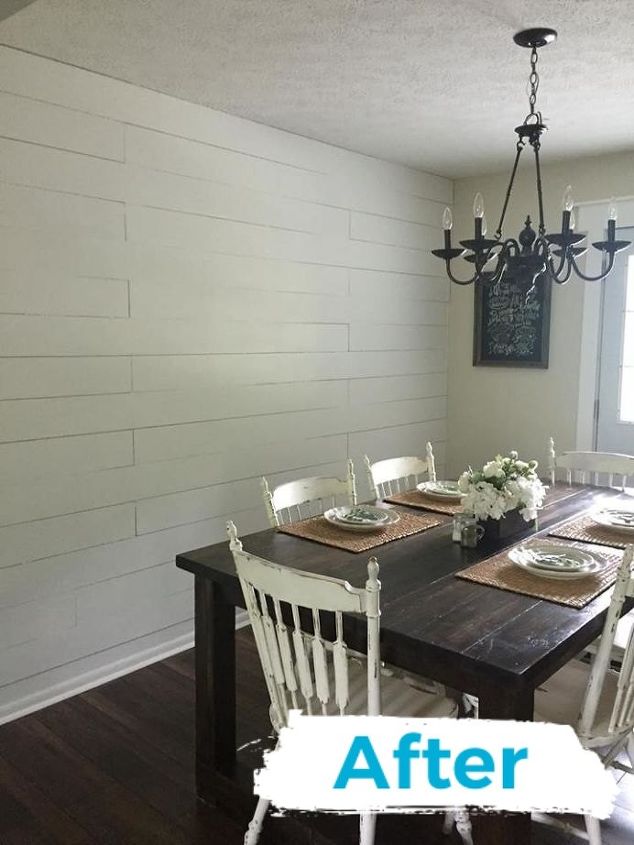
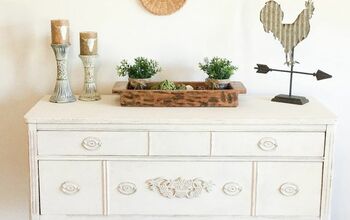
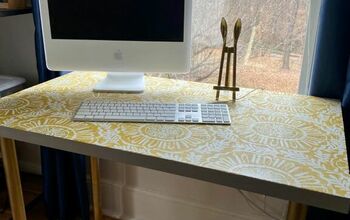
I finished by using Behr’s "Falling Snow." I used 2 full quarts on my wall, it took me 3 coats. I would highly recommend priming it before you put it up, another thing you can learn from my mistakes. Before final touches
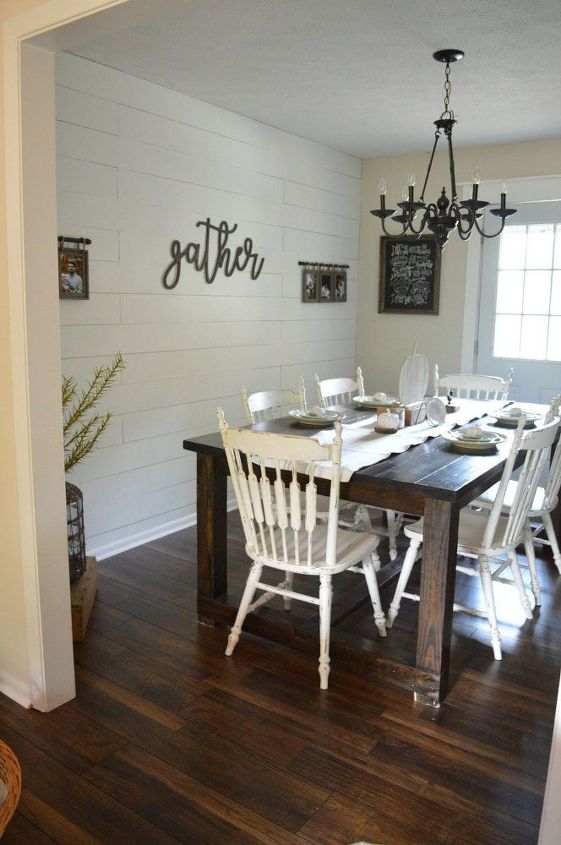
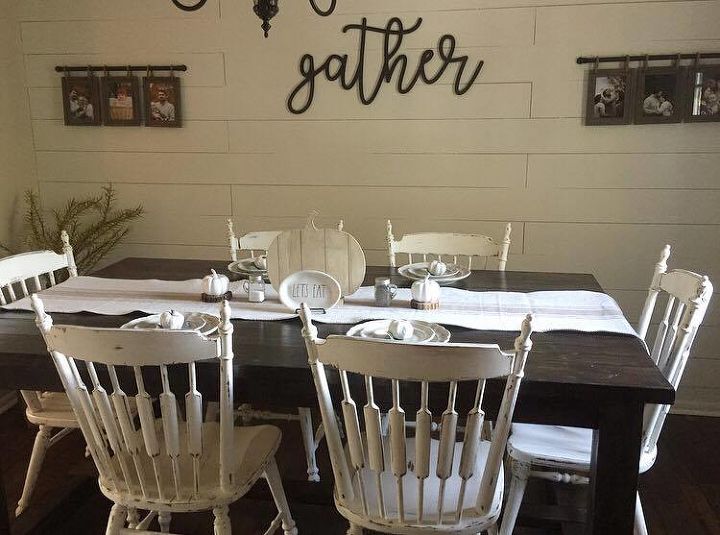
To complete the wall, I purchased these frames from Hobby Lobby and this "gather" wood-cutout from an Etsy shop called "ImpressionsShop3" and they have given me a promo code to share with you guys for 10% off your order! Use the code impressions shop at checkout.

Comments
Join the conversation
-
For you that don't want a bunch of nail hole's or brad. I'd use the thinnest pc. Of sheeted plyboard tack'd to the wall[yes holes but not as many]. I'd then just glued the thinnest wood to look like the Shiplap to the wall of the back board already installed. Then this also doesn't make so heavy and less holes. No one will know. It will look just as great as any Shiplap wall. I LOVE it.

-
Why paint? I like it w'out the paint. It looks good😁


Frequently asked questions
Have a question about this project?
Yes. U said u got the guy where u bought the wood to cut it. Was it plywood u purchased ?
Can you glue the wood strips rather than nailing them? My wall is filled with plumbing pipes and you can't use nails or screws anywhere
on it. It's a smaller wall. Thanks
What was the final cost?