


Entryway Refresh

New year, new entryway y’all! If you have been around here for awhile, then you know I love our entryway space. My entryway table was actually a birthday present from my hubby a few years ago and I am obsessed with it. But, we thought it would be fun to do a little entryway refresh project.
We’ve been dying for another DIY project ever since we completed our downstairs fireplace. And we thought painting the shiplap in our entryway space would be a nice and easy way to start! Plus, paint is always a good idea for a refresh since it’s not too expensive and can really change the whole look of a room!
This post contains affiliate links. Click here to read my disclosure policy.
Why Paint the Entryway Wall?
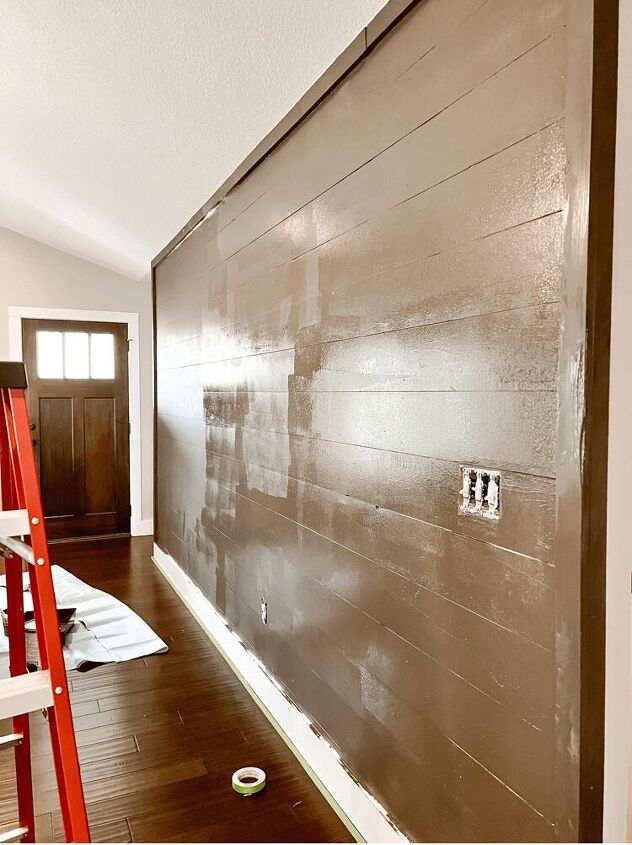
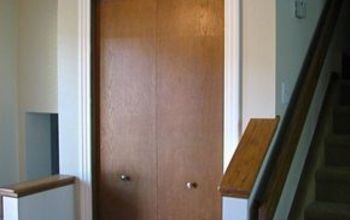
You may be wondering why we even wanted to paint the wall since the white shiplap fits in so well with the farmhouse vibe I’ve got going on. Well, first thing is, that “shiplap” is not true shiplap. It was previously done by the builders before we moved in. It’s just plywood that they painted and made to look like shiplap. You can also clearly see spots from the plywood seeping through as well.
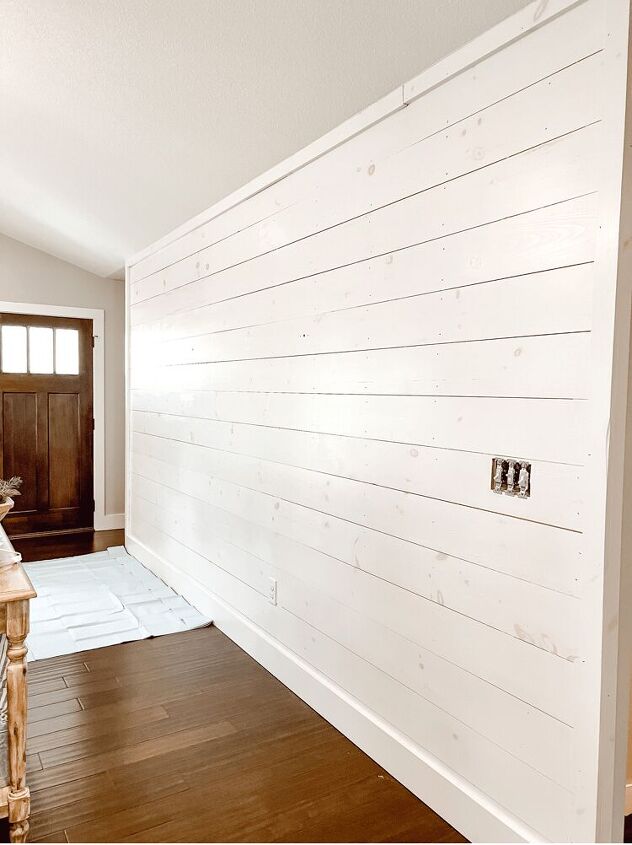
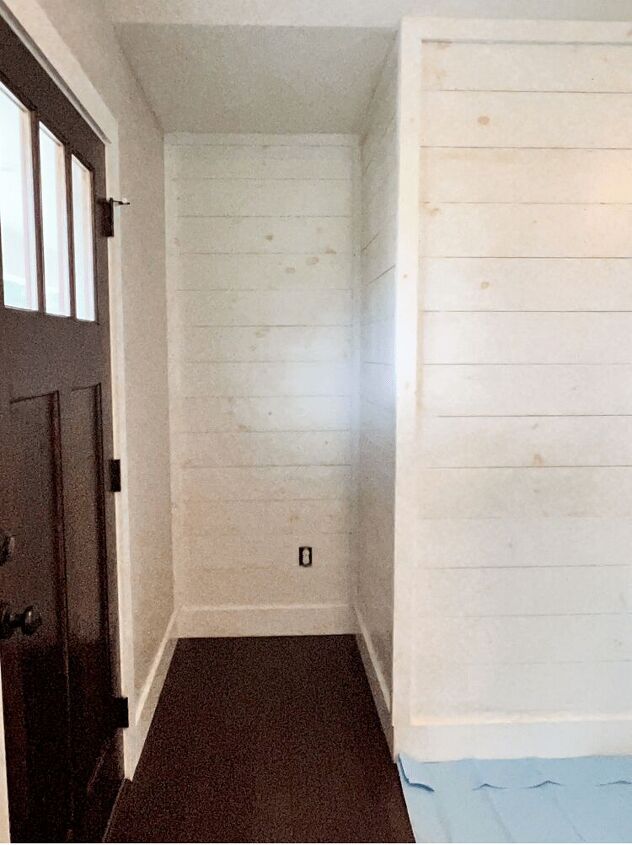
My husband and I both haven’t been too happy with the look of it and were seeking a change. We want to also add in true white shiplap everywhere else in the living room eventually too. But, we thought if we kept this fake shiplap wall white, it would look weird with the authentic white shiplap we will eventually add in.
So our solution was to simply paint the wall and have it be more of an accent wall than shiplap! I have always wondered what it would be like to have a darker, moodier wall in our home and now was my chance to find out!
What Paint Color Did We Choose?
You are probably also wondering, what paint color did we finally decide on for our entryway refresh?! Well, after polling a few followers on my Instagram account, we decided that we really loved the Urbane Bronze color by Sherwin Williams. This was actually the 2021 color of the year too!
We talked about doing a true black color too, but I was worried that it would look way too dark and be too much. This color, even though it’s darker, is not too dark and is still considered a nice neutral option. I love the moody vibes it gives the space.
Things to Consider When Painting
I will say, I was not a fan of the paint color when it was wet. I was really worried about our choice after seeing it. But, thankfully after it dried, it looked much better in my opinion. If you are worried about this too when painting, you can always paint a small area of the wall and see how it looks wet and dry. Also, this will give you a good idea of how it looks during certain times of the day and night as well too.
We didn’t actually do that though because we like to jump the gun and just go for it! Or otherwise, we’re just impatient! But either way, I am glad we went for it, because it only took us about 2 days from start to finish! And, with this kind of paint, you just need to wait 3-4 hours before painting another coat on. We ended up doing two coats total, plus some touch ups.
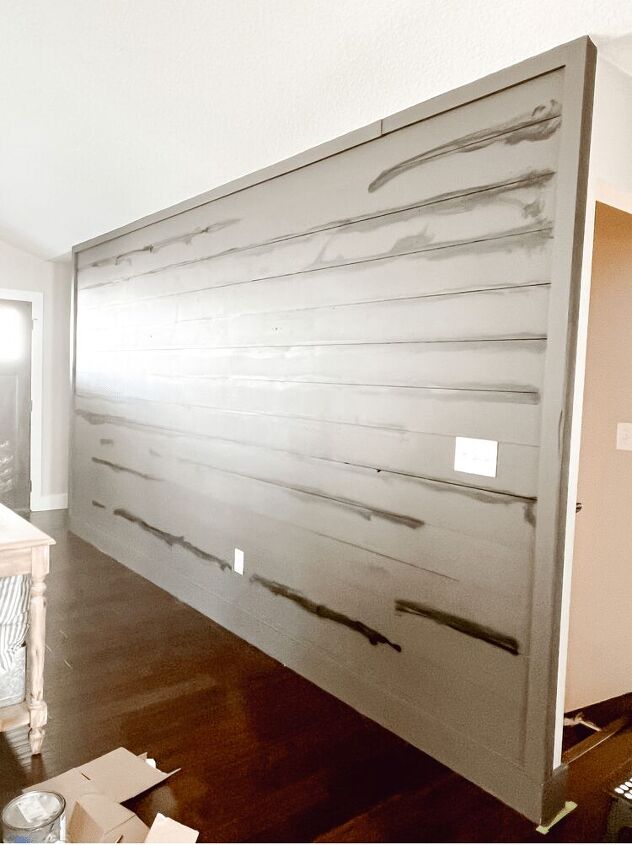
Another thing to consider, since our wall had shiplap on it, the creases kept showing the white underneath no matter how many times we went over it with paint. To fix this, my husband decided to go back through and simply add a line of black spray paint into the creases. Then, he just went back over it with some more Urbane Bronze and it looked much better!
Finishing the Entryway Refresh
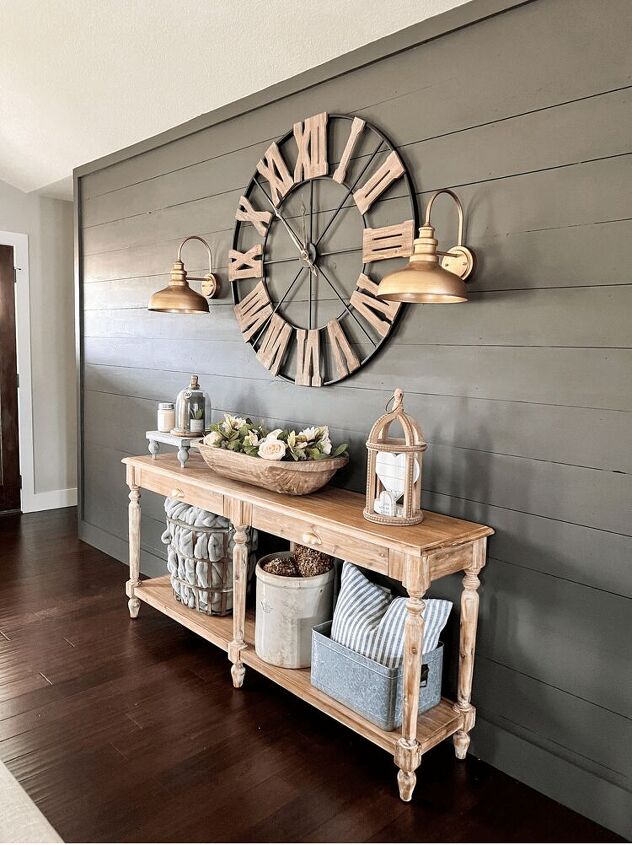
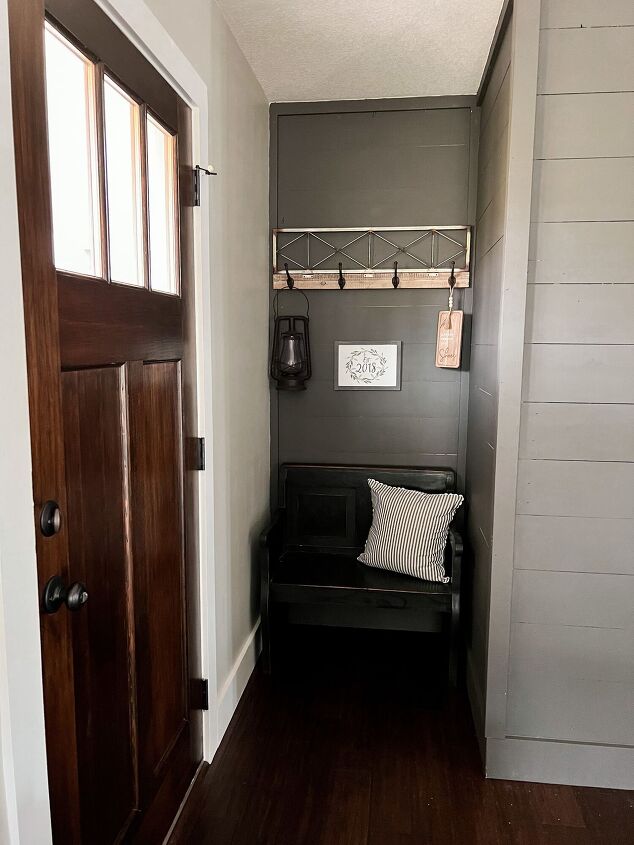
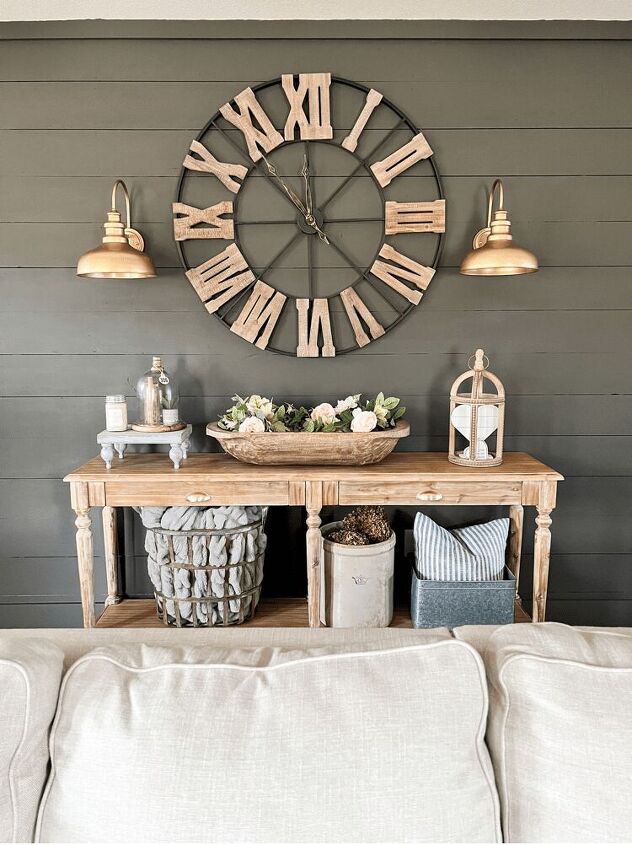
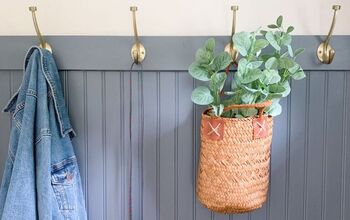
After the paint was dry and finished, I was ready to style the space again! We kept everything pretty much the same, although I did add in some new wall sconces. I thought the antiqued gold color really popped against the dark wall! But, of course kept the same entryway table too!
I love how the natural wood tone to the table really pops against the darker wall too. It looked great against the white, but I think it pops even more now with the Urbane Bronze, don’t you?!
I will also share more about how we installed these wall sconces later. We did not hardwire them or anything like that so stay tuned and I’ll show you my little hack for that coming up soon! And I will show you where we ended up putting our old wall sconces instead too!
Well, what do you think of how it turned out?! I am loving it so far and it is such a dramatic change for me! I am usually more of a woods and whites girl, but this moody, dark wall is really speaking to me! Glad I ventured out of my comfort zone and decided to try it out!


Comments
Join the conversation
-
This is gorgeous!!! How ingenious to spray paint the crevices. So beautifully styled. I suspect you glued battery operated lights into your sconces. Well done.
-
I love how you styled the hall table. I have a crock than is fairly new and may one day make sourkraut but for now it is sitting empty. i shall fill it with pinecones and put it under my hall table


Frequently asked questions
Have a question about this project?