


How to Stencil Tutorial: Bombay Pink Paisley Wall

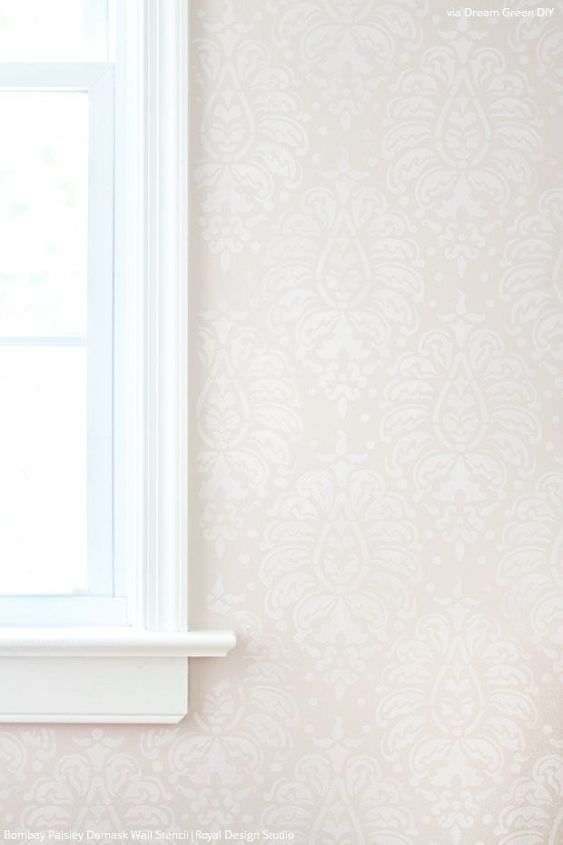
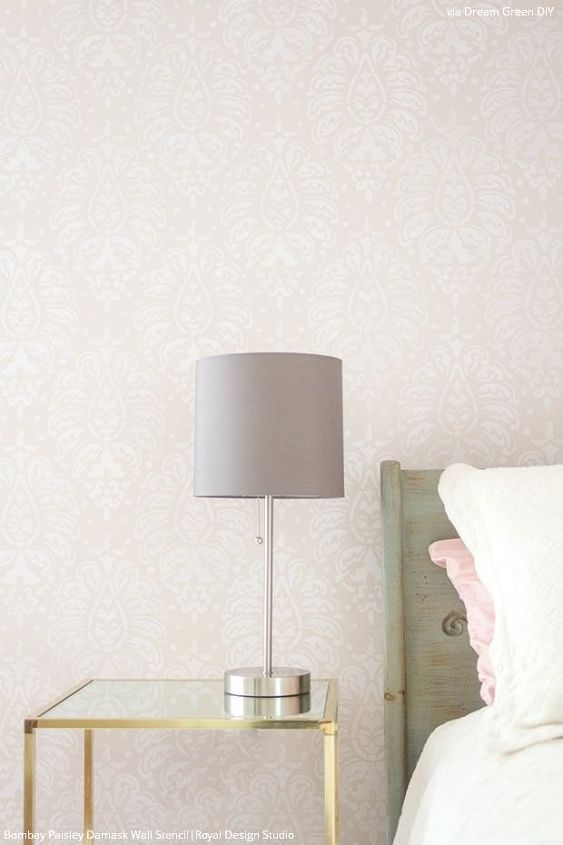
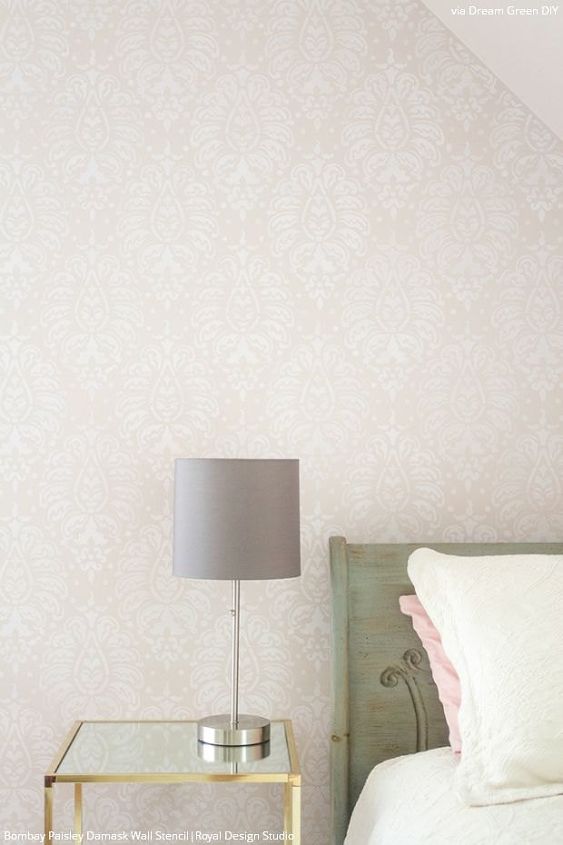
Carrie Waller of Dream Green DIY and her best friend Erica set their sights on transforming Erica's guest bedroom into a vintage yet contemporary space. To do that, they narrowed down their creative alternatives to wall stencils and paint. They are both fans of Royal Design Studio and immediately set about browsing our large selection of stencils. The Bombay Paisley Damask Wall Stencil caught their eyes, and the plan was made. Along with shades of soft pink, they set forth to create a striking accent wall. Let's see how they teamed up to work on this DIY project:
Stencils by Royal Design Studio www.royaldesignstudio.com
Stencils by Royal Design Studio www.royaldesignstudio.com
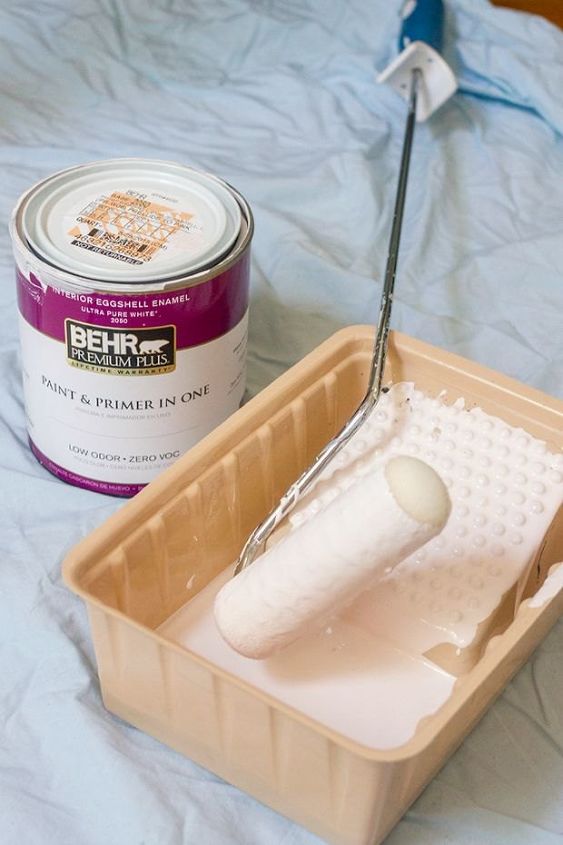
Supplies:
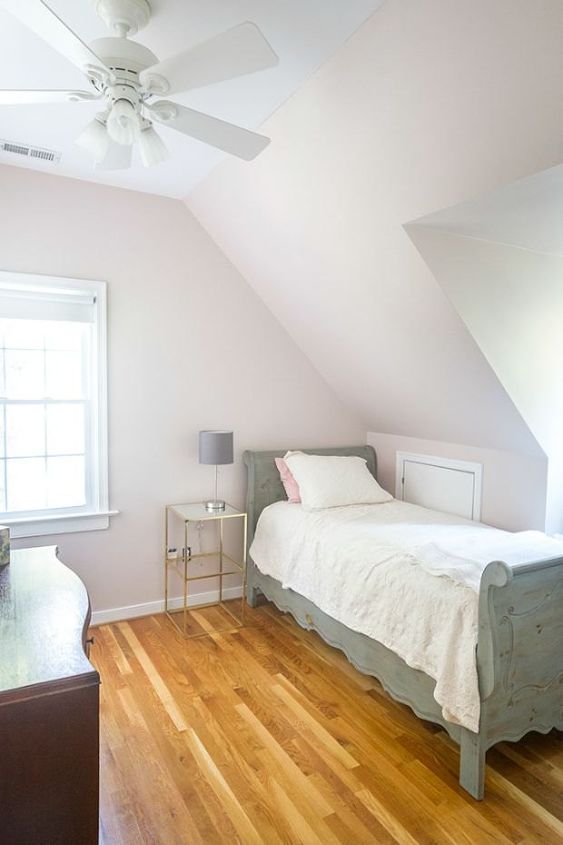
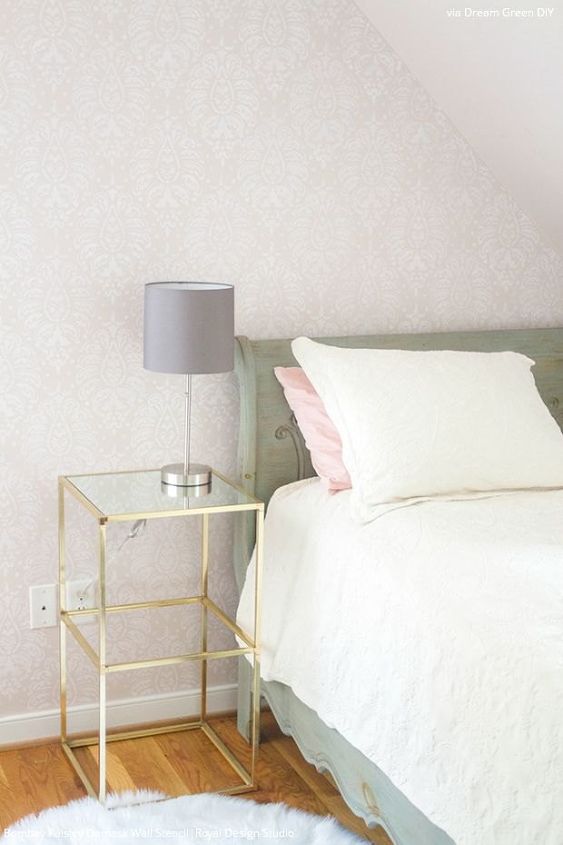
Erica had already updated the guest bedroom with soft and delicate pink walls and a few pieces of heirloom furniture, but she felt like it needed a little extra personality, which is where the stencil and Carrie come in!
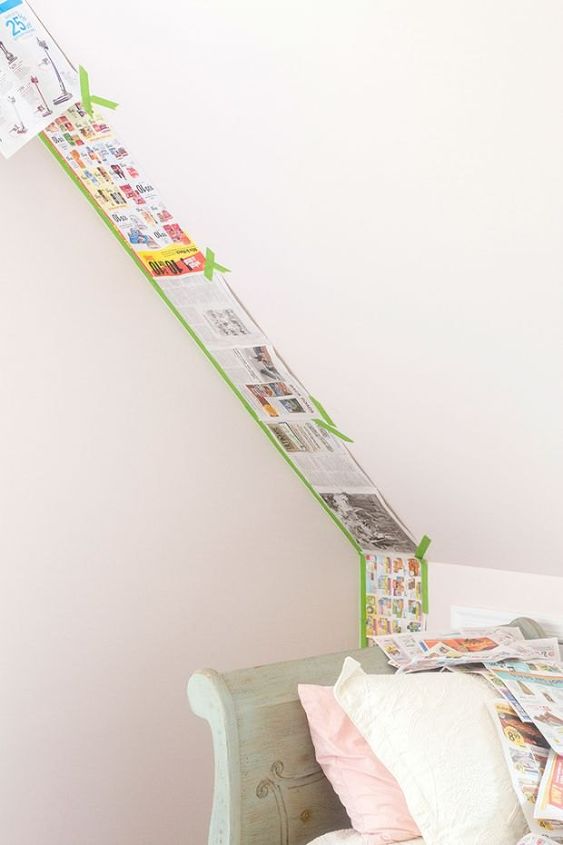
Step 1 Prep Your Area.
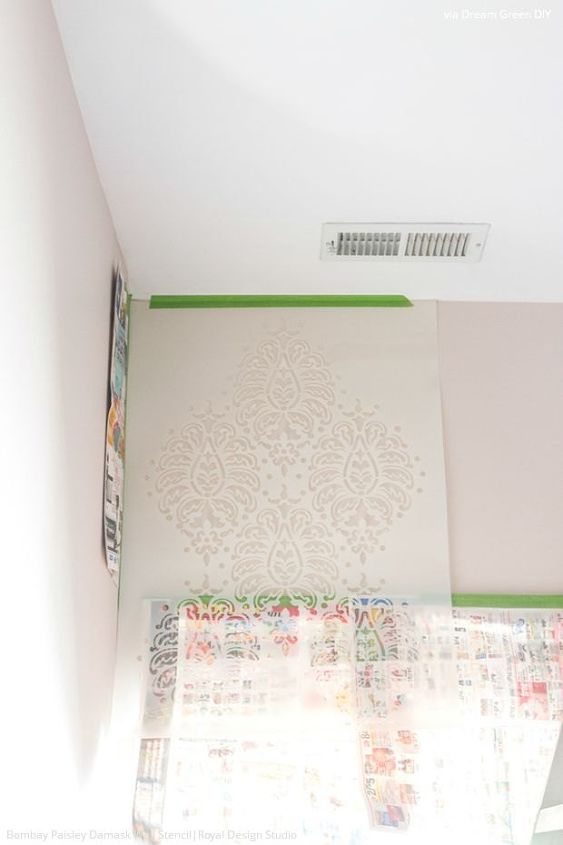
Step 2 Spray Adhesive.
Step 3 Stenciling.
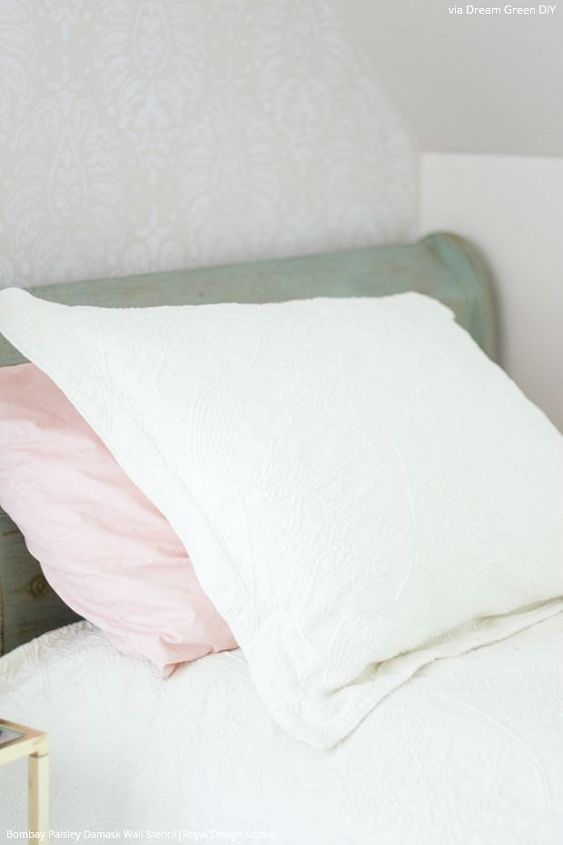
Erica loved her new stenciled accent wall! The pattern is just edgy enough to feel modern, but is still a sweet nod to vintage design, which suits Erica's 1950s home. Thank you for your help, Carrie!
Wall Stencils by Royal Design Studio www.royaldesignstudio.com


Frequently asked questions
Have a question about this project?