


How to Repair Ceiling Drywall Cracks and Holes

By Brooke Ressell
You found the perfect house, put a fresh coat of paint on all the walls, and furnished every last room just the way you like it. You may have even completed a few DIY projects to increase the value of your home and give it that extra wow factor you’ve been dreaming of. But just when you’re finally starting to feel like you’re settled in and like your house is now your home, the unexpected happens—you look up and notice that the ceiling has been damaged and is in desperate need of repair.
When you’re a homeowner, it’s always something. Regular maintenance and repairs are just a part of the normal home-owning experience, and there’s certainly no way to avoid them. Fortunately, a drywall ceiling repair isn’t the end of the world. And it doesn’t have to be a big hit to your budget either. Believe it or not, you can complete many drywall ceiling repairs on your own with a few basic tools and materials.
With this guide, we’ll show you how to repair ceiling drywall issues that you may be facing so that your house truly feels like a home once again.
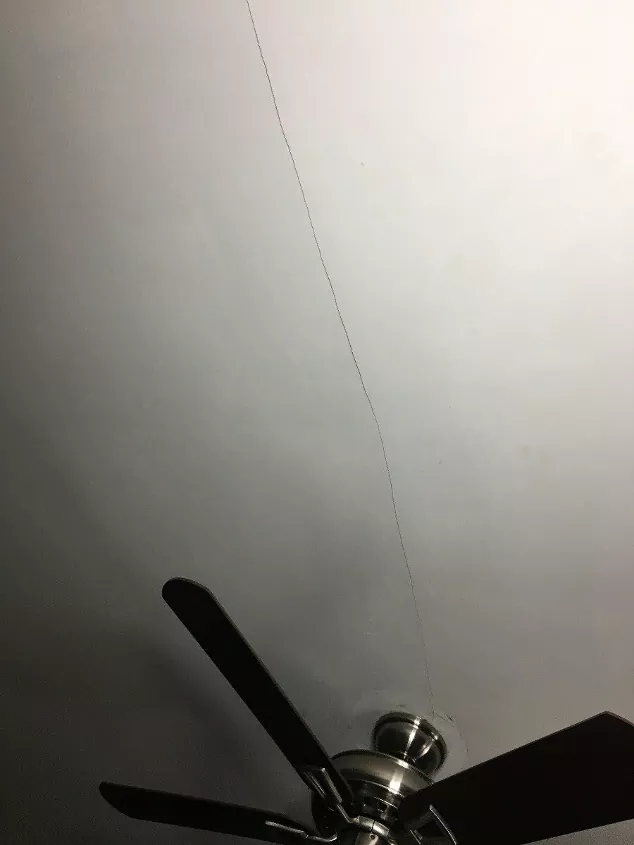
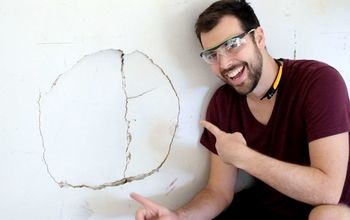
Photo via Amanda C, Hometalk Team
Common Ceiling Drywall Issues
There are several common ceiling drywall issues found in homes, all with different sources. We’ll explain what may have caused a drywall ceiling issue in the first place so that you can avoid any more problems in the future.
Nail Pops
The first common drywall issue is nail pops. Nail pops are small circles that pop out of drywall next to a nail. Nail pops usually happen when the drywall shifts during settling, which is a normal occurrence in the first few years after a home is built. Of course, they could also be an indication that you have a foundation problem in an older home, so that is important to keep in mind.
Luckily, fixing nail pops in your ceiling is as easy as scraping off the existing paint and drywall mud until you reach the screw head, retightening the screw—or replacing an old nail with a new screw—spreading joint compound over it, letting it dry, sanding it, and putting on a fresh coat of paint.
Drywall Cracking
Drywall cracking occurs when added stress is placed on the joints or seams of your drywall. This can happen if wood framing starts to dry out, your home is damaged in a storm, extreme temperature shifts take place, or the trusts start to lift.
We’ll discuss how to repair drywall cracks in detail later in this guide.
Patching
A patching repair may be needed on your ceiling if the popcorn texture has begun to peel off or if you have large holes in your ceiling. Popcorn texture typically starts peeling off as a result of old age or moisture issues. And both popcorn texture and large holes require patching after an object has come into contact with your ceiling and has caused noticeable damage.
Test for Asbestos
We'll teach you how to patch your ceiling in detail below.
Staining
Staining occurs when water comes into contact with your ceiling due to a leak in your roof, appliances, or plumbing. Fixing any leaks is the only way to prevent this issue from happening again.
Once the leak has been fixed, simply spray on a stain-blocking primer and repaint the ceiling as needed. If the drywall has been overly saturated with water, you’ll need to replace it with a new chunk of drywall, tape it, mud it, sand it, prime it, and repaint it.
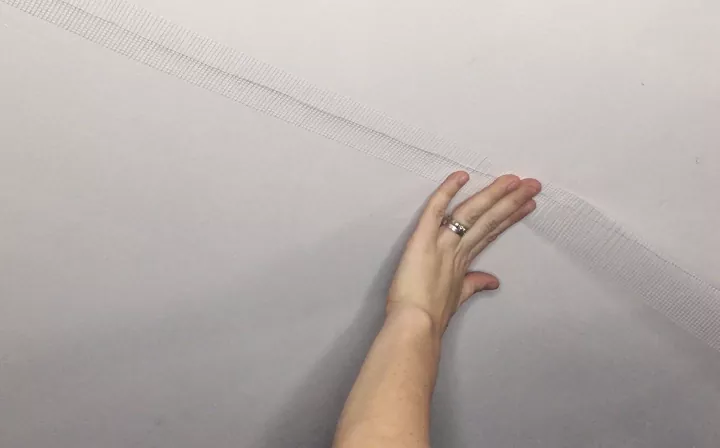
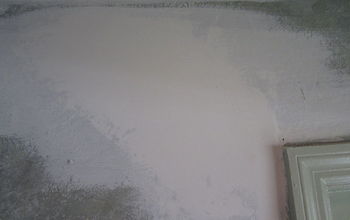
Photo via Amanda C, Hometalk Team
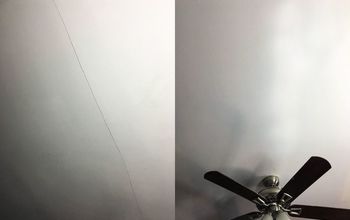
How to Repair Cracks in Ceiling Drywall
You look above you, notice a big crack in your ceiling, and you’re wondering what to do next. Don’t worry! We’ll show you how to repair a drywall ceiling that has cracked in just a few easy steps.
Tools and Materials Needed
- Drop cloths
- Dust mask
- Safety glasses
- Ladder
- Medium-grit sanding block
- Drywall tape
- Drywall taping or finishing knife
- Drywall compound
- Towel
- Paint roller
- Paint roller covers
- Paint tray
- Primer
- Ceiling paint
Step 1: Prepare the Area
Sanding drywall makes a big mess. Prepare the area before you get started by protecting your furniture and floors with drop cloths.
Step 2: Use Safety Products
To protect your lungs and eyes from drywall dust, wear a dust mask and safety glasses as you work.
Step 3: Sand the Ceiling
Climb the ladder and sand along the ceiling crack with a medium-grit sanding block to remove any loose drywall and paint.
Step 4: Apply Drywall Tape
Apply a strip of drywall tape over the entire length of the ceiling crack. Make sure that it is pressed firmly onto the ceiling and lying flat.
Step 5: Apply Joint Compound
Using either a drywall taping or finishing knife, mud the area with joint compound. Make sure that all of the drywall tape is covered smoothly. If you don’t own either a drywall taping or finishing knife, a larger putty knife works well.
Step 6: Allow to Dry
Allow the joint compound to dry overnight.
Step 7: Do a Light Sand
The next day, use your sanding block to do a light sanding of the area you covered in joint compound. Be sure to wear your safety glasses and dust mask while doing so.
Step 8: Apply a Second Coat
Then, apply a light second coat of joint compound to the entire area.
Step 9: Allow to Dry
Allow the joint compound to dry overnight.
Step 10: Do a Light Sand
Once the joint compound is thoroughly dry, do another light sand to prepare the area for painting.
Step 11: Remove Dust
Use a slightly damp towel to remove any dust remaining on the ceiling.
Step 12: Prime the Ceiling
The ceiling is now ready to be primed. Pour primer into a paint tray, put the paint roller cover on the paint roller, and coat the roller in primer. Then, prime the entire area that you fixed.
When to Repaint the Whole Ceiling
Step 13: Allow to Dry
Allow the primer to dry according to its directions.
Step 14: Paint the Ceiling
Next, paint the affected area with the ceiling paint.
Step 15: Allow to Dry
Allow the paint to dry as instructed by the manufacturer.
Step 16: Paint a Second Coat
Once the first coat of paint has dried, paint a second coat.
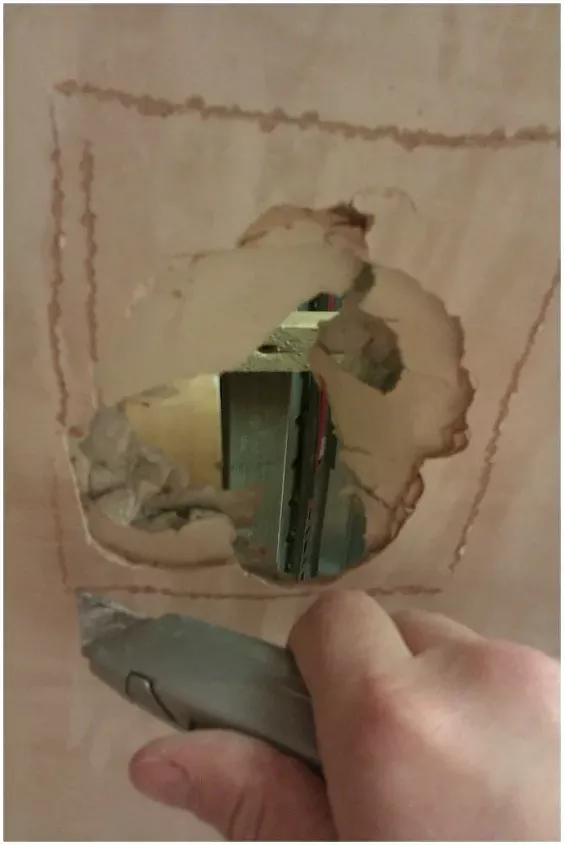
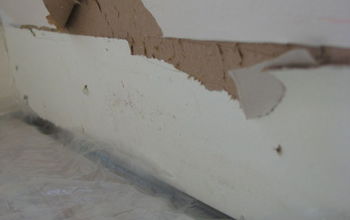
Photo via Plastering Books
How to Patch a Hole in Ceiling Drywall
You were moving something in the house and accidentally hit the ceiling. Now you’re staring up at a big hole. No worries! You can patch a ceiling drywall hole without the need to hire help; here’s how.
Tools and Materials Needed
- Drop cloths
- Ladder
- Dust mask
- Safety glasses
- Stud finder
- Power drill
- Drywall screws
- Nailing strips
- Tape Measure
- Pencil
- Utility knife
- Drywall
- Drywall tape
- Drywall taping or finishing knife
- Drywall compound
- Medium-grit sanding block
- Towel
- Paint roller
- Paint roller covers
- Paint tray
- Primer
- Ceiling paint
Step 1: Prepare the Area
Avoid a dusty mess by placing drop cloths on all of your furniture and floors before you begin.
Step 2: Use Safety Products
Always wear a dust mask and safety glasses when sanding drywall.
Step 3: Use a Stud Finder
Climb the ladder and use a stud finder to locate the joists surrounding the hole in your ceiling.
Step 4: Remove Old Drywall
Next, cut a rectangular section of the old drywall out using your utility knife. You want to make sure you cut out a rectangular section with as straight lines as possible up to the joists on either side of the damage.
Save the Drywall
Step 5: Attach Nailing Strips
Using your power drill and drywall screws, attach nailing strips to the joists on both sides, making sure that the nailing strips are flush with the bottom of the joists.
Drywall Repair Clips
Step 6: Measure Drywall Patch Needed
Use your tape measure to figure out the size of drywall you need for the patch. Then, use a pencil to mark the cuts you need to make on the new sheet of drywall.
Step 7: Score and Snap the Drywall
Using a sharp utility knife, score the drywall along the cut lines and snap the excess off.
Step 8: Hang New Drywall
Next, hang the new drywall by holding it into place and driving drywall screws through the new piece of drywall and into the nailing strips.
Screws should be driven in every seven to eight inches. Just be sure that the screws sit slightly below the face of the drywall without tearing the drywall paper.
Step 9: Apply Drywall Tape
Apply a strip of drywall tape over each of the four seams in the drywall patch. Make sure that the drywall tape adheres well to the seam and lies flat.
Step 10: Apply Joint Compound
Mud each seam with a drywall taping or finishing knife and joint compound so that you have a nice, smooth surface.
Step 11: Allow to Dry
Follow the instructions for dry time provided by the manufacturer.
Step 12: Do a Light Sand
Then, do a light sanding with your medium-grit sanding block. Be sure to wear your safety glasses and dust mask here.
Step 13: Apply a Second Coat
After it is sanded well, place another coat of joint compound along each seam.
Step 14: Allow to Dry
Allow the second coat of joint compound to dry per the instructions.
Step 15: Do a Light Sand
Once the second coat is dry, put on your dust safety gear and do another light sand to prepare the area for priming and painting.
Step 16: Remove Dust
Wipe off any residual dust from the ceiling using a slightly damp towel.
Step 17: Prime the Ceiling
Pour primer into your paint tray, coat your paint roller cover in primer, and use the paint roller to apply primer to the ceiling.
Step 18: Allow to Dry
Allow the primer to dry fully before painting it. The recommended dry time will be listed on the product.
Step 19: Paint the Ceiling
Once the primer has dried, roll the first coat of paint onto the ceiling.
Step 20: Allow to Dry
Allow the first coat of paint to dry per the manufacturer’s recommendations.
Step 21: Paint a Second Coat
Lastly, roll the second coat of paint onto the ceiling.
When to Call a Professional
Sometimes a drywall repair on a ceiling is just too much for you to handle, and that’s when you know it’s time to call in a contractor. There are several circumstances that may lead to a ceiling repair being more of a hassle than it’s worth:
- If the ceiling drywall issue is overly large—spanning an entire room or more—you may decide it’s better just to hire a fix.
- If the repair requires a large patch and you’re not physically able to lift a new sheet of drywall up over your head for an extended length of time.
- If you don’t already own the tools and materials needed to complete the repair and buying them all just wouldn’t make sense.
- If you have really high ceilings in your home and you don’t feel comfortable standing on a tall ladder and working on them yourself.
Do you have any tips on repairing ceiling drywall? Let us know in the comments below!


Frequently asked questions
Have a question about this project?
Don’t know if you have experience with this or not, but I’m looking for input on water stains on wood. I have an 1857 log cabin, with old grainary boards on the ceiling in the bathroom, and hemlock barn board on the cathedral ceiling in the kitchen. Both places were affected by a leak, and now I have water stains on both. The kitchen boards are a silver-grey and the bathroom boards are a warm pine colour.
Any tricks you know of? Thought I might try lightly applying Methyl Hydrate with a brush, and using different grades of steel wool and/or dabbing with a sponge . I’ve also bought some ‘wood restorer’ products, but they are more for bringing weathered wood back to its original condition, and I feel they will probably be too harsh, making the area even more noticeable. Just wanting to pick people’s brains to see what others may have done! TIA! Patti