


Workshop Light Fixture Upcycle – Better Light in Our Workshop Closet
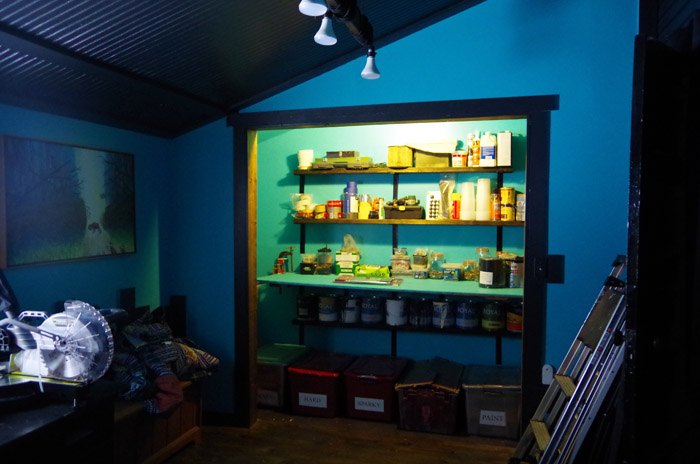
Since I completed the workshop reorganization and closet tackle it immediately became apparent that I needed a MUCH better workshop light in there. From previous photos I’ve shared it doesn’t look near as bad as it actually is because I had the overhead light in the room on as well. But, because the little wall light is overhead in the closet, right above the door opening, the minute you lean into the closet your shadow casts over everything. What we needed was a workshop light in here that armed out away from the wall and centered on the new workbench. My brain immediately lit on a very old yard light that’s been stubbornly hanging off the side of the barn for decades.
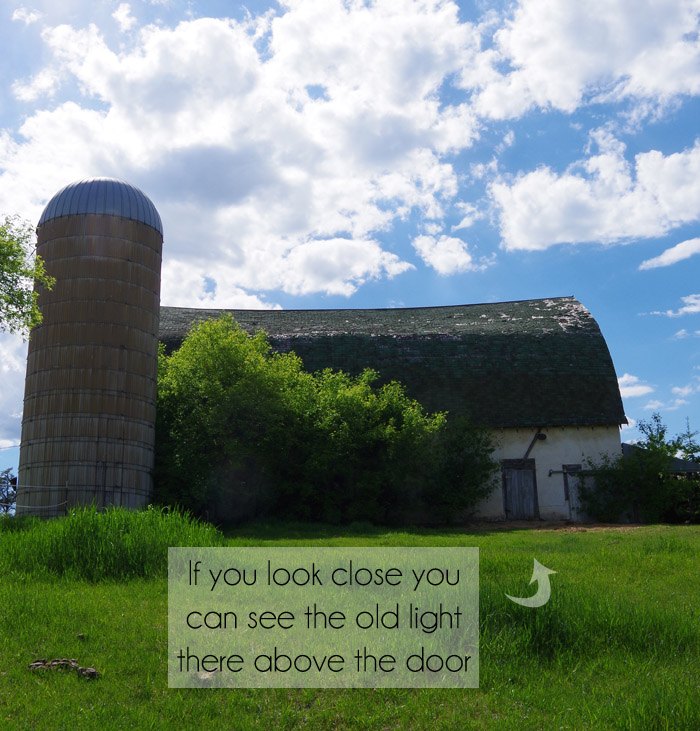
I’ve been meaning to grab it for years but seeing as it was hanging off the back of the barn (a bit of a hike from the house) and required a ladder to get it and I had no place for it… its just been hanging out.
Amazingly I found an old pic so you can see where it was!
We’re already using the two “prettiest” yard lights from this farm here in the home. One is above our master bathroom sink and the other is above our kitchen sink.
I really love them both.
They were in a lot better shape than this old light and they were also a bit bigger.
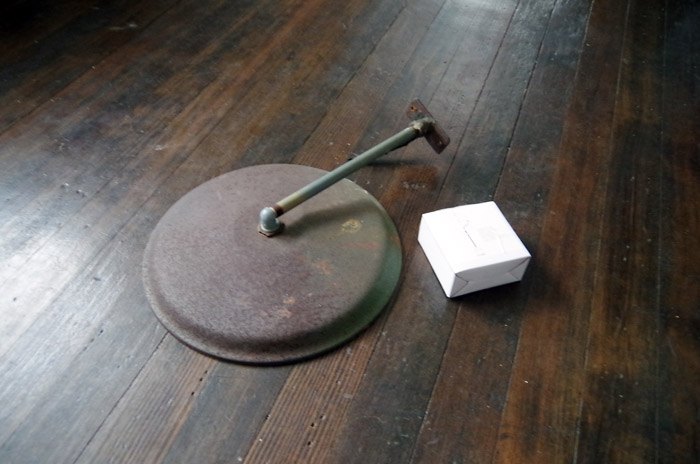
Once we got it down and I got a look at it I couldn’t help but love this one too. Its not huge (so, it’ll work better here in the closet) and its color is now just rust which I think is kind of awesome.

I planned on leaving it “as is” as much as possible but, one thing I did need to do to our future workshop light was at least paint the inside of the shade in a mirror aluminum finish. (White would have worked just as well but I had a can of mirror spray paint leftover.)
Though I think the rust look is very cool the purpose of this project is to provide more light!
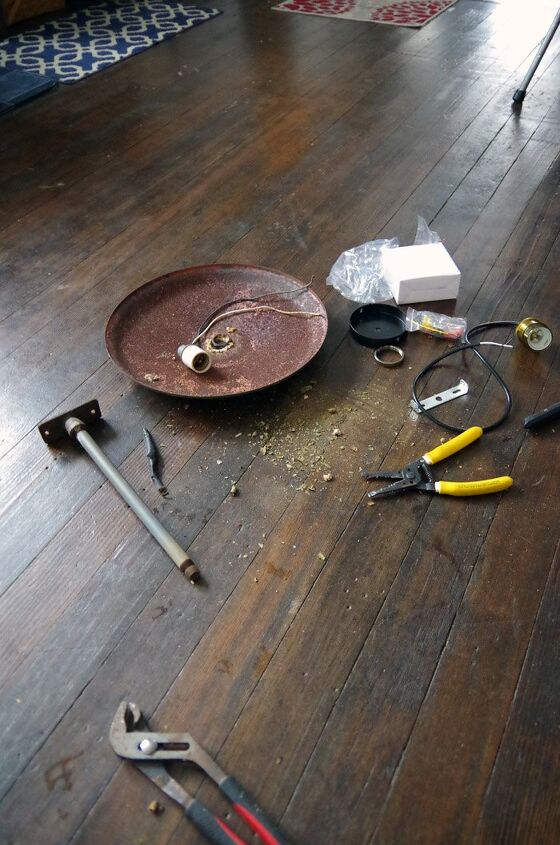
After that the hardware and the shade are good to go, however the wiring needed to be replaced.
If you can believe it the old bulb was not only still screwed into this old light but also not broken! Lodi joked the bulb was probably just fine too and that wouldn’t have surprised me at all at this point.
(We’re still using forty year old florescent lights in our garage that I pulled out of the barn years ago – this home has proven to me over and over again that they really don’t make anything like they used to.)
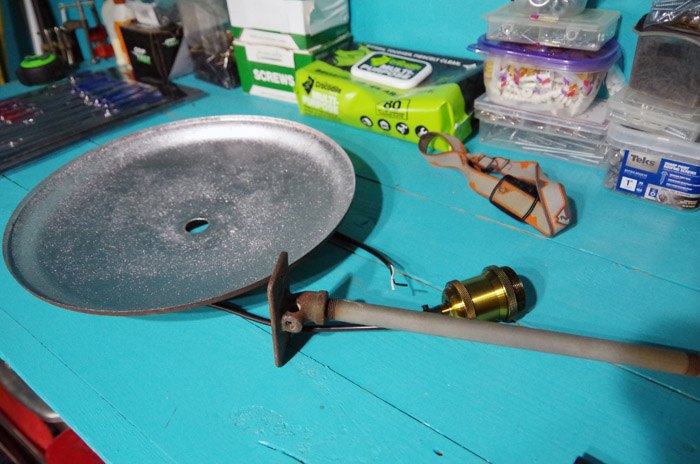
The old porcelain base also needed to be replaced otherwise I would have just rewired it.
I did some looking on Amazon for the most basic light fixture kit I could find and ordered this one for $8. After that it was just a case of removing the old wiring and porcelain lamp base and replacing it with the new one.
The only hardship was unscrewing the rusted on washer that was holding the old porcelain bulb base from there though it was easy to just thread out the old wiring.
Than I added the new bulb base.
YES, I could have made the hole larger in the shade to attach the new fixture with its washer correctly. However I decided it wasn’t worth the effort, this specific light fixture is meant to have the weight of a shade hanging off of it so doing it like this was just fine.
I threaded the new wiring through the old hardware and was ready to go.
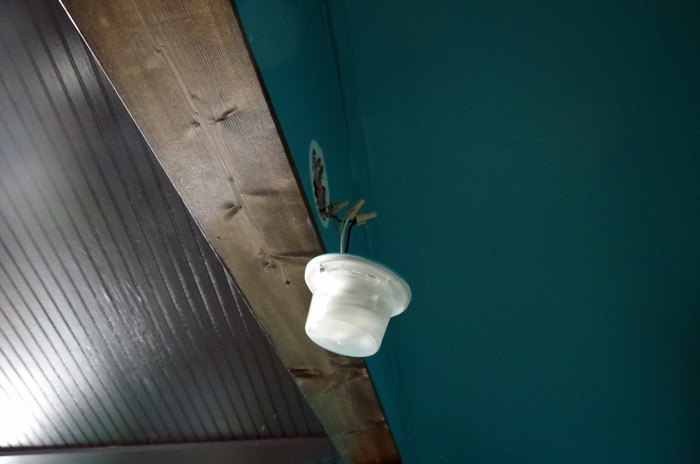
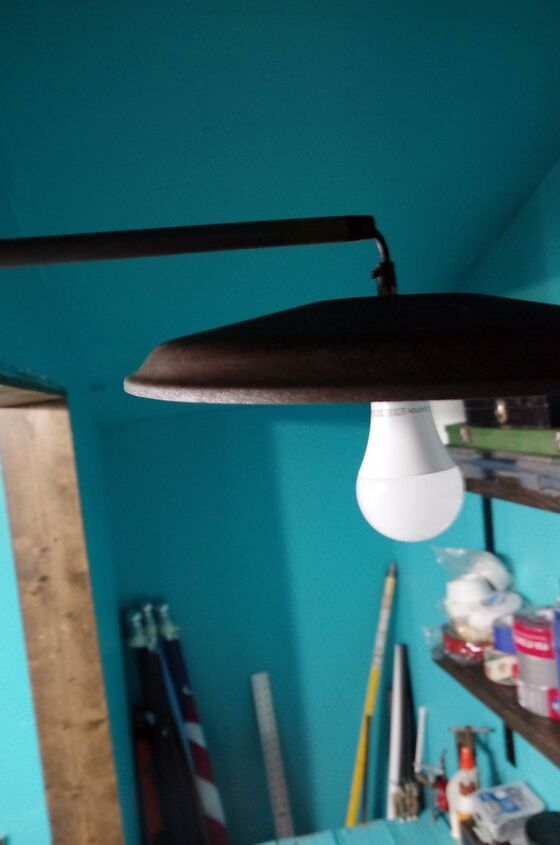
I uninstalled the old closet light and hardwired this old yard light right in, safely securing everything with wire nuts and screwing the base to the light box.
From there I happened to have on hand one VERY bright light bulb.
Lodi requested a brighter light above our master bathroom sink so I went on the hunt for the brightest bulbs I could find. Happy to use the second one here!
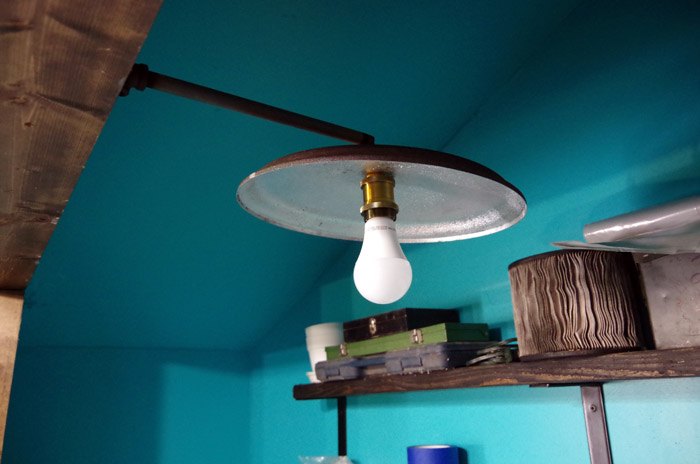
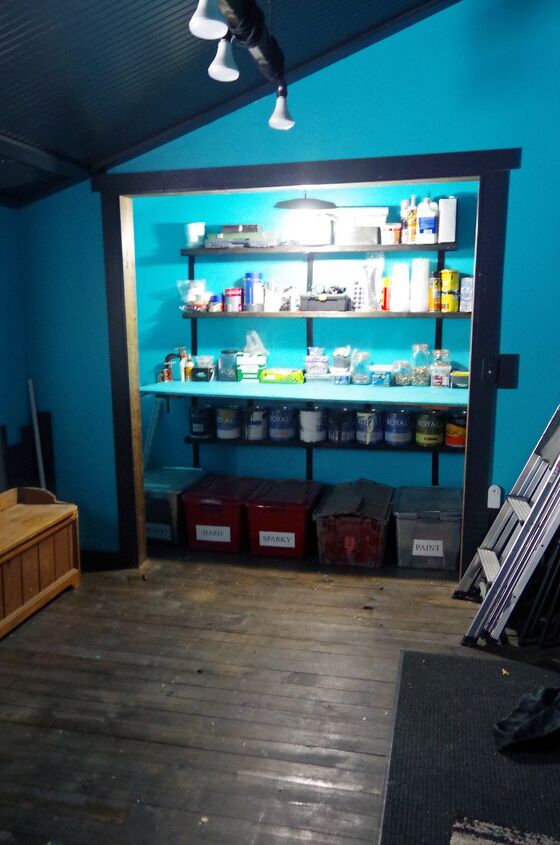
Yay we have a new workshop light!
What a huge difference!


Frequently asked questions
Have a question about this project?