


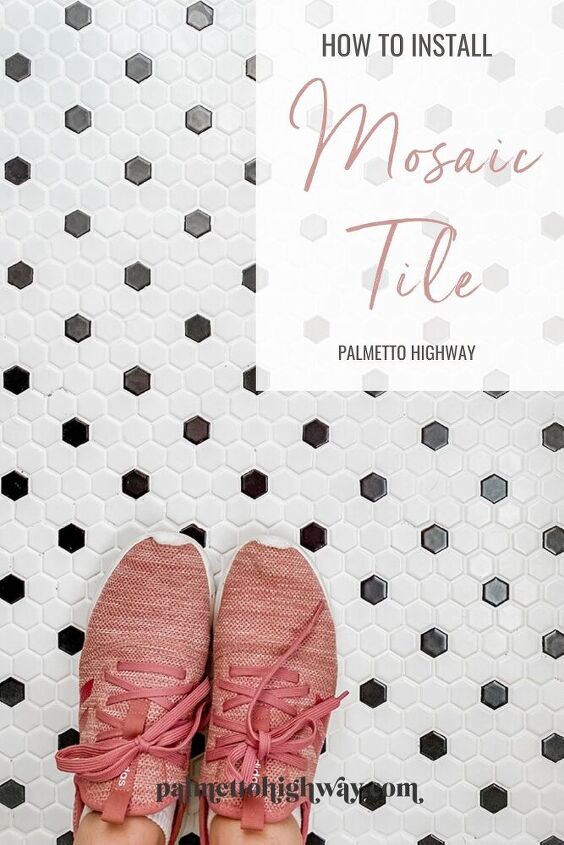
How to Install Mosaic Tile
A Step-by-Step How-to For Installing a Classic Cafe Style Tile in your BathroomThis tile project almost did me in. I had never installed tile before and I made a LOT of mistakes. But you know what, that’s part of the DIY process and I learned a bunch so that I could teach you how to install mosaic tile too!
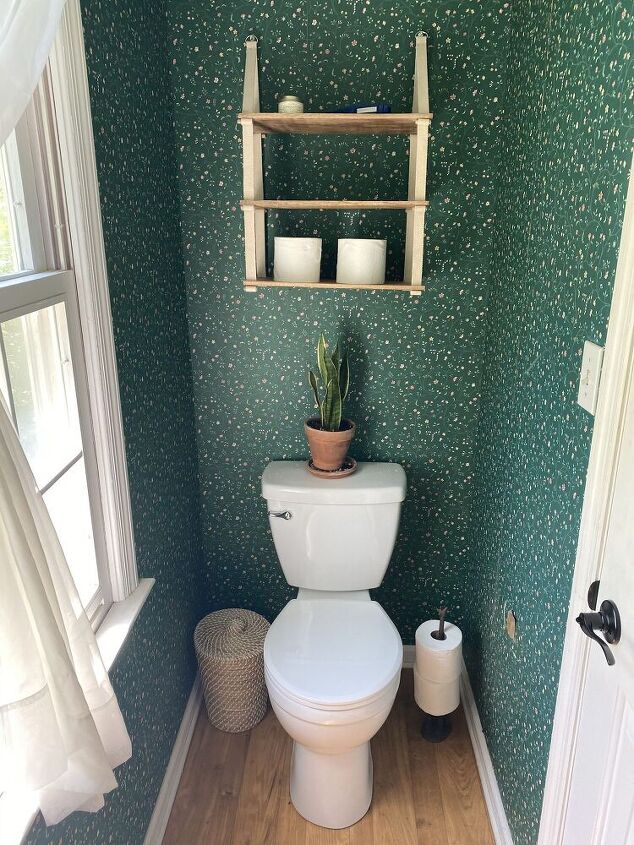
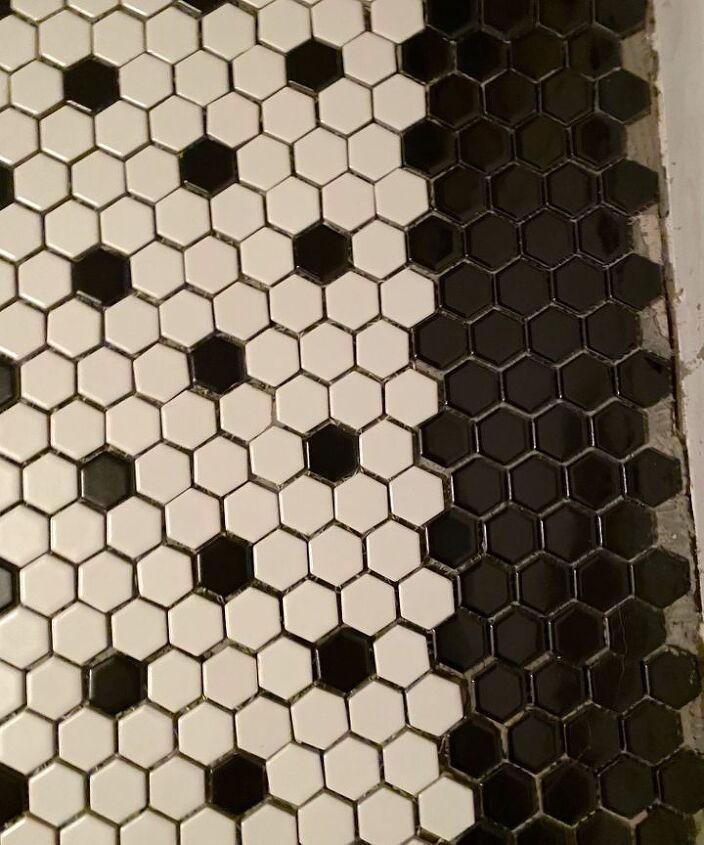
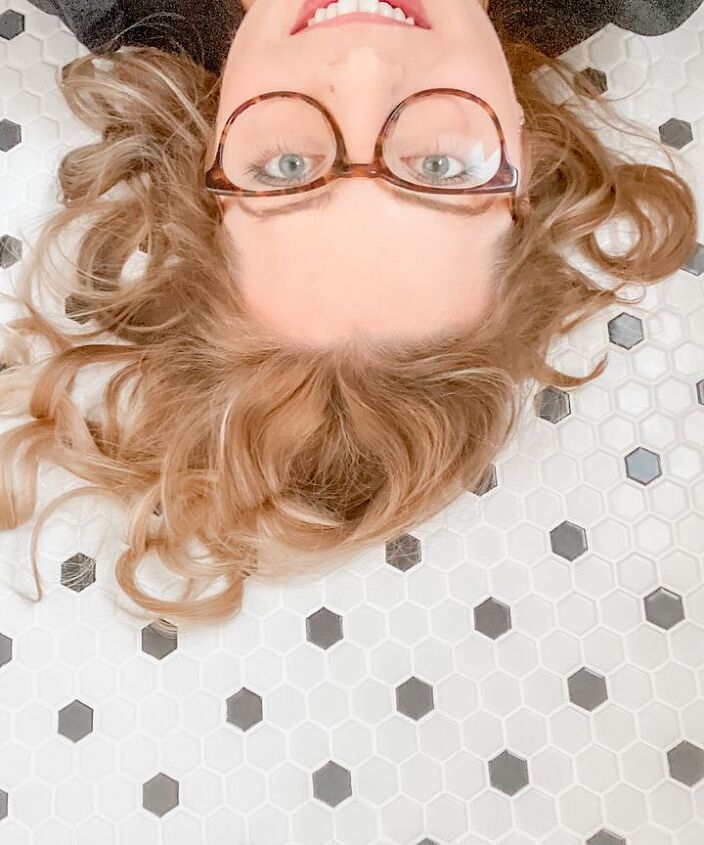
This room was previously covered in vinyl flooring. These are the powder room ‘before’ images. This tiling project is just one step in updating this bathroom.
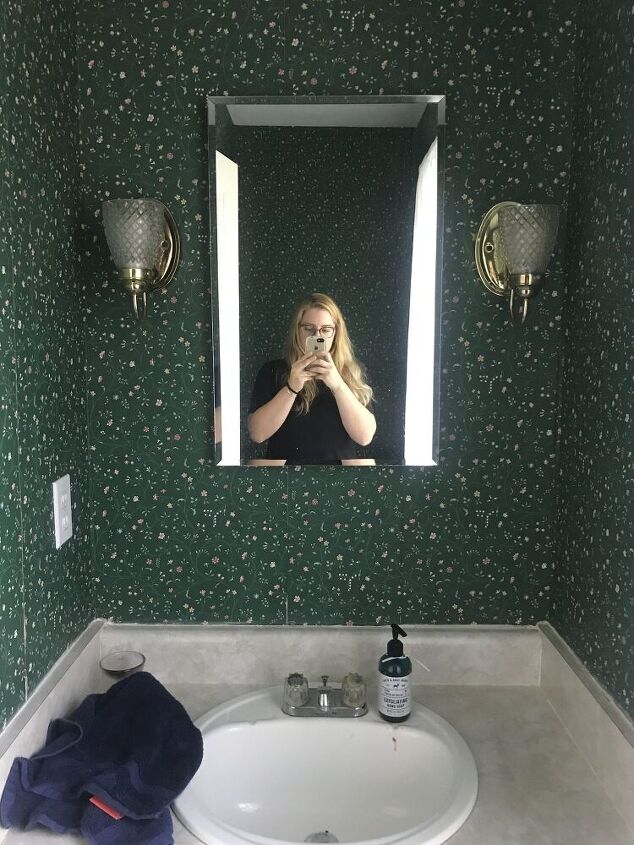
If you want to see more of my home before all the renovations, check out this Tour de Palmetto.
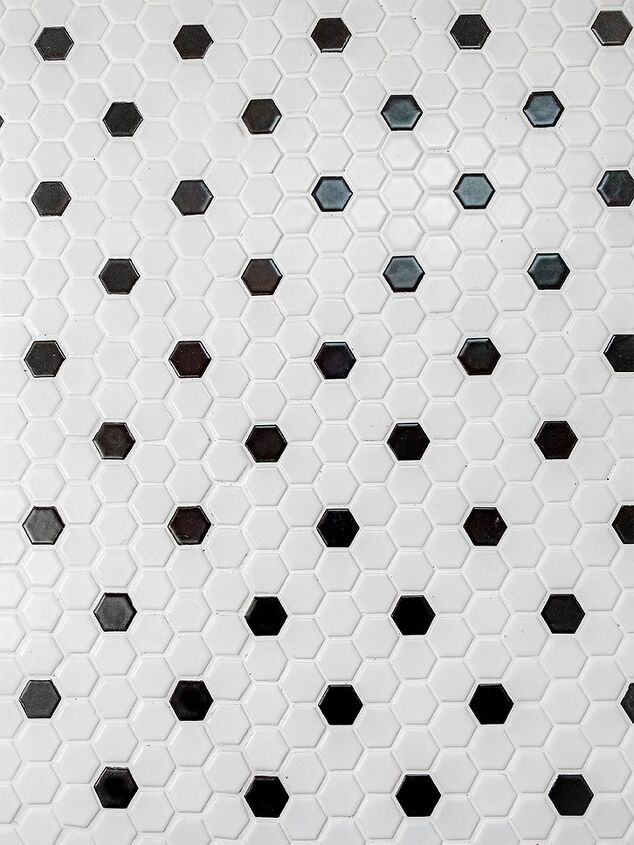
I was so ready for a new space but I wanted a style that would withstand everchanging trends. I chose these mosaic tiles because of how they can be customized for your space, plus the tile was on sale at The Home Depot!
Note: Affiliate shopping links are provided for your convenience. By shopping through the links on my site, I will earn a small commission at no additional cost to you. Thanks!
LET’S GET STARTED!
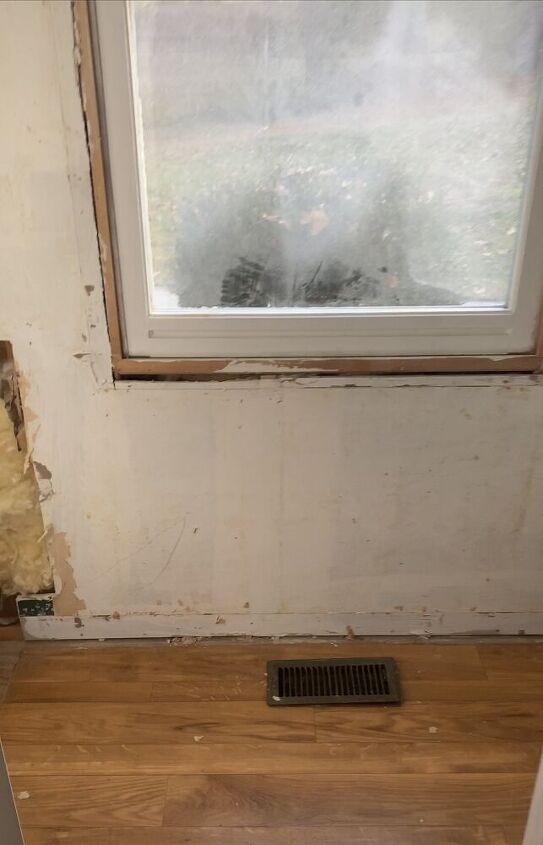
1. It's important to start with a clean slate. Remove baseboards and door trim and anything in the way
2. Including the toilet! Be sure to store it somewhere if you intend to reinstall the same one
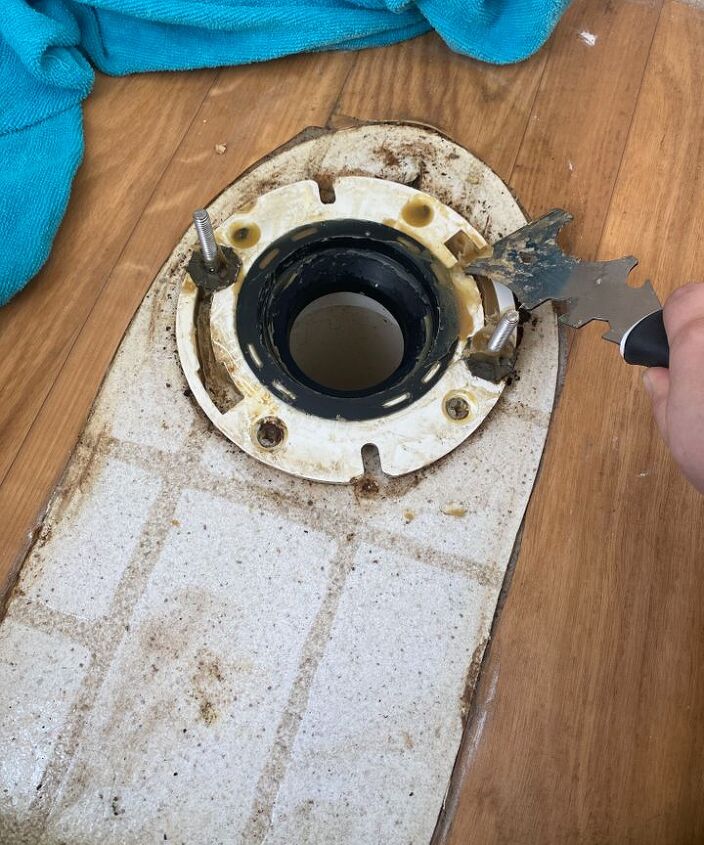
3. You'll need to replace the wax ring when you reinstall the toilet so I cleaned off the wax ring
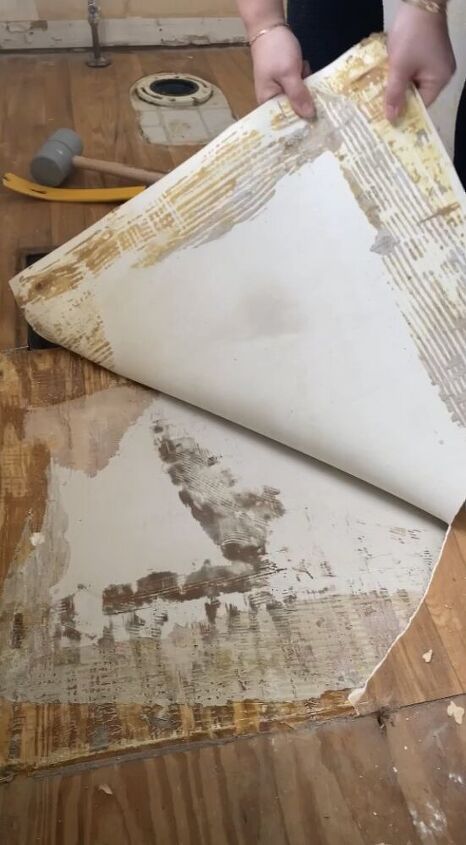
4. Next, remove the existing floor. I chose to remove the laminate instead of tiling over it
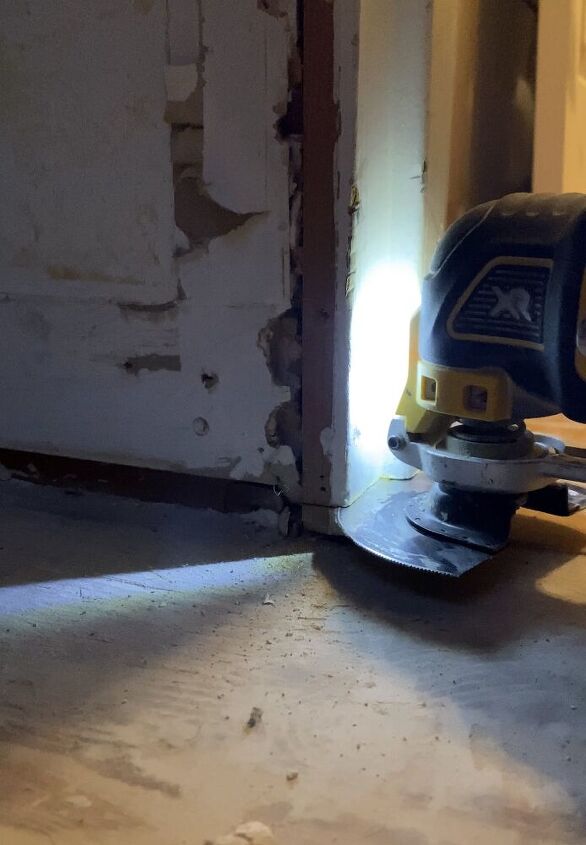
5. The tile and cement board need to fit under the door frame so you may need to trim it to make room
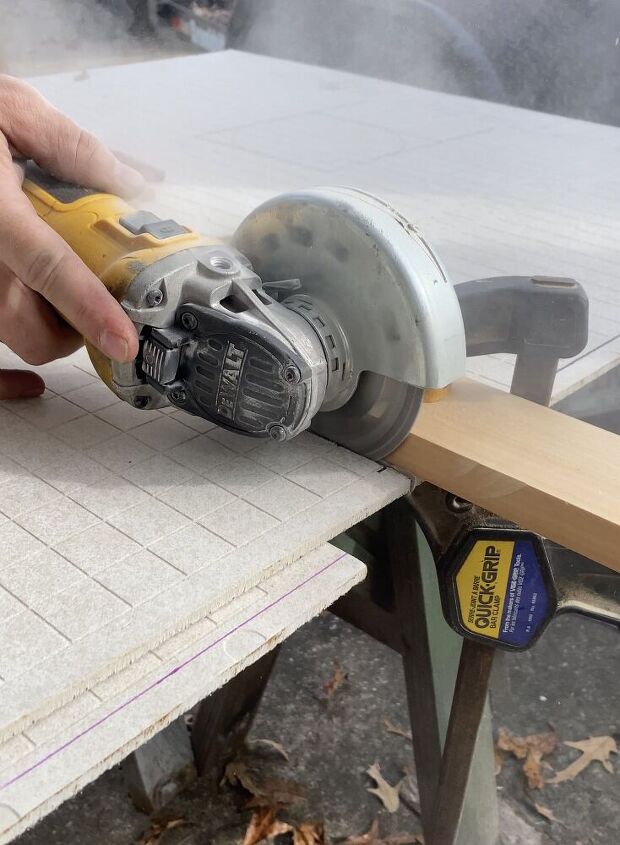
6. Next, cut the cement boards to size! Triple check all your measurements and use a strong blade
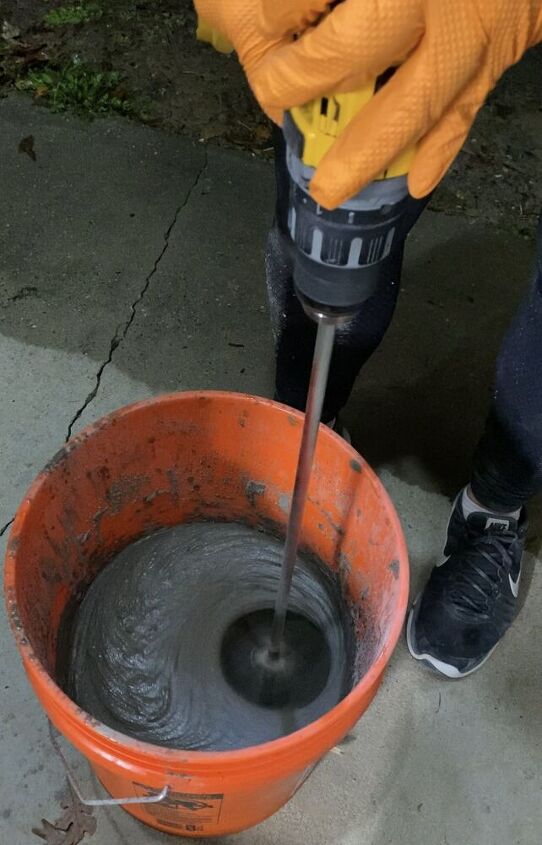
7. Follow package instructions to mix the thinset. Consistency should be similar to pudding
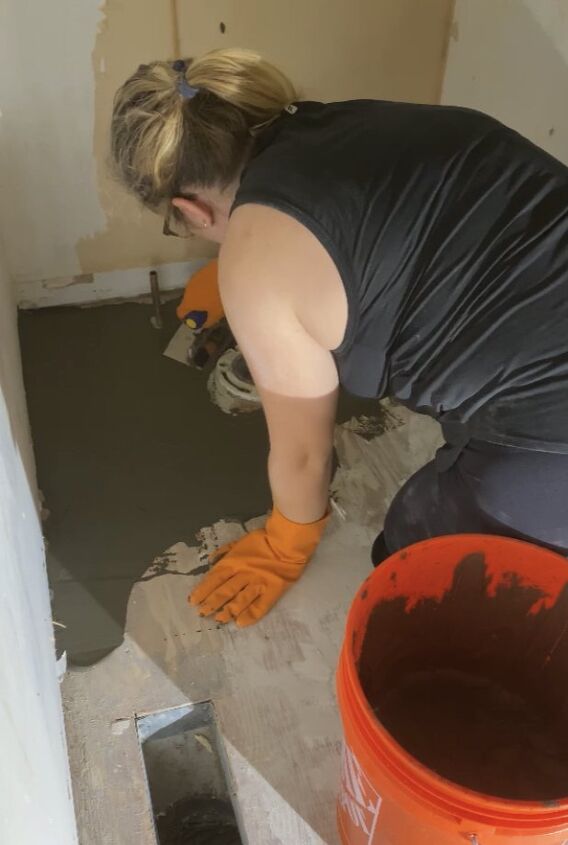
8. Start applying with the smooth side of a trowel then grooves before you put the board(s) down
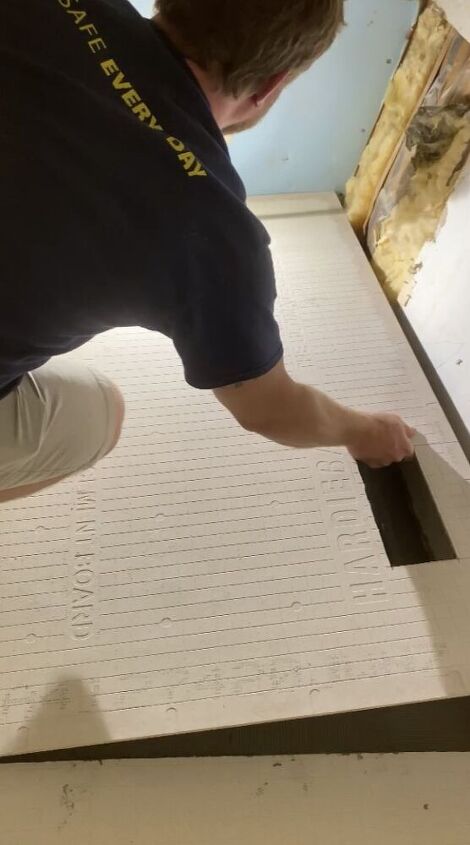
9. Next screw it down every 8" using cement board screws (not pictured here, oops)
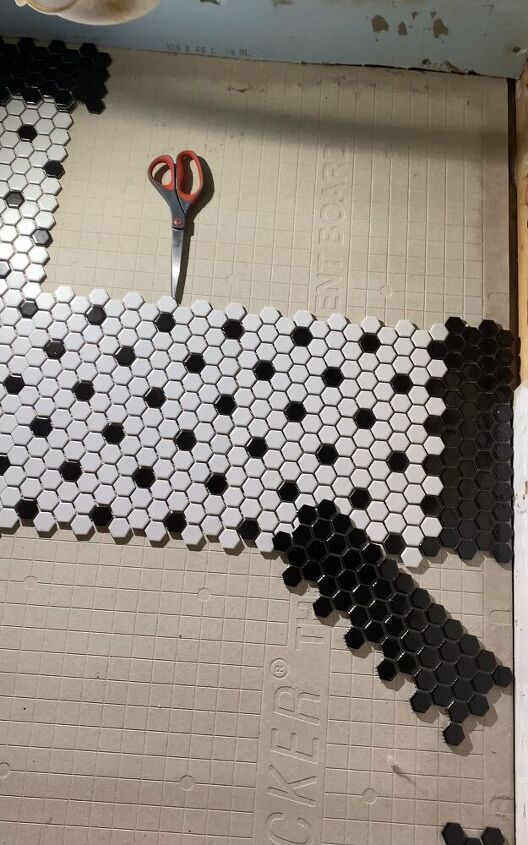
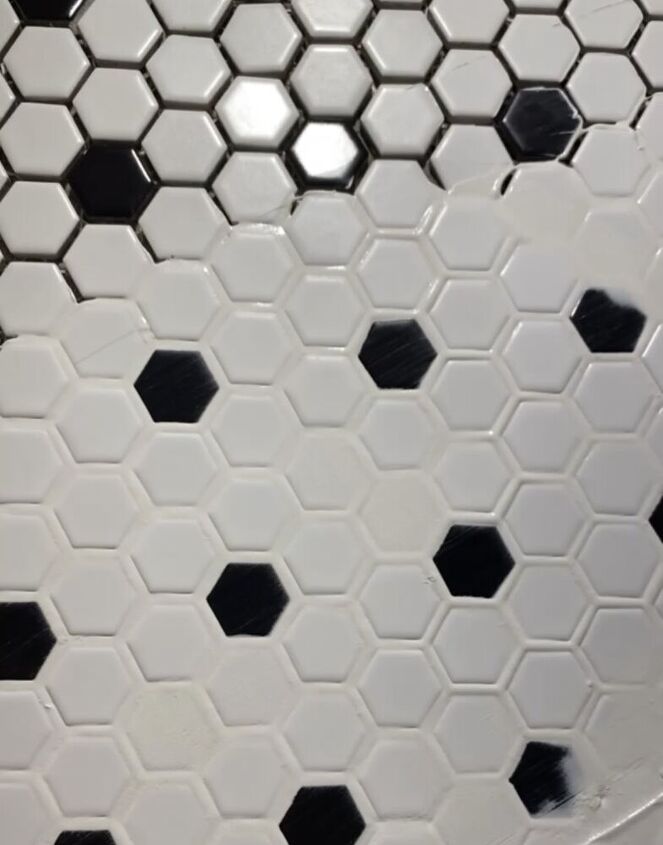
10. Next I dry-fit and cut all my mesh sheets to size to get the pattern and space that I needed
11. It takes time to get the pattern just right but it's worth it to not have to cut while thinset dries
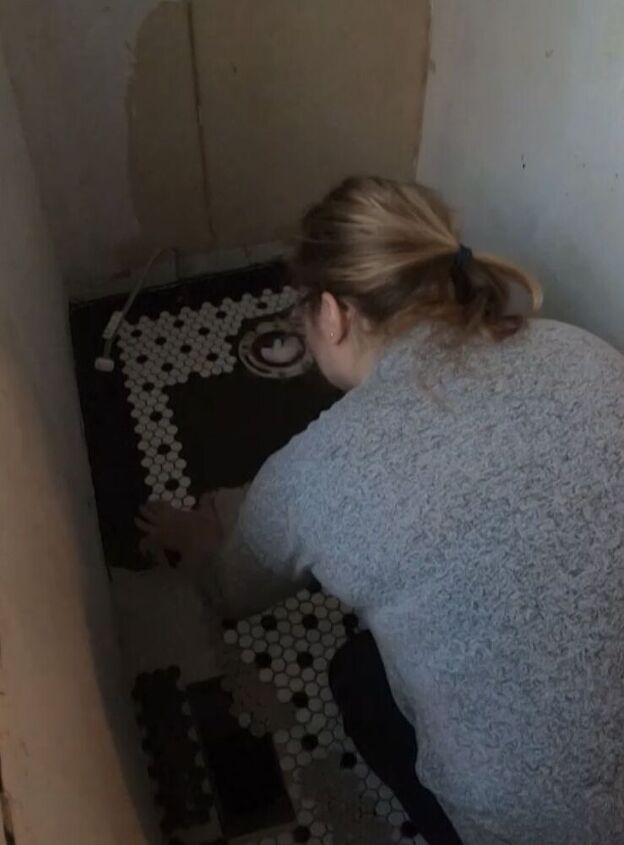
12. I recommend starting in the middle and working your way out. I had a TON of spacing issues here. See how I'm starting from one end?
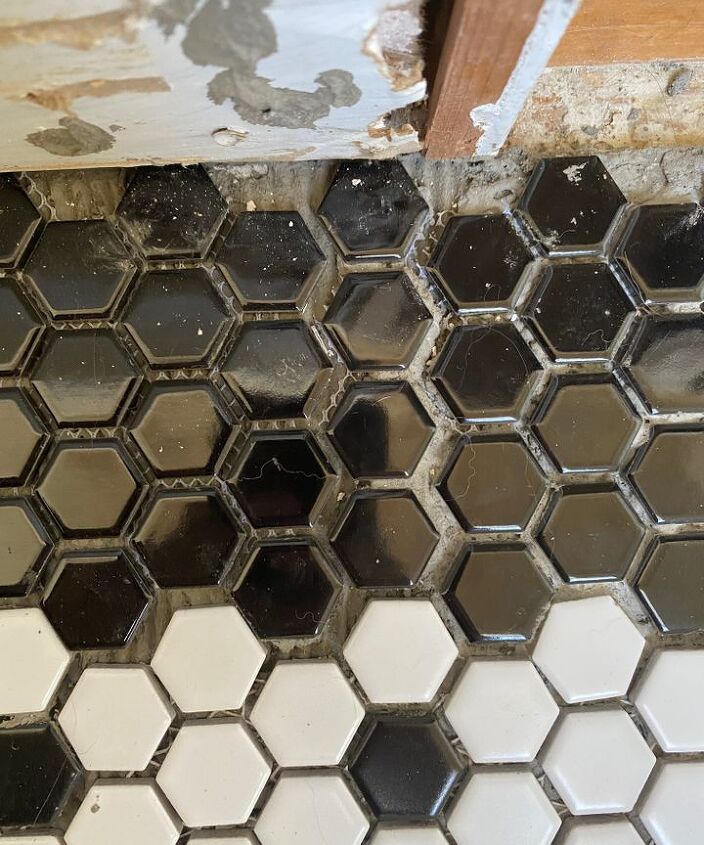
13. Starting from the ends and working my way in resulted in a ton of gaps and irregular spacing. Starting at one end and working all the way across, in one direction, or starting from the middle and working outward will save you from having gaps like this.
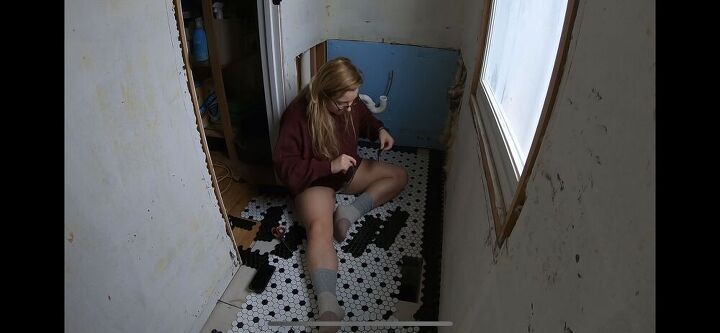
4. With tile this small, the spacing may get weird where sheets meet, I recommend using spacers!1
5. Trying to fix my spacing issues caused tiles to pop up and needing to be re-secured with thinset
16. At this point, I was frustrated/disappointed but keep going! I promise it's not as bad as you think!
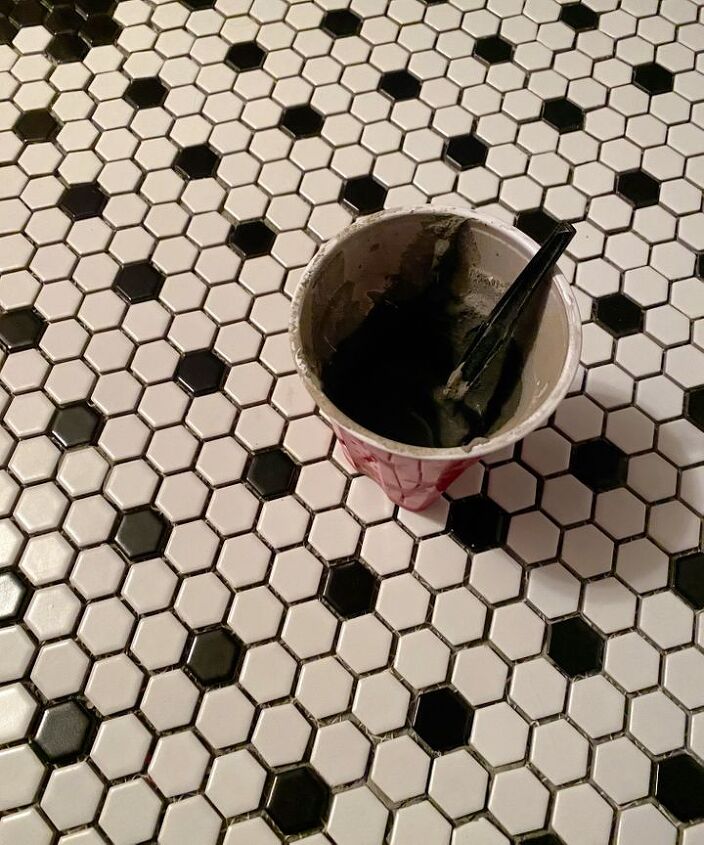
17. Grouting is where the magic started to happen
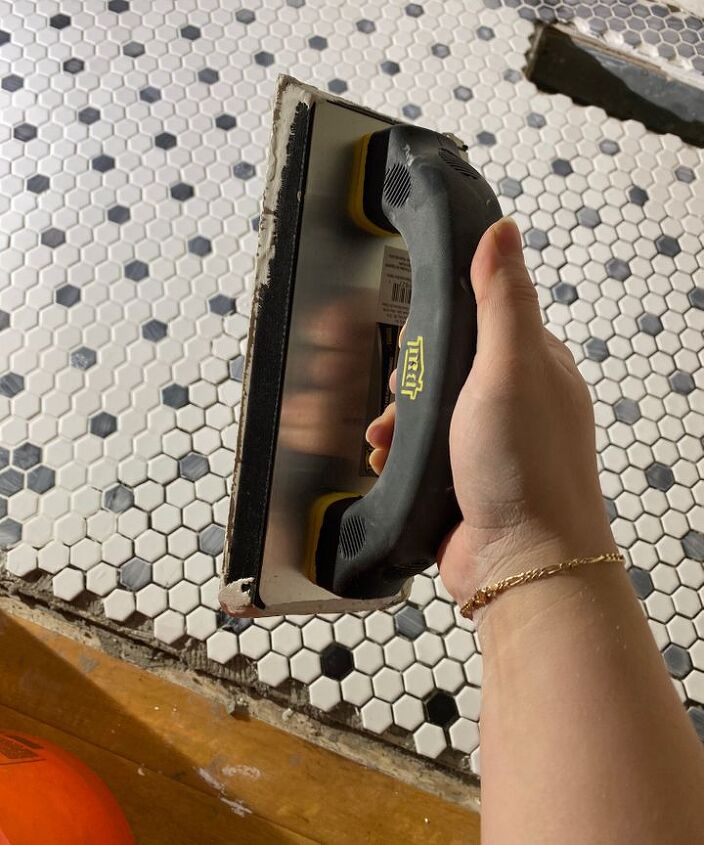
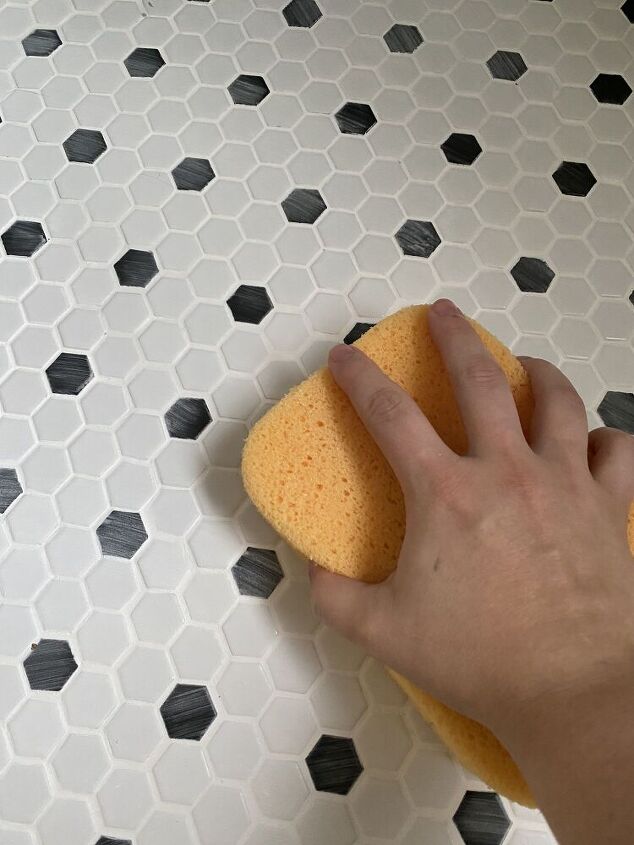
18. This grout float is what you use to apply the grout. It's got a rubber base to protect the tile. I started from the outsides so that I had a place to stand/crouch and reach the far ends
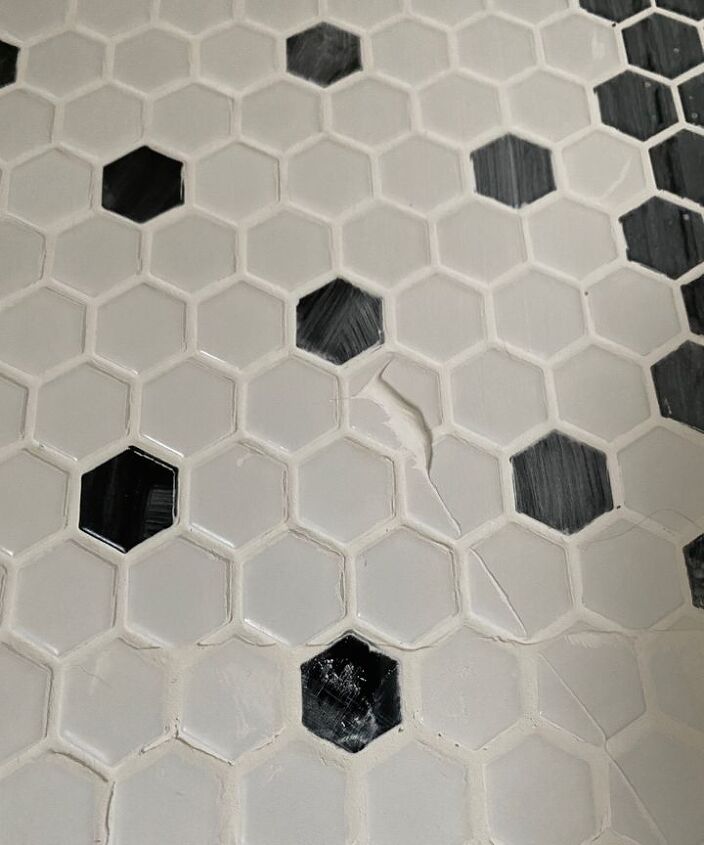
20. Be sure to wipe away all excess grout or you will spend hours scraping it after you dry
21. Don't wipe too much grout between tiles and remember that you may have to come back to fix air holes
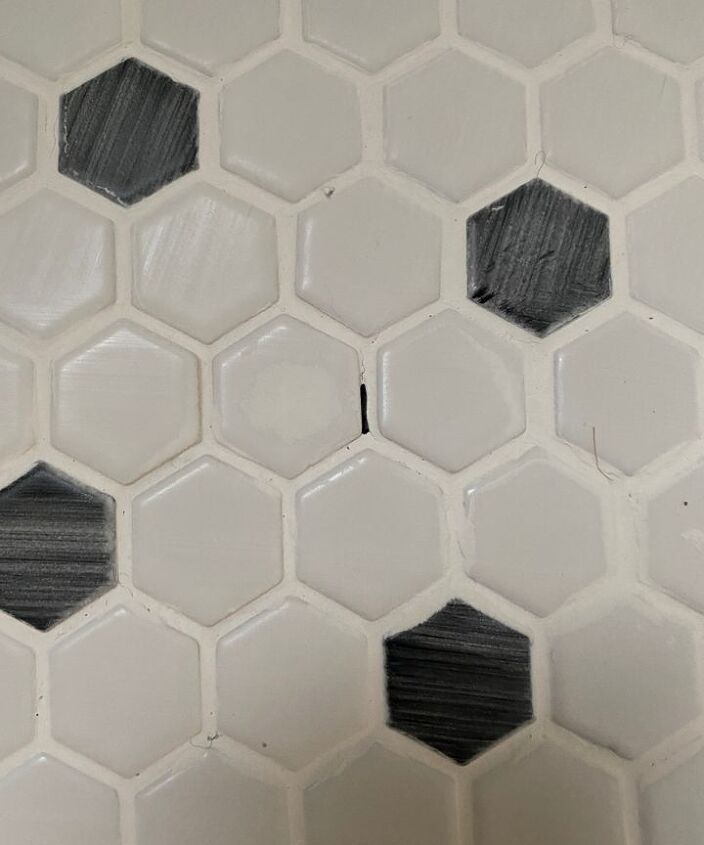
22. Wipe away excess grout 20 minutes after application. Wipe again after it sets.
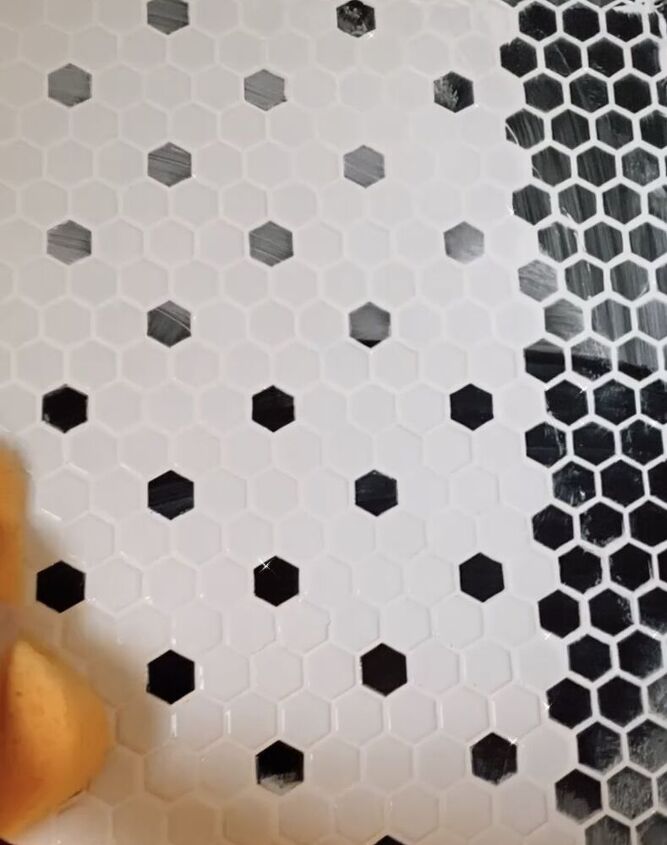
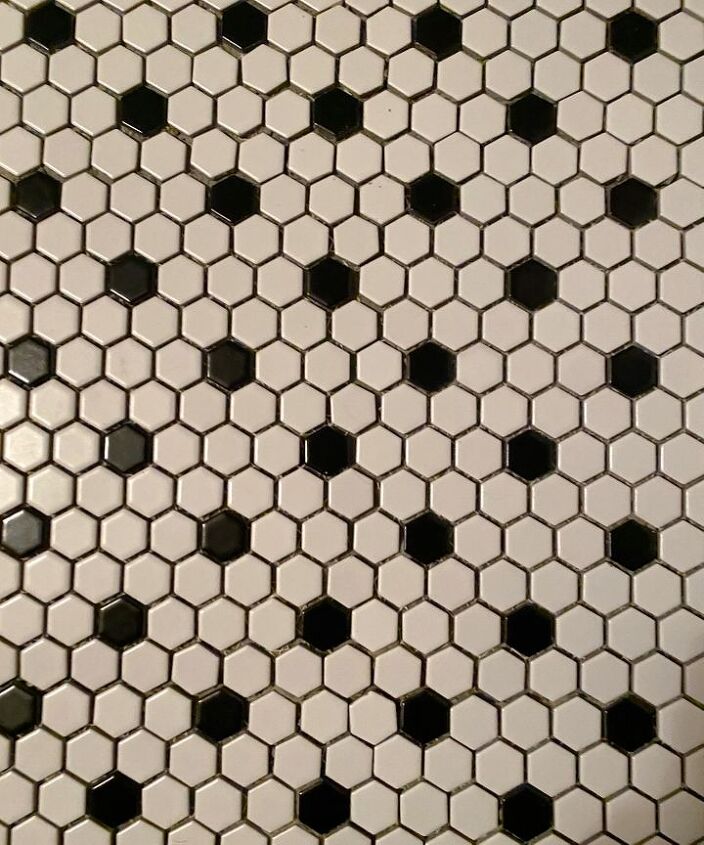
23. You may need to wipe, flip the sponge, wipe, clean the sponge and do it all again to get the tile perfectly clean. See the difference?!
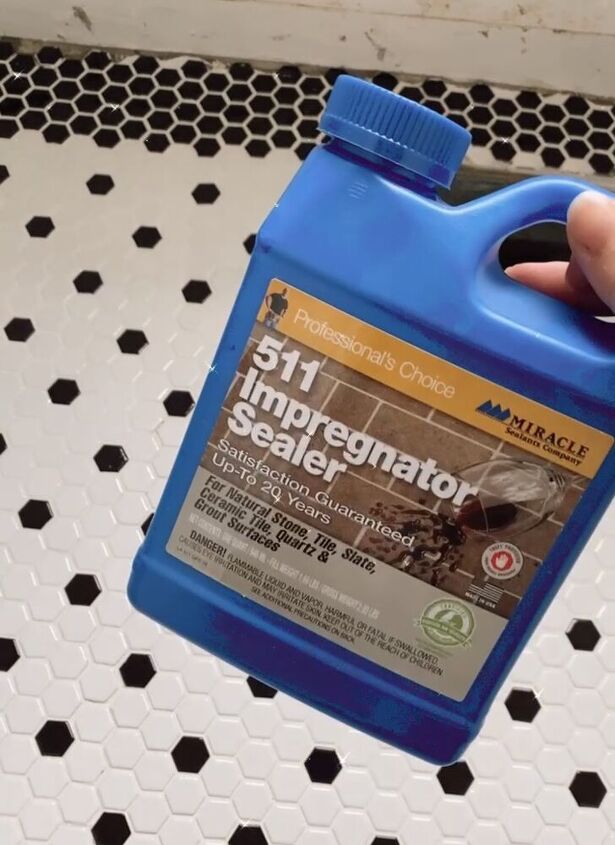
24. White grout is prone to staining. Using a grout sealer will keep it looking new!
25. All done! Be proud of yourself cause that was really hard work! Now you (and I) can finish the rest of our bathroom renovation!
It was such a long, and sometimes painful, journey. Tiling is not necessarily hard, it just takes a couple of times to get into a groove. I’ve learned so so much and I’m excited for my next tiling project!


Comments
Join the conversation
-
My favorite bathroom tile. Always thought it made a beautiful bathroom floor. Good job!
-
Great job! Looks wonderful!
but if you do it again anywhere, please plug your open toilet hole. Sewer gas can be deadly.


Frequently asked questions
Have a question about this project?
Did I miss the AFTER photo?!
I'm confused!!!!!
In step 12, you state -:
I recommend starting in the middle and working your way out. I had a TON of spacing issues here. See how I'm starting from one end.
Then step 13 you state -:
Starting at one end instead of trying to meet in the middle will save you from having gaps like this1.
So which one do you actually do.
Also where is final reveal.
You cleaned off the old wax ring and the flange bolts looked uncut and reusable, however did you raise the ring with stackers, use a Sani-Seaxl, Korky or other synthetic ring, or wax ring? The flange height is a common problem when floors have tile added.
why do people think it is cute to take a picture of their feet? It is on SOOOO many projects. We all have feet. What is so special?