


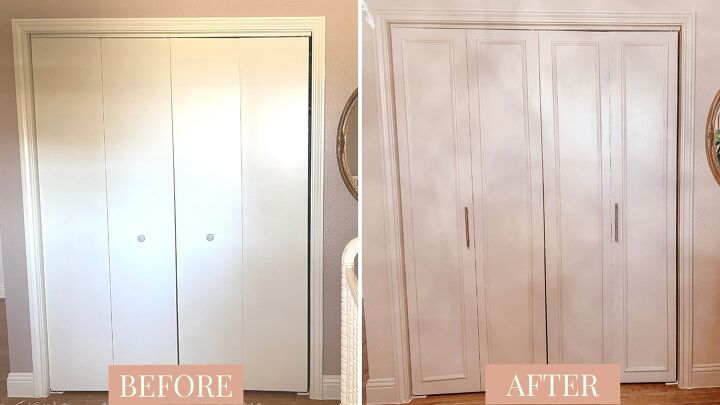
DIY Bi-Fold Closet Door Makeover - Budget Friendly
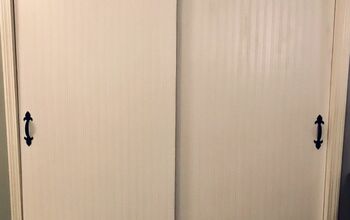
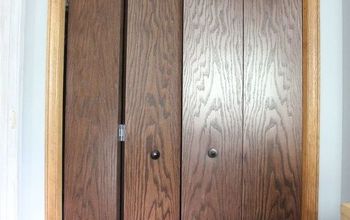
Today we’re going to be sharing how to makeover flat-panel bi-fold closet doors into a statement in a door. This project can be done WITHOUT POWER TOOLS and is very beginner-friendly. It’s also very affordable (under $50).
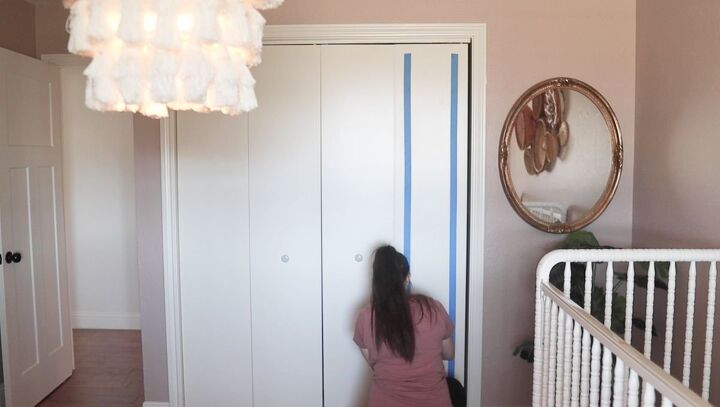
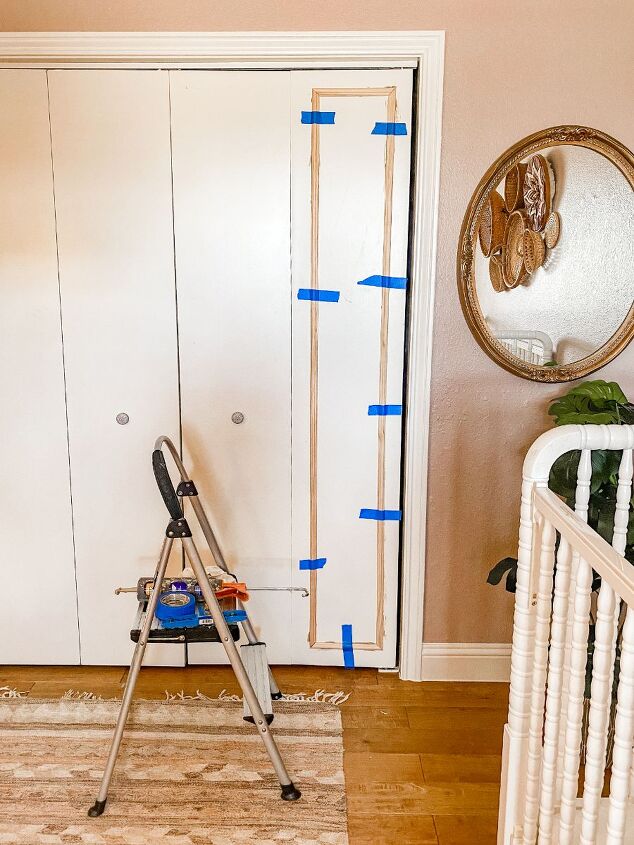
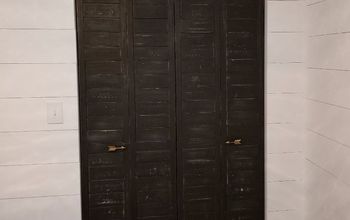
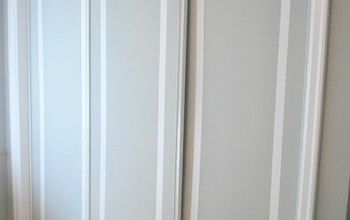
When browsing through Pinterest for inspiration for these doors I found this one that stopped my scroll. I taped off my design based on what they created and also ended up placing my door handles in the same location.
You don’t have to tape off every door but it was helpful to see the design in theory with the tape and then I marked off the other panels with pencil based on those measurements.
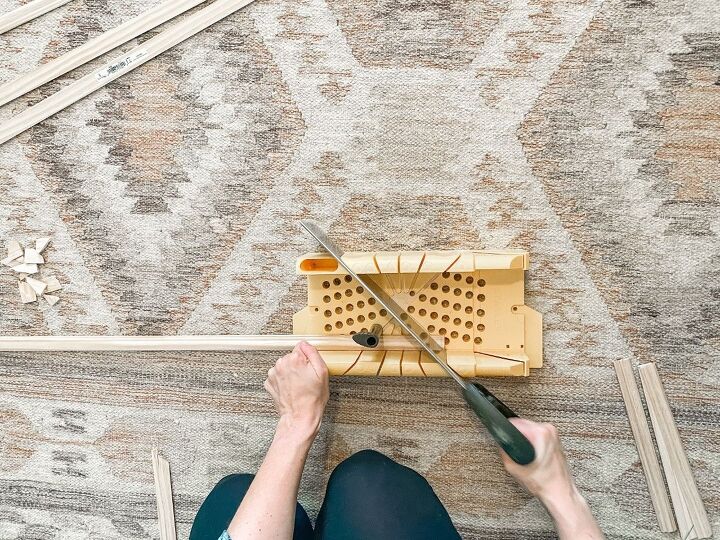
Once you've created your design it's time to cut your trim pieces. If power tools intimidate you this project is still something you can take on. Here I used a miter box ($15) which is very cost-effective and less intimidating than a miter saw. Although it is a little bit more time-consuming I found it still cuts very straight lines. You use the black pegs to hold the trim in place and cut each piece the good old fashion way. If you’re looking for a new workout routine this might be the one for you 😋
In the first project, I used a miter saw to cut each piece at an angle. I did learn that my saw doesn’t have the best blade for a trim this thin, but Christine from @HoneyBuiltHome messaged me some advice on this if you’re looking to use a miter saw.
“Tape it down to a larger piece of wood and try again! And if it still splits it might be your blade.”
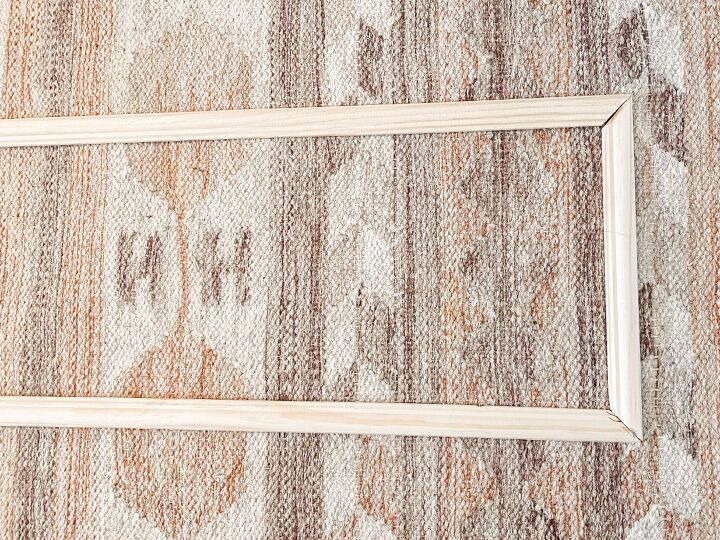
I laid my pieces out on the ground in the layout that they would go on the door to make sure they would fit together. I did accidentally cut one piece where the details didn’t match so laying it out is great for catching mistakes like that. I made sure all the ornate details were facing the interior of the design.
Here we used liquid nails to attach the trim to the doors. It’s a little bit messier than the brad nailer but it gets the job done. I used painter’s tape to keep the trim in place while the liquid nails dried.
I attached the top piece first then the first side, the second side, and lastly bottom. Don't be worried if the mitered edges aren't PERFECT. Caulk will make it look like a pro installed it.
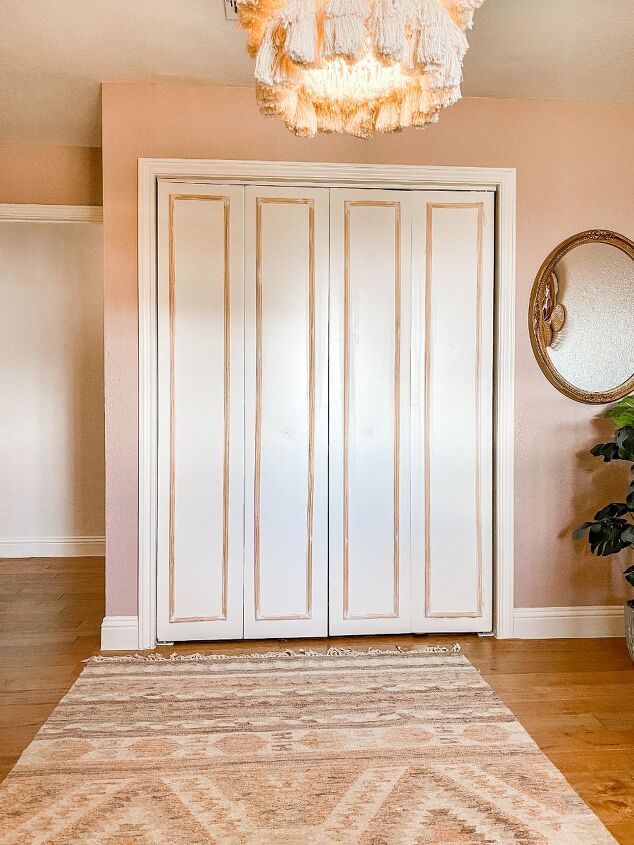
Next, I caulked the edges. This immediately made it look so clean and professional.
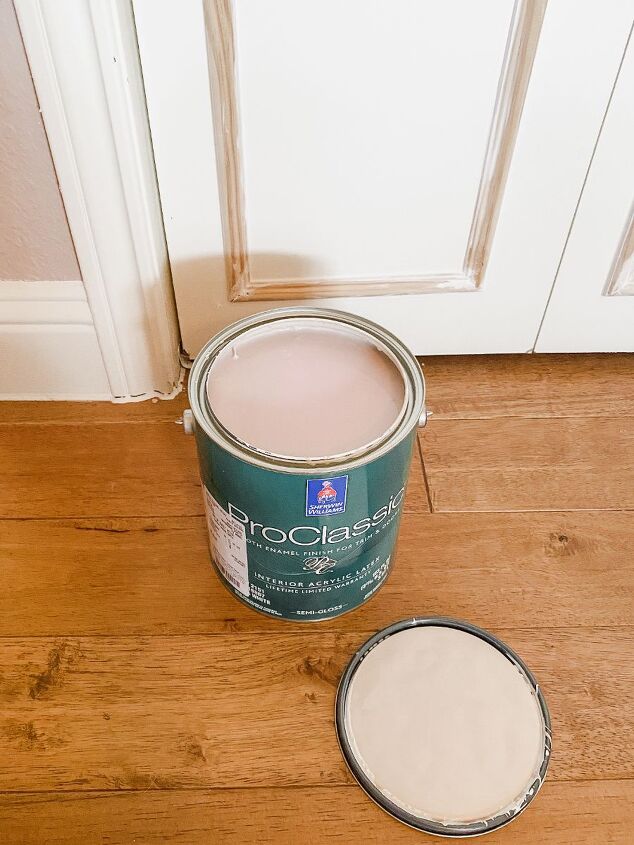
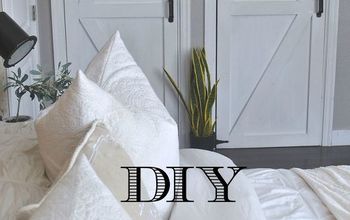
I chose to paint the door and trim Sherwin Williams Sweet Beige. I was inspired by this room from Erin of @Kismet_House.
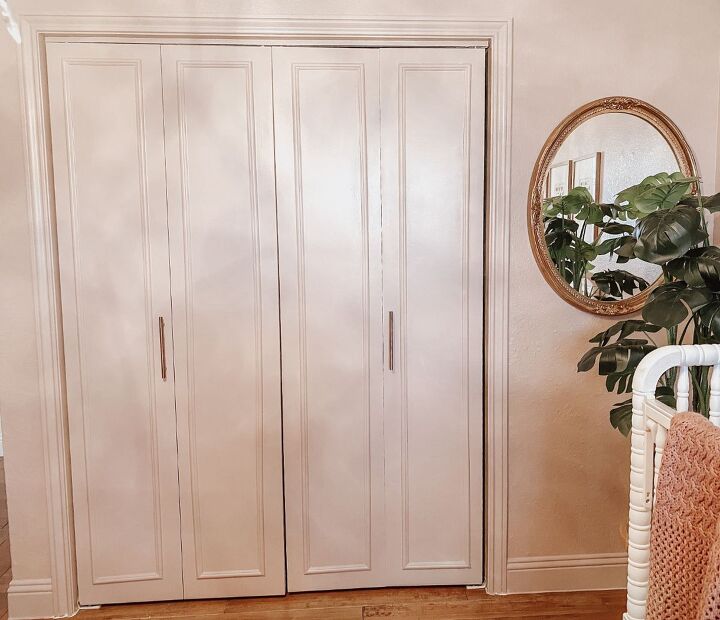
I hope this project encourages you that even the most boring flat panel door has so much potential. If you have any questions make sure to leave them in the comments.
Resources for this project:
See all materials


Comments
Join the conversation
-
You could also use mirrors from the Big Lots, Ollie's, etc.,
to add to finished look.
-
Help…mine are so ugly, they are simple plain sliding wooden doors.


Frequently asked questions
Have a question about this project?
Those look amazing!! I’m thinking you could even use this technique to upgrade flat, hollow, bedroom and closet doors, to make them look a little more like the contemporary bedroom doors that cost $80-$100 each. Have you used this technique on other types of doors?
What can I do with my sliding closet doors, so plain and ugly.