


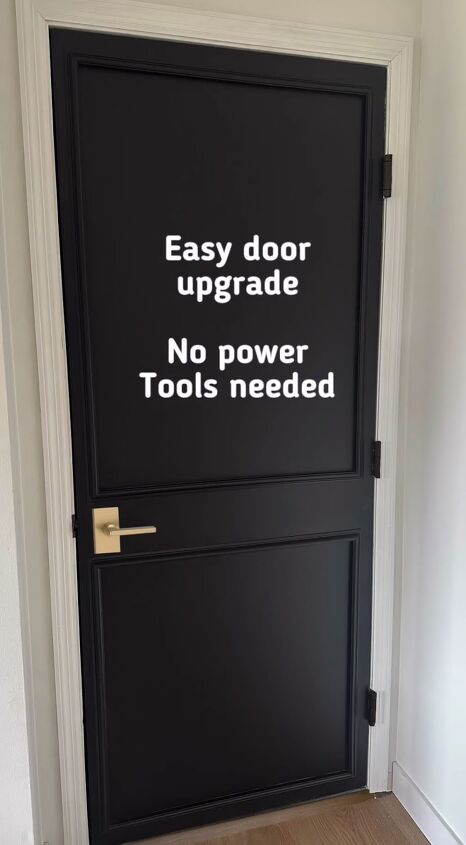
How to Do an Easy DIY Door Upgrade With PVC Base Cap Molding

I'm thrilled to share a step-by-step tutorial for a DIY door upgrade without needing power tools. Get ready to give your space a fresh new look with this easy and budget-friendly project.
Tools and materials
- PVC Base Cap Molding
- Miter Shears
- Liquid Nails
- Painter's Tape
- Caulk
- Primer
- Paint
- New Door Hardware
DIY door upgrade
Step 1: Gather Your Materials
Before diving into the project, make sure you have all the materials on hand. You can easily find these at your local hardware store, making this DIY door upgrade super convenient.
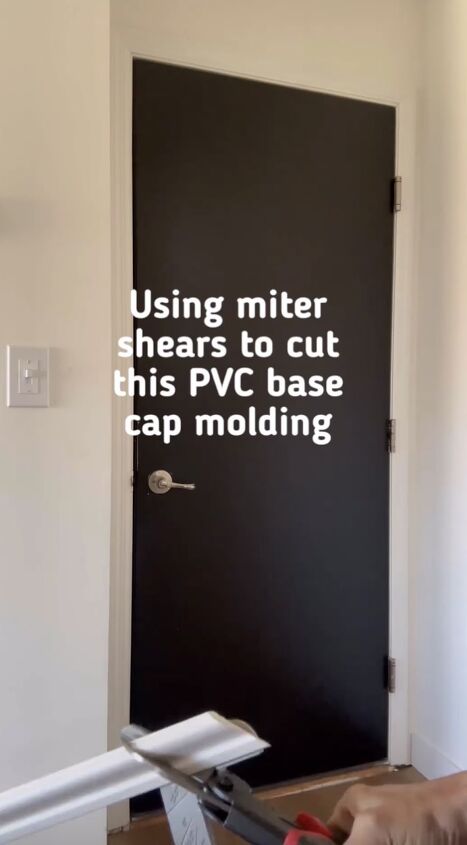
Step 2: Cut PVC Base Cap Molding with Miter Shears
Grab your miter shears and start cutting the PVC base cap molding to the desired lengths. The beauty of this project lies in its simplicity, and the miter shears make the cutting process a breeze.
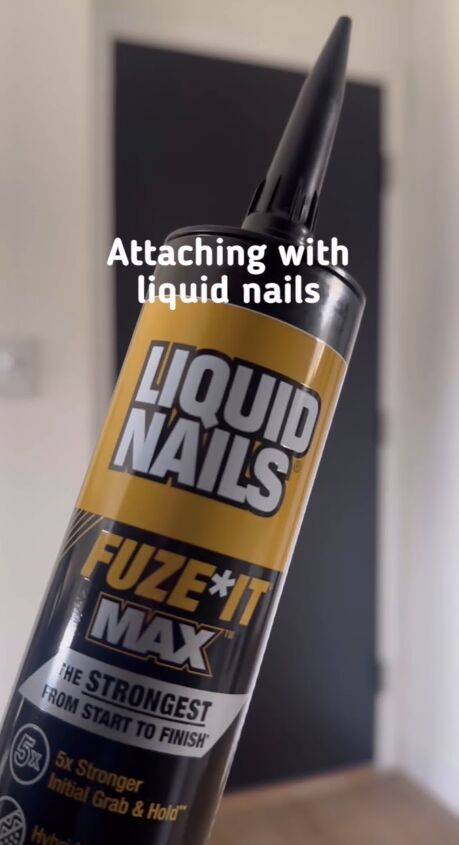
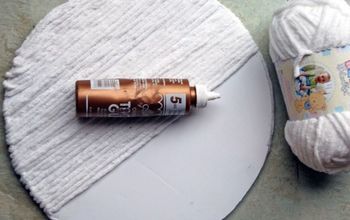
Step 3: Attach Molding with Liquid Nails
Apply Liquid Nails to the back of each piece of molding. This adhesive is strong and durable, ensuring a secure attachment to your door. Press the molding onto the door, following the design you have in mind.
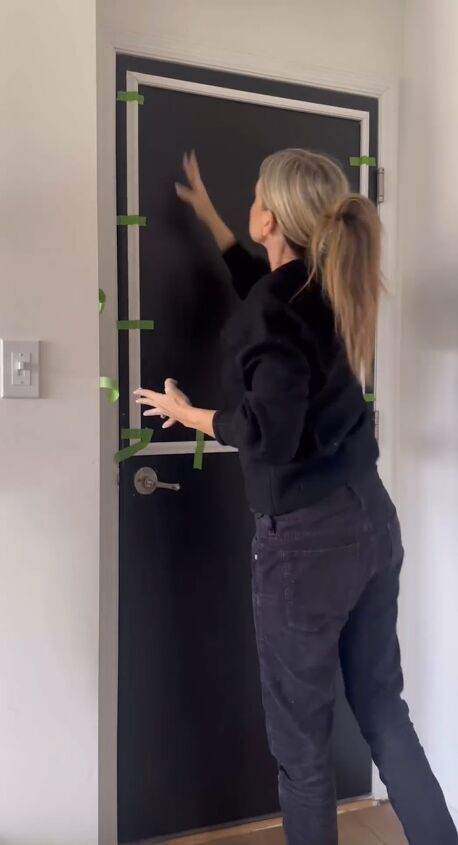
Step 4: Secure with Painter's Tape
Hold each piece of molding in place using painter's tape. This step is crucial for keeping everything in position while the adhesive dries. Take your time to ensure a clean and polished finish.
Step 5: Caulk the Gaps
Once the adhesive has dried, remove the painter's tape and inspect the door. If you notice any gaps between the molding and the door, don't worry—this is where caulk comes to the rescue. Apply caulk to fill in the gaps and create a seamless look.
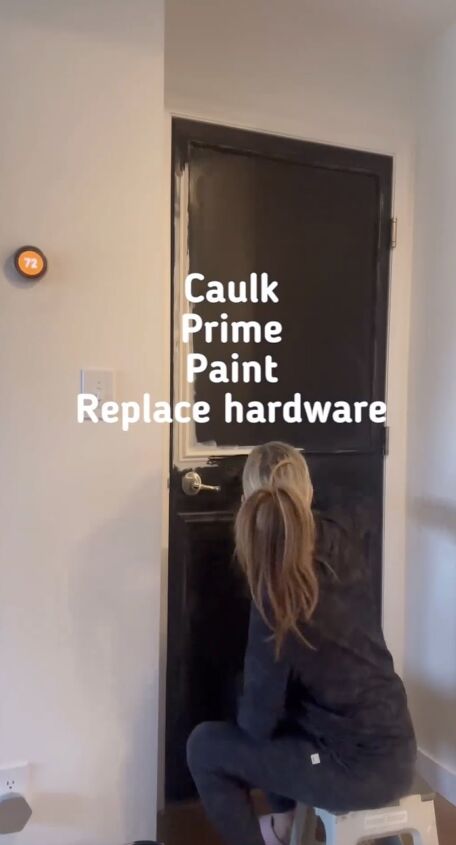
Step 6: Prime and Paint the Trim
Now comes the fun part! Prime the trim to create a smooth surface for the paint. Choose a paint color that complements your space and let your creativity shine. Apply the paint evenly, covering the trim for a polished and professional finish.
Step 7: Replace the Hardware
To complete the look, consider upgrading the hardware on your door. Whether it's a new handle, knob, or even a stylish door knocker, the right hardware can enhance the overall aesthetic of your upgraded door.
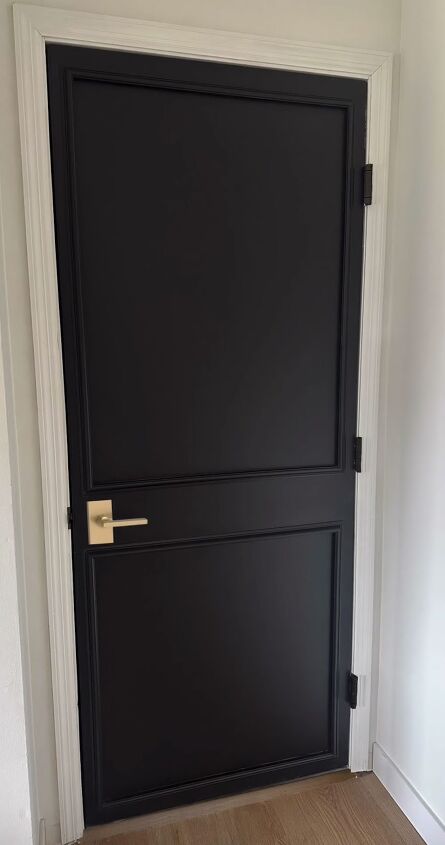
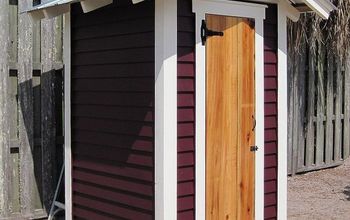
DIY door upgrade
There you have it—a simple and effective DIY door upgrade that adds a touch of sophistication to your space. The best part? No power tools are required! Will you be upgrading your door? Share your plan in the comments below.
Follow @a_bit_unexpected_diy on Instagram for more DIY ideas.


Frequently asked questions
Have a question about this project?