DIY Wood Window Valance

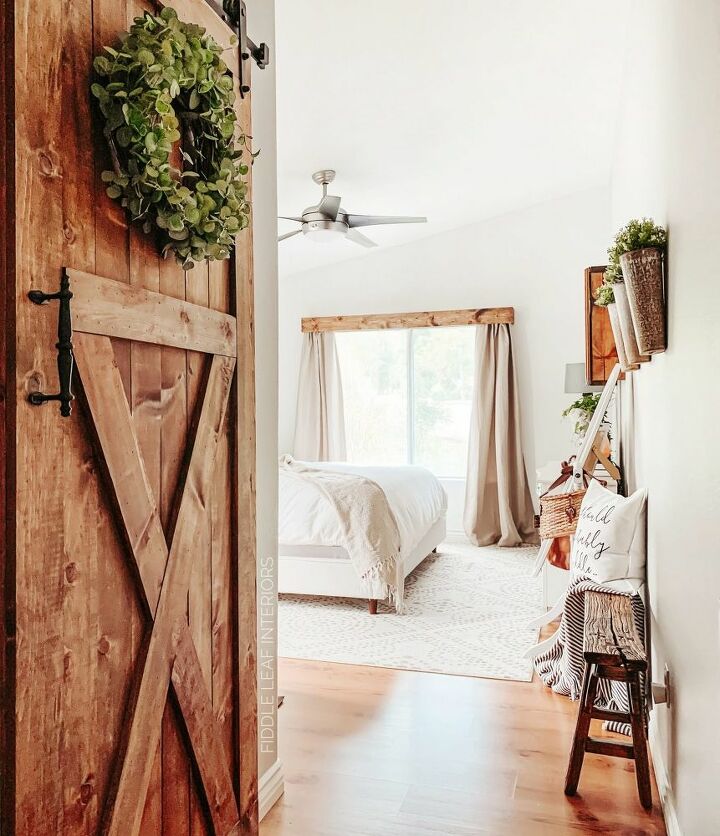
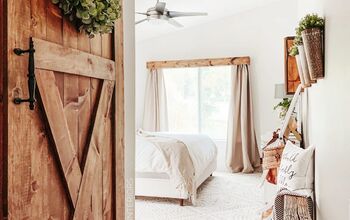
Comin’ at ya today with these easy DIY wood window valances that completely transformed our upstairs windows! When we first moved in, we had roller shades installed, which are fine, but just not really my style (I didn’t know WHAT my style was back then!) They were also installed as an overmount, so while the shades themselves are blackout, the light would still pour through the little side portions where the shade didn’t meet the wall. We were using magnets to secure the shade to the window frame (which is metal under drywall, so the magnets worked well) every night, which got old – fast! So I decided to not only make the windows prettier with these wood window valances, but I also added curtains that cover up the places where the light used to stream in! WINNING! Head to the blog for more fun projects like this!
I just love this view now!
Measure the length of your window, plus 1.5″ (to account for the side pieces), plus any extra you want to stick out past the window itself. My wood window valances are approximately 5″ out from either side of my window, but I also needed some extra clearance for the existing roller shades.
Also measure and mark your side pieces. Mine are 5.5″ deep, and I actually wish I had made them a bit deeper so we could use the curtains more easily. Right now, the curtains take some effort to move in and out, though ours are more for the purpose of blocking out the light on the sides of the shades, so they are really more decorative anyway. If you are not needing to cover an existing shade, you won’t need this much space though. A 3.5″ depth should be sufficient if you are mounting these without trying to cover an existing shade. But again, you will still want room for your curtains – the more space you have, the easier they curtains will be to use! (Note: If your valances are less deep, make sure you purchase the corresponding telescoping shade – I.e. one that is 2-2.5″ deep instead). Now, use your miter saw to cut your wood to length. Gently sand to ensure there are no sharp edges.
Using your 1.5″ wood screws, attach the front face of your valence to the side pieces. You are welcome to use a kreg jig to hide the screws if you like, but using wood fill was just as good for me. Let’s be real, y’all know I’m all about the EASIEST route possible so you feel you can recreate the same look in your home without a million gadgets and difficult steps! Overdrill your screws so you have a place to add wood fill – or, if you like the industrial rustic look, you can leave the screws exposed, in which case, there’s no need to overdrill. Make sure your side pieces are SQUARE to the front piece using a speed square.
Using wood fill, fill in your screw holes, Allow to dry, then sand.
Stain your valance. I use an old rag for the big surfaces and a brush to get in the nooks and crannies. I stained after I built the valances because I don’t like wasting stain, and there was no need for me to stain the inside of the front face or the edge pieces that ultimately were covered after it was assembled. Plus, I did not want to stain twice (you would need to restain your filled screw holes after assembly anyway). But to each their own, and if you prefer staining ahead of time, go for it! Allow to dry – at least 1 hour. Then using a rag or paper towel, wipe off any excess stain.
Once your wood window valances are dry, it’s time to hang them. This step is possible with one person if your windows are shorter, but you will need some help if you have a long window like mine. First, hold your valance up to the wall where you want to install it. Be sure it is centered and LEVEL! Using a pencil, mark the INSIDE of each end. In the photo above, you can see the line I drew. The inside of the right side of the valance will sit right up against that line (so on the right side of it). I also suggest marking the TOP of your valance as well, to ensure you install your 1x2s (see below) at the same height. Now, using your miter saw, cut two 4.5″ long pieces of your 1″x2″ pine board.
Using your stud finder, determine if there is a stud on each WINDOW side of the lines you just drew (so to the left side of the line you drew on the right side of the window, and to the right side of the line you drew on the left side of the window). If there is, you’re golden! If not, you’ll need to use a drywall anchor to attach your 1″x2″.
Attach your 1″x2″ at 1/2″ BELOW the line you marked at the top of the valance, and to the WINDOW side of each line, either with 4 brad nails (if going into a stud), or with drywall anchors and screws if not going into a stud. All if mine were into a stud, so the nails worked great.
Follow the instructions on your curtain rod, and attach each bracket for the rod to the front of your 1″x2″, as you see above. Make sure you install them at the same height (ours are approximately 1/2″ lower than the top of the 1″x2″) and that they are LEVEL. Next, feed your curtains through the curtain rod, and attach the rod to the curtain rod brackets.
Hold up your valance on the OUTSIDE of each of your 1″x2″s (it should fit perfectly). Use your brad nailer to secure the valance into the 1″x2″s. You can use a wood screw as well for additional strength – I used one on each side. Or, alternatively, if you really want these valances to be easily removable, you can use ONLY screws to attach the valance to the 1″x2″s, and no nails.
(Since these screws are on the side you barely notice them, so I didn’t fill them with wood fill and stain, but you could do that if you want to hide them fully.)
Touch up any areas of the wall that may have gotten scuffed up or marked with wood stain. And that's it - enjoy your new fancified windows! More amazingly easy DIYs are on my blog, come say hello!
Enjoyed the project?
Resources for this project:
See all materials
Comments
Join the conversation
-
 Sharon Gott Griffin
on Apr 07, 2021
I love what you did and the rest of the room and the entry door are awesome.
-
-
 Mar50928749
on Apr 06, 2022
🙂 it looks amazing 👏
I am definitely going to have thi done in our bedrooms lovely and thanks for sharing 👍
-















Frequently asked questions
Have a question about this project?
Why did you choose a tension rod or, from the picture, a conventional rod meant for rod pocketed sheers, instead of a heavier duty round pole rod for the grommeted heavy fabric curtains like the ones you used?
this is so beautiful! I love everything in this room.
I Really! like this .... But gotta ask: How difficult is it to change the drapes ? once the wooden valance it nailed in place... looks like it will be royal pain in the hoo ha!