


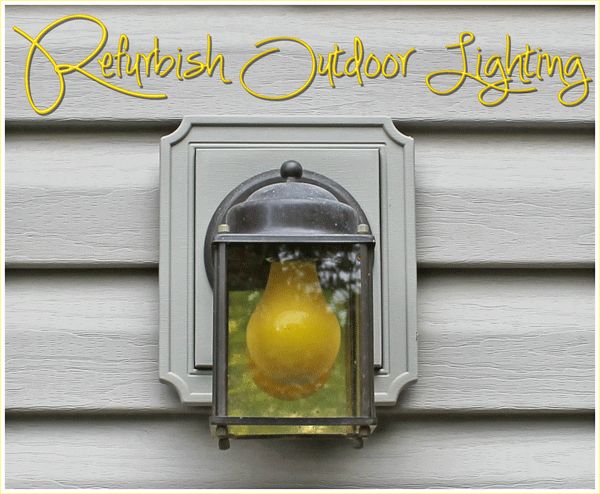
Refurbished Outdoor Lighting
2 Materials
$6
1 Hour
Medium
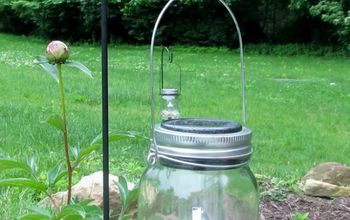
Is your outdoor lighting starting to look a little worn? You don't want to spend money on new lighting? How about just refurbishing?
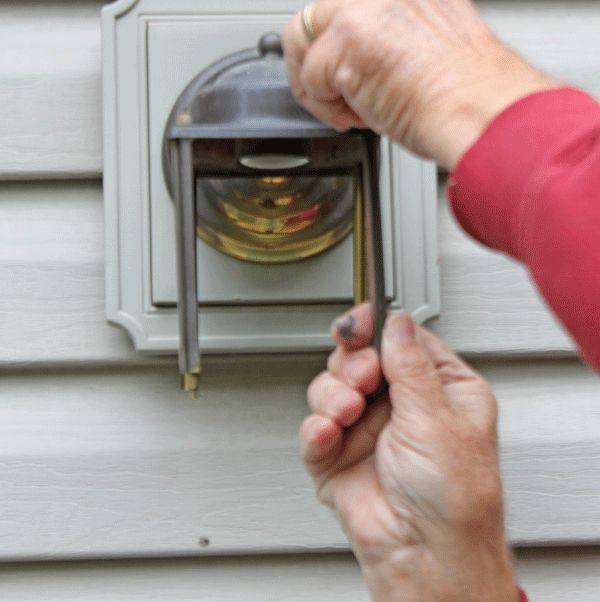
The safest and first thing you will need to do is turn off the power source at the electrical breaker box.
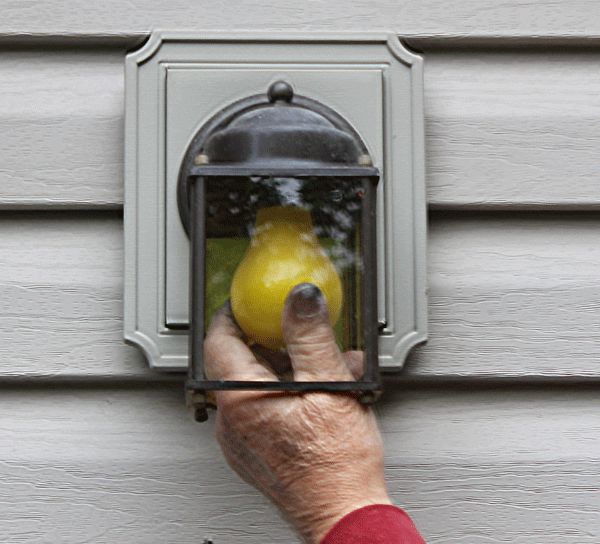
Then remove the light bulb.
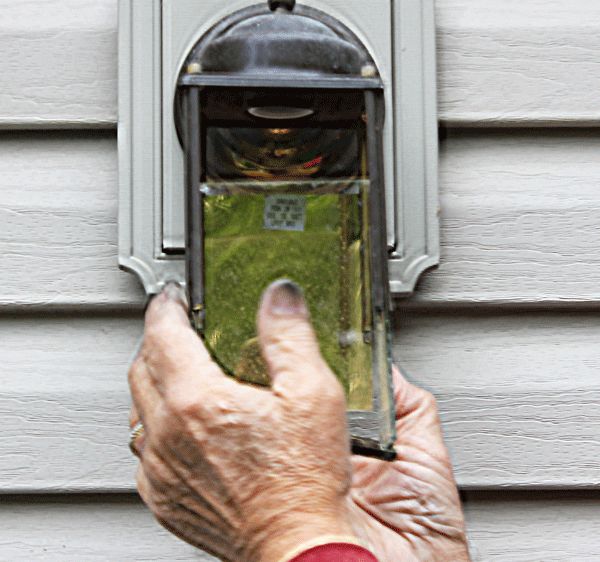
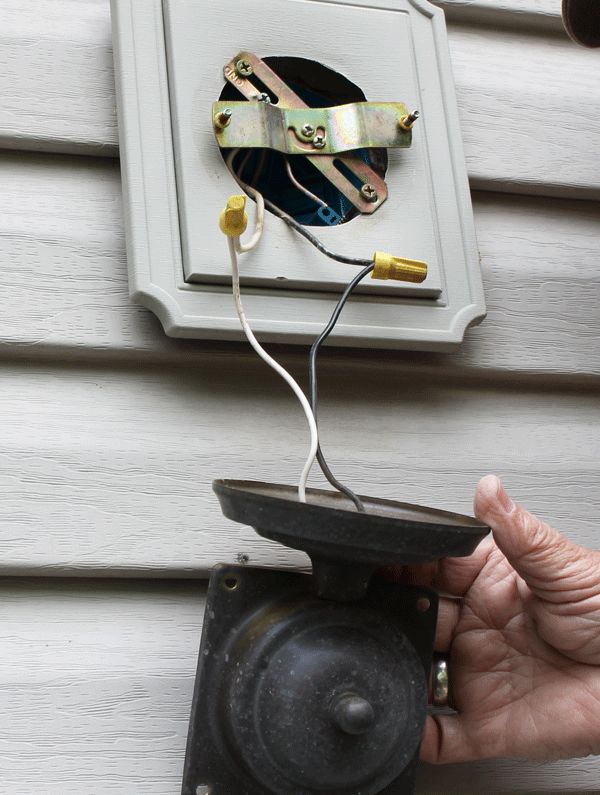
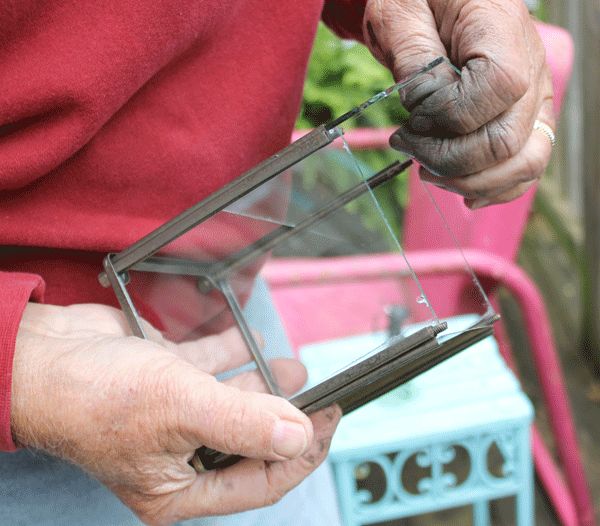
Start to disassemble the hardware so you can get to the wiring and remove the light fixture.
Be very careful of any glass and lay away from the rest of the light fixture.
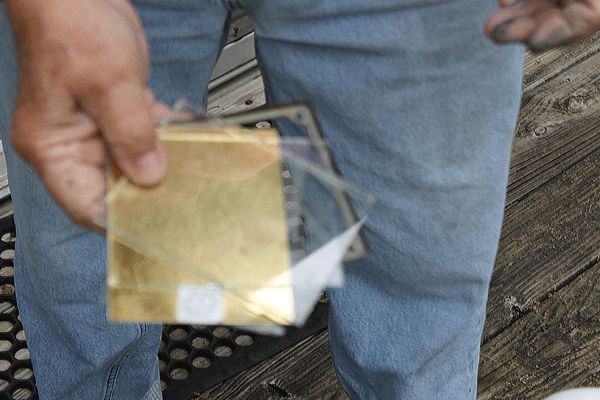
These fixtures were originally a shiny gold. They had tarnished and much of the gold color was hidden. Actually, I hate the gold color now.
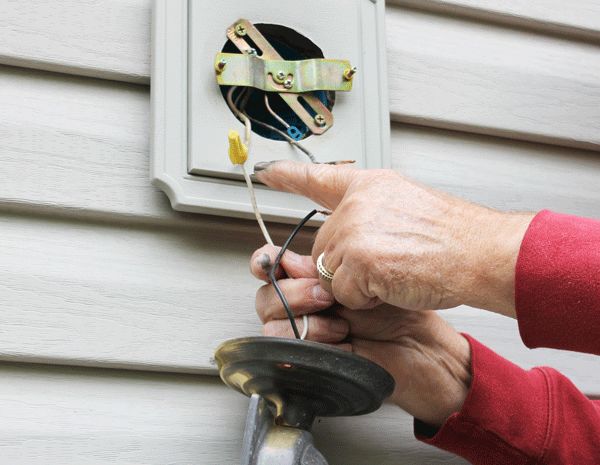
Carefully pull the electrical wire and connectors from the light housing. Then unscrew the wire connectors. Make sure to save the wire connectors or have some new ones handy.

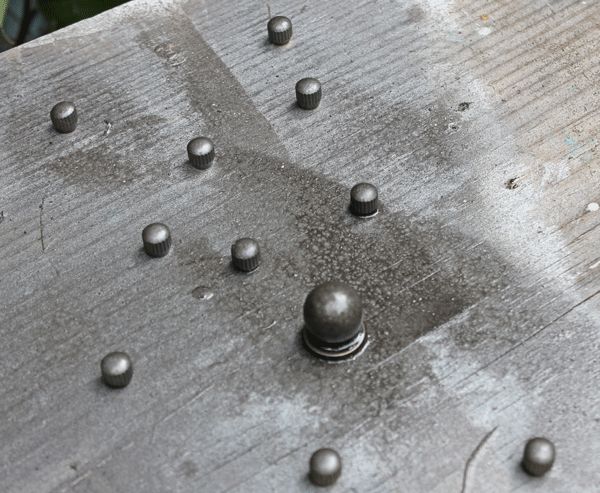
Dismantle all parts of the fixture separately.
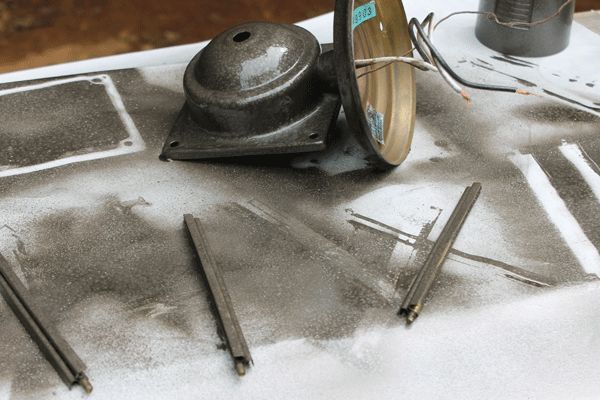
Spray paint all parts of the light fixture.
I painted all the parts three times with complete drying between coats.
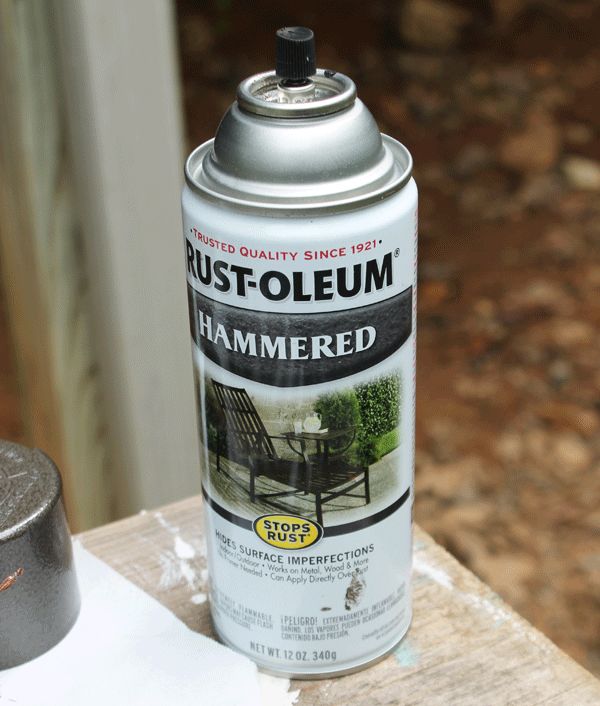
The spray paint I used was Rust-oleum Hammered, dark bronze.
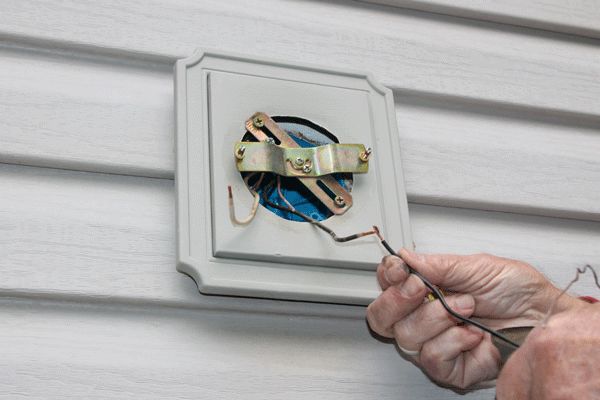
Reconnect the black wire to the black wire and the white wire to the white wire.
Replace the (yellow) electrical connectors to the wires.
Place the base of the fixture back on the plate.
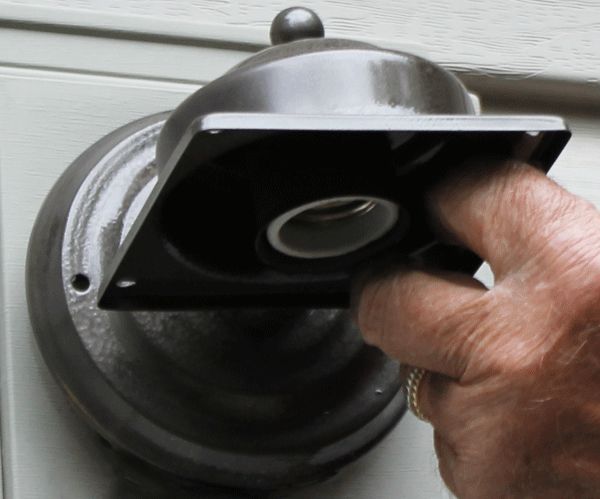
Put the rest of the fixture back together. Be sure and shine that glass! Turn the electrical breaker back on and make sure the light is working.
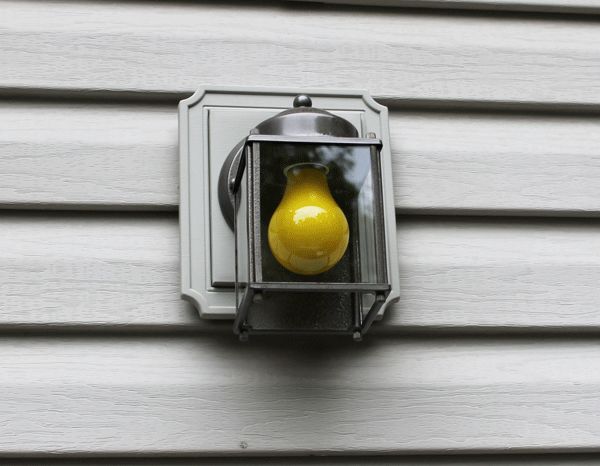
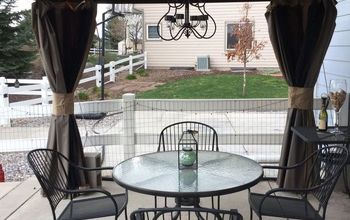
I love the new hammered updated color. We did all the outdoor fixtures on the house. Will they last for another 18 years?

Want more details about this and other DIY projects? Check out my blog post!


Frequently asked questions
Have a question about this project?