


DIY Challenge: Drum Shade Makeover
Having read past blogger challenges, I am so thrilled to be participating in the current DIY Blogger Challenge sponsored by Wayfair.com and their supporting sponsor, Hometalk.com!
I was given a choice of three items to make over and I chose a Wayfair lampshade, because I've wanted to update our shades for awhile. Since one aspect of the challenge was to choose a theme (either geometric pattern, incorporate rope, or black & white) I decided to use twine (does that count as rope?) and apply it in a simple geometric pattern with a diy-er's best friend: a glue gun.
And I LOVE the results! The new, textured shade not only updates an old, upcycled lamp, it provides a great decorator touch to our son's blue and brown bedroom.
Here are the steps I took:
1. Measure the circumference of the shade (this was 16″) and divide as evenly as possible (pretty easy at 4″ for this size) to figure out how far apart the pattern lines should be. In order to make it easy (I thought...) I made a diagonal paper template.Then I used a pencil to trace the lines in one direction. I didn't need lines in the other – and actually realized I didn't need lines at all and ended up erasing most of them as I went along! So here's the easy way (a case of do as I say, not as I do): mark 4″ intervals at the top of the shade and bottom and then mark the center point of the shade at each diagonal imaginary line (just use a pencil to make small marks as guides). You can always draw a light pencil line if that helps you visualize – just be sure to have a good eraser on hand!2. Use the glue gun to attach the twine to a mark on the top (start at the back of the shade) with just a dab of glue, let cool a few seconds and then pull the twine to the next mark on the bottom edge, not the one right below (otherwise that would be a straight line, wouldn't it?) to create a diagonal line. Picture #3 shows this better – just ignore the lines I made, it's better not to draw full lines, if you can help it. You only need to use a bit of glue at the top, center point, and bottom – otherwise you'll see a bunch of messy glue along the twine lines. Cut each piece of twine after you've finished gluing and move to the next one.3. After finishing the twine in one direction, glue the twine in the other direction, adhering and cutting the same way as the first. Try not to glue the twine to the very top and bottom edges of the shade – it works better to leave room for the finishing rows, though you can go over the twine if needed (see top of photo Finish the shade with 2 or 3 rows of twine glued to the top and bottom edges, as shown. Try to keep your lines of glue as thin as possible to minimize glue-mess (is that a term?) along the finished twine edges.
It did take me a few hours but it was worth the "wow" it adds to the room! Thank you Wayfair and Hometalk for letting me participate in this fun challenge!
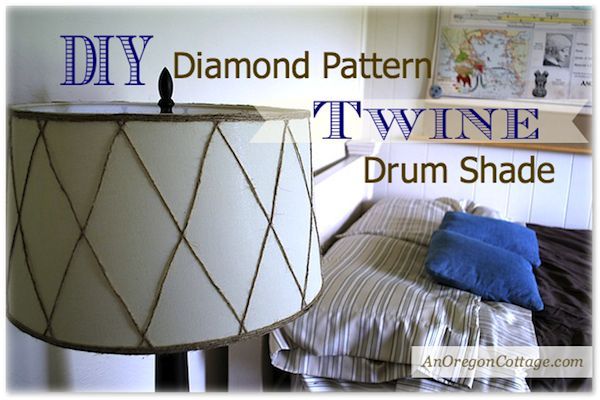
The diamond patterned twine drum shade really updates an old upcyled lamp.
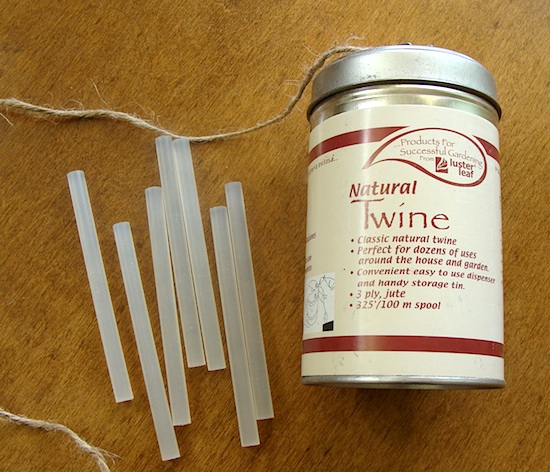
My simple supplies: glue sticks (I'm assuming everyone has a gun...), and natural jute twine.
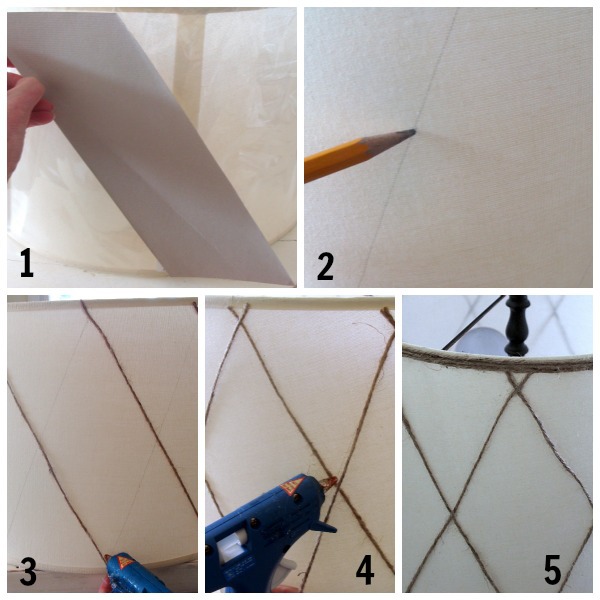
The steps are pretty straightforward - measure spacing, mark, and glue on diagonal lines of twine.
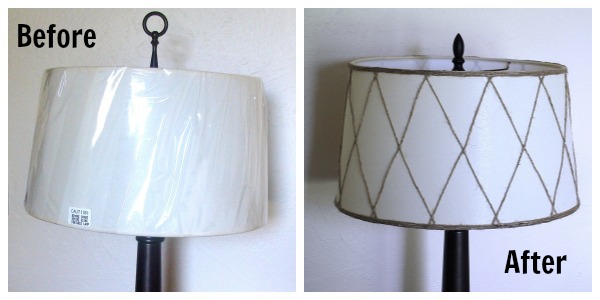
The before and after of Wayfair's hard back linen drum shade.
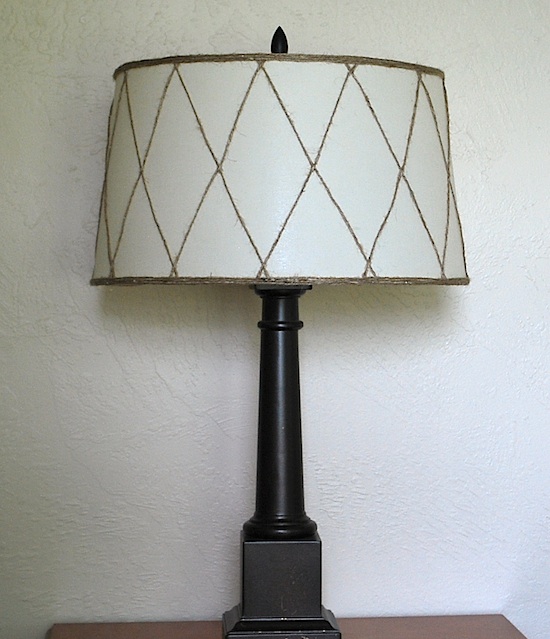
The finished shade in all it's imperfect glory.
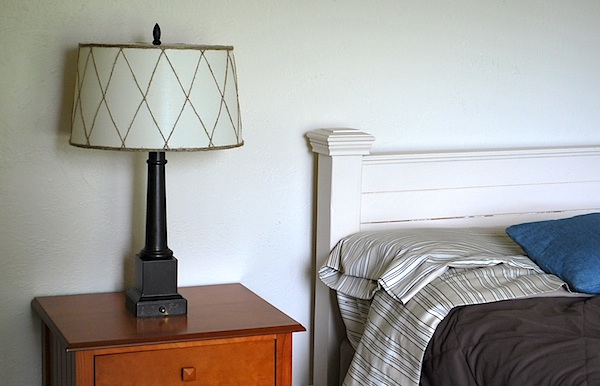
I think it coordinates so nicely with our son's brown and blue bedroom, adding a needed textural interest.

Want more details about this and other DIY projects? Check out my blog post!
Comments
Join the conversation
1 comment
-
I love this! You did a fantastic job on this!


Frequently asked questions
Have a question about this project?