


How to Do a Colorful DIY Dresser Makeover in 2 Easy Ways
Today, I'm excited to share a step-by-step guide on how to transform a dull dresser into a stunning piece of furniture with a DIY dresser makeover. Let's get started and give that old dresser a new lease on life!
Tools and materials
- Dresser
- Shellac primer (if the dresser isn't wood)
- Paint (base color and design colors)
- Paintbrushes
- Painter's tape
- Wallpaper
- Drawer pulls
- Scissors
- Measuring tape
- Screwdriver
- Sandpaper (optional)
- Cloth or sponge
- Water (for cleaning)
Steps
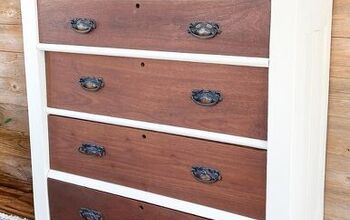
1. Prepare the Dresser Surface
If your dresser isn't made of wood, start by applying a coat of shellac primer. This step helps ensure the paint adheres properly to the surface. If your dresser is wooden, you can skip this step. You can also lightly sand the dresser's surface if it's rough to create a smoother painting canvas. Clean the surface with a damp cloth or sponge and let it dry completely.
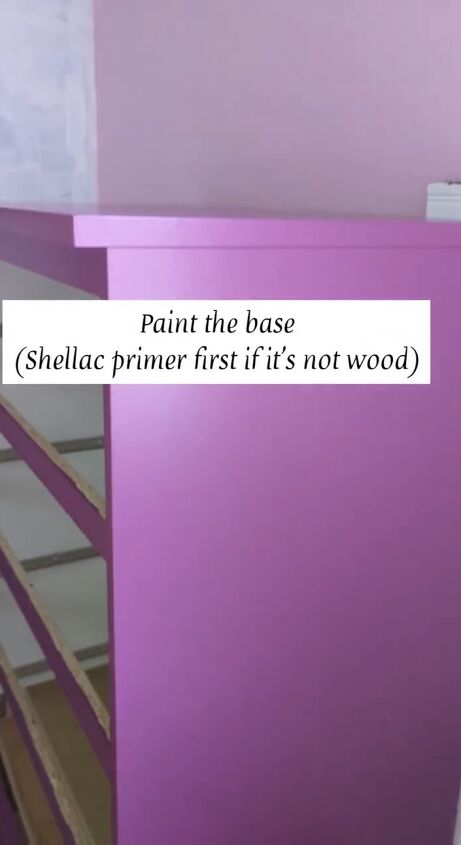
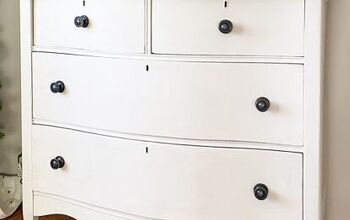
2. Apply the Base Color
Choose a base color for your dresser and start painting the entire piece. Use even strokes to achieve a smooth finish. Allow the paint to dry thoroughly before moving on to the next step. This might take a few hours, depending on the type of paint you're using.
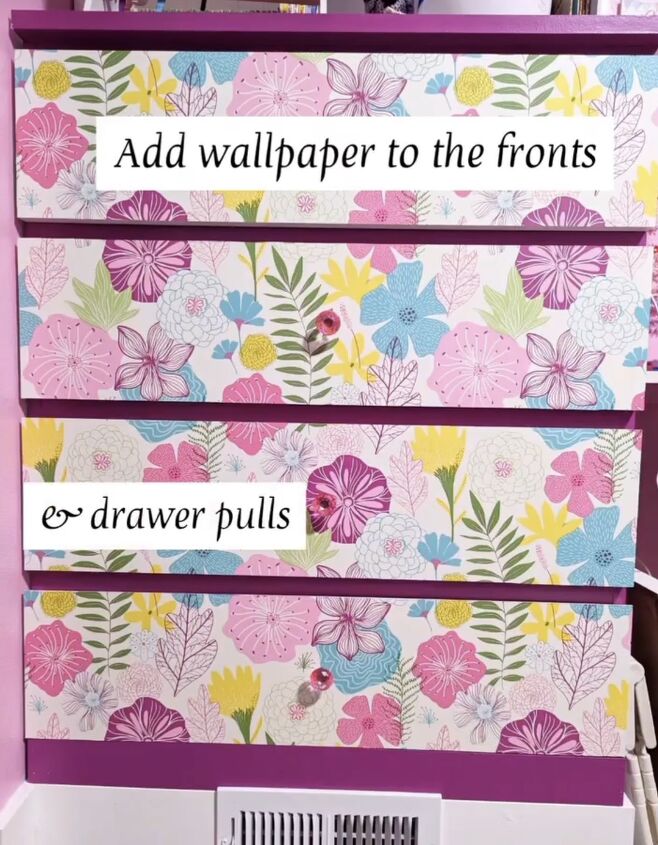
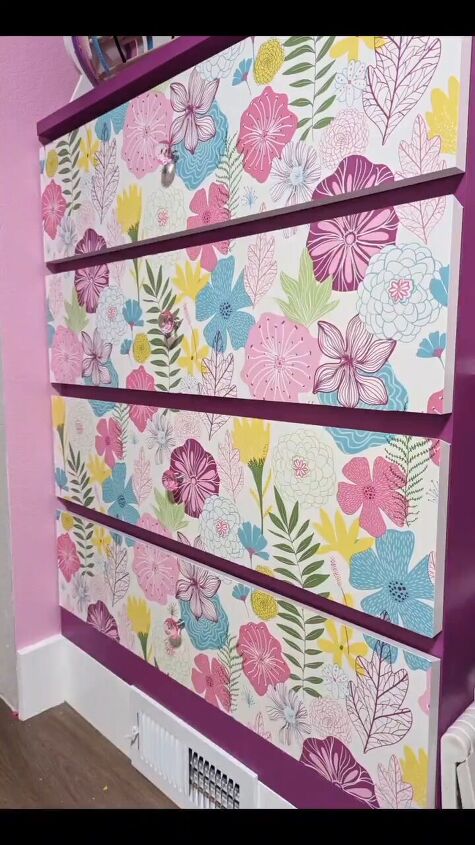
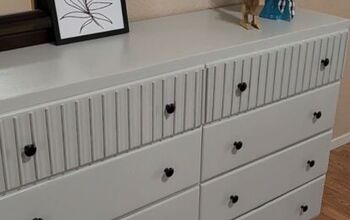
3. Add Wallpaper and Drawer Pulls
Measure the dimensions of your drawer fronts and cut the wallpaper to fit. Carefully apply the wallpaper, smoothing out any air bubbles as you go. Next, replace the old drawer pulls with the new ones for an instant visual upgrade. Use a screwdriver to remove the old pulls and attach the new ones securely.
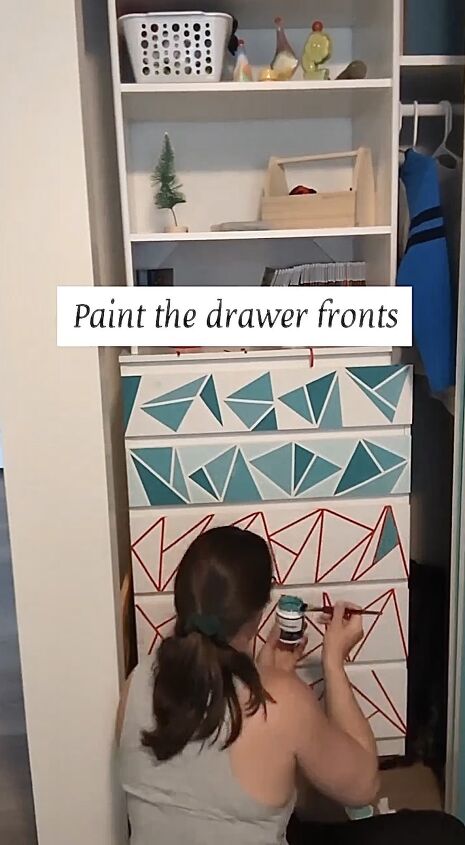
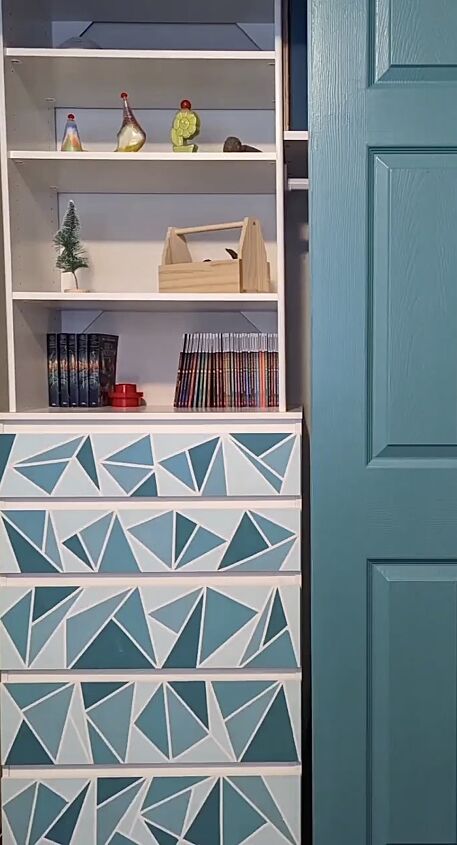
4. Create Designs with Painter's Tape
Get creative with painter's tape! Use the tape to create unique designs on the drawer fronts. Whether it's geometric shapes, stripes, or any pattern you love, the tape will help you achieve clean lines and a professional look. Make sure the tape is pressed down firmly to prevent paint bleeding.
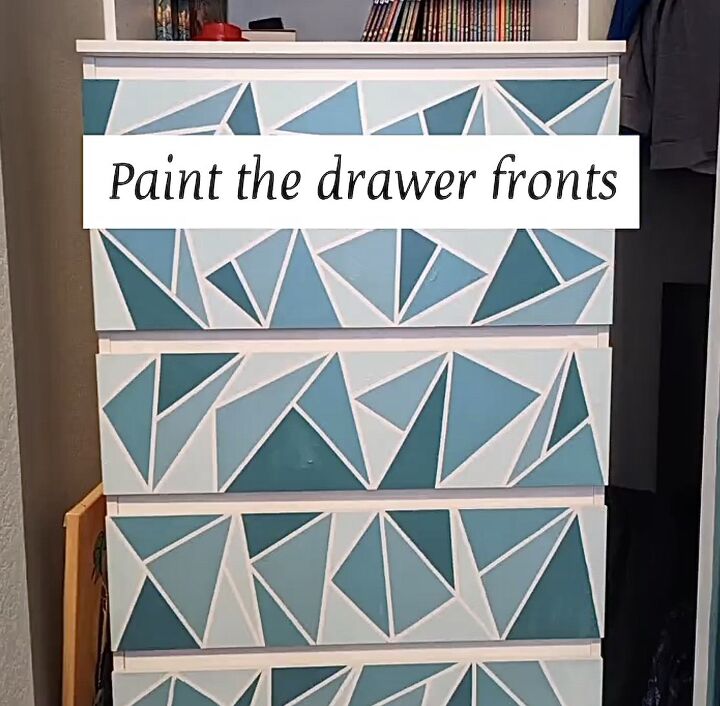
5. Paint the Designs
Now comes the fun part – painting your designs! Select complementary colors to your base color and carefully fill in the taped-off areas. Use smaller paintbrushes for precision. Remember, multiple thin coats of paint are better than one thick coat to achieve a smooth and even finish. Let the paint dry between coats.
Once the painted designs are completely dry, gently remove the painter's tape. Make sure to peel the tape off slowly to avoid accidentally peeling off any paint.
6. Finishing Touches
If there are any imperfections or uneven edges, you can touch up with a small paintbrush. Once you're satisfied with the outcome, let the paint fully cure before using the dresser. This might take a day or two, depending on the paint type.
DIY dresser makeover
Your DIY dresser makeover is complete! What other ways have you given an old dresser new life? Share your projects in the comments below.
Follow @diywitherinb on Instagram for more DIY ideas.


Frequently asked questions
Have a question about this project?