


DIY Dresser Makeover: How to Give an Old Dresser a Fresh New Look

How do you dress up a boring dresser, you ask? Well, today I'm here to show you exactly how to do just that with this exciting dresser makeover project!
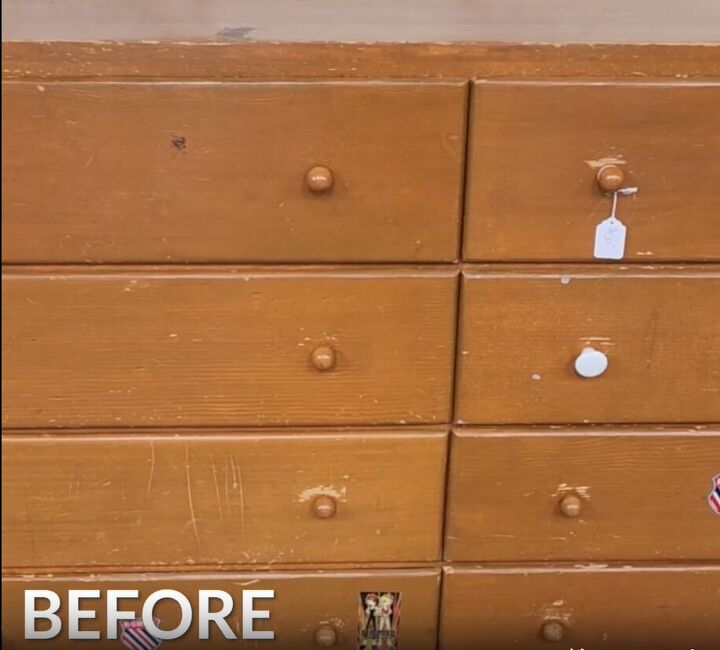
Have you ever come across thrift store furniture that looked a bit lackluster and in desperate need of a makeover? Well, let me share with you an incredible painted dresser idea that will completely transform that dull piece of furniture into a stunning piece for your home.
This post was transcribed by a member of the Hometalk editorial team from the original HometalkTV episode.
So, if you're ready to breathe new life into a thrift store dresser, then grab your paintbrush and let's get started!
Tools and Materials:
- Dresser
- Replacement knobs
- Heat gun or adhesive remover
- Sandpaper or sanding block
- Cloth
- High-quality primer
- Foam roller
- Pencils
- Wood glue
- Paint
- Paintbrush
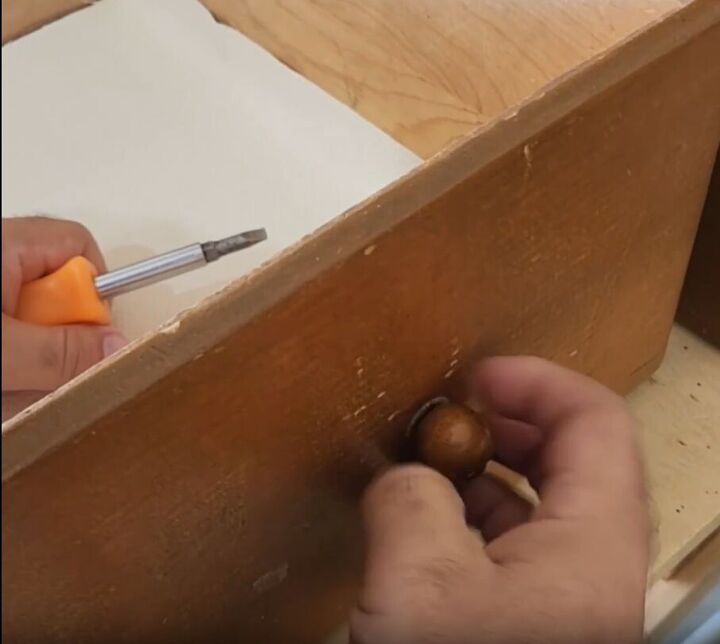
1. Disassembling and Removing Old Knobs
Start by disassembling the dresser, and removing any drawers and detachable parts. Then, carefully take off the old knobs, as they need to be replaced.
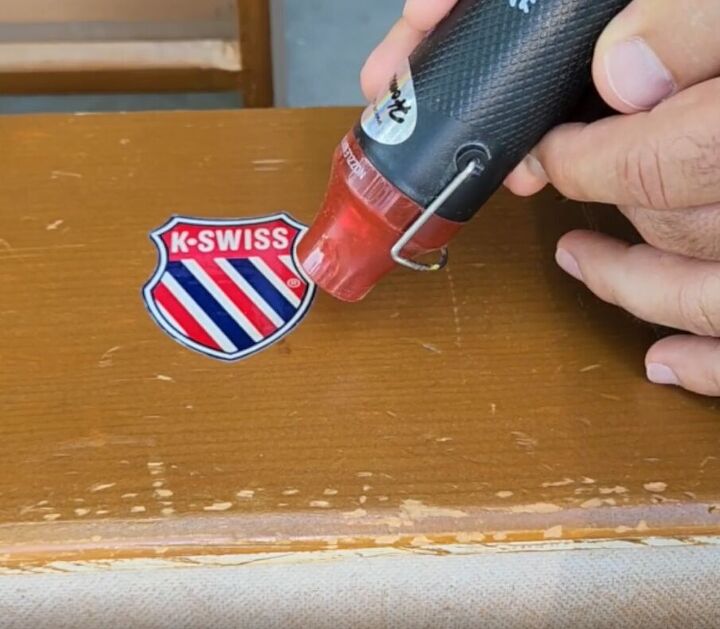
2. Removing Stickers and Residue
To remove any stickers or residue left on the dresser, use a heat gun to loosen the adhesive. Alternatively, you can apply a sticker remover like Goo Gone or any other type of adhesive remover. Ensure that all remnants are thoroughly cleaned off.
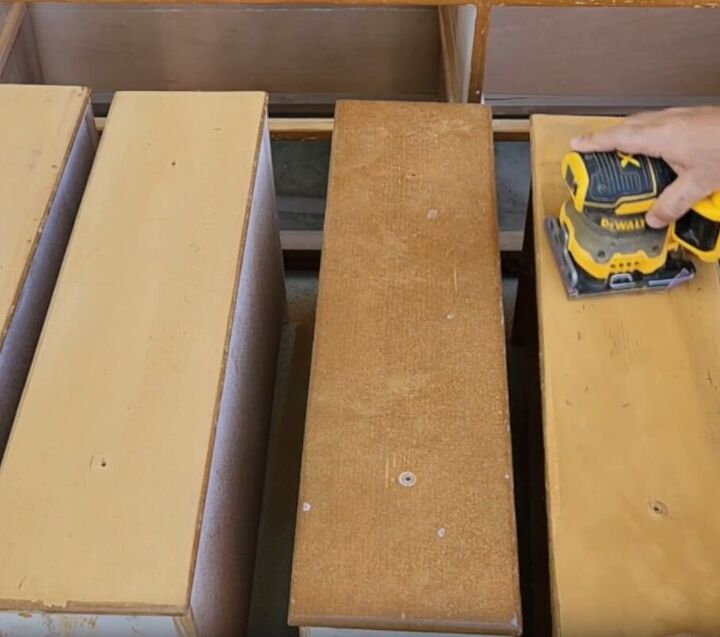
3. Sanding the Surface
Inspect the dresser for scratches and gouges that need to be addressed. While sanding is not typically required for painting, it helps to smoothen out imperfections and eliminates the need for filling them. Sand down the affected areas to achieve a smooth surface.
Sanding generates sawdust, which needs to be removed before moving forward. Use a cloth or brush to carefully clean off all the sawdust from the dresser, ensuring a clean painting surface.
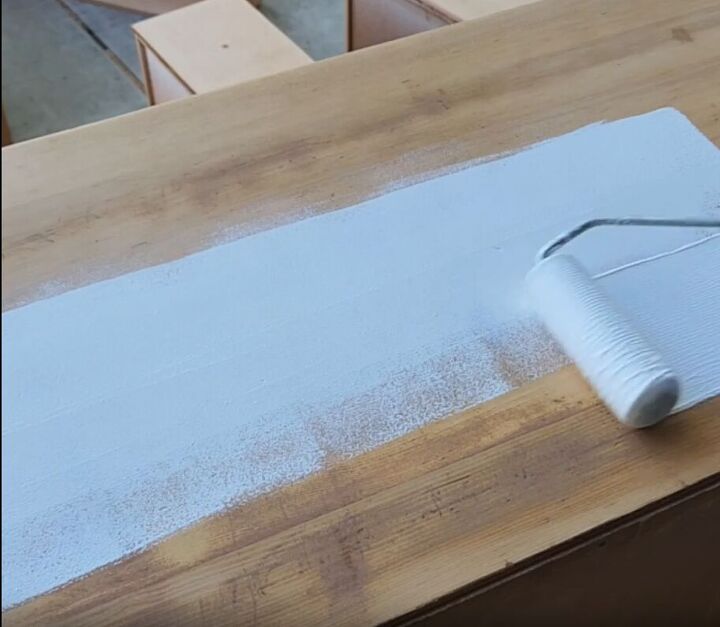
4. Applying Primer
Apply a high-quality primer to prepare the dresser for painting. Use a foam roller for a smooth finish. Apply a single coat of primer, ensuring complete coverage. Priming helps prevent the paint from peeling in the future.
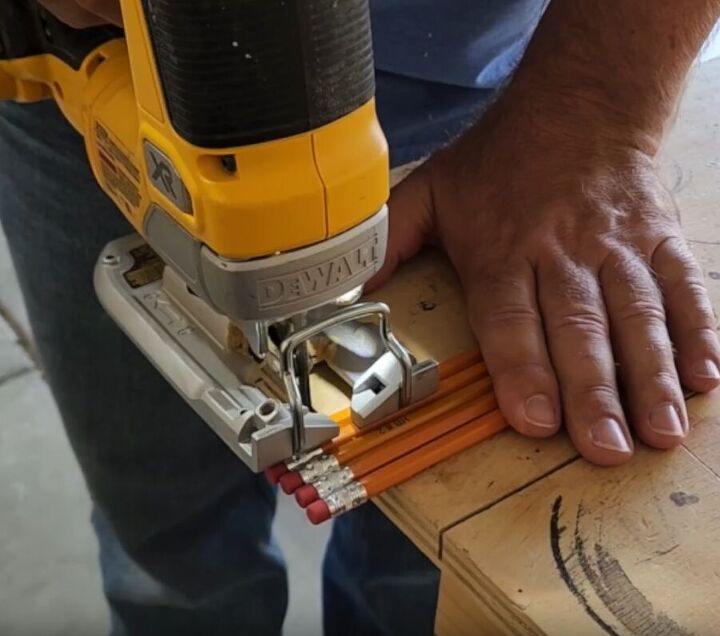
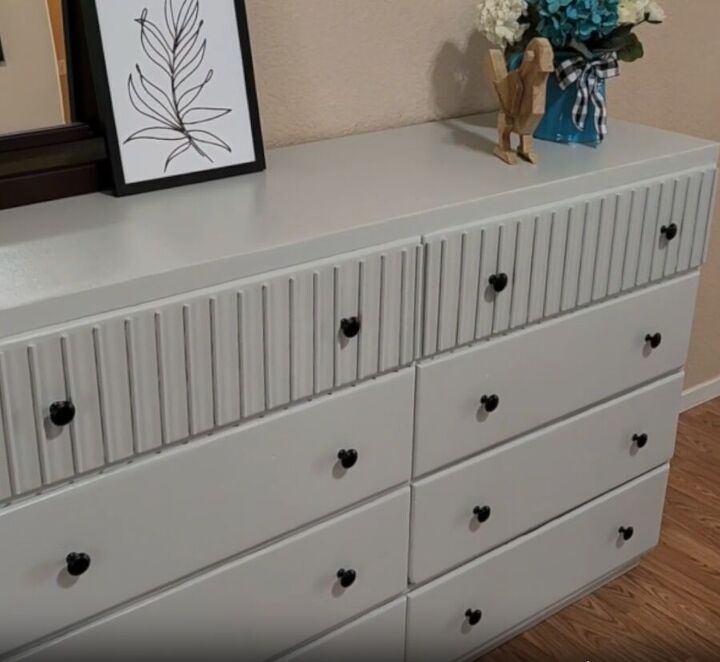
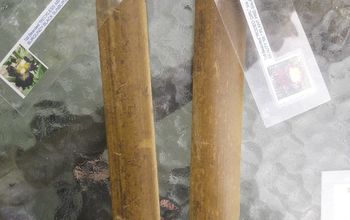
5. Creating Decorative Drawer Design
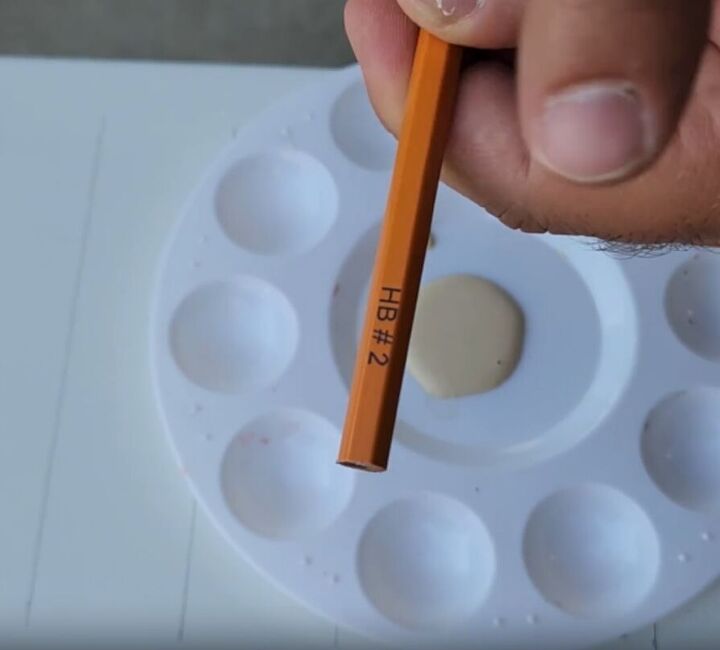
Cut the erasers off some pencils leaving only the wood. We will stick these on the top drawers to add a unique touch.
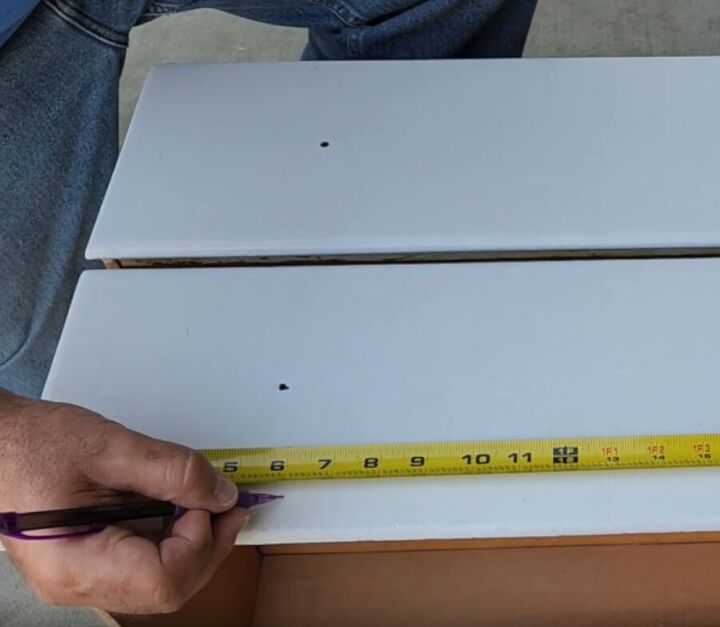
Mark the top two drawers at every one and a half inches and draw straight lines down.
Apply wood glue to the backside of the pencils and affix them along the marked lines.
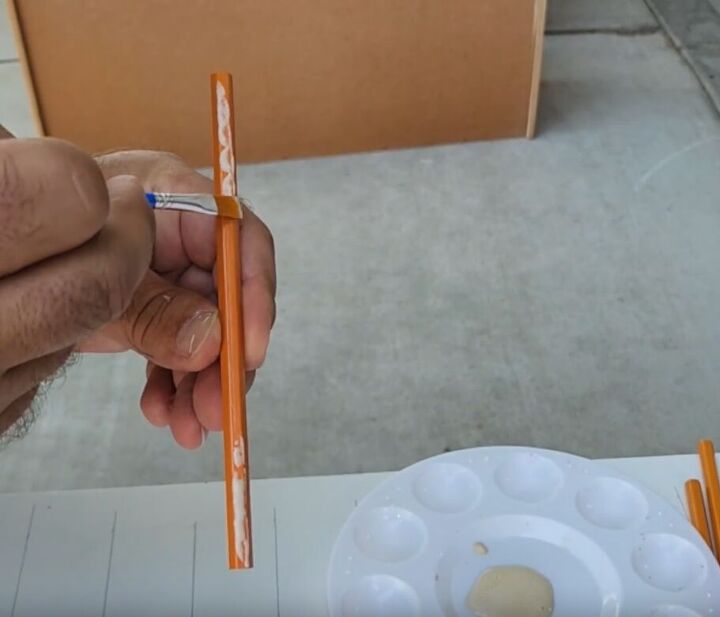
Make sure the glue side faces the dresser, hiding the label of the pencil.
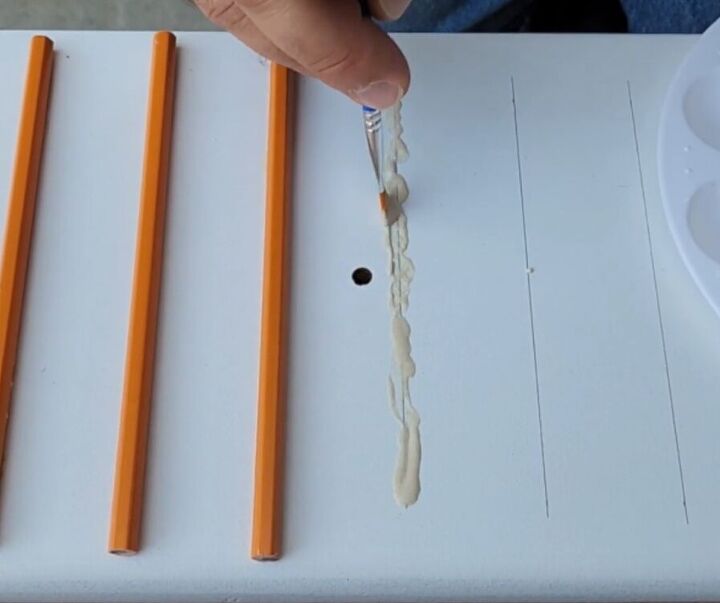
You can either apply glue directly on the pencils or lay it along the marked lines.
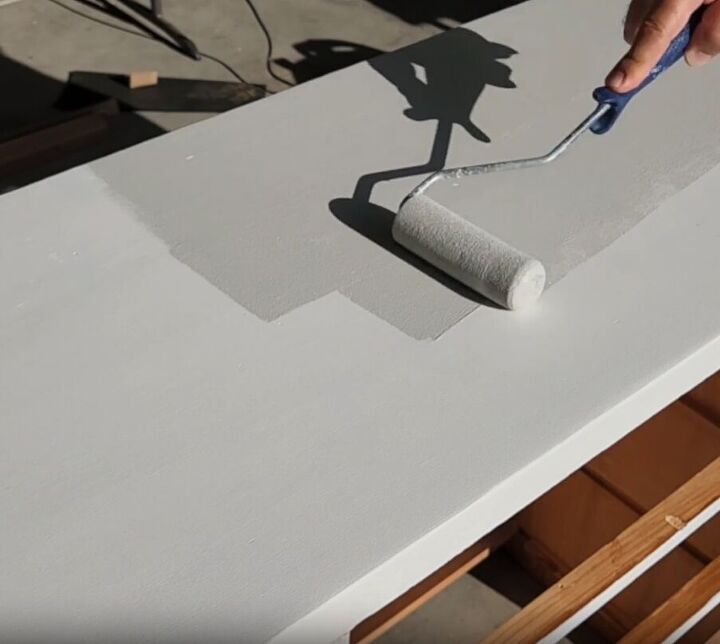
6. Painting the Dresser
Using a foam roller, apply a coat of paint to the entire dresser. Opt for a semi-gloss paint finish, making cleaning and wiping stains later, easier.
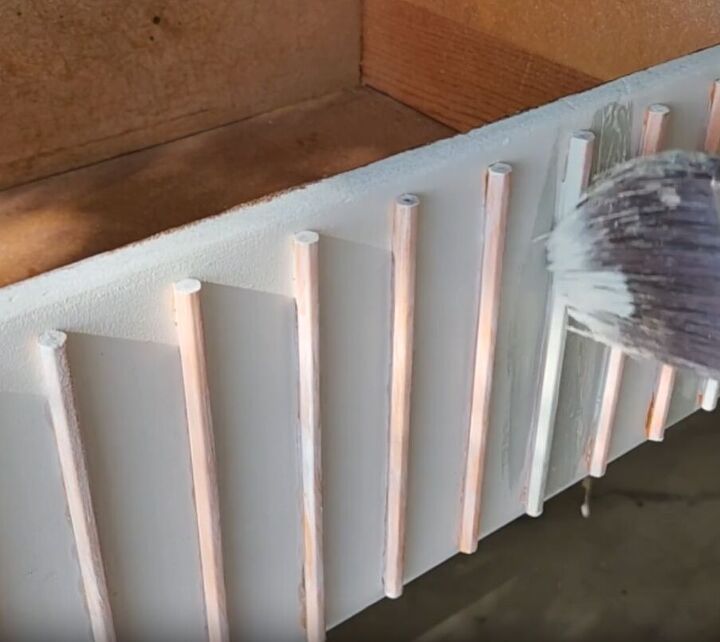
Pay special attention to painting in between the grooves of the pencils, using a brush for precision.
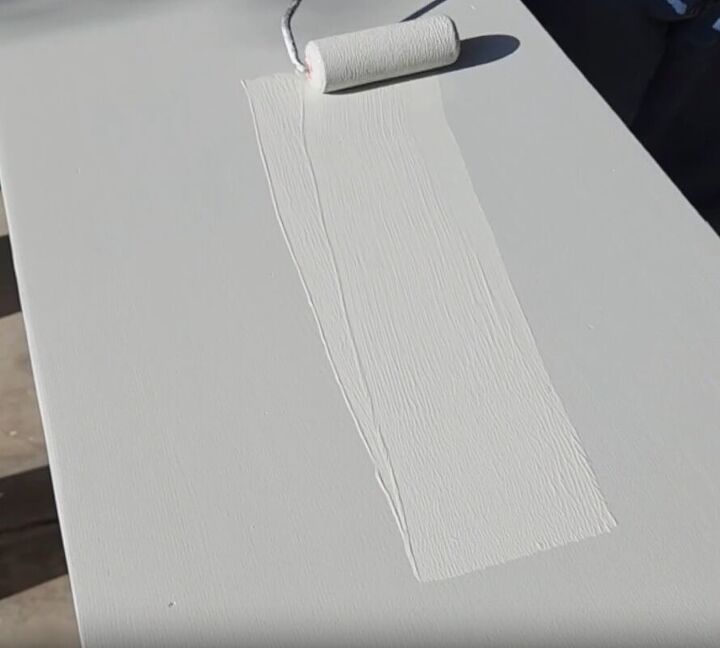
7. Applying Additional Coats
After the first coat dries, apply a second coat of paint to achieve a more vibrant finish. Depending on the desired outcome, you may need to apply additional coats. In this dresser makeover, three coats were used to achieve the desired result.
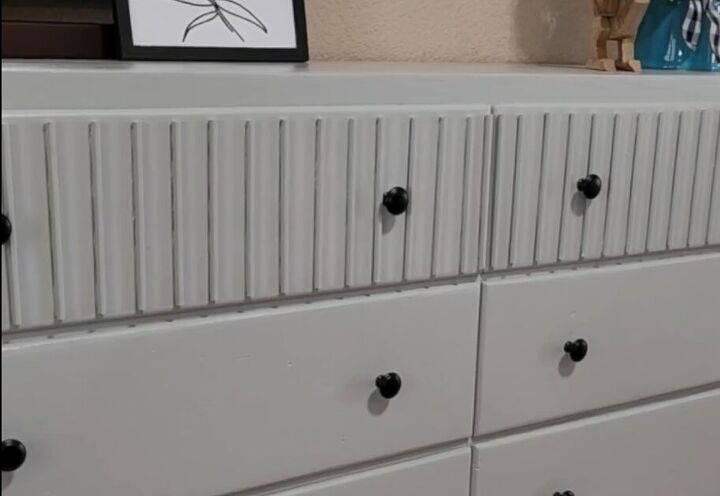
8. Changing the Drawer Knobs
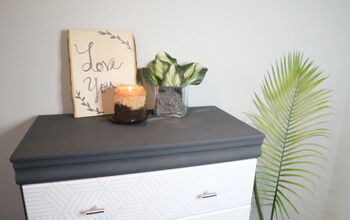
Replace the old knobs with new ones that complement the dresser's new look. Black knobs were chosen for this dresser DIY project to add a contemporary touch.
More Dresser Makeover Inspiration
How do you decorate a boring dresser?
This dresser makeover journey has been nothing short of incredible. We've explored techniques and ideas to paint dressers, turning them from dull to delightful.
Now, it's your turn to unleash your inner artist and embark on your own dresser makeover adventure. I can't wait to see the incredible results you'll achieve and hear about your unique approaches.
Don't hesitate to share your experiences and showcase your before-and-after photos in the comments below.
Resources for this project:
See all materials


Comments
Join the conversation
-
Stunningly beautiful! Nice work!!! 😊
-
I love the pencil idea!!! Beautiful and would look even better with some 6” metal legs!!


Frequently asked questions
Have a question about this project?
Why not use dowels? They are quite inexpensive.