


How to Do an Outdated Dresser Makeover in a Few Simple Steps
Welcome to my outdated dresser makeover tutorial. I transformed a dull and outdated dresser into a stunning modern farmhouse piece.
With a few simple steps and the right supplies, you can give new life to an old dresser and achieve a stylish look that complements the farmhouse aesthetic. Follow along as I guide you through each stage of this exciting DIY dresser makeover.
Tools and materials
- Outdated dresser
- Sandpaper (150-180 grit)
- Clean cloth or tack cloth
- Shellac primer
- Paint sprayer
- Chalky green paint
- Paintbrush or sponge brush
- Wood stain
- Water-based polyurethane
- New hardware with a modern farmhouse style
- Protective gear (mask, gloves, safety glasses)
Outdated dresser makeover
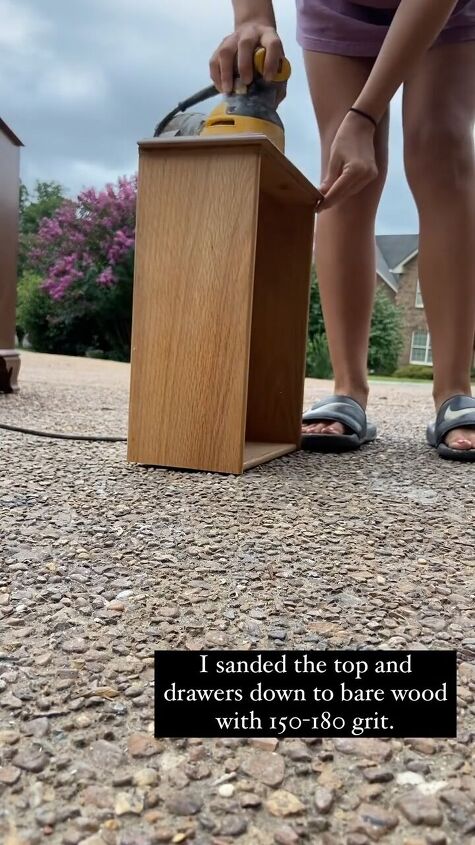
Step 1: Sanding
Begin by sanding the entire dresser and drawers with 150-180 grit sandpaper. This step is crucial to ensure a smooth surface for the paint to adhere to. Take your time and focus on removing the existing finish down to the bare wood.
Step 2: Cleaning
Wipe down the sanded surfaces with a clean cloth or tack cloth to remove any dust or debris. A clean surface will allow for better adhesion of the primer and paint in the following steps
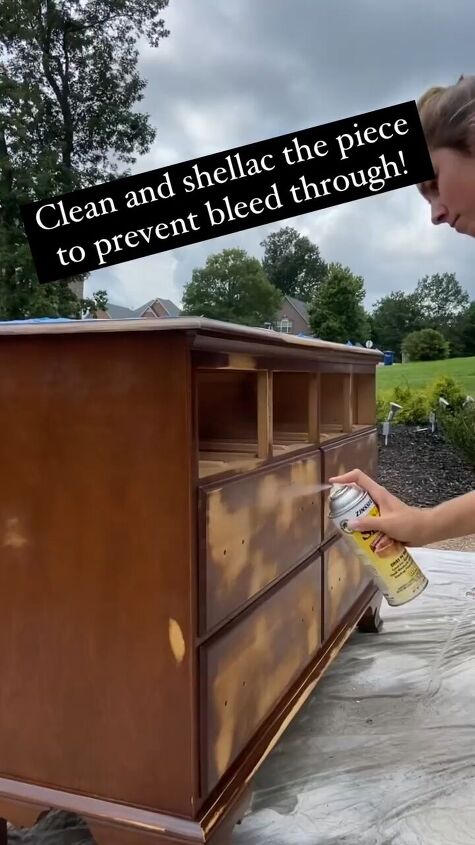
Step 3: Primer Application
Spray the entire dresser with a coat of shellac primer. This will prevent any bleed-through and create a solid base for the paint. Make sure to follow the manufacturer's instructions for proper application and drying times.
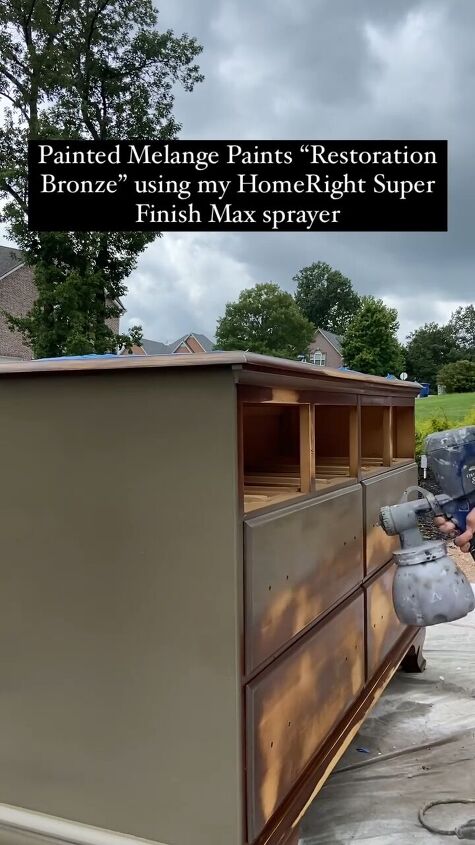
Step 4: Base Coat with Paint Sprayer
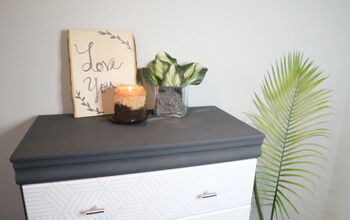
Using a paint sprayer, or a paint brush, apply a layer of the paint color of your choice to the dresser, excluding the top three drawers. I chose a lovely chalky green.
Choose a color that will give the dresser a fresh and modern look. Allow sufficient drying time between coats as per the paint's instructions.
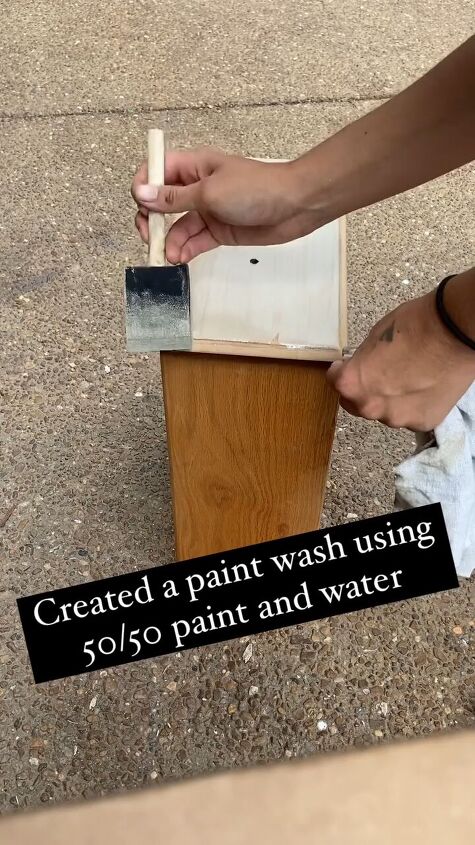
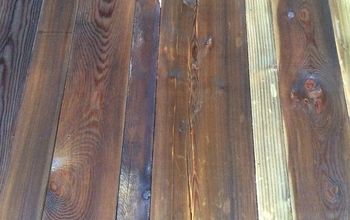
Step 5: Creating a Paint Wash
Mix a 50/50 solution of paint and water to create a paint wash. Use a sponge brush to apply this wash to the top three drawers, creating a unique and textured effect.
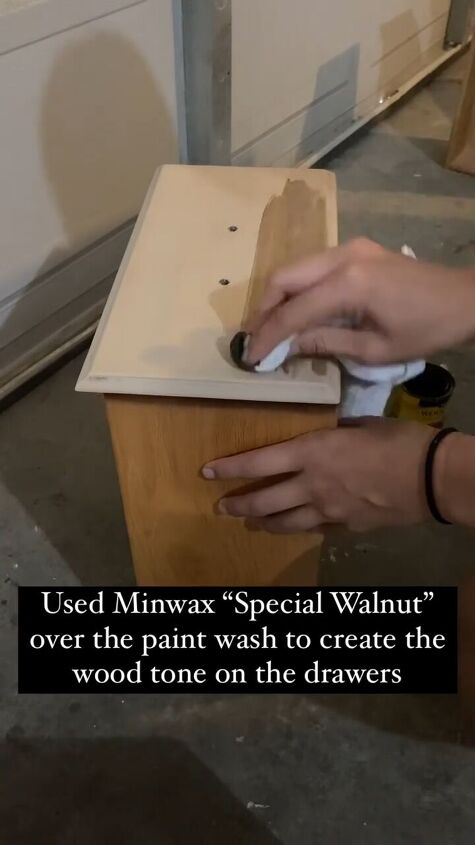
Once dry, go over the wash with wood stain to achieve a beautiful wood tone.
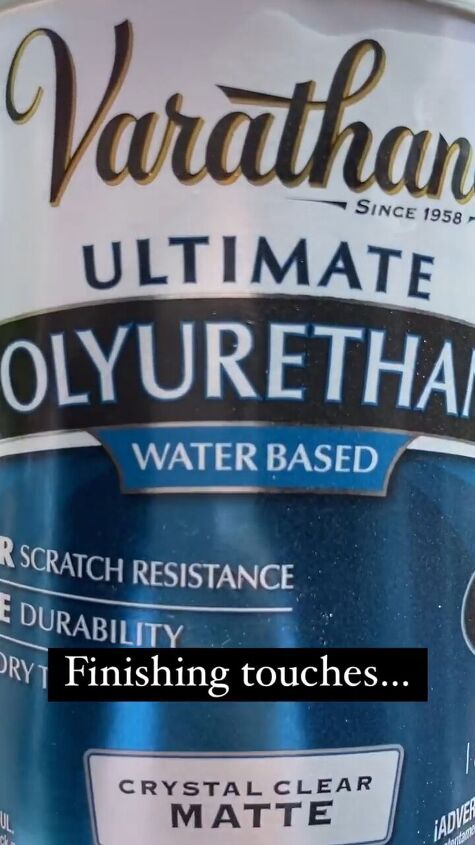
Step 6: Protective Finish
Cover the entire dresser with a water-based polyurethane to protect the painted and stained surfaces. This will also provide durability and a smooth finish. Follow the manufacturer's guidelines for application and drying times.
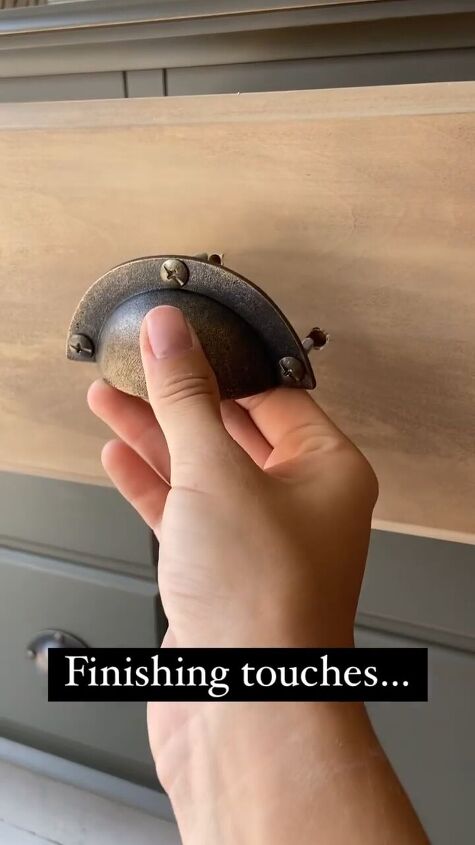
Step 7: Hardware Replacement
Enhance the dresser's modern farmhouse vibe by replacing the existing hardware with handles that match the style. This simple change can make a significant impact on the overall aesthetic.
Check out this before and after dresser makeover!
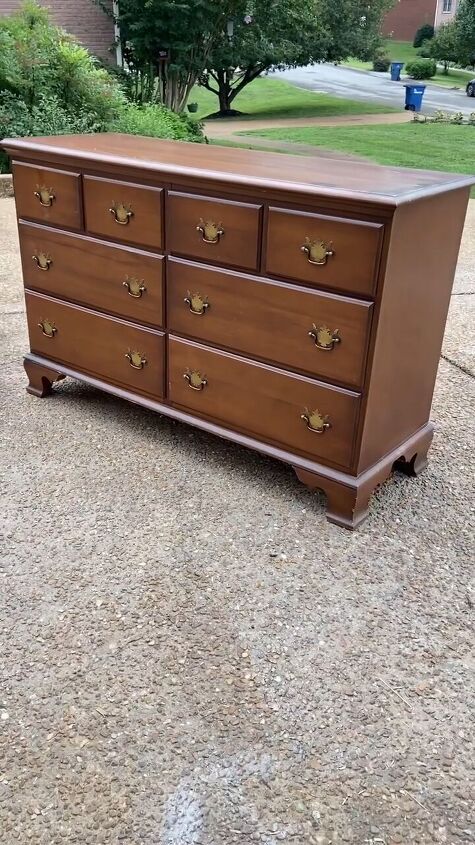
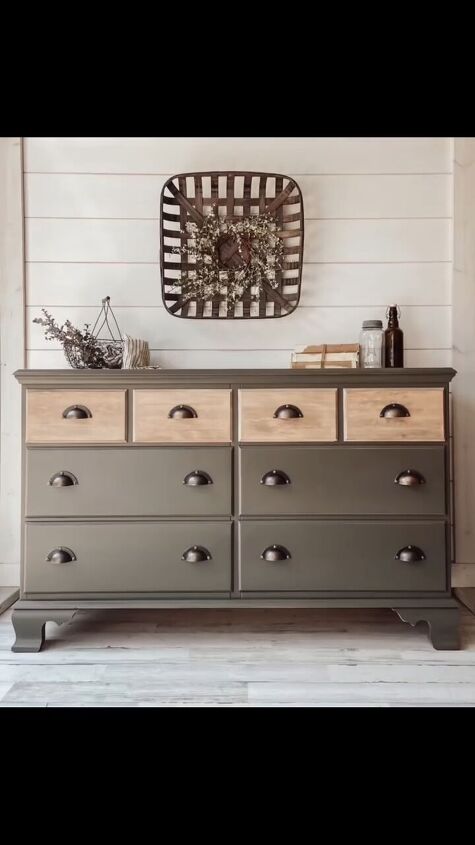
Outdated dresser makeover
I hope you liked these DIY dresser makeover ideas. With a bit of effort and creativity, you've turned a plain and outdated piece into a stylish modern farmhouse gem.
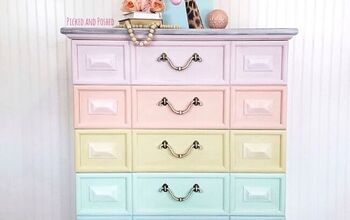
Enjoy your newly transformed dresser, and feel free to experiment with colors and techniques to make it uniquely yours. Happy crafting!
Follow @rhettsrefinishes on Instagram for more DIY ideas.


Frequently asked questions
Have a question about this project?