


Fun and Festive, Fabric Covered Easter Eggs!
$15
2 Hours
Easy
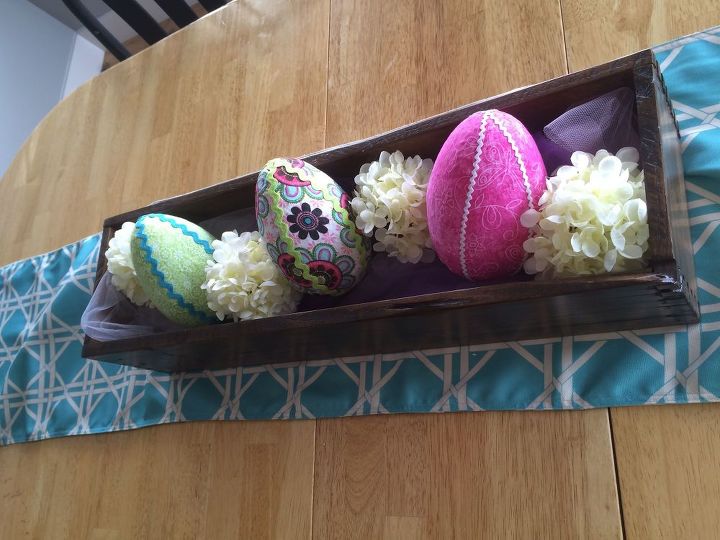
I am so excited that Spring is just around the corner. All the snow is almost gone and that gets me so ready for warmer weather. With spring coming it means Easter is also coming. One of my favorite memories growing up was crafting. One of those crafts in particular was fabric covered eggs. We would blow out real eggs and rinse them out and then cover them with fabric and ric rac. I loved it then and I wanted to recreate it in my home for this Easter season but in a bigger size and for a center piece.
This craft is super easy and fun to do. The glue tends to get a bit messy but it just reminds me of my elementary days and playing in the glue. So that can't be all that bad right? It took the most time to figure out the pattern that would work for the styrofoam eggs that I found at Hobby Lobby. However if you're not in a big hurry Amazon has this awesome price and package.
This craft is super easy and fun to do. The glue tends to get a bit messy but it just reminds me of my elementary days and playing in the glue. So that can't be all that bad right? It took the most time to figure out the pattern that would work for the styrofoam eggs that I found at Hobby Lobby. However if you're not in a big hurry Amazon has this awesome price and package.
Supplies
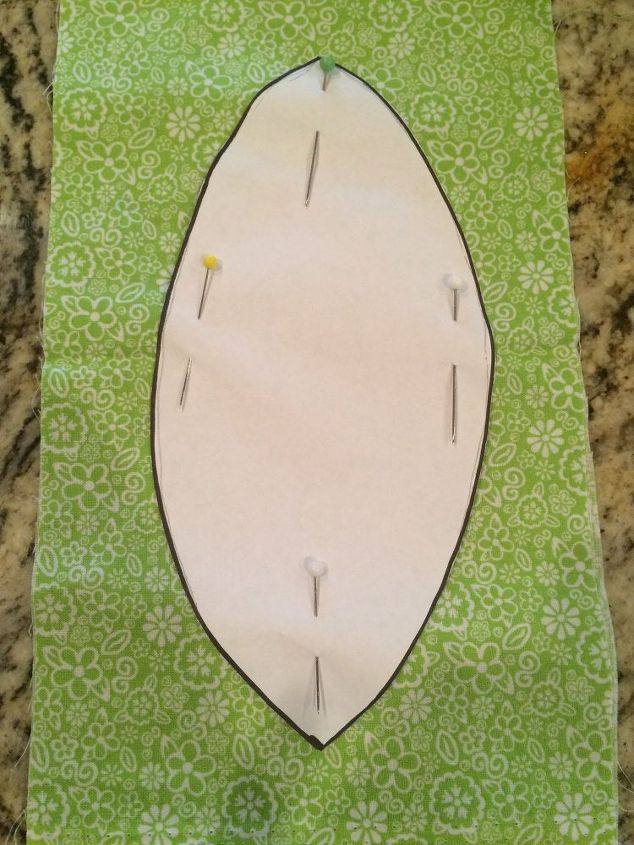
Begin by placing pattern on fabric, I doubled mine as I am not a fan of cutting and since you are not sewing lines don't have to be perfect. You will be cutting out 4 pieces of fabric for each egg. Feel free to mix other fabrics and make your eggs more colorful.
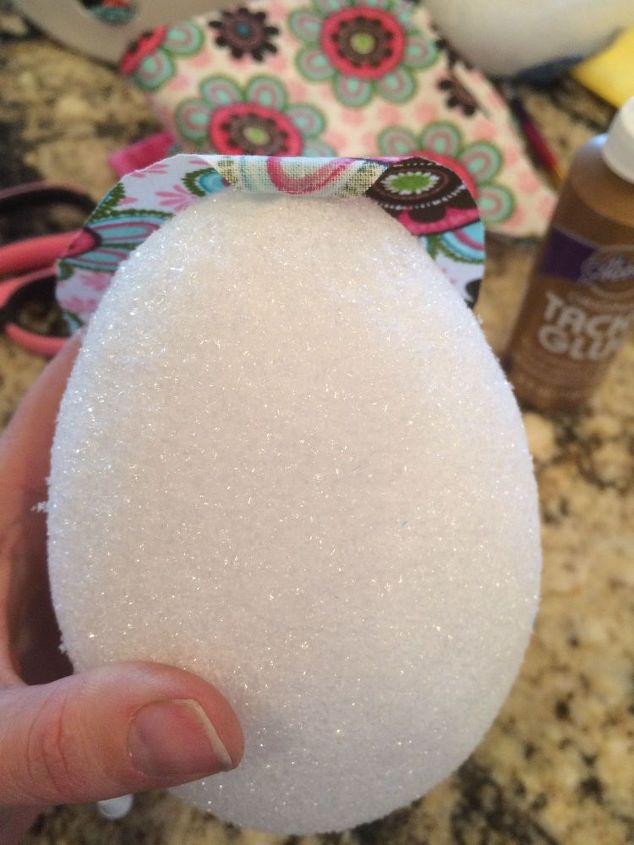
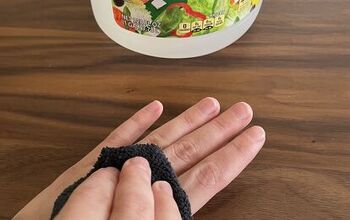
Begin by gluing on piece of the pattern at the top of the egg. I found that it was easier to glue from the center out and to work with about an inch at a time. So from the top to the bottom.
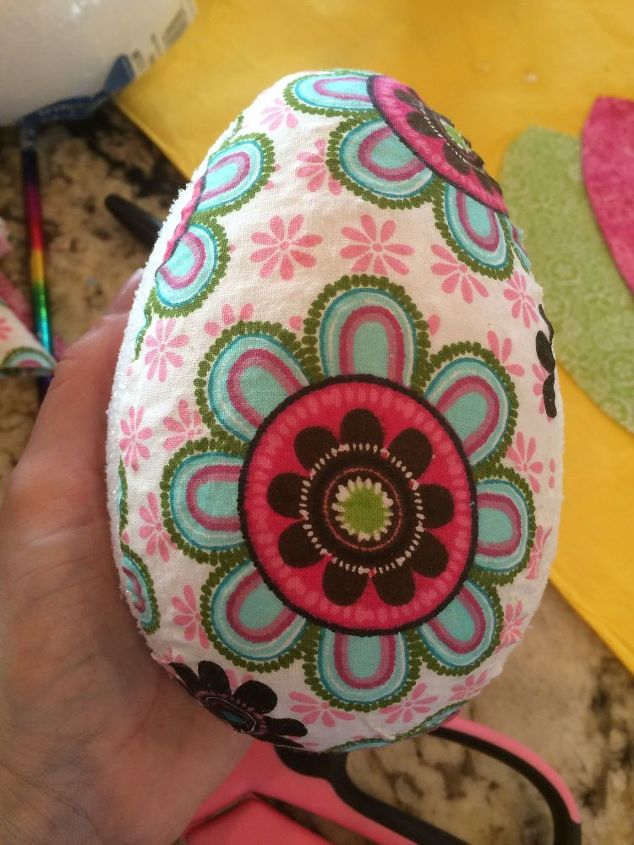
Be sure to pull your fabric tightly as you go, not so tight that there is a lot of excess at the bottom but tight enough that the fabric lays smoothly on the egg.

Want more details about this and other DIY projects? Check out my blog post!


Frequently asked questions
Have a question about this project?