


Coiled Sisal Rope Basket With Lid
5 Materials
Easy
I know, I know! There are lots of tutorials on making rope baskets but how many have you seen that includes a lid? Who doesn't love a handcrafted and adorable catchall that has a top to hide it all? And the best part - it's so easy to make including adding decorative rope accents!
For a complete tutorial visit: http://www.plumperfectandme.com/2016/04/coiled-sisal-rope-basket-with-lid-diy.html
For a complete tutorial visit: http://www.plumperfectandme.com/2016/04/coiled-sisal-rope-basket-with-lid-diy.html

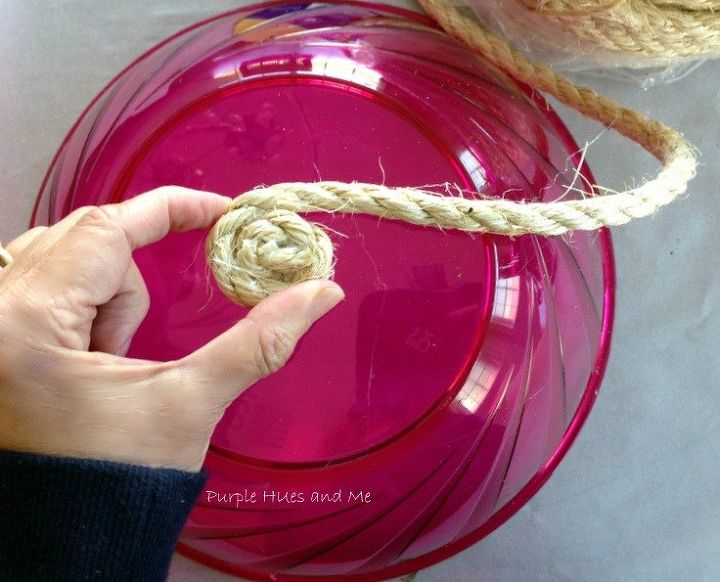
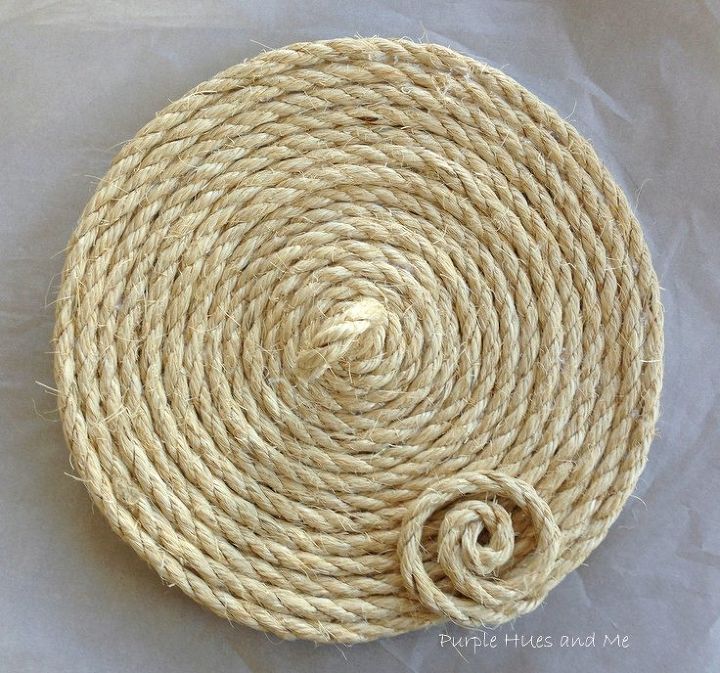
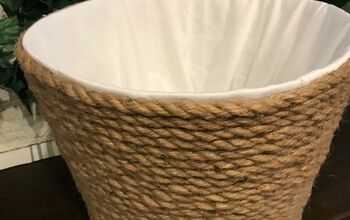
Begin by dipping the end of the rope in mod podge to seal and let dry. Once dry, coil rope end tightly into a circle, securing with a dab of hot glue. Place on a upside down bowl bottom that you'll be using to shape the basket.
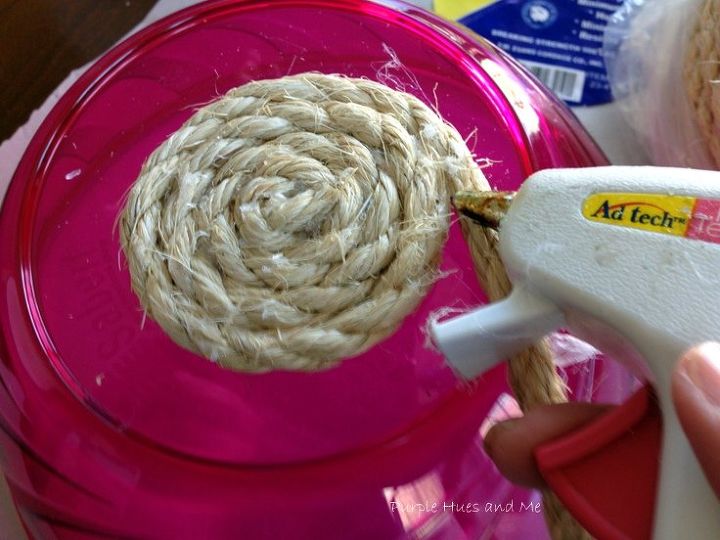
Add lines of hot glue along the rope as you are coiling it around the bowl base, making sure to keep the rope even and the circle flat.
I added plastic wrap as an afterthought since some of the glue seeped through to the bowl. But next time, I'll use parchment paper for a much easier removal and clean up.
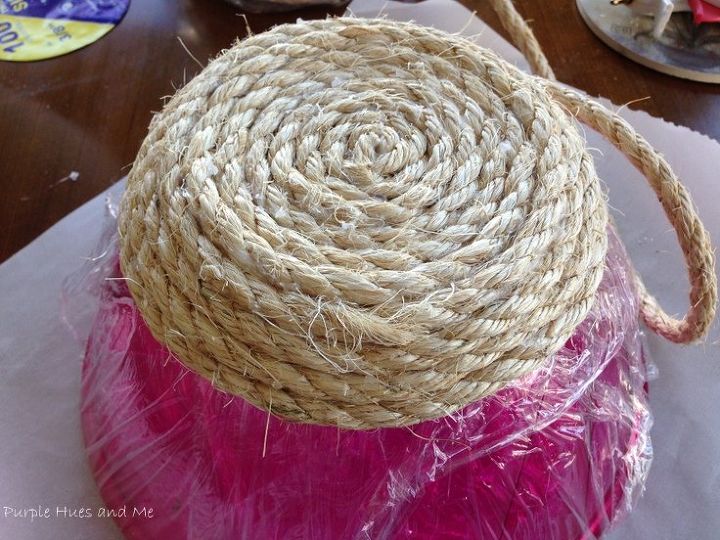
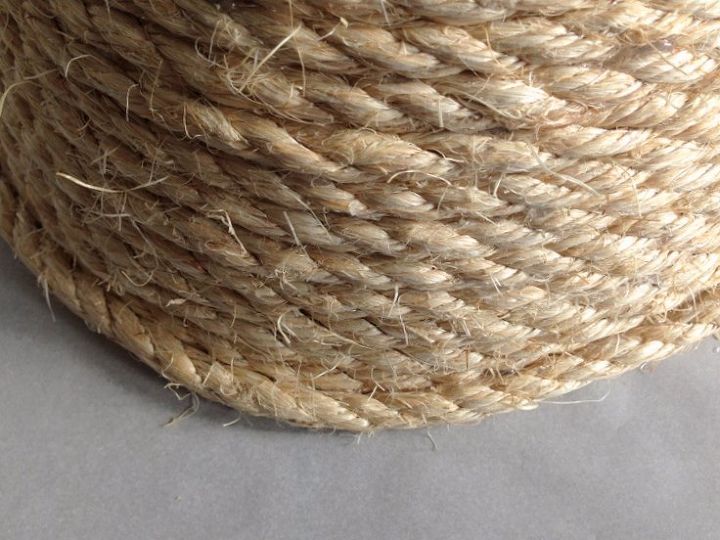
Continue coiling and gluing the rope around the bowl, holding the rope firmly in place as you are waiting for the glue to dry (just a few seconds) until reaching your desired height.
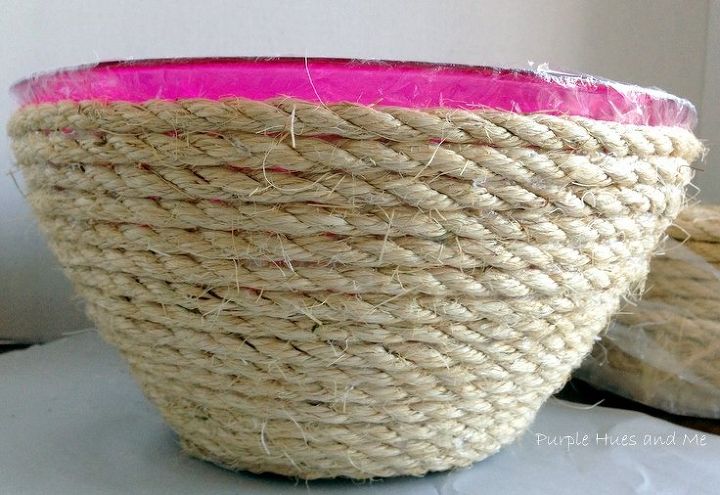
Remove the basket from the bowl by gently pulling off the plastic wrap from the bowl and twisting it out. Use the tip of the hot glue gun to help remove any excess glue and remaining plastic wrap that's stuck.
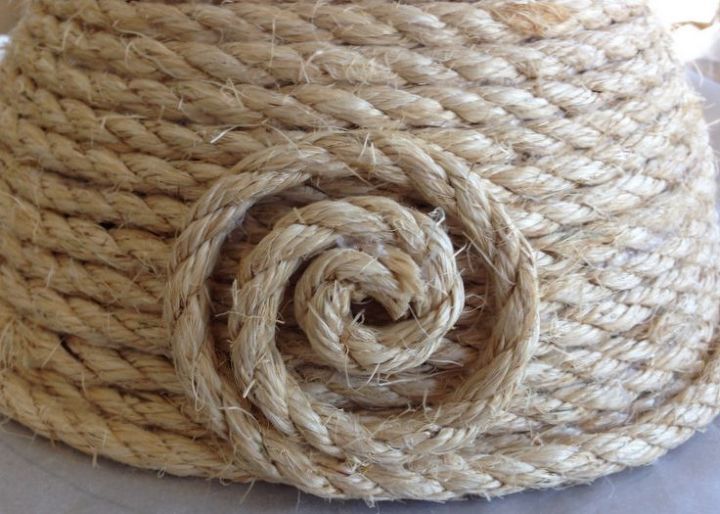
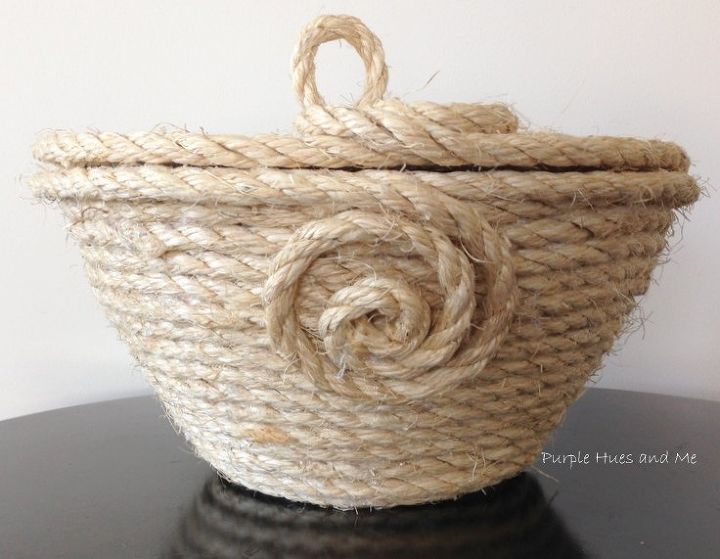
Leave about 12 inches of sisal rope on the finished basket and cut off excess. Make a decorative coil on the outside of the basket and hot glue in place.
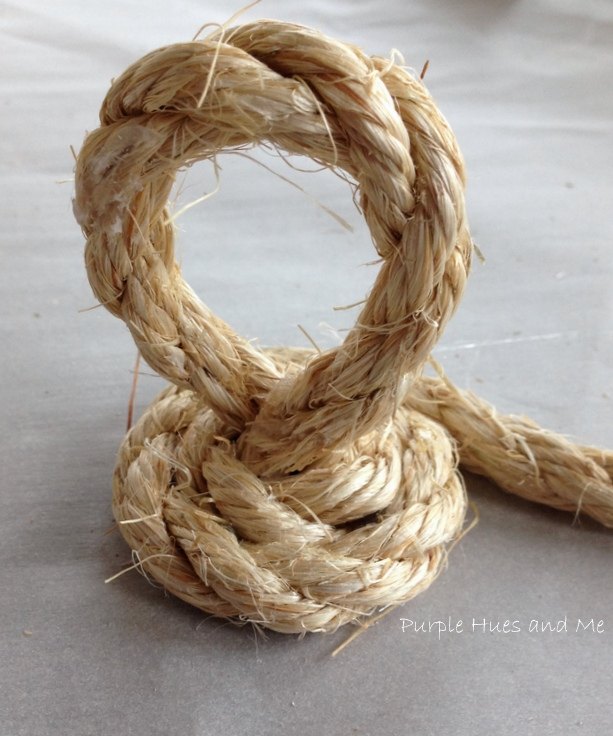
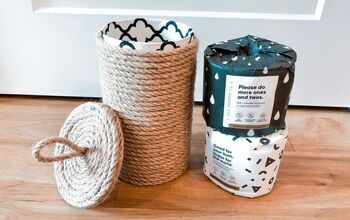
To make the lid, use the rest of the sisal rope from the original roll and place the end in mod podge, as before, to seal. After drying, make a small loop and hot glue together. Hold the loop upright and begin coiling the rope around the loop.
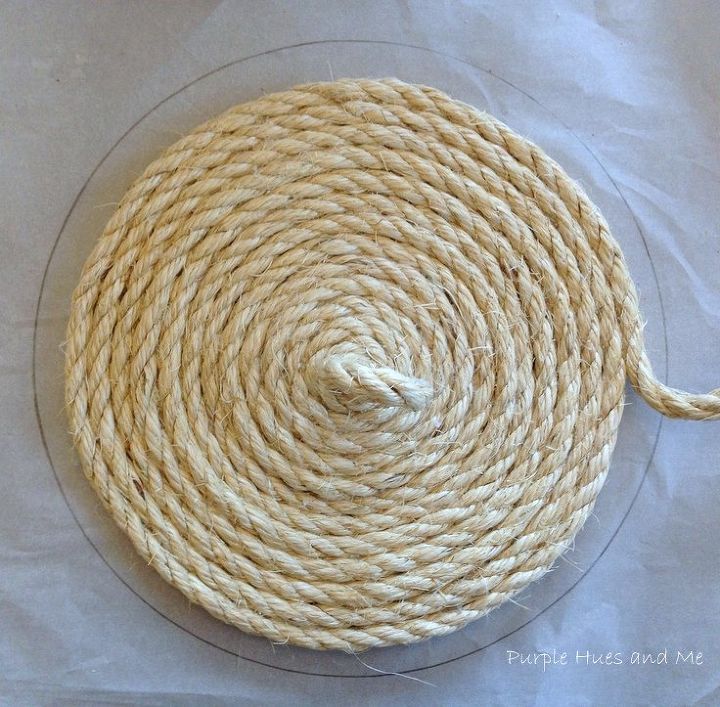
Continue coiling in a flat circle pattern, adding glue around the rope. As a guide to how large to make the lid, draw around the opening of the basket on parchment paper and continue coiling and gluing on top of the paper until covering the circle pattern.
Leave several inches of excess rope and make a matching decorative coil on top. Glue in place.
And finally, give the basket and top a coat of mod podge or sealant to control the sisal fibers and dust particles.
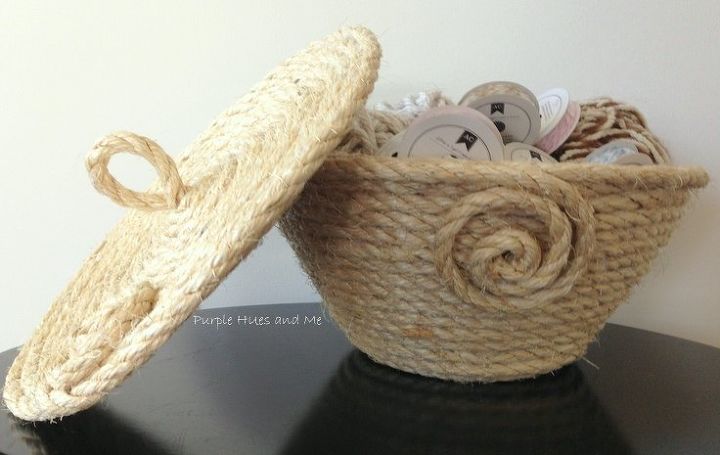
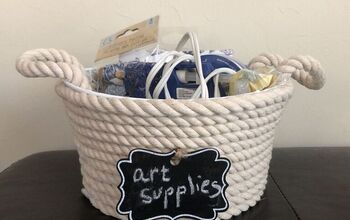
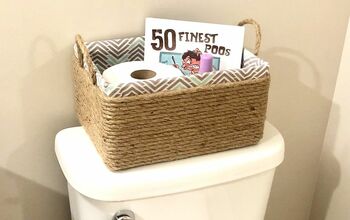
Perfect for any area where a bit of pizazz and order is needed! Also makes for great handcrafted décor gift!

Want more details about this and other DIY projects? Check out my blog post!
Comments
Join the conversation
3 of 54 comments
-
I love this idea! ... Thinking of using this idea to make a lampshade...
-
I love your basket and now my crafting brain is working. Thanks 😊


Frequently asked questions
Have a question about this project?