


Wine Boxes Turned Toy Cubbies

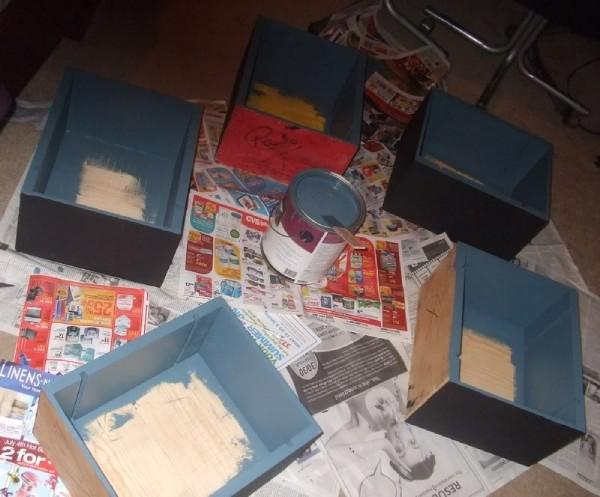
Step 1: I had placed them together to start with, to decide how I wanted to assemble them and placed x's where it wasn't necessary to paint. Pretty much, just to save on paint.
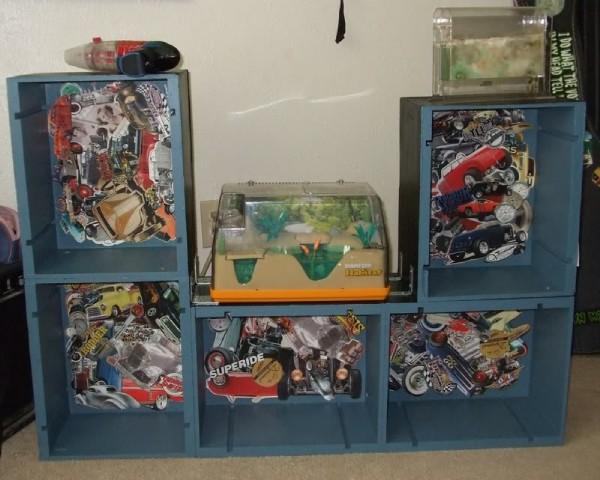
Step 2: On the outside I painted with magnetic paint and on the inside I painted a blue.
I cannot tell you the shade of blue for I mixed this blue with paints I had found in the garage of my home before this one. :)
Step 3: Decoupage.
I didn't bother with painting the back inside the boxes either, because this is where I planned to decoupage with pictures from car magazines.
Also, I did not use decoupage glue. You can mix one part water and one part glue for this.
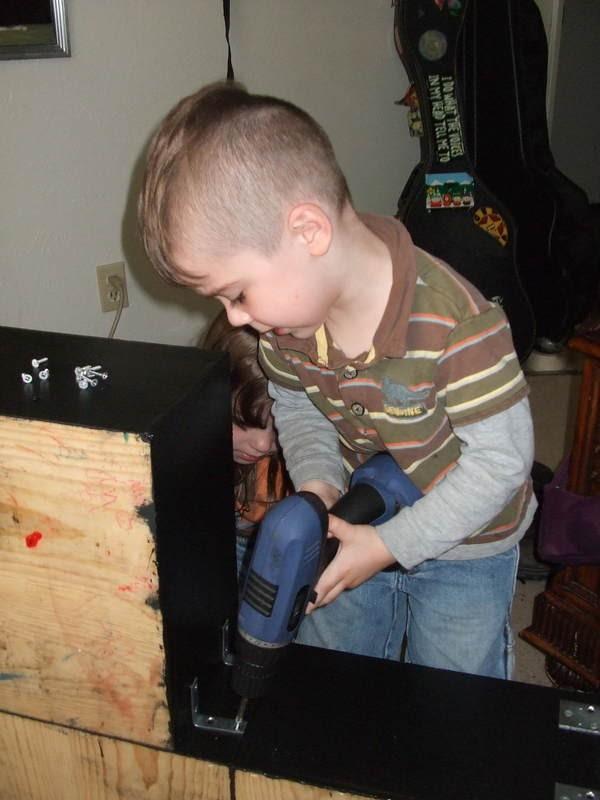
Step 4: Assemble. Using wood glue and various random "L" brackets I had collected over time, we put the boxes together.
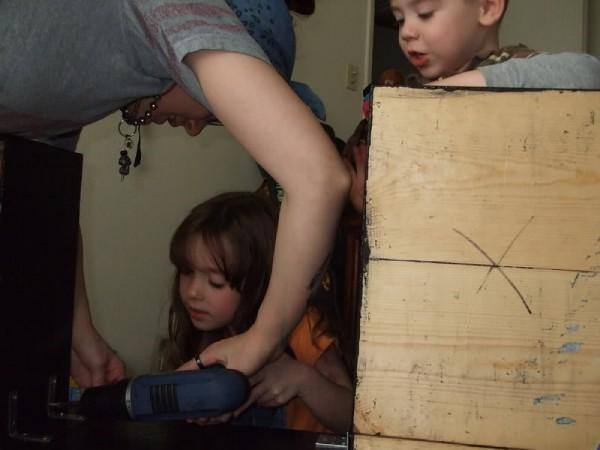
I often let the kids in on what I am doing.
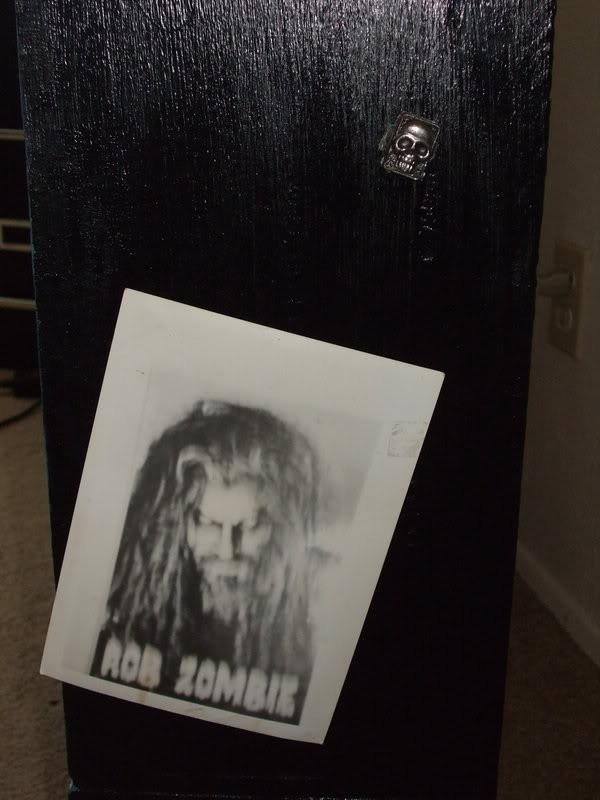
As a small decorative addition, I had glued magnets to an old ring and an old picture their father had taken in photography class in high school.
Then added a few of his toys...
Comments
Join the conversation
-
Very cool! Always great to get the kids involved. They love it even more.
-
Great repurpose! I love that the whole family collaborated together :)


Frequently asked questions
Have a question about this project?