


How to Make a Family Name Sign Using Old Wood & Graphite Paper
I found a couple of random pieces of old wood that looked like they’d been used in a garden shed for holding pot plants on as I could see some round marks where the pots had been. I love using old recycled wood for projects like this.
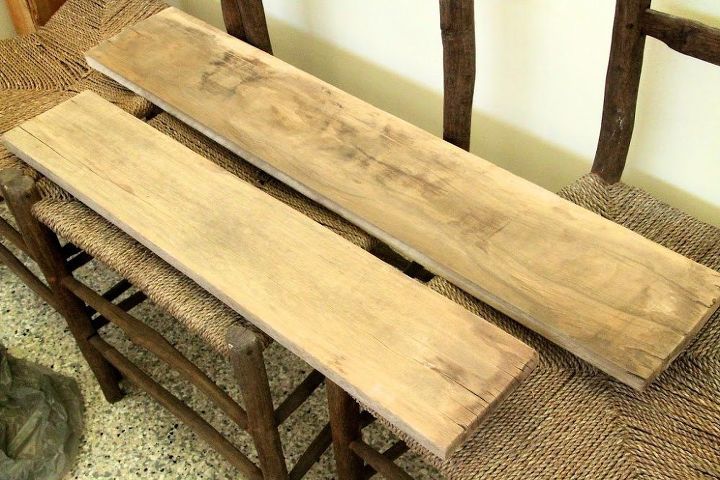
I started by sanding it back roughly to give a slightly smoother finish for painting on. This may not be necessary, but that’s how I did it, and it works well to have a smooth surface to transfer your letters onto in this case.
I painted a coat of black watered down wash type paint (I simply mixed 50/50 water to a water based paint) using a rag to make it dark and almost charcoal, as though it had a burnt look. (This would even look great to leave dark stained with white lettering)
After it dried (couple of hours), I took white wash paint (50/50 antique white colour with water) and painted it on. This time I found it worked better to go on with a brush rather than a rag, but take your pick.
Then after drying thoroughly, I sanded back edges and random sections across the board for a weathered, shabby look. You’ll see some of the dark colour peeking through from underneath.
I didn't take pictures of the process of this sign, but I'll use other pics I had from a different project so you get a good visual of this method of transferring graphics.
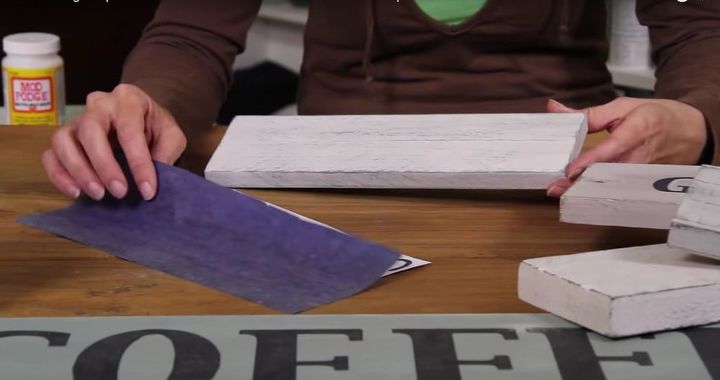
I printed out my lettering, getting the size to the right proportion according to the piece of wood I was using.
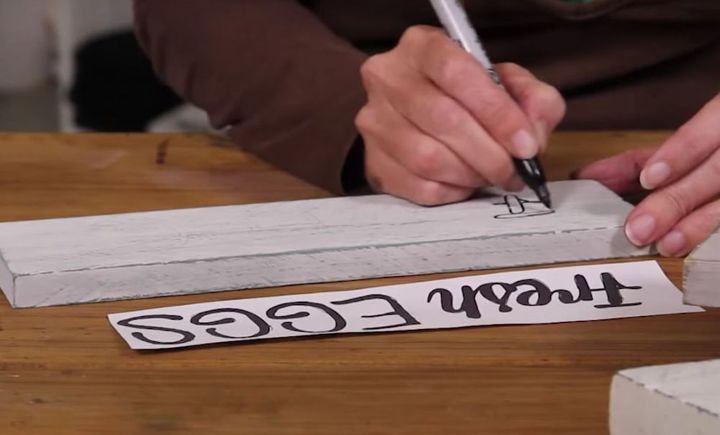
Then using graphite paper or carbon paper underneath my printed letter paper, I transferred the lettering to the wood going over the outlines of the letters with a pen or pencil tip (if you don’t have any graphite or carbon paper, you can still achieve the same result by rubbing the back of your lettered paper where the letter outlines are, with a lead pencil, shading all the edge areas)
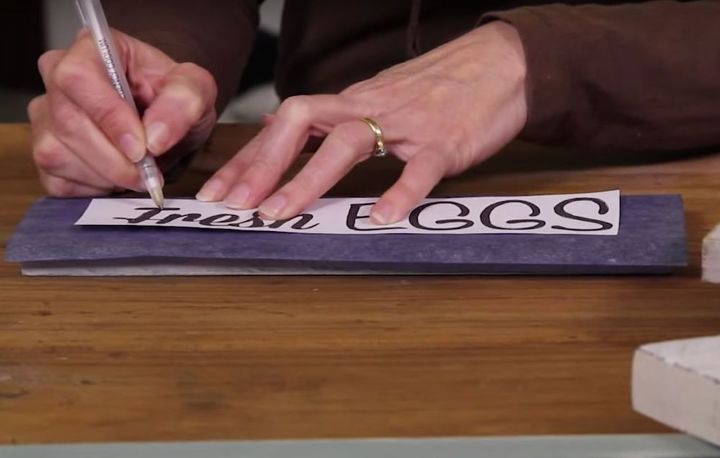
You can then see the blue carbon outlines (or pencil if you used this method) on the wood.
Take a sharpie or very fine paint brush and go over the outlines, then fill in the letters.
At this stage you can either leave it like it is or give it an extra shabby look and sand over the lettering when the paint has fully dried. I left mine as is for now.
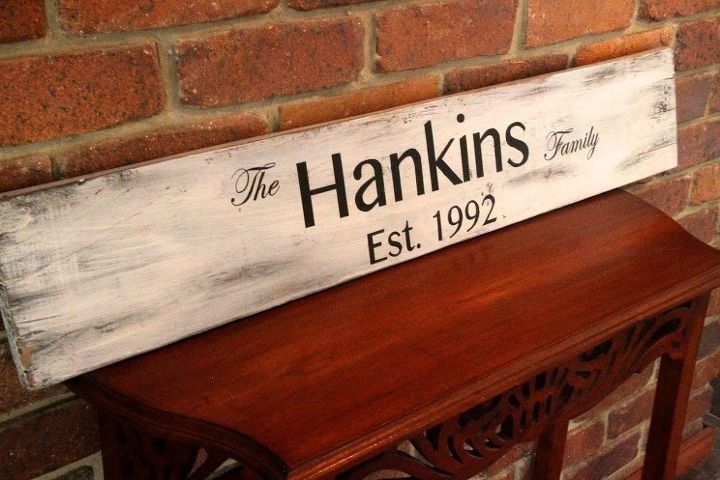
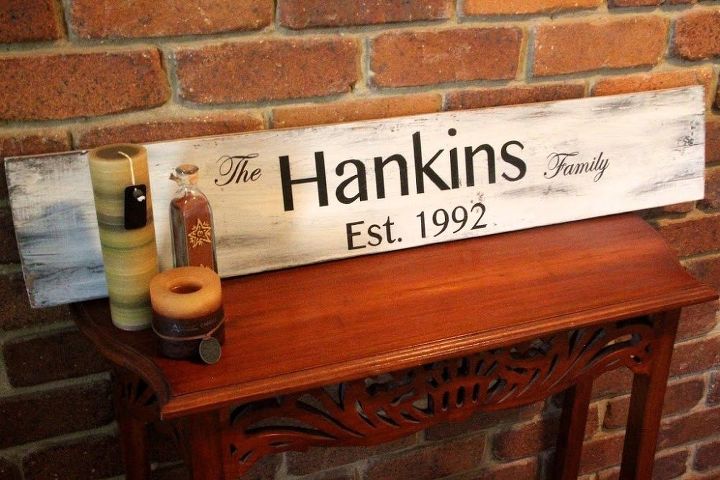
All ready to hang on a wall, or display on a mantle or shelf!

If you like, you can also seal the whole sign using a wipe on poly or varnish.

Comments
Join the conversation
-
This is beautiful! Great work!
-
Will the wipe on ploy or varnish mess up the sharpie?


Frequently asked questions
Have a question about this project?
did you use chalk paint on the wood ?