


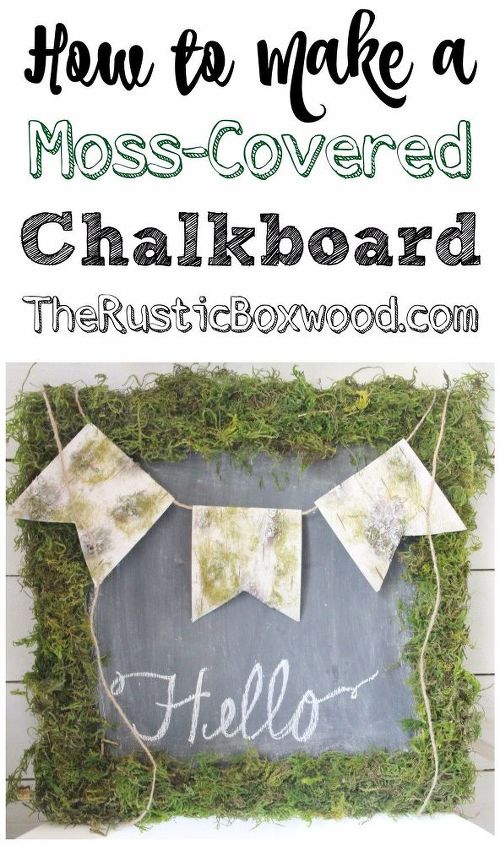
How to Make a Rustic, Moss Chalkboard
Easy
This post is all about how to make your own rustic, moss chalkboard! It’s an inexpensive and easy project that I know you’ll love making for your own home! Plus, you can make it in less than an hour! Score!
(To see a full list of supplies needed, please click the link at the bottom of this post, which will take you directly to my tutorial.) ;) And don't forget to follow along with me on Facebook, Twitter, Instagram and Pinterest...in addition to HomeTalk...so you don't miss another post! ;) (You will find direct links to my social media on my blog, The Rustic Boxwood. Thanks for stopping by!)
(To see a full list of supplies needed, please click the link at the bottom of this post, which will take you directly to my tutorial.) ;) And don't forget to follow along with me on Facebook, Twitter, Instagram and Pinterest...in addition to HomeTalk...so you don't miss another post! ;) (You will find direct links to my social media on my blog, The Rustic Boxwood. Thanks for stopping by!)
First, I’d like to point out where all this inspiration came from, which occurred when I was prepping for a live video tutorial on HomeTalk’s Facebook page. The focus was on how to make a “DIY, Pottery-Barn Inspired Moss Letter,” and you can learn how to make one yourself by clicking here.
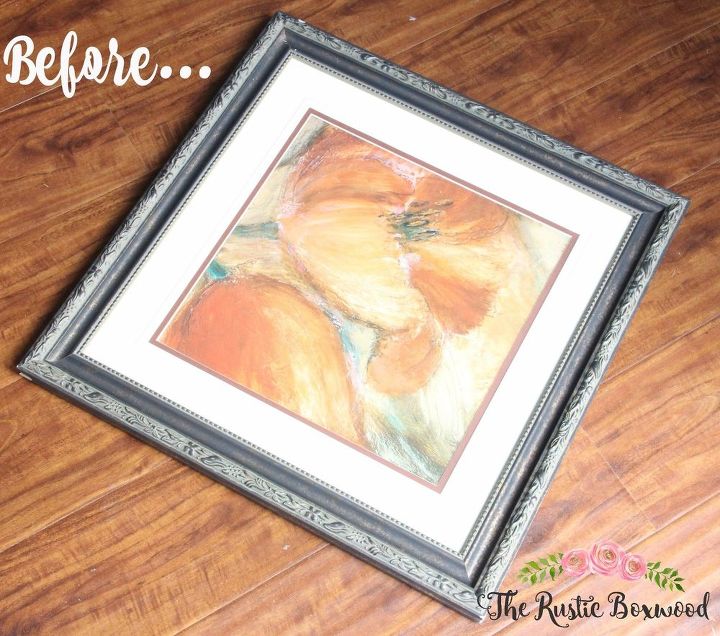
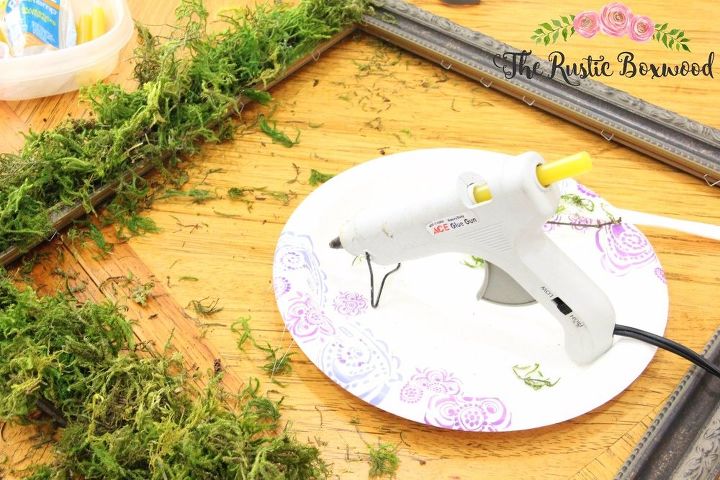
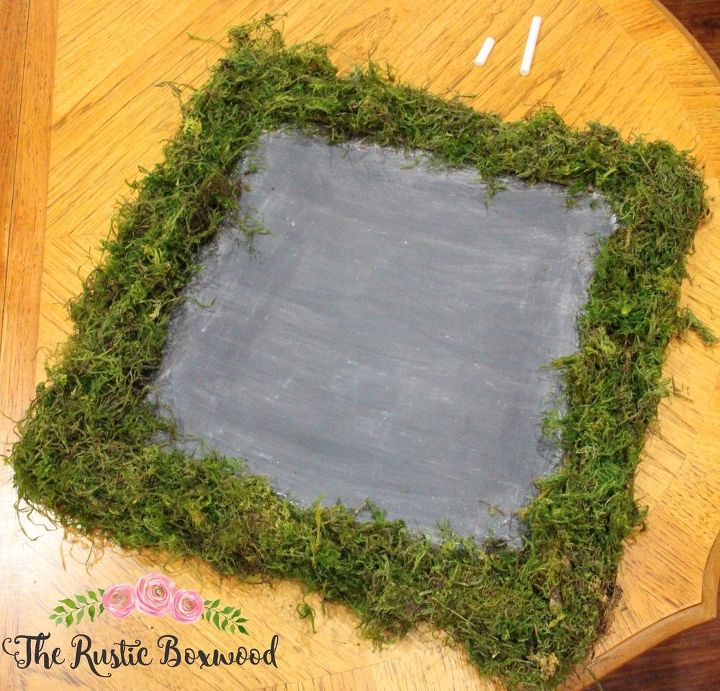
Start with a few preparations: heat your hot-glue gun, clean the glass, and remove it from the frame. Follow the directions on your paint can, or do what I do….Before opening the paint, make sure the lid is on real tight, and give it a good shake to insure that the paint is mixed really well.
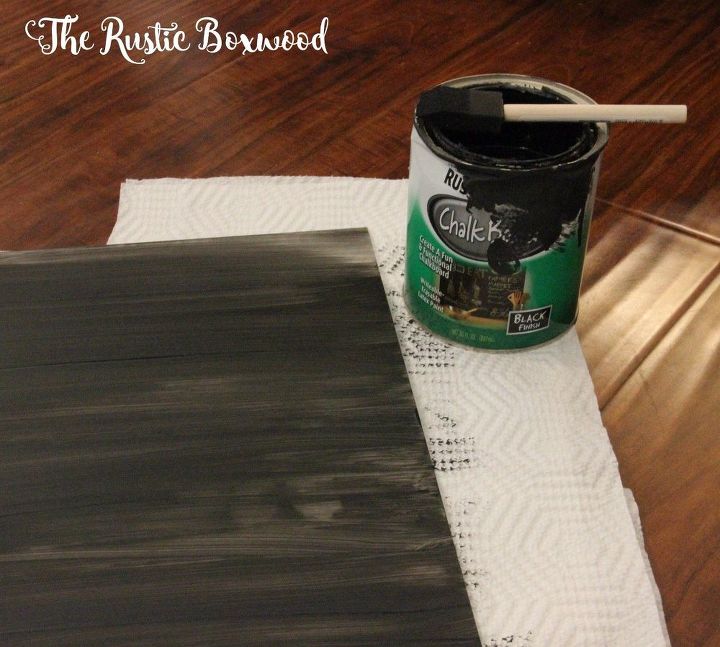
(The above photo is how the paint looks after the first coat.)
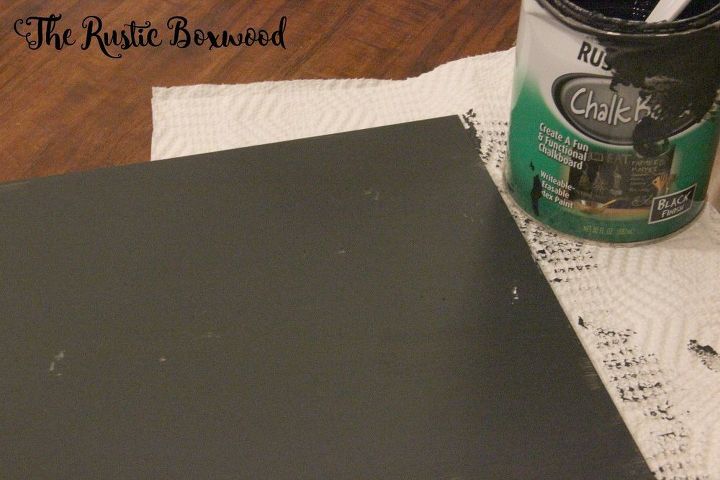
(The above photo is how it looks after a few layers.)
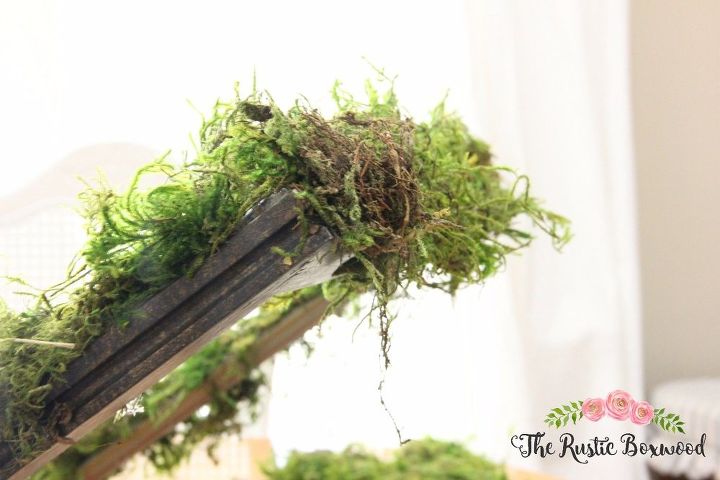
Now that your frame is covered in moss, you’re ready to add the chalk-painted, glass insert into the frame!

All you have to do now is “season” the chalkboard. Take your chalk, rest it on its side, and slide it from side to side, completely covering the chalkboard.
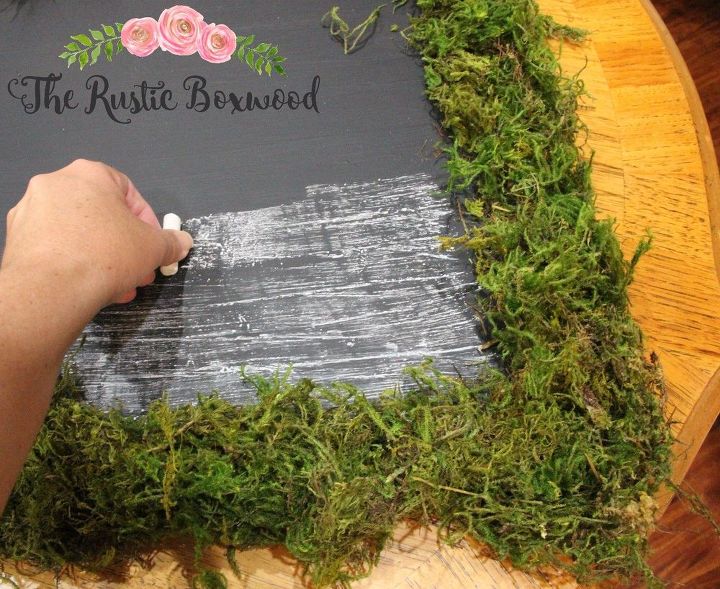

Then, take a napkin or cloth and gently wipe all the chalk off, giving your chalkboard a “rustic” look.
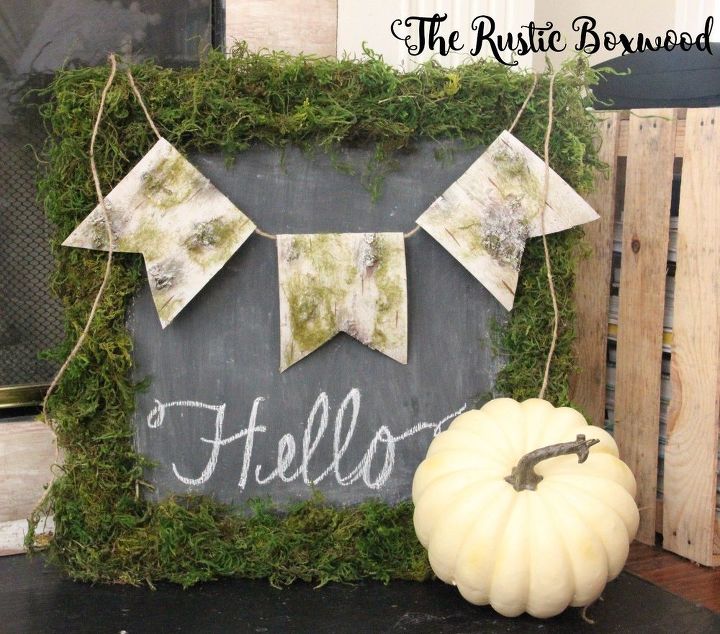
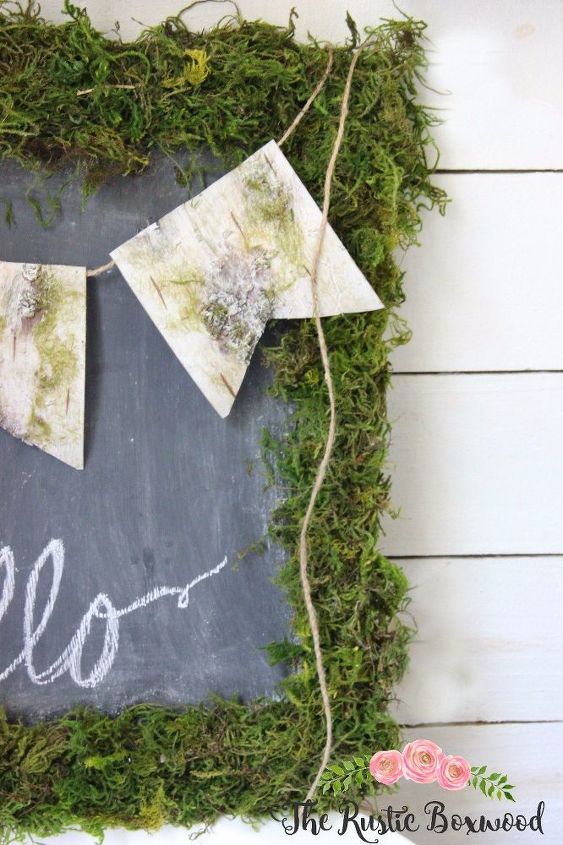
Now that you’ve seasoned your chalkboard, it’s time to add the pretty details. 😉 Get creative on this one! You can add some fun garland, like the one resting on the frame in the pic below -- click here for that tutorial, and then use your leftover chalk to spell out a meaningful word, such as “family,” “gather,” “home,” or the current season! Or even try out some stickers! I placed some stickers onto the chalkboard as a tester (click the link below to see that idea). Another fun way to accessorize is to use a stencil and some liquid chalk.
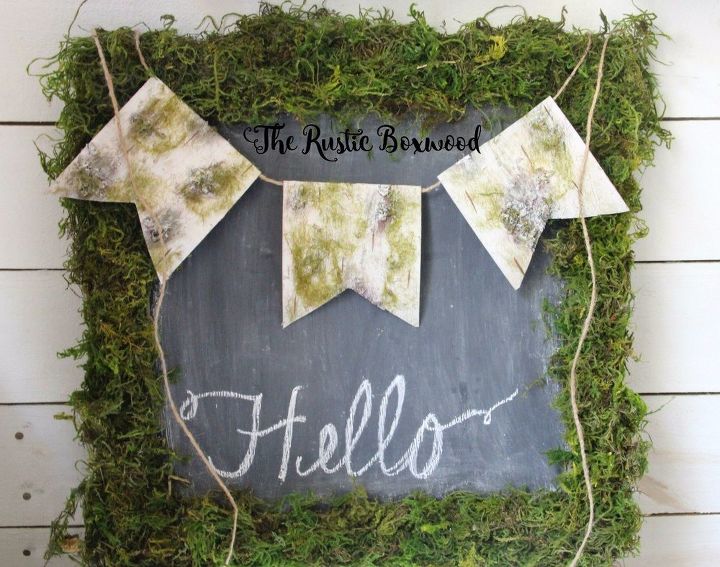
So, what do you think about this diy, moss-covered chalkboard? Do you have any other ideas as to how to use moss in your own home? I’d love to hear about it! Comment below, or stop by my social media and say hey! You can find me on Pinterest, Instagram, HomeTalk and Facebook!

Want more details about this and other DIY projects? Check out my blog post!
Comments
Join the conversation
4 of 6 comments
-
Loving this. Very earthy.
-
Love this!! Totally going to do this!! So so cute!!!


Frequently asked questions
Have a question about this project?