


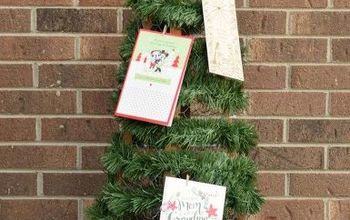
Lighted Chicken Wire Tree

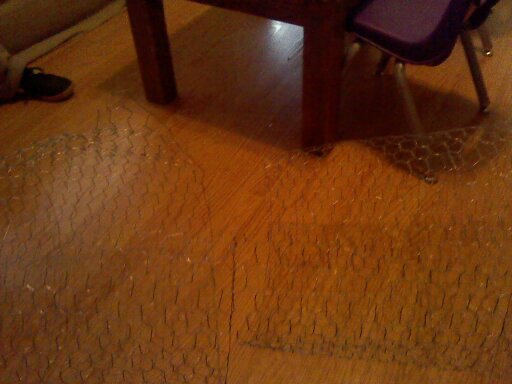
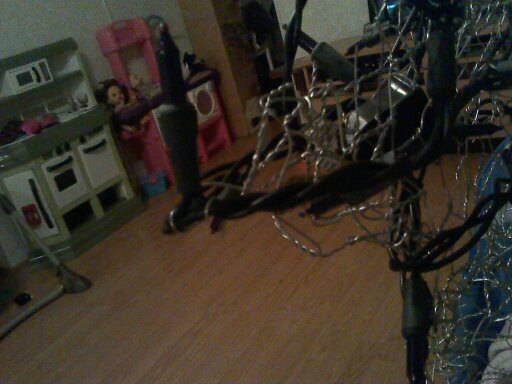
Step 1: I didn't feel like I could get the width and length I wanted out of the size of chicken wire I had so I cut out 2 large squares.. I did wear gloves.
and attached them to each other..
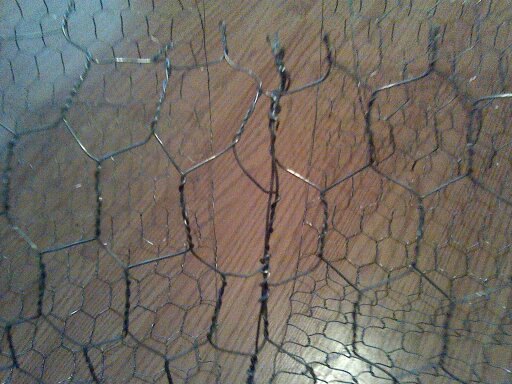
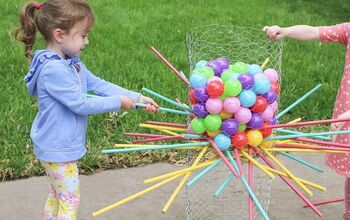
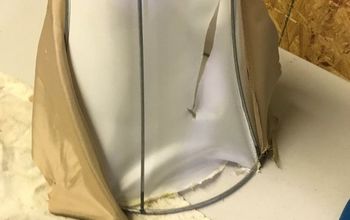
Step 3: I cut out a large triangular shape and attached the opposite sides together to make a cone.
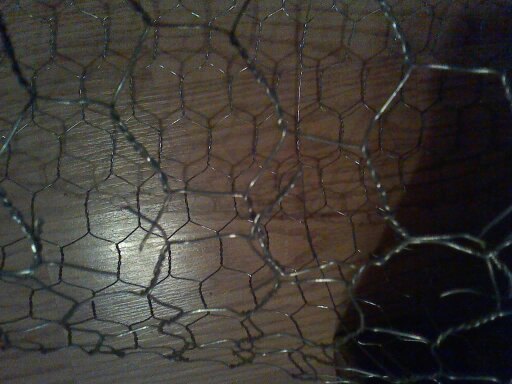
Step 4: I cut out a circle and attached it to the base of the cone.
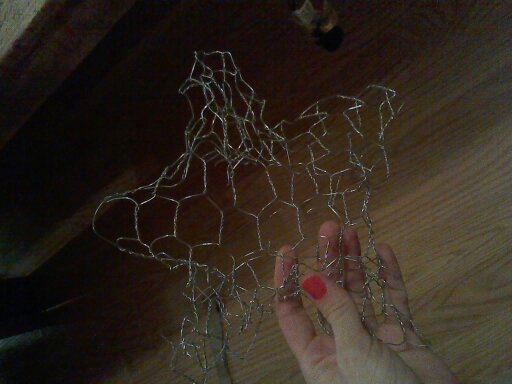
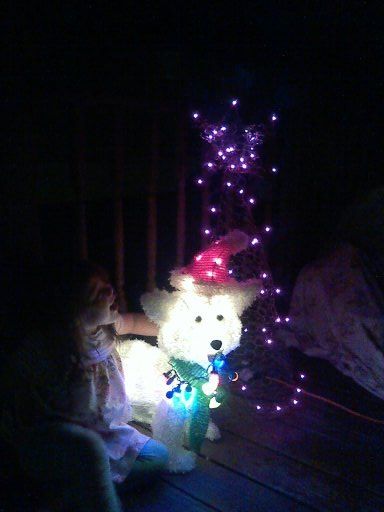
Step 5: If you decide to try this project, you may need to cut this out to make it but, I did not. After cutting everything else I had a scrap shaped well enough to just take it and squeeze into a star shape.
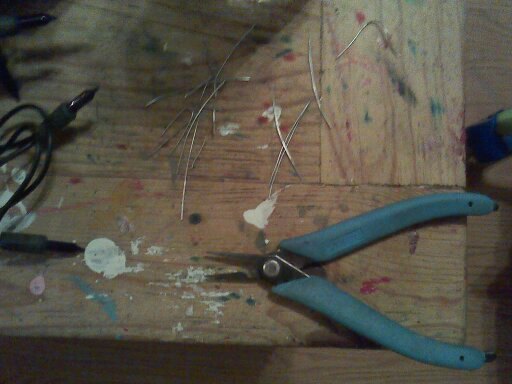
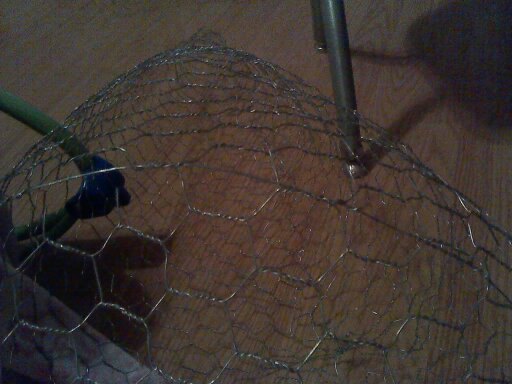
Step 6: I cut a bunch of small pieces of wire to use to attach the star to the top of the cone and to attach the lights throughout the chicken wire..
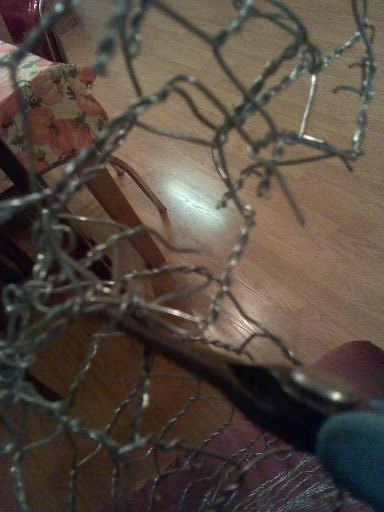
Wrapping the small pieces of wire over some wire where the star and tree meet to attach them to each other.
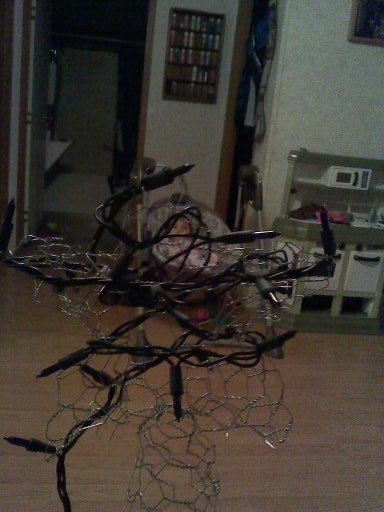
Step 7: I used the small pieces of wire to attach the lights where I felt the lights should sit still. On the star I made sure that a light stopped at each point.
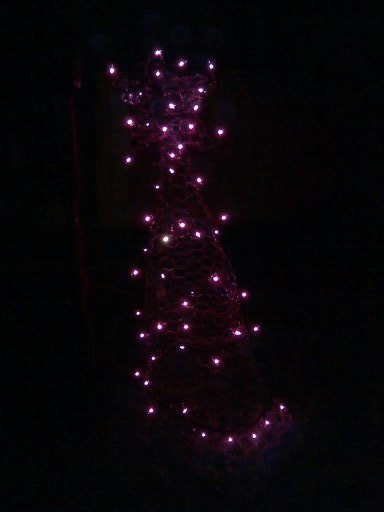
At first all of the lights poked outward but, I felt that I got a better star shape sticking them inward. I left the lights at the points pointing outward, though.
Comments
Join the conversation
-
It came out great! I love that you were able to upcycle Halloween decor!


Frequently asked questions
Have a question about this project?