


$10 Photo Ledge

by
Laci Jane
7 Materials
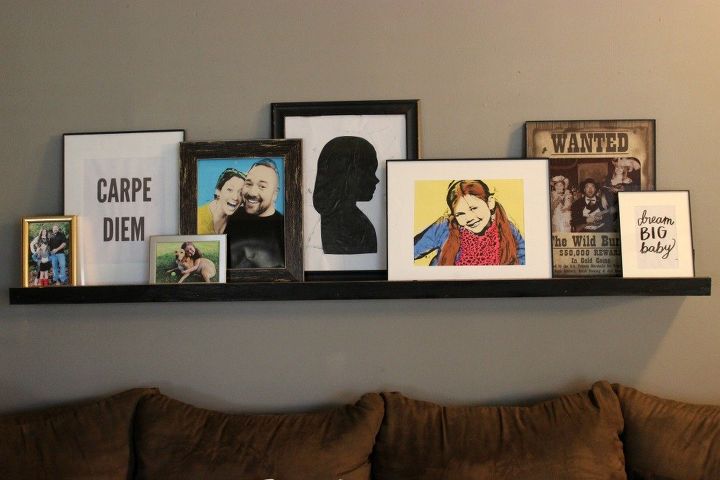
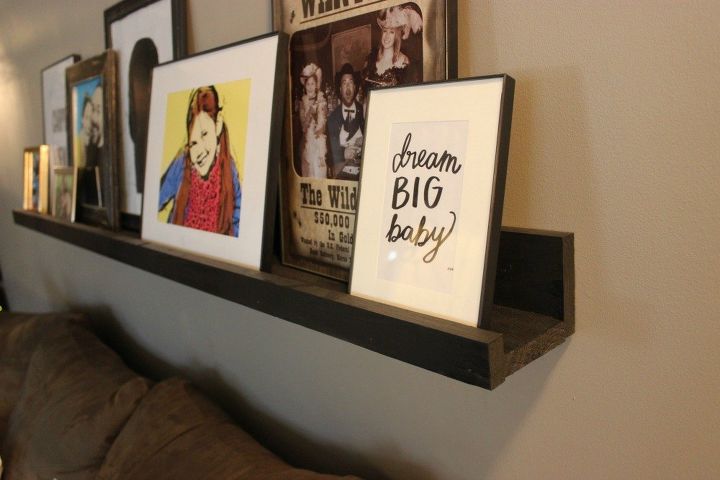
I made this picture ledge in the living room above the couch for under $10 and it was so easy I didn’t even think about making a YouTube video on it. I plan on making more, so if you do want to see the tutorial, just let me know and I can make one!
I bought 2 seperate 8 foot long 1×4 boards. If you want your ledge to be shorter, just measure whatever size you need and cut it down to the length needed. Use a drill bit to pre-drill all your holes. This will prevent the wood from splitting.
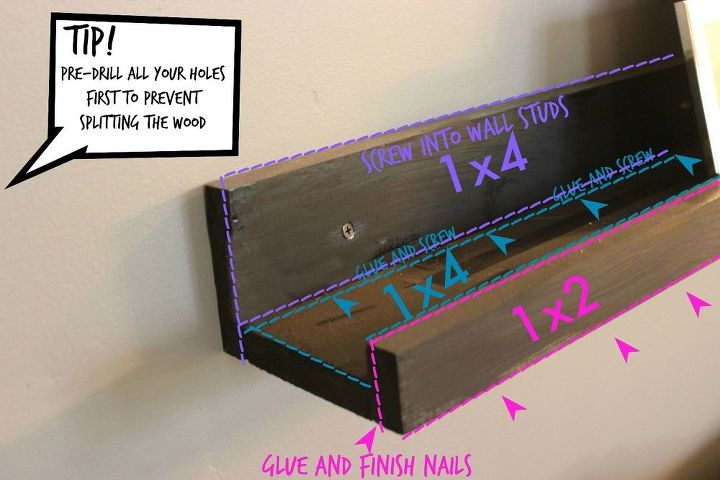
Screw the two 1 x 4 together using 2″ screws. You can use wood glue to make it extra secure. Then, tack the 1 x 2 onto the front with 2″ finish nails.
I pre-drilled the holes on the 1×4 and screwed it into the studs on the wall.

These DIY picture ledges are much more sturdy than the store bought pre-made shelves, in my opinion (and much less expensive). I think this is one of the easiest and least expensive projects I have made. I strongly encourage you to give it a try and share it with me! Think about the possibilities. You can use these in any room such as bookshelves or a way to store knick-knacks in your kids rooms, store magazines, essential oils, bath salts, etc... in the bathroom, cookbooks in the kitchen, etc... Hang some S hooks on them and store your coffee mugs
Want more details about this and other DIY projects? Check out my blog post!


Frequently asked questions
Have a question about this project?