


Hammered Metal Drawer Fronts!
6 Materials
Giving new life to an old hutch and starting with the drawers! Creating a unique look with a Hammered Metal Finish on the fronts of the drawers.
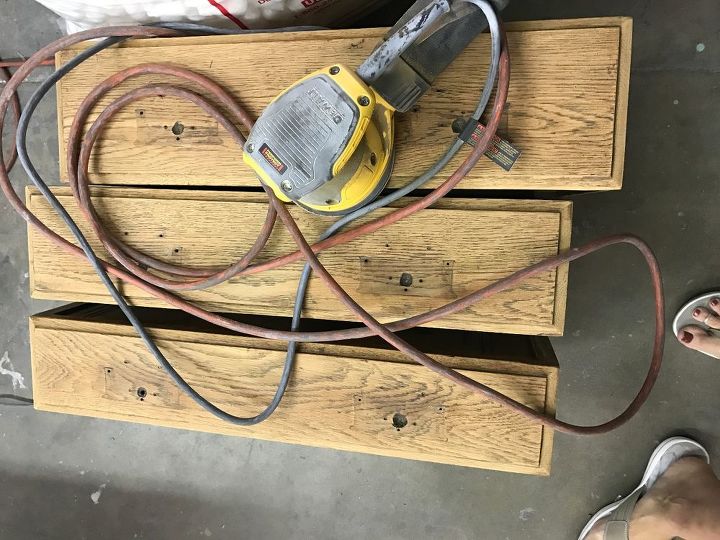
Drawers all sanded and ready for new life!
This was one of those finds that you just couldn't say "no" - a great hutch to use in my office as a bookshelf (and I really need the storage)! My only issue is finding time to paint anything for myself - there just never seems to be the extra time!!!
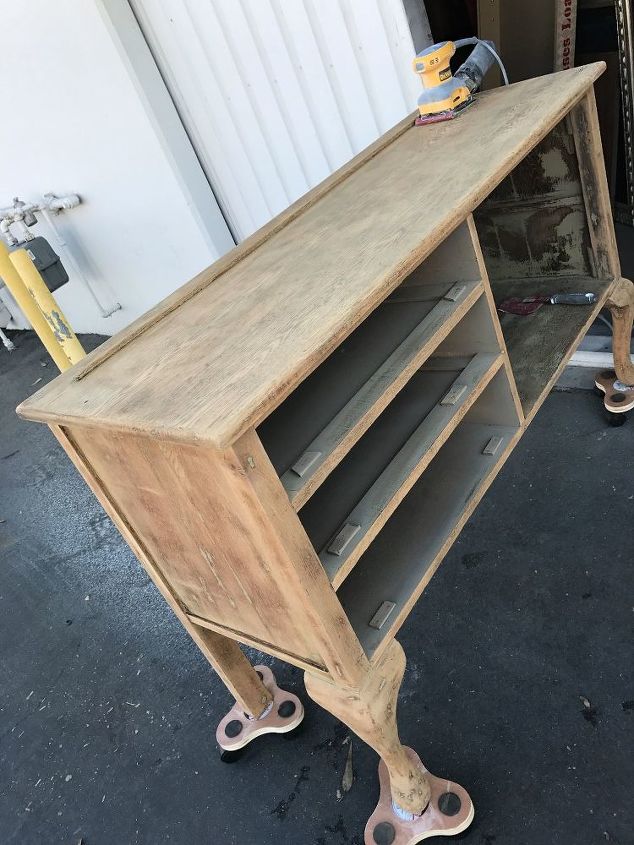
Base section of hutch.
All sanded and ready for some paint!!!
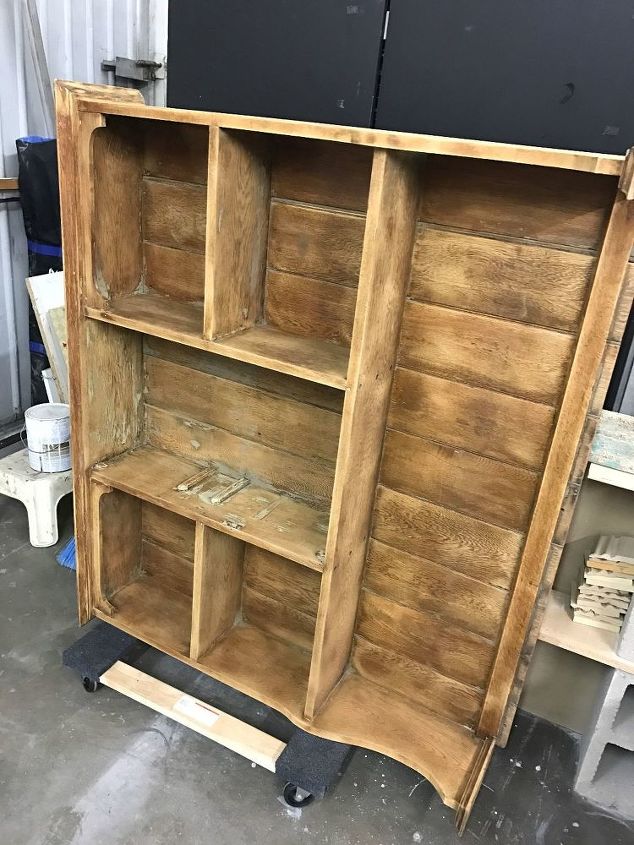
Top section of hutch.
So this project was sanded months ago and then found a home in the studio all tucked away - just waiting for me to find time to get creative! Now I can't say that I will finish this entire project in the next month with my schedule - but I'm going to at least get started and transform the drawers so that I can share a fabulous technique.
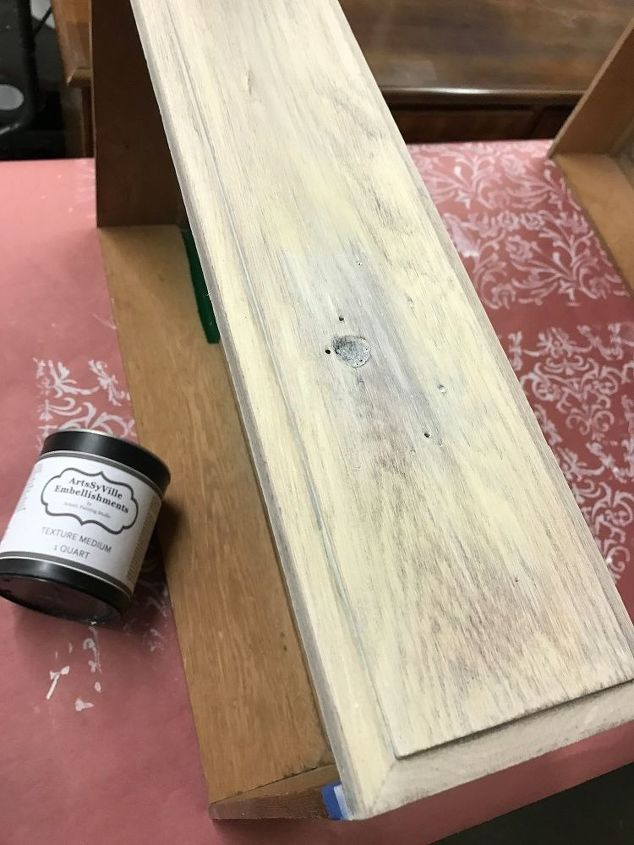
Primed and ready for texture!
I always start with a coat of primer and used my favorite XIM Bonding Primer - one layer and allowed to dry.
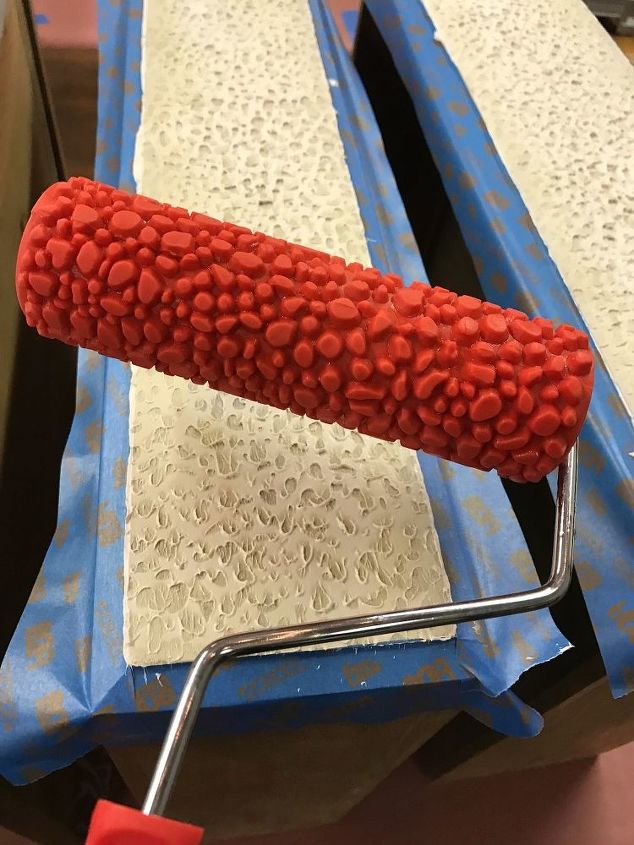
I first taped off the raised center panel and then troweled on a thin layer of AE Texture Medium with my favorite Japanese trowel. While the Texture Medium is wet, you want to roll the Ostrich Pattern Roller through the material - I rolled through twice to achieve a more pitted hammered look.
{
"id": "3680646",
"alt": "",
"title": "",
"video_link": "https://www.youtube.com/embed/VaIFIdWKfXw",
"youtube_video_id": "VaIFIdWKfXw"
}
{
"width": 634,
"height": 357,
"showRelated": true
}
More techniques and finishes using the Fauxy Rollers!!!
{
"id": "3680649",
"alt": "",
"title": "",
"video_link": "https://www.youtube.com/embed/gXhZnxC8YLg",
"youtube_video_id": "gXhZnxC8YLg"
}
{
"width": 634,
"height": 357,
"showRelated": true
}
Another finish using the Ostrich Patterned Fauxy Roller!
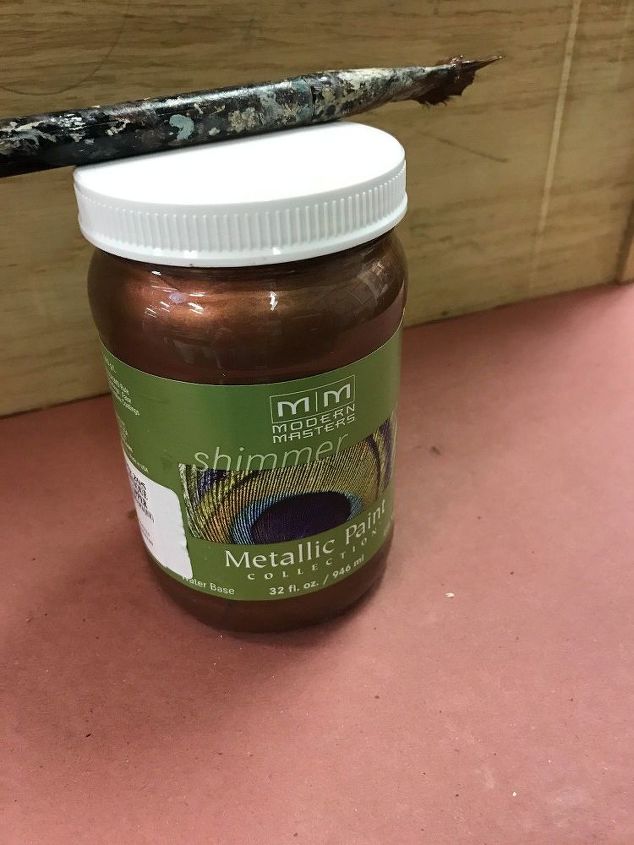
Modern Masters Antique Copper Metallic paint
Next you want to apply two coats of the Antique Copper Metallic Paint by Modern Masters - allow drying time in between coats. I like to allow the metallic paint dry overnight before applying a glaze.
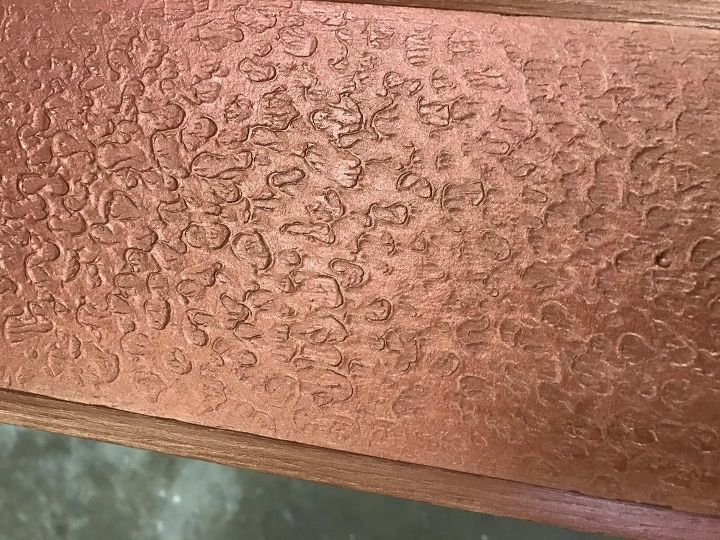
Close up after painted with Antique Copper
The next thing you will do is create a glaze using the Modern Masters Wall Glaze and Glazing Colors Van Dyke Brown - 1 cup of glaze to 3 tbls of Van Dyke Brown color.
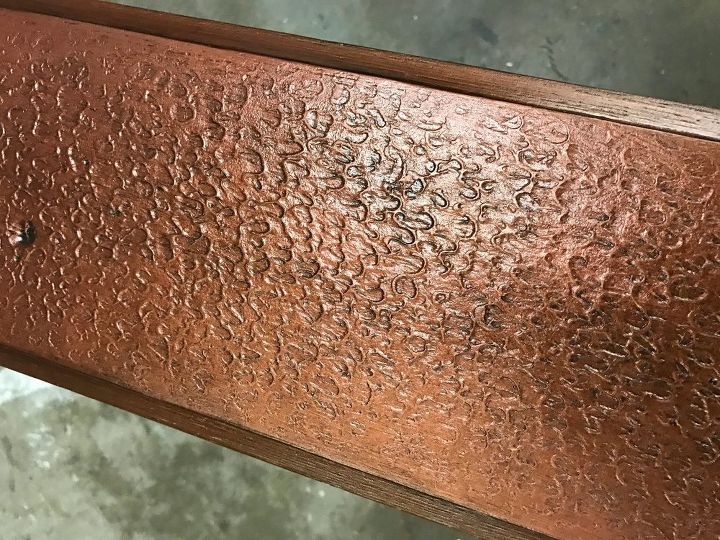
Glazed Finish
Next - allow the glaze to dry at least 24 hours and apply a top coat to protect everything!
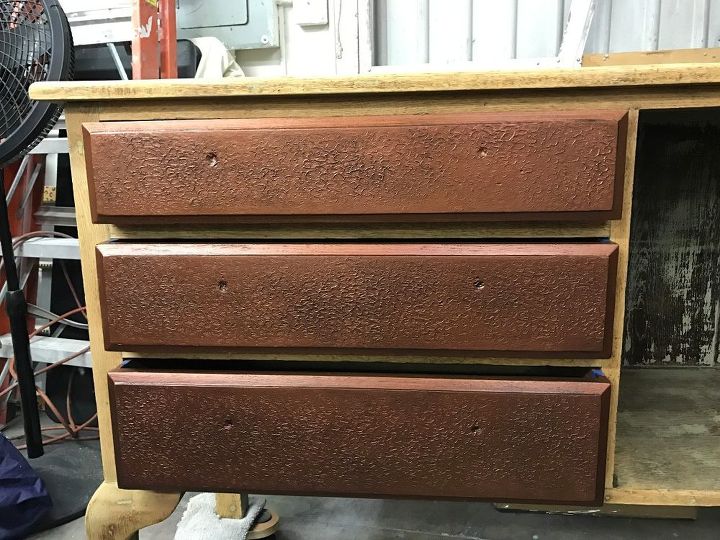
Complete Drawers - now for the hutch!!!
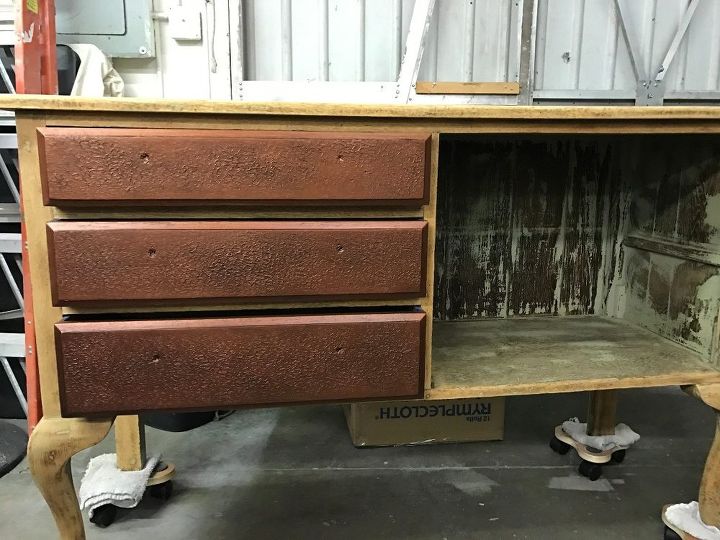
Love this look of Hammered Metal!!!

Want more details about this and other DIY projects? Check out my blog post!
Comments
Join the conversation
2 comments
-
Wonderful project, Jennifer! It really does look like hammered metal! Can't wait to see the finished product! Thanks for the tutorial!


Frequently asked questions
Have a question about this project?