


Creative Custom Painted Pillows With Rollers!!!
4 Materials
If you can't find what you need - color or pattern - here is a great way to customize pillows for your home!!!
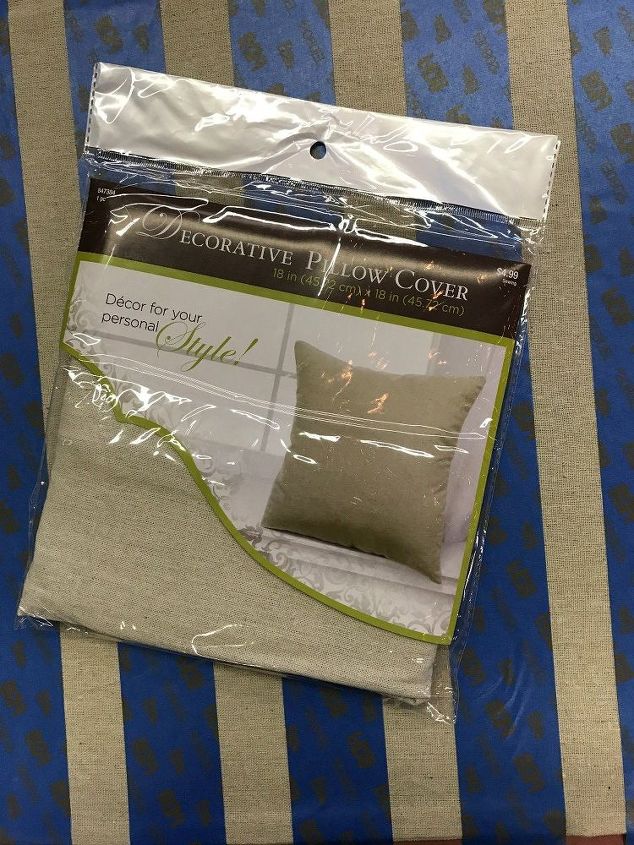
Pillow cover from Hobby Lobby
I really thought finding pre-made pillow covers (blank) would be easy, but I had a hard time finding what I was looking for. Hobby Lobby saved the day with these style pillow covers - a nice Off-White cotton fabric to work with. But I didn't want to practice my ideas and techniques on these pillows - so I purchased several yards of fabric that was similar to the pillow fabric to play and experiment on.
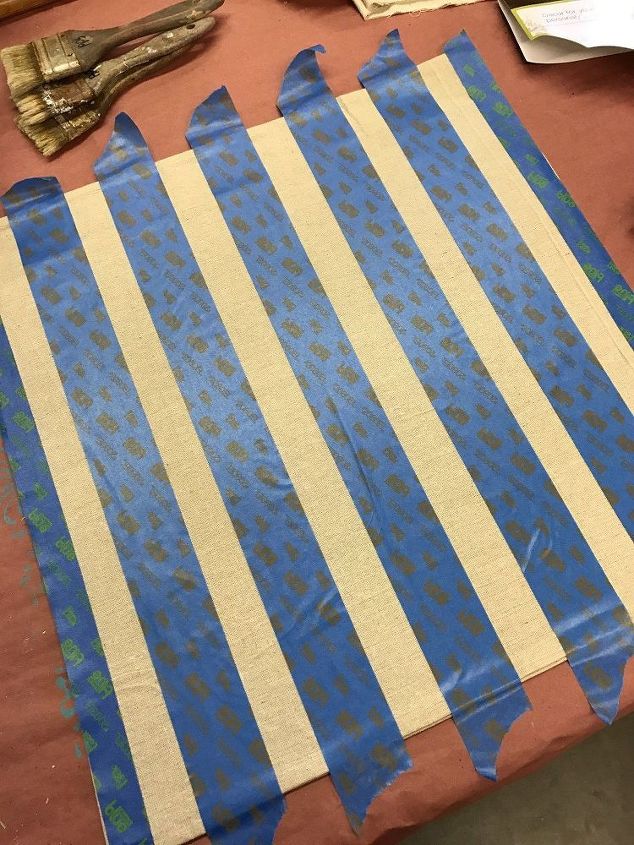
Easy taping technique for creating stripes
The first pillow that I created I wanted a striped back ground - so I taped out the pattern using tape to measure. You can start in the middle and work out to both sides. Position the first piece of tape in the middle of the fabric - I used 1.5" tape and then I used small pieces of 1" tape to measure the distance for the next stripe, then I placed another piece of 1.5" tape to create the next stripe - continue this process until you have all the stripes taped off.
Make sure to run your finger down the side of the tape to make sure it's secure and no paint bleeds under the tape.
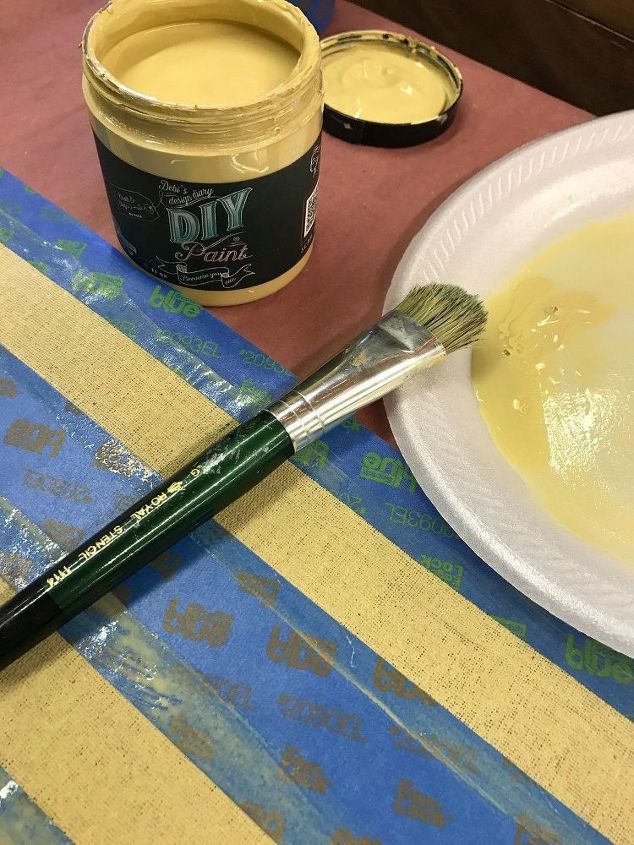
Painting stripes
I used the DIY Paint by Debi's Design Diary in Cake Batter for the stripes - use a small amount of water to dilute the paint - this will help the paint to soak into the fabric. Once all the stripes have been painted - remove the tape and allow the fabric to dry.

Painted Stripes
The next thing was to paint the Serenity Damask Pattern using my Stamping rollers!!! This is really the fun part.....:)
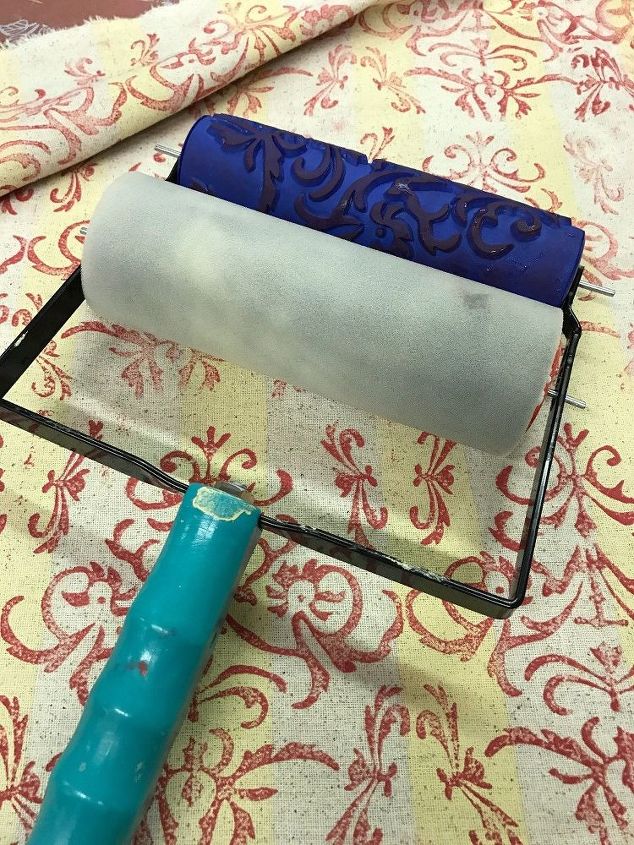
Serenity Damask Stamping Roller
I used Carnival Red from DIY Paints by Debi's Design Diary. I like using a flat surface for loading the foam applicator with paint - I lined a serving tray with Press-N-Seal and then put some of the Carnival Red paint onto the surface, just roll back and forth to load the foam applicator - you can also brush the paint onto the foam. I didn't load too much paint, was only planning to paint the pillows.
Once the foam applicator is loaded with paint, you will insert the patterned roller into the handle and then roll it out onto paper to load the pattern and check to make sure everything is working correctly. Do not push hard, they are a soft rubber and load easy.
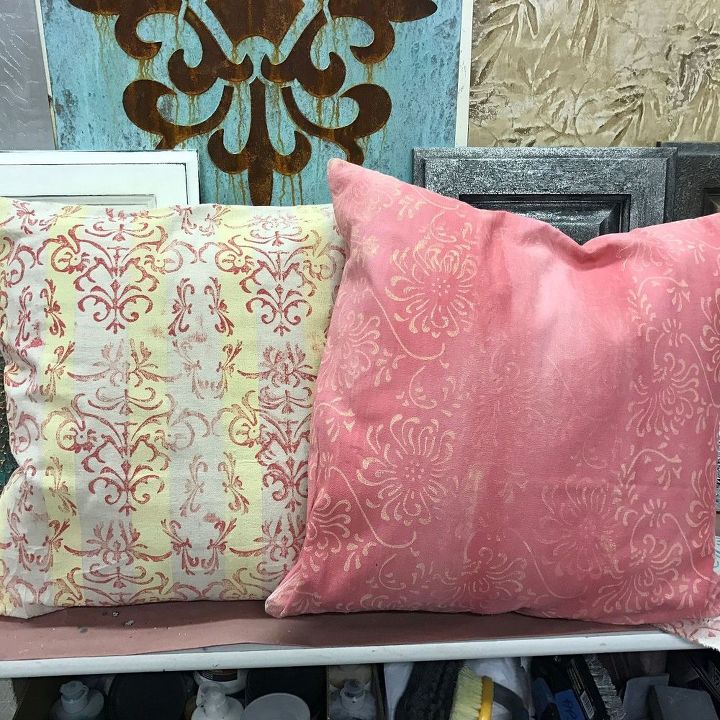
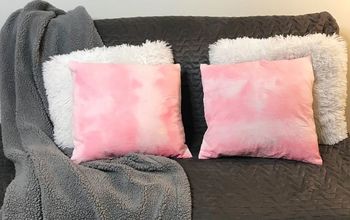
Finished Pillows!!!
For complete detailed instructions - please check out my Blog Post at http://studiojrenee.com/2017/02/08/customized-pillows-stamping-rollers/ - instructions for both pillows can be found here.
{
"id": "3758177",
"alt": "",
"title": "",
"video_link": "https://www.youtube.com/embed/VCgzNxfb51Q",
"youtube_video_id": "VCgzNxfb51Q"
}
{
"width": 634,
"height": 357,
"showRelated": true
}

Want more details about this and other DIY projects? Check out my blog post!
Comments
Join the conversation
3 of 23 comments
-
Totally delicious if you could eat them 😋
-
Wow! Amazing!!! I was just looking at decorative pillows this morning. $50+ for just a cover! Ummmm.... NO THANK YOU!


Frequently asked questions
Have a question about this project?