


Tufting a Mantle Headboard
5 Materials
$100
3 Hours
Advanced
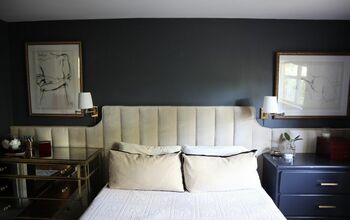
I added a tufted insert into my fireplace mantle headboard to add some softness and fill up space.

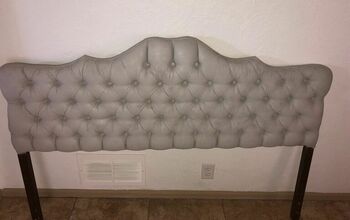
If you recall from my previous Home Talk post on making this headboard, I started with a lovely mantle that had a 4 inch gap between the mattress and wall- the pillows kept falling back there and it was becoming annoying... so I decide (never having done it before) that it needed a tufted insert!
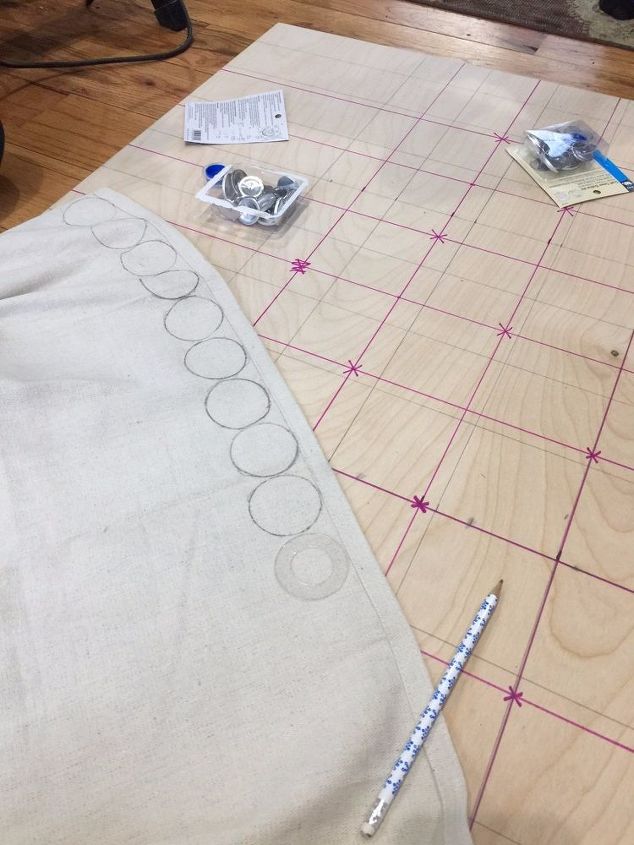
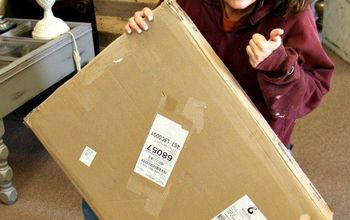
I grabbed a piece of Pure Bond plywood, drew out a grid and marked for the holes. I traced the button kit's template on the edges of the canvas drop cloth I was using for the fabric and assembled the covered buttons.
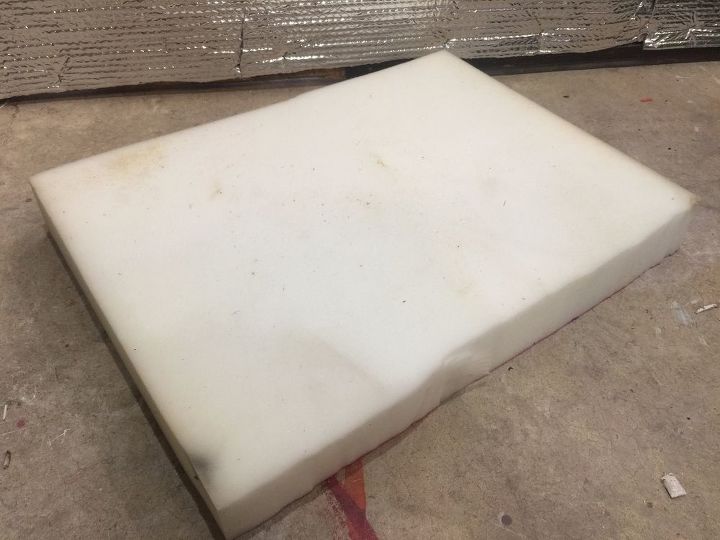
I cut the 3" multipurpose foam to the size of the fireplace opening and used spray adhesive to attach it to the plywood.
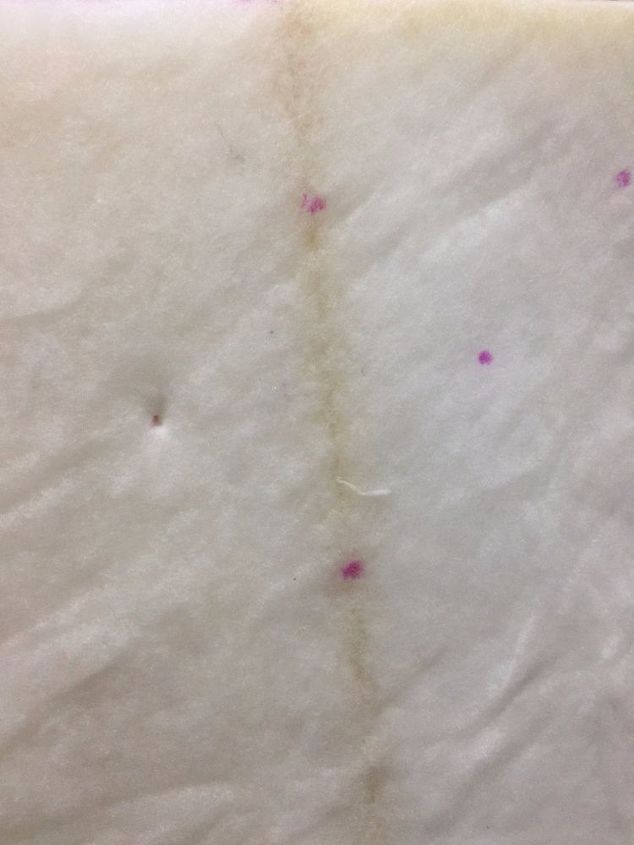
I wrapped a layer of batting over the foam and stapled it around the edges , drilled holes through the back, and marked where the buttons would attach in the front, then used my drill bit to push through the marks to the back.
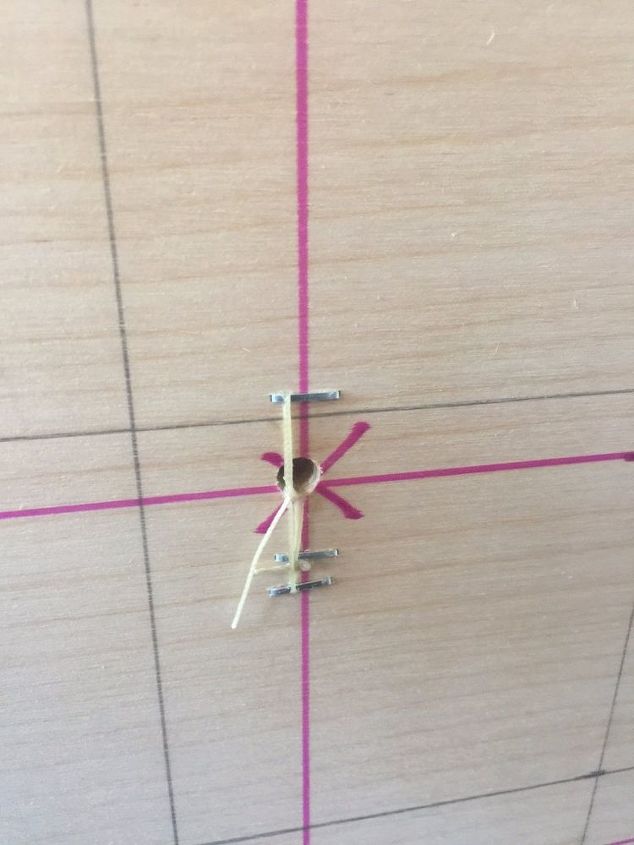
I pushed the upholstery needle in from the back, attached the button to the front and pulled the waxed upholstery thread to make the "tuft". I stapled the thread to the back and knotted the string to hold it in place.
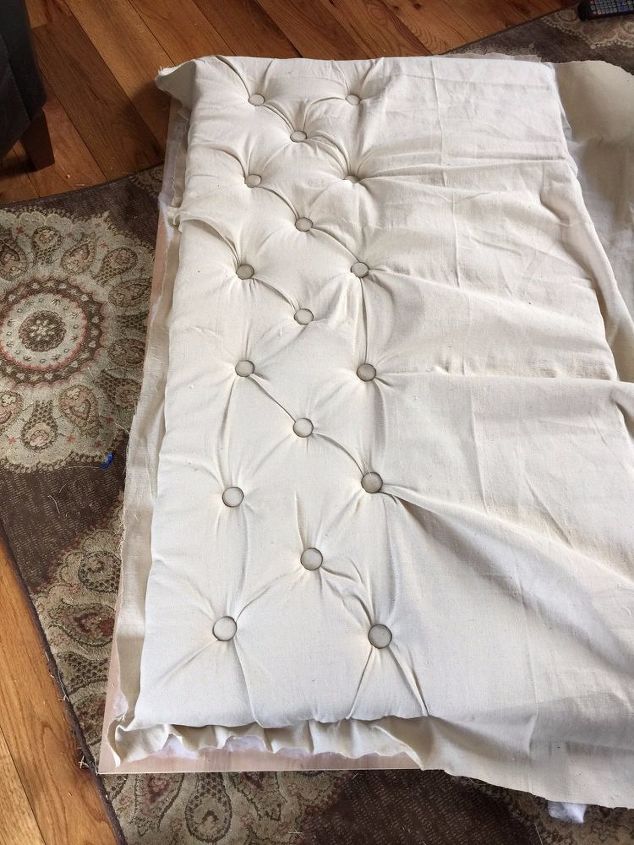
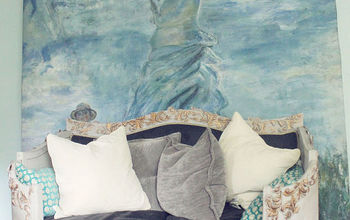
Half way through it looked like this. When I was finished, I pulled the mantle off the wall, fit the insert into the opening, and screwed it to the back with the overlap I left on three sides.
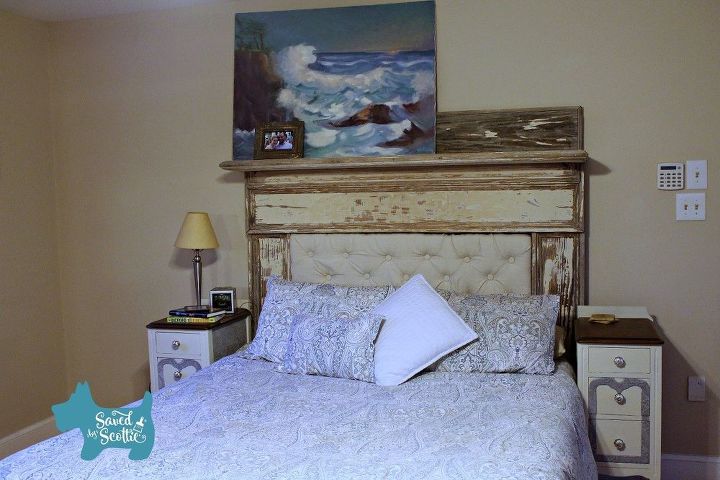
When I was done, the look was more finished. I am so glad I gave it a try. It's not perfect, but I absolutely love it! For more details on how I raised up the mantle to keep from hitting my head, and attached it to the wall (plus a super cute photo of my dog), check out my blog post!

Want more details about this and other DIY projects? Check out my blog post!
Comments
Join the conversation
4 comments
-
Very nice job, it looks like you worked hard on it ! It turned out well.
-
Stunning!!


Frequently asked questions
Have a question about this project?