


Peel N Stick Backsplash Tile

by
Laci Jane
1 Material
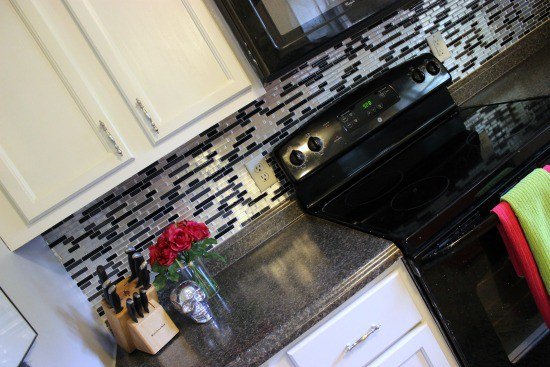
Did you know there was a such thing as Peel N stick backsplash!?!? Yes, that's right! No grouting or power tools needed.
They have really made a BIG impact on a small budget. They are textured and really do look like real tiles. We have already received several compliments on them from family and friends.
It’s important to have a nice, soft, smooth surface to adhere these sheets to. Make sure to wipe down your walls just to get rid of any grease, dirt, dust, food particles, etc.. that may be stuck to your wall. Allow it to dry.
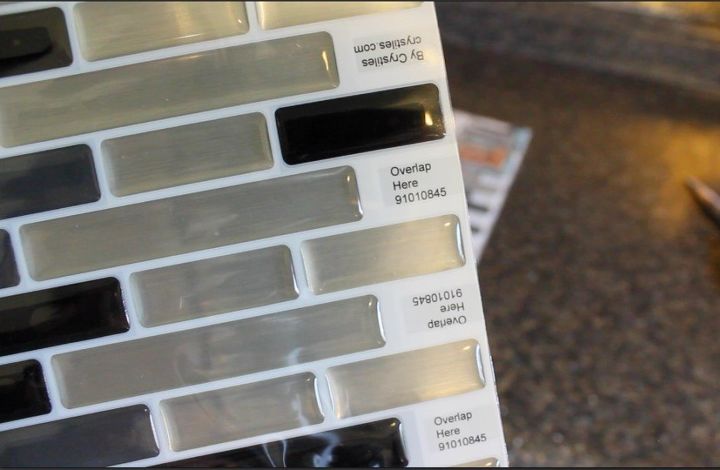
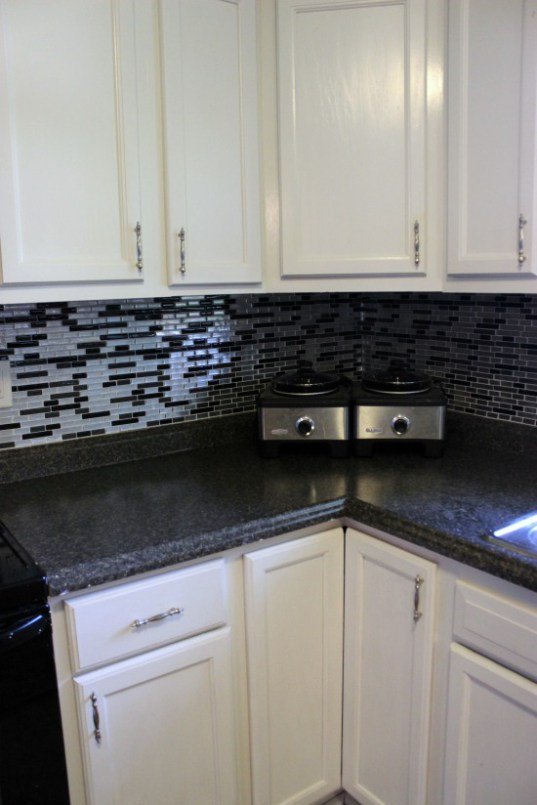
Each sheet has 1 side of “Overlap Here” tabs. I had to cut the opposite end straight off so that I had a flat edge to go flat against the corner of my wall.
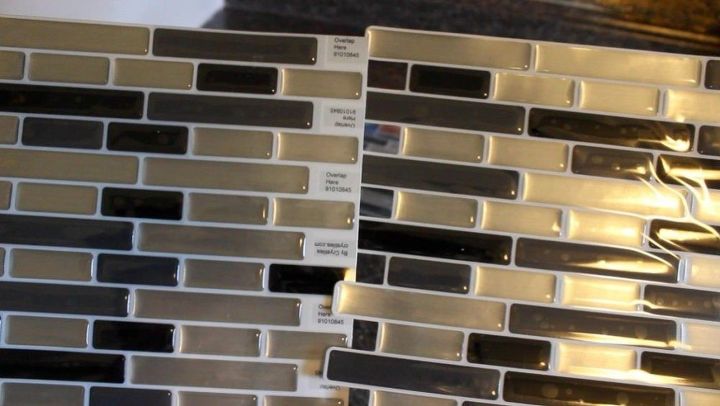
Then, the other tile just slides into the “Overlay Here” tabs, just like a puzzle.
It was really actually a lot easier than I thought it would be (and much easier than using real tiles). I didn’t need any fancy tools or putty. Just a pair of scissors and the Peel N’ Stick Backsplash tiles. The adhesive on the back of these are REALLY strong so no extra glue or putty is needed. However, if you’re walls tend to get really cold (like this is going into an RV camper, I would suggest using Liquid Nails or E6000 glue because the dropping temperature could cause them to lift and/or peel.)
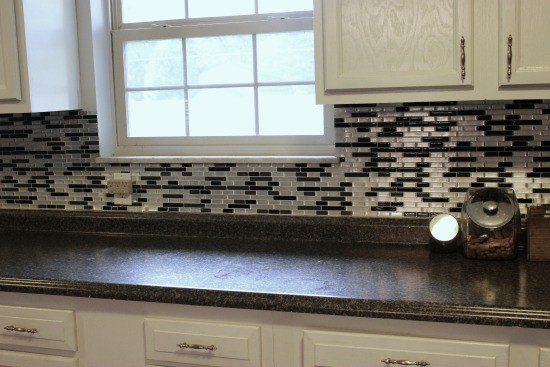
To go around the outlets, remove the outlet covers and simply cut around it using standard scissors. Screw your outlet cover back on and voila!
To go around the outlets, remove the outlet covers and simply cut around it using standard scissors. Screw your outlet cover back on and voila!
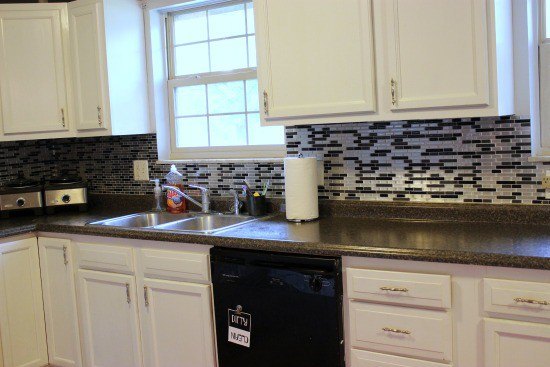
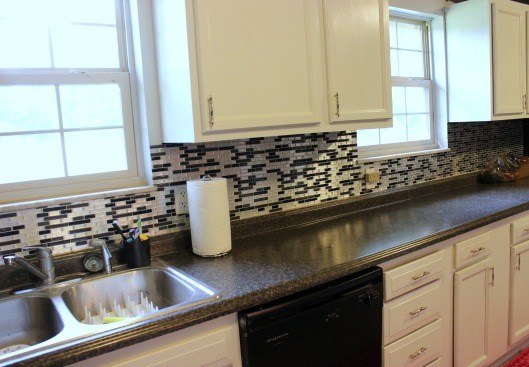
These are SUPER sticky, so if you remove them you will need to throw them away because they won’t be any good. After you have them adhered where you want them, simply press down and smooth it out with your hands. It took me less than three hours to do this entire backsplash all by myself. The only tool needed was regular crafting scissors. It looks like a brand new kitchen!
{
"id": "3818709",
"alt": "",
"title": "",
"video_link": "https://www.youtube.com/embed/-J-NxU1VhuQ",
"youtube_video_id": "-J-NxU1VhuQ"
}
{
"width": 634,
"height": 357,
"showRelated": true
}
Want more details about this and other DIY projects? Check out my blog post!
Comments
Join the conversation
2 of 26 comments
-
We revamped our kitchen I painted and applied this peel and stick back splash along with new curtains. I love it!!!!
-
That's EXCELLENT!!


Frequently asked questions
Have a question about this project?
How does the paper background on the tile sheets hold up? Do they get dirty and turn a different color?
Will this destroy the drywall if you want to remove it?
How did you go around the corners?