


How To Crochet Fruity Potholders
This was an incredible post that was created for Heart Handmade by Marinke from A Creative Being. The fruity crochet pot holders were made for the Handmade Happy free craft magazines, which you can download over at the blog - you can access them via the digital freebies library (sign up forms just under the top menus).
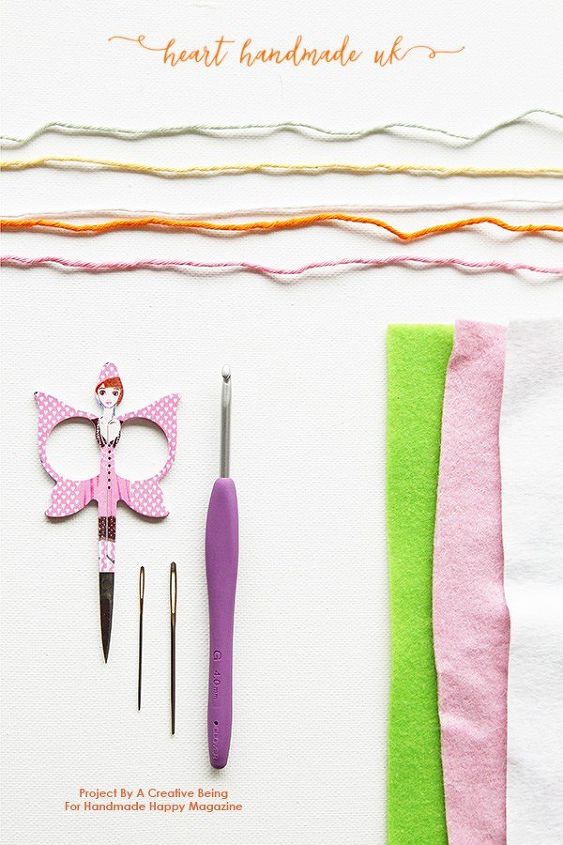
This is just a very pretty image of all the supplies that Marinke used.
This pattern uses US terms and stitches include double crochet (dc), slip stitch (sl st), and chain (ch).
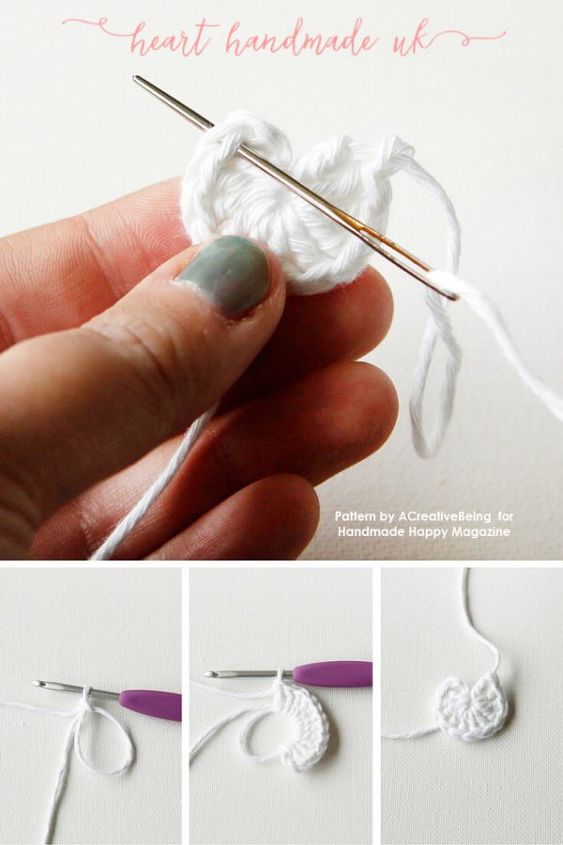
First Step
You begin by creating a magic circle with white yarn.
Second Step
Chain 2, work 11dc into the ring, totalling 12 stitches.
Cut the yarn, pull through the loop on your hook, and close the magic circle by pulling on the bottom yarn tail.
Close the circle by threading your yarn tail, and inserting the needle from front to back through the first dc you made, skipping the chain 2.
Insert your needle through the back loop of the last dc you made.
Sew in both ends.
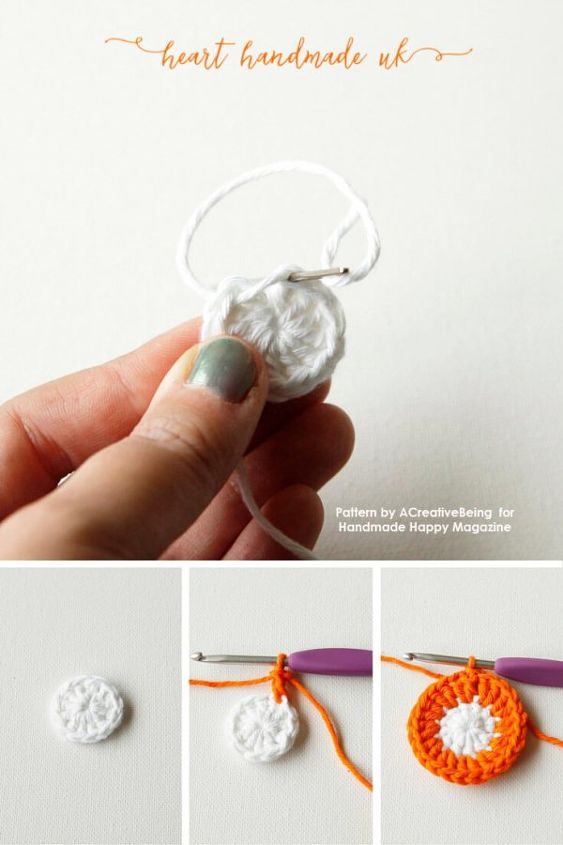
Third Step
Grab orange yarn, create a slip knot.
DC into White Circle. This way of starting a round is called a standing stitch. We’re going to start all of our new colours like this from now on.
Work 2dc into every stitch around. Your stitch total is now 24. Join with a slip stitch in the first dc.
For the rest of the pattern, check out the original post
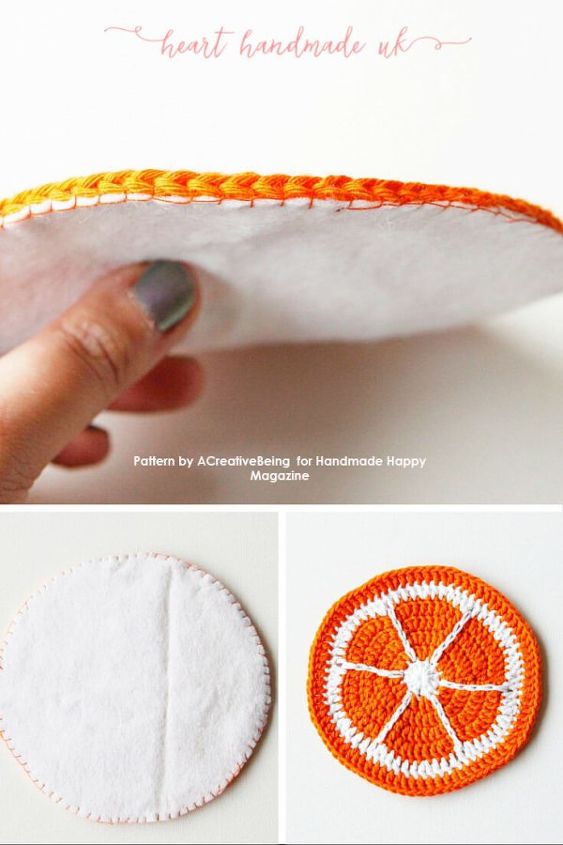
To finish the back of your pot holder, cut out a piece of felt that measures the same as your finished pot holder. Secure onto the pot holder with thread and using a blanket stitch. Sew in the ends.
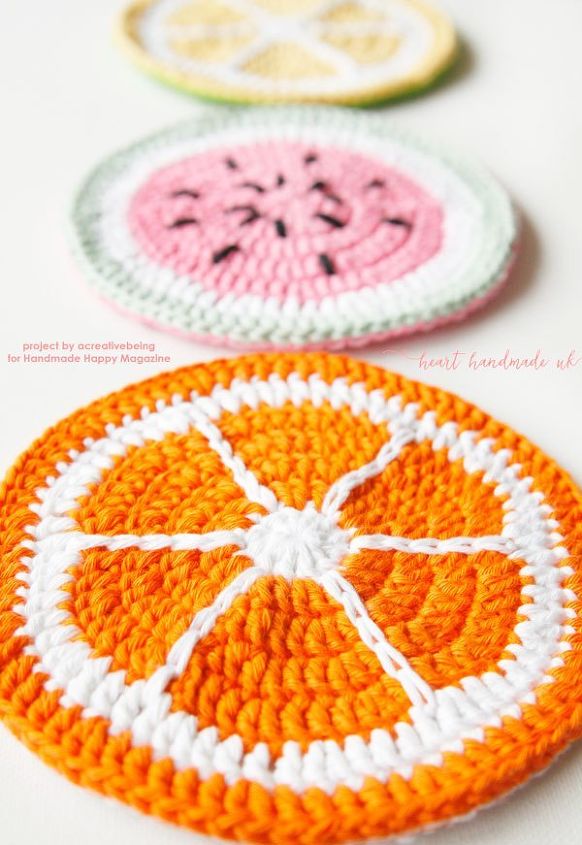
When you finish one, you can use the same technique for other pot holders! Using black yarn and a needle to stitch watermelon seeds or strawberry seeds, depending on the pot holder you create.

Want more details about this and other DIY projects? Check out my blog post!
Comments
Join the conversation
2 of 5 comments
-
I crochet two oranges years ago. I crochet them together & used them on the kitchen table as a trivet for hot dishes.
-
Sounds like a great idea a few for me & a few for friends


Frequently asked questions
Have a question about this project?