


Antique Trunk Makeover - Great for Storage
3 Materials
$25
8 Hours
Easy
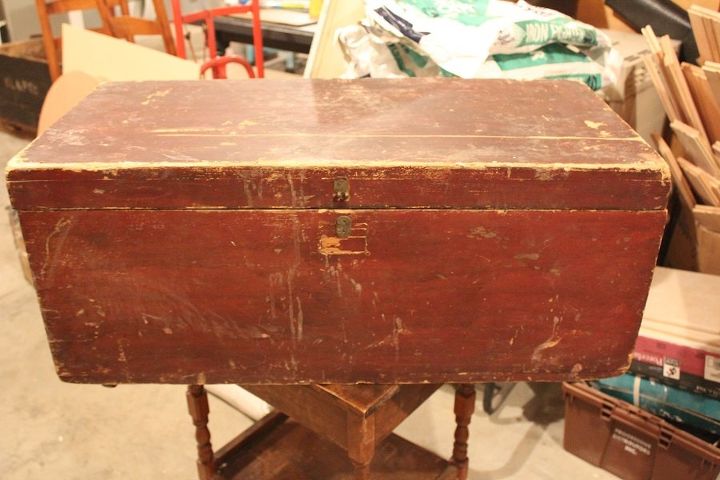
I found this trunk at the Salvation Army for $20. It’s incredibly solid but, as you can see, in really rough shape. I hesitated for a minute on whether or not to get it…LOL, no I didn’t. Who doesn’t need more storage, am I right?? Plus, I love a challenge.
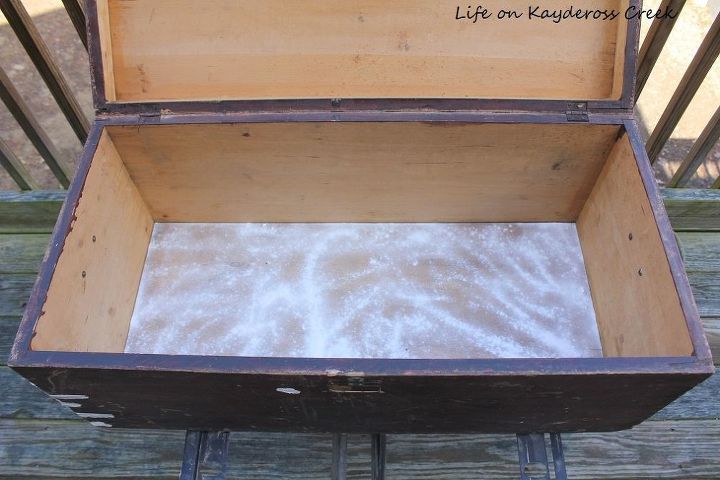
First things first, it needed a really good cleaning. I wiped the whole thing down, inside and out with half bleach and half water. Unfortunately, that didn’t get rid of the smell totally. I threw in the baking soda and let that sit for a few hours in the sun. That worked pretty well but after I cleaned out the baking soda I gave it a good spray of half water and half vinegar. That did the trick.
First things first, it needed a really good cleaning. I wiped the whole thing down, inside and out with half bleach and half water. Unfortunately, that didn’t get rid of the smell totally. I threw in the baking soda and let that sit for a few hours in the sun. That worked pretty well but after I cleaned out the baking soda I gave it a good spray of half water and half vinegar. That did the trick.
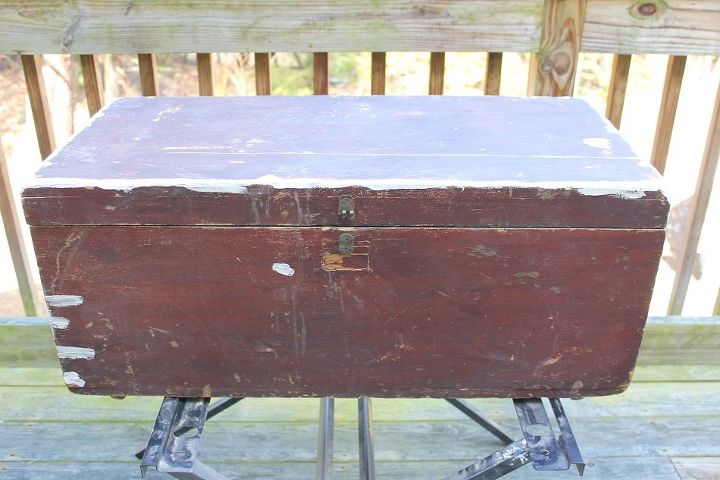
The outside of the trunk had a lot of wholes and divots in it. I filled them in with a lot of spackle. I used a putty knife to smooth it out. It took a few coats with sanding in between each to get it smooth.
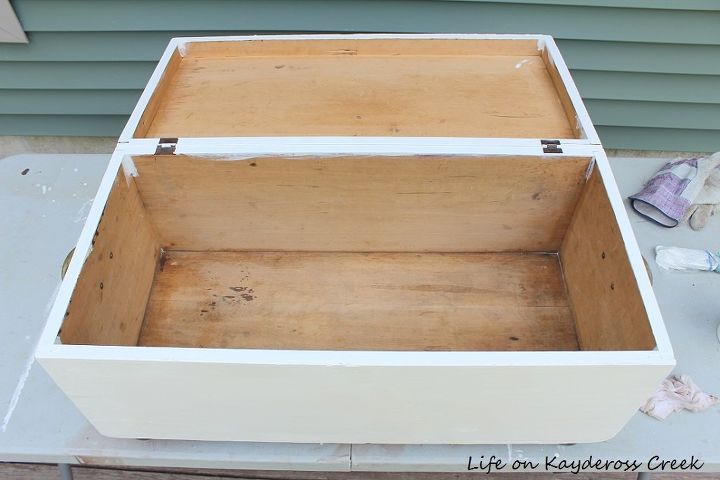
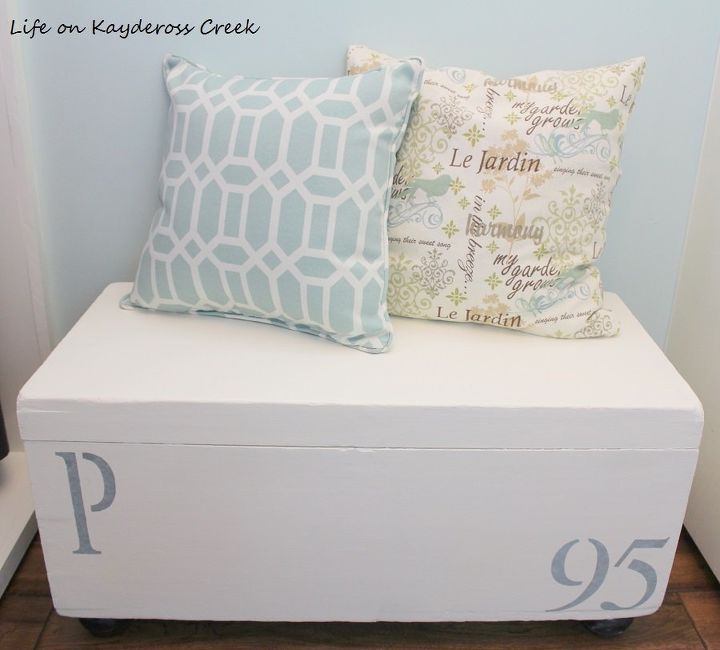
Once I had it all sanded and wiped down, it was on to paint. I used homemade chalk paint with plaster of Paris mixed with Creamy White paint. It took three coats to really cover.
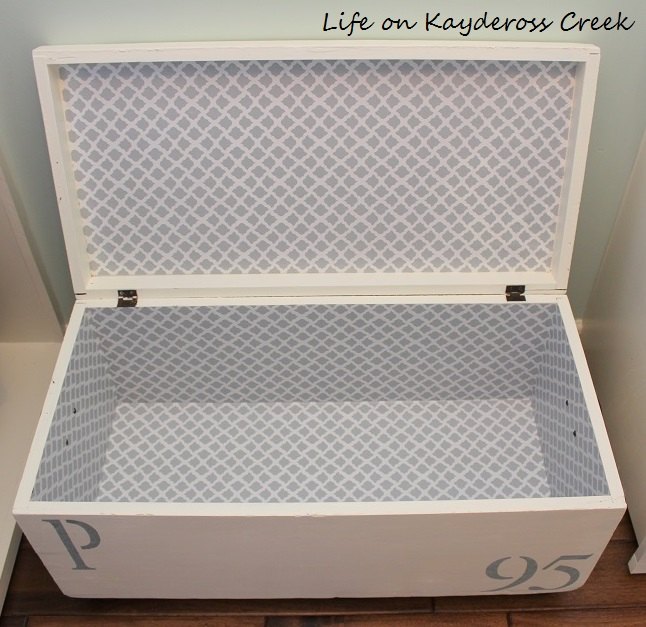
I really wanted to line the inside but didn’t want to spend a ton of money so I picked up this shelf liner at the dollar store. I love the color! It’s so clean and happy :).
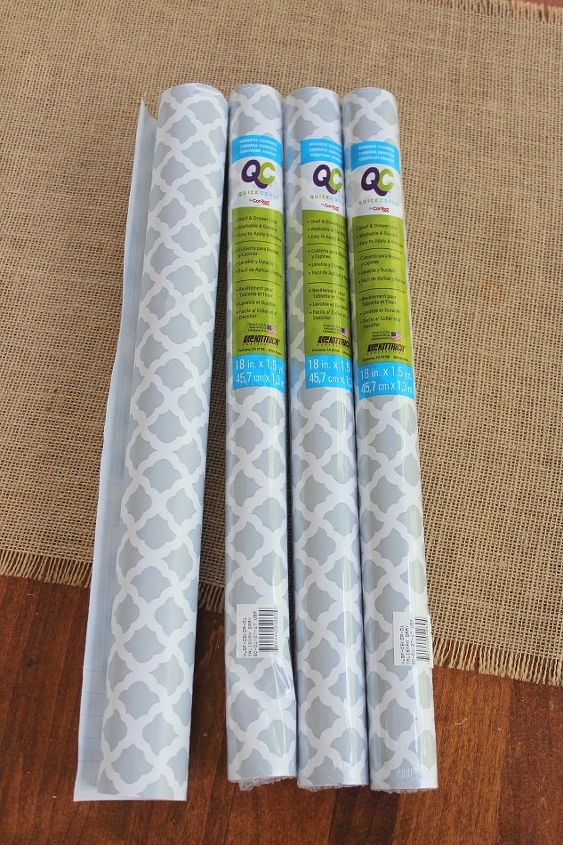
Blogger error here. I didn’t take any pic’s of installing this. I basically opened up the roll and cut it to length with scissors and then placed it inside. I lined it up, bent it along the side I was working on, creased it nd was able to use an X-acto knife to cut along the edge. I removed the handles on the ends to get it smooth on the inside. Then we added bun feet to give it a bit of height.
Here’s how it came out. I’m using it in my Master Bedroom Closet for additional linen storage. We recently did a whole closet makeover which you can see on the blog.

For more information on this project and more like it, visit my blog at http://mylifeonkayderosscreek.com or on facebook at https://www.facebook.com/lifeonkayderosscreek/.

Want more details about this and other DIY projects? Check out my blog post!
Comments
Join the conversation
2 of 100 comments
-
Beautiful job!
-
Beautiful!!!


Frequently asked questions
Have a question about this project?
Love it! Where did you get the pillows?
Homemade chalk paint, how?
Love that chest of drawers, great idea! Can you please tell me where you purchased those two pillows – they are exactly what I'm looking for!
The smell you said the trunk had, was it a musty smell? I have a cedar trunk that I want to redo but not sure I can get that musty smell out. Do you know if sanding the inside will release new cedar smell after I try cleaning it like you did? Love your project and it has inspired me to try mine.