


DIY Ottoman Makeover

by
Carol Murphy
3 Materials
$5
4 Hours
Medium
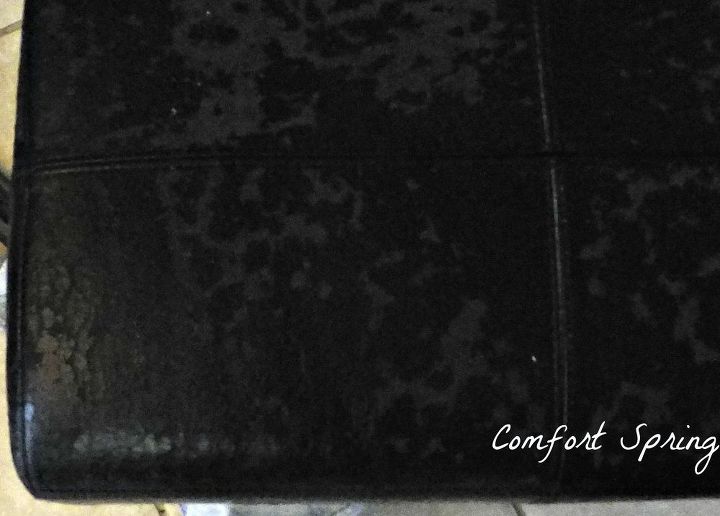
Years ago I purchased an inexpensive black leather ottoman on a wooden stand. It went with my then decor and had a storage space under the lid. After some years, the leather on the top began to crack. I believe in reusing when I can. It's better for the environment and for my pocketbook. I had never recovered anything except dining chairs, but I was willing to try. For complete post, see http://www.comfortspringstation.com/2017/08/07/diy-ottoman-makeover/
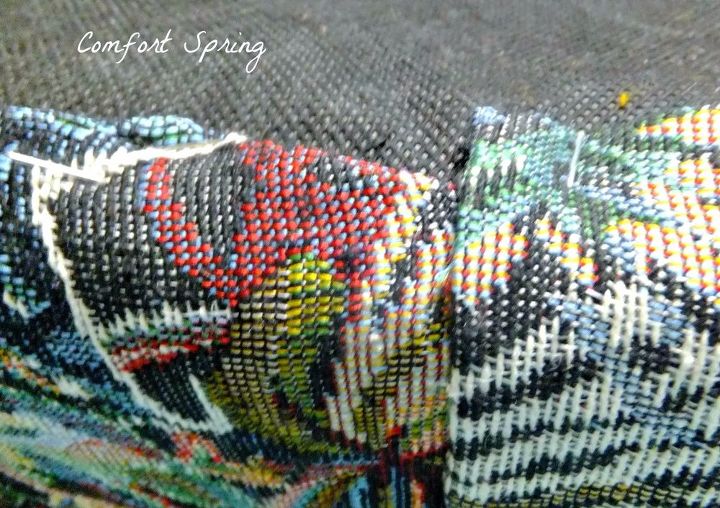
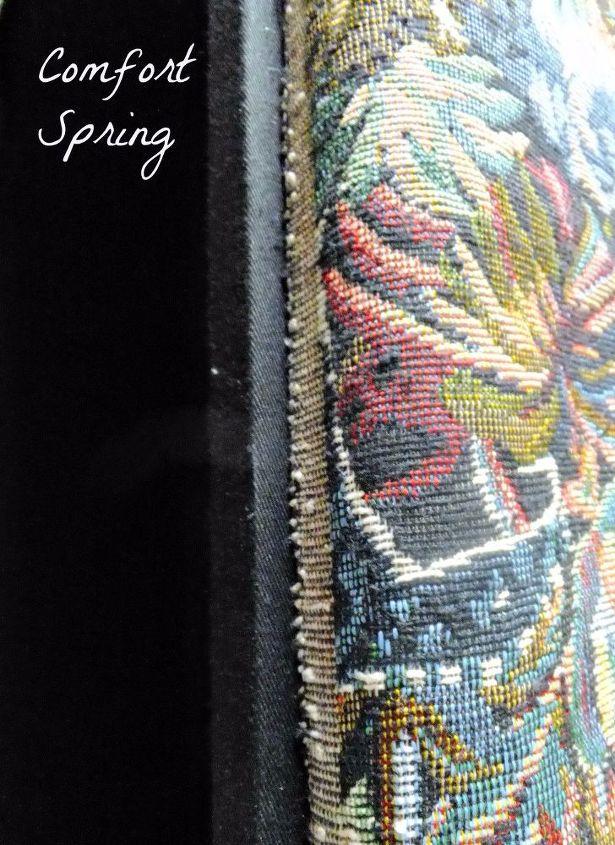
I looked for heavy material for upholstery. Finally found a remant bundle at a thrift store in a beautiful tapestry material
I used a staple gun and a small wire cutter from Dollar Tree. When I make mistakes, the little cutter is perfect for removing bad staples. I measured, cut the material for the top, and stapled the material to the underside of the top. It's very similar to covering a dining chair. I put a staple in the middle and both ends of one underside. Then I stapled in between ends. Repeated on all sides. I had to be very careful at the corners and cut and folded material to make a pleat .
I used a staple gun and a small wire cutter from Dollar Tree. When I make mistakes, the little cutter is perfect for removing bad staples. I measured, cut the material for the top, and stapled the material to the underside of the top. It's very similar to covering a dining chair. I put a staple in the middle and both ends of one underside. Then I stapled in between ends. Repeated on all sides. I had to be very careful at the corners and cut and folded material to make a pleat .
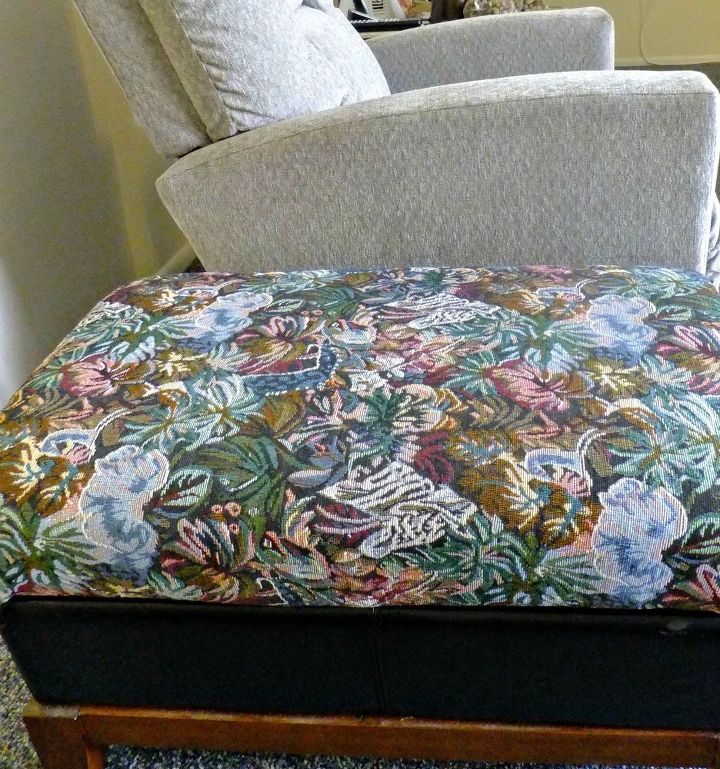
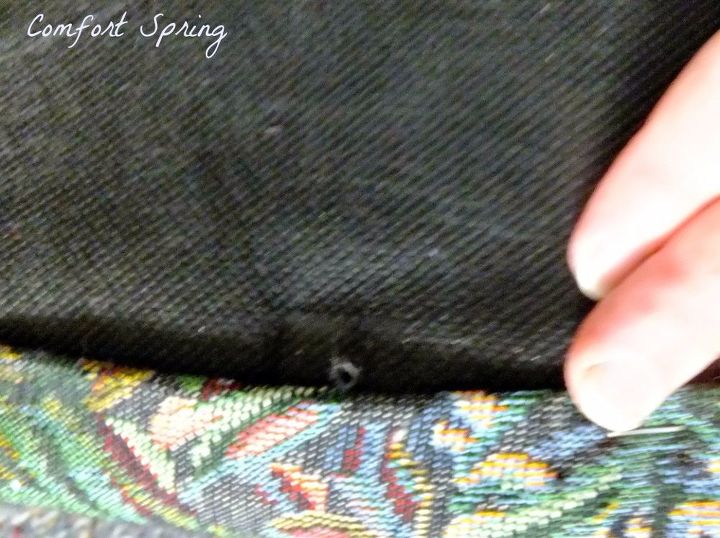
When I looked at the recovered top on the black leather bottom, I wasn't happy with the look. I really didn't want to try covering the bottom, but I noticed a spot of flaked leather on the bottom. I now had to cover the bottom.
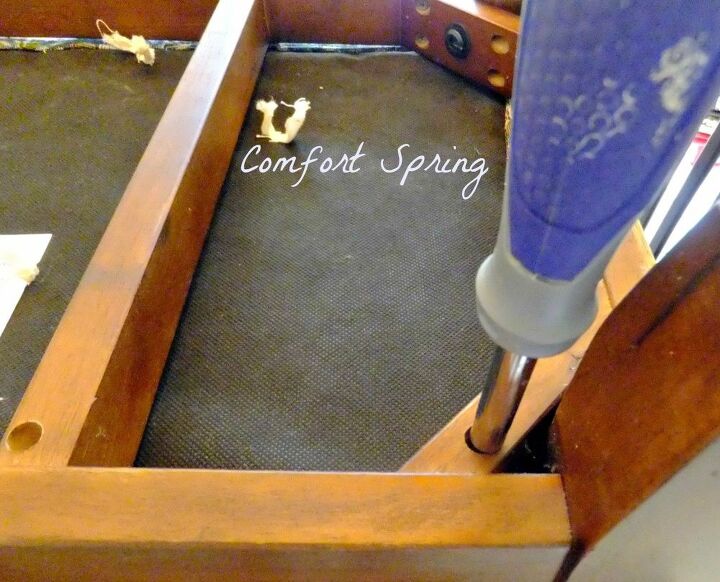
I turned the bottom over and saw there were 8 screws that attached the black box to the wood base. I removed the screws and wooden base and put it aside.
I used the edge of the material that doesn't ravel and started stapling it next to the inner storage box. I continued around.
I folded the bottom raw edge and stapled it to the bottom.
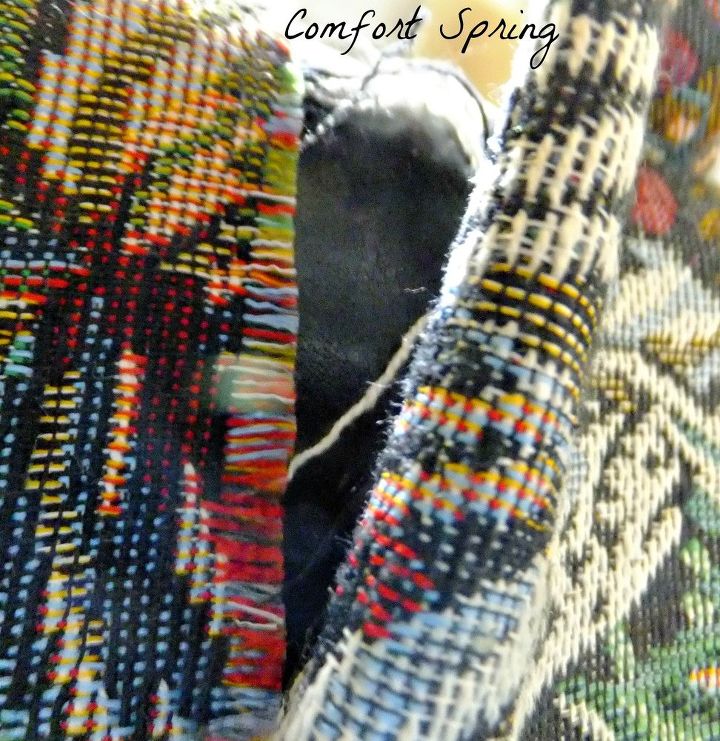
When I had to start a new piece of material, I turned the raw edge under and stapled it on top of the raw edge of the other piece. I went thru a lot of staples and removed lots of bad moves.
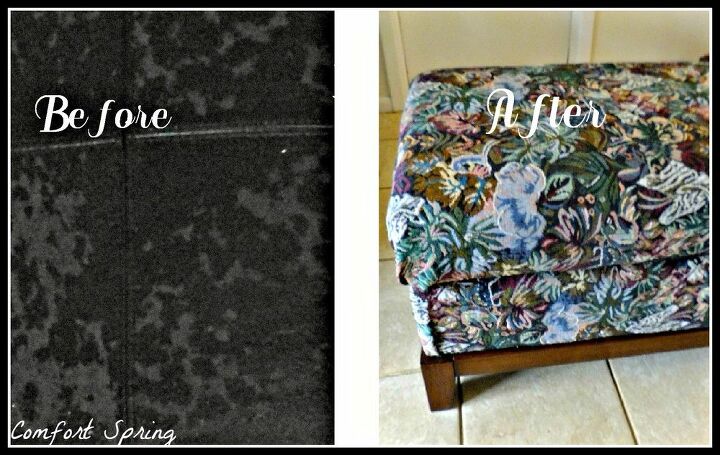
I cleaned the wooded base and reattached it. I'm very happy with the result. Not professional but it's such an improvement. I did it! For more information see
http://www.comfortspringstation.com/2017/08/07/diy-ottoman-makeover/
Want more details about this and other DIY projects? Check out my blog post!
Comments
Join the conversation
2 comments
-
I am so impressed! It is beautiful. Really like the fabric.....Kudos....only the best to you and yours.
-
Thanks Barbara. Wishing you only the best also.


Frequently asked questions
Have a question about this project?