


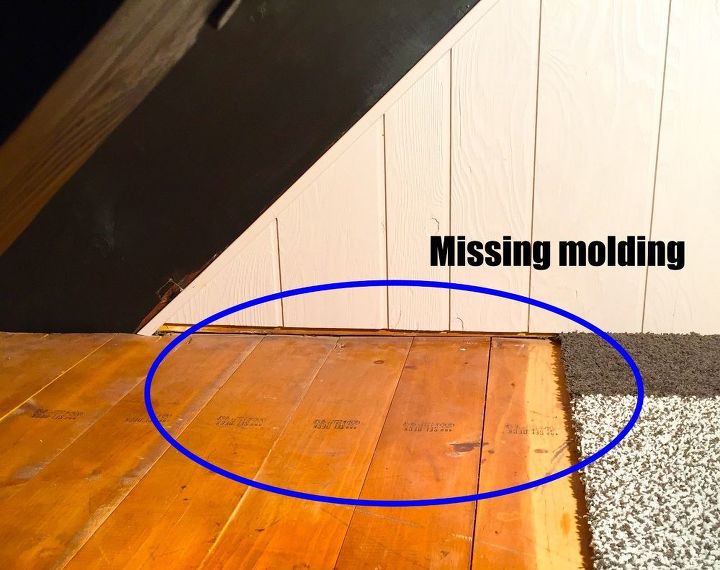
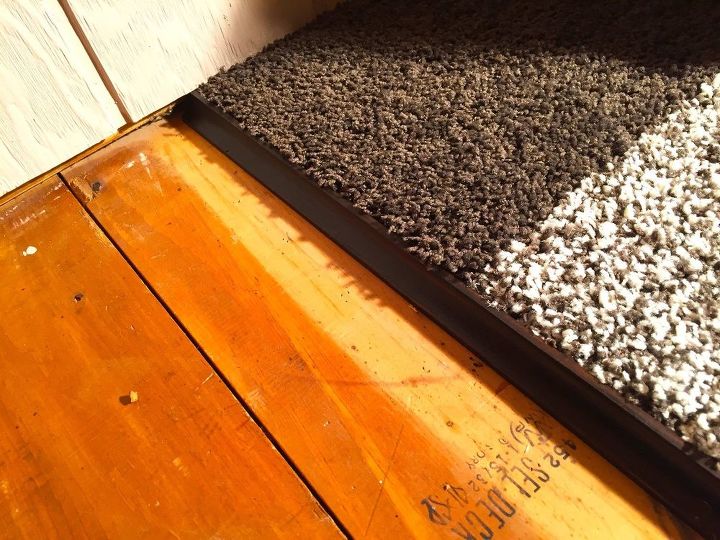
Use Wood Molding as Carpet Transitions
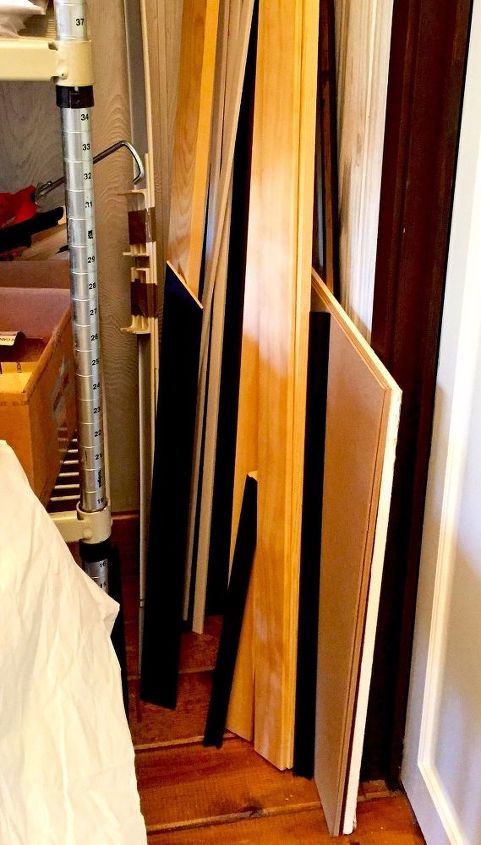
- Molding
- Paint or stain
- Application brush
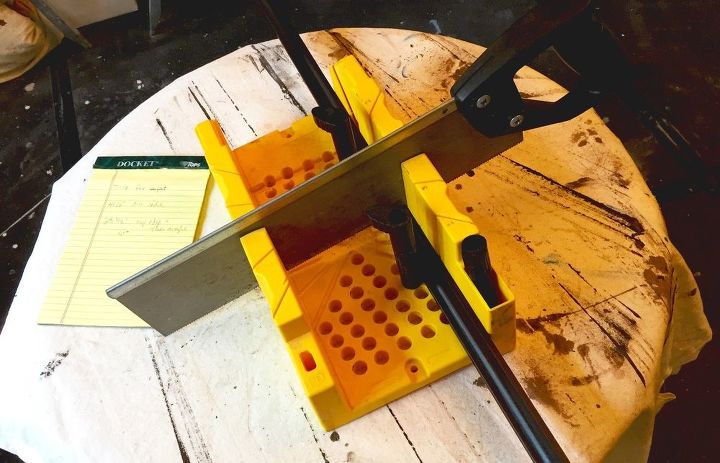
- Miter box
- Saw
- Sandpaper
- Measuring tape
- Finish nails or nail gun
- Wood putty
- Nail set (to countersink nails)
- Hammer
- Measure the entire length of your project for a total required length of molding needed. Don’t forget to do this for all molding types you will be using.
- Stain or paint all molding (prior to cutting). Let fully dry.
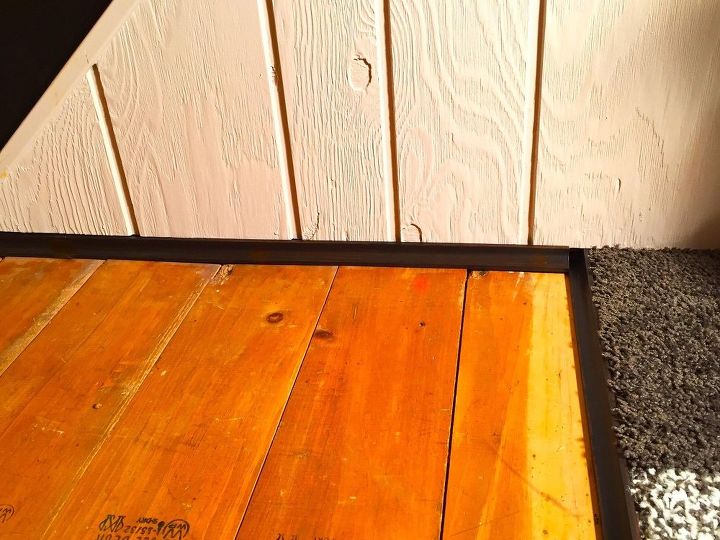
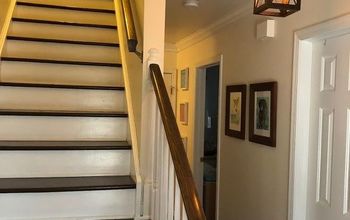
- Starting with the inside-corner molding: To reduce cuts, install the longest edge first before you start cutting and fitting remnants. After installing the full molding strips, carefully measure and cut remaining pieces.
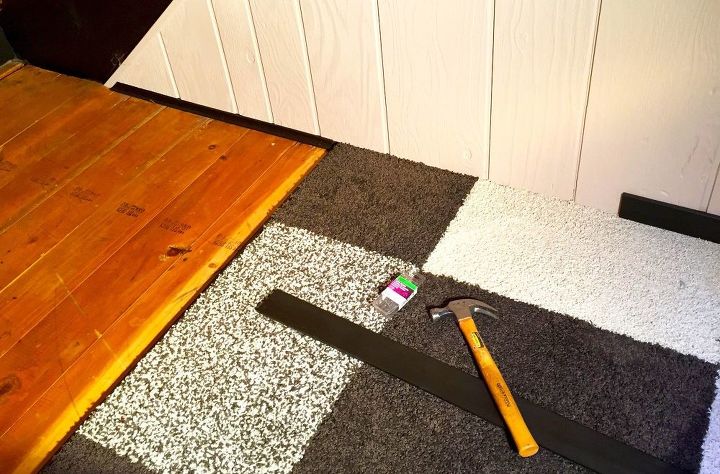
- On any cut molding piece, sand the edges and touch-up paint or stain. Let dry before installing.
- Due to the angle of the molding, I chose a hand nail gun, placing nails about 12″ apart. Install all pieces of molding.
- Move onto the second set of molding – the baseboards. Measure, cut, sand, touch-up and install all baseboards. Repeat the install steps until all molding is installed.
- Counter sink all the nail heads and fill with wood putty. Let dry.
- Touch up stain or paint where wood putty has dried.

Comments
Join the conversation
-
Looks good, but a few concerns. Inside corner molding is not a good choice for a transition piece. As you walk on the carpet it compresses and the molding edge can be a trip hazard. Transition molding overlaps both types of flooring for a smooth seamless connection and no trip hazard. The baseboard molding should have been on the wall before the flooring. Then the flooring and either the inside corner or quarter round molding for a finished look. The inside corner molding isn't even mitered where the two meet.
-
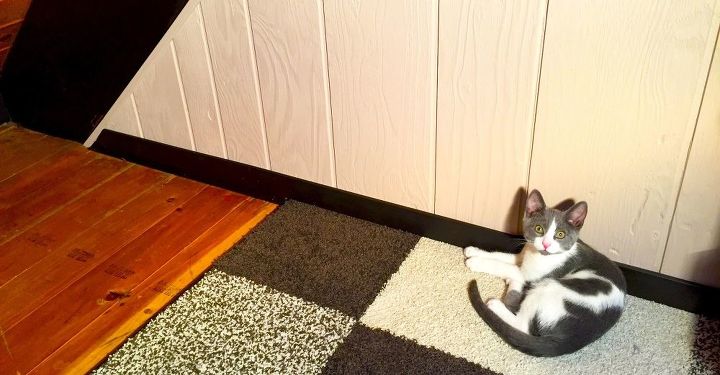
All great points and considered for the project. The carpet tiles float on the subfloor with hard rubber backing so no carpet compression, which is great. The edge in the project is at the far end of the room and not accessible to walking as you're right... no one wants a trip hazard. The inside corner molding is nailed into the tongue and groove floor section, which is not the same flooring surface as the carpet so it just sits next to the carpet tile edge. It is purely for a finished edge look and not for walking or heavy use. I always try to reuse extra materials on projects where I can and for us, this was a great match. Our house never had any baseboards, so the new flooring went in first and the moldings went in after to finish it all! Sometimes you have to work in the order that your house dictates. These old Tahoe homes don't always let us take Steps 1-5, sometimes we go Step 2,4,5,3,1! Thanks for your comment!


Frequently asked questions
Have a question about this project?