


DIY Garland & Signs Using Old Book Pages

by
Zest it Up
8 Materials
$5
30 Minutes
Easy
I am going to be honest with you, crafting with old books gives me a momentary attack of anxiety. Having been a rather passionate English major, I cringe at even the sound of those pages being torn. Ugh! But, in the end I love to give old books that will in no way find a home, a new lease on life. And what better way than decorating an English teacher’s classroom? I went for an old, out-of-date dictionary that could not only decorate the room, but maybe even teach the kiddos some new words! 
Photo Cred: Anya McInroy

This craft is a crazy easy and inexpensive way to decorate a room. Think kids bedroom or playroom, classroom, or even a party garland.
Supplies:
- old book sourced from a thrift store
- scissors
- glue stick
- colorful paper
- string
- hole punch
- tape (optional)
- paperclips (optional)
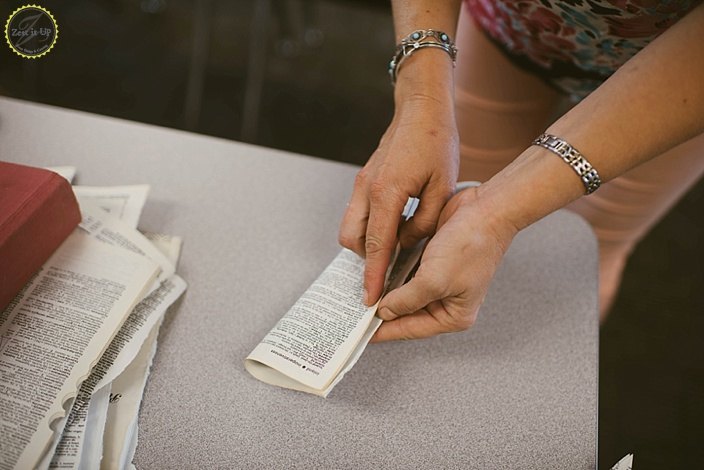
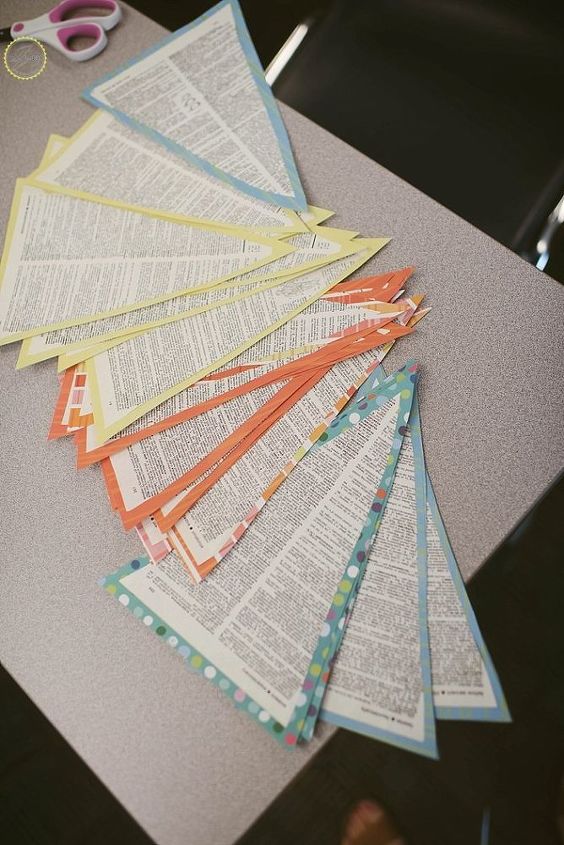
Getting a nice triangle is actually super easy if you fold the paper first.
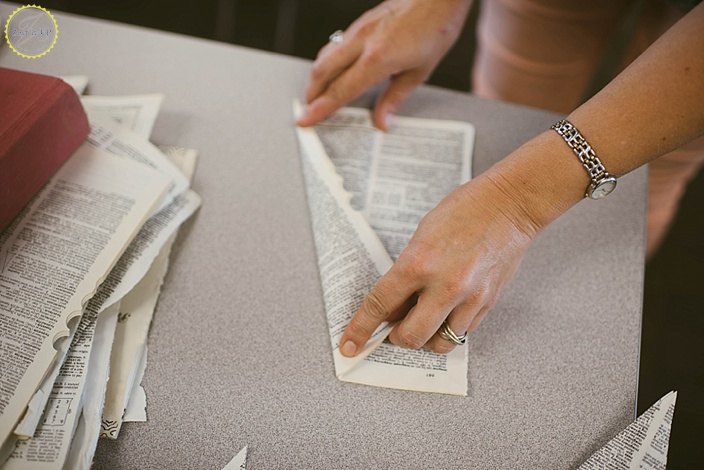
Simply stack a few pages together, find the center point on the top of the page that you want to fold towards by folding the page in half, and then fold each side towards it.
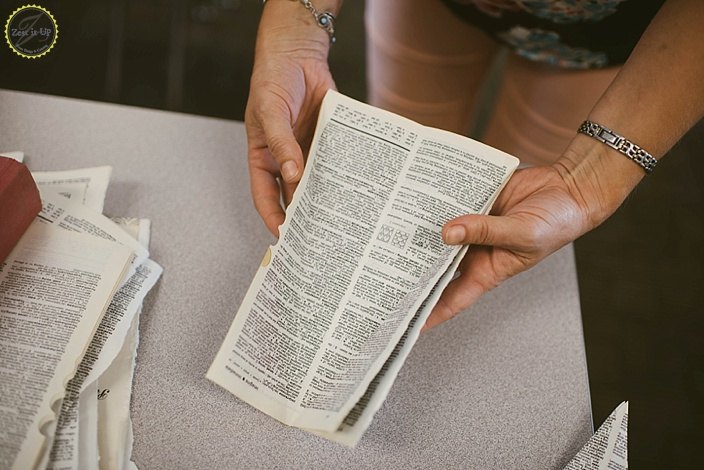
I wanted nice long flags, so I made sure that the one point lined up with the middle of the bottom of the page, and the other point was lined up with the tip of the top of the page. If you do it in reverse, your words will be upside down.
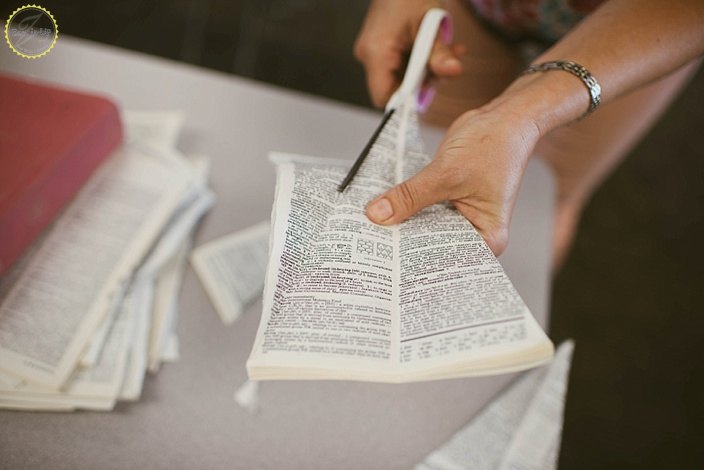
Now, just cut along your folded lines. If you were able to stack five pages together, yay for you! Your flag cutting will go five times faster!
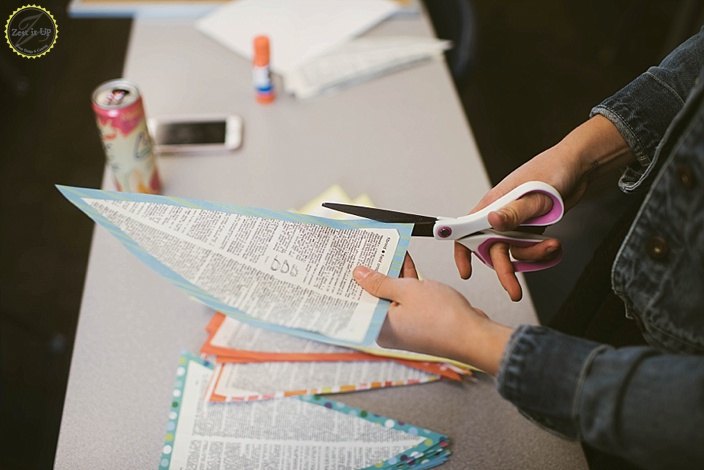
Using a glue stick, paste down you book flag onto a colored piece of paper.
You can have this already cut into a flag shape that you used a template for, or you can freehand cut it once the book page is glued in place.
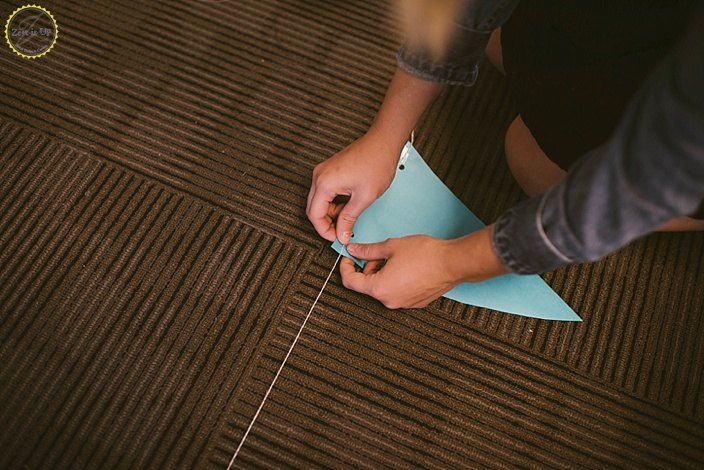
Then, use a hole punch to make two holes along the top of each flag. Last step is to thread each individual flag on your string. You can space these flags out as close or as far as you want.
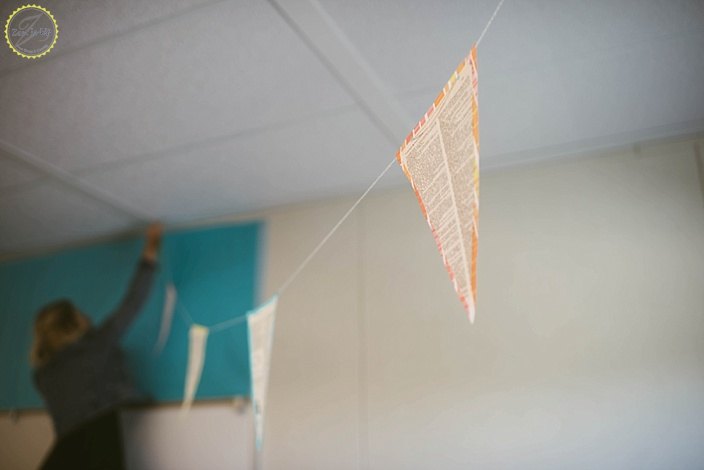
For some of our signs, we bunched the flags close, but for our garland strung from the ceiling, we gave them a little bit more space between them. It made for such a pretty and airy effect.
Feel free to use a little tape to affix the string on the back of the flags if you do not want them to slide around. Have fun with your flags. We used them for both garland and signs. It’s simple, but makes a fun statement.
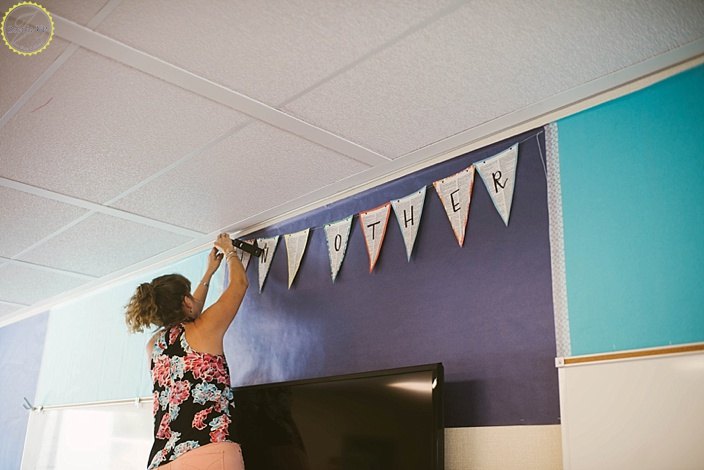
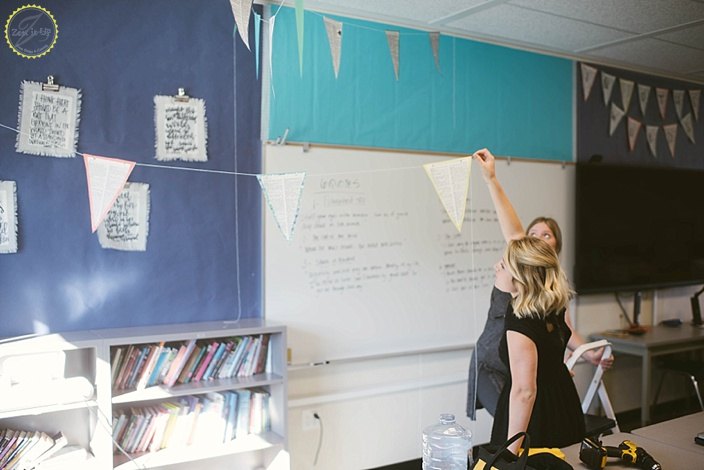
For securing your garlands in place, you can use tape, staples, push pins, or whatever. In order to hang ours from the ceiling, we had the benefit of a grid ceiling. All we had to do was tie our string to a paperclip and then hook it onto the grid. Always get creative, right?
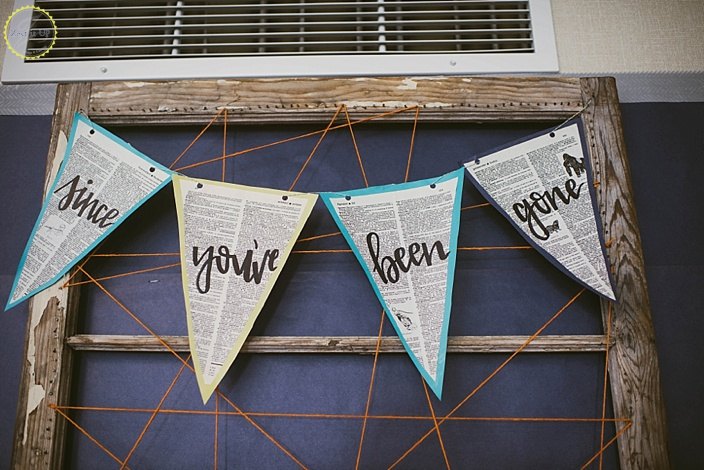
I love that some of our garland signs had a whole word on the flag, and some of them were left as letter flags that worked together to make a single word. It just shows you have versatile this craft can be for capturing your look. Remember to have some fun with your fonts and colors, making them specific to the room or your party’s theme. It is just a cool way to make a big visual impact without spending a ton of moola! Get crafting my lovelies!
xoxo
Chanda
Want more details about this and other DIY projects? Check out my blog post!
Comments
Join the conversation
2 comments
-
I love my book page banners the best of all of them. I hit the jackpot and found a dictionary whose pages had turned a lovely vintage yellow and looks great with my vintage collections. You are SO right...too frugal and cute and everyone should make one!


Frequently asked questions
Have a question about this project?