


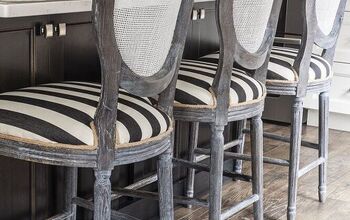
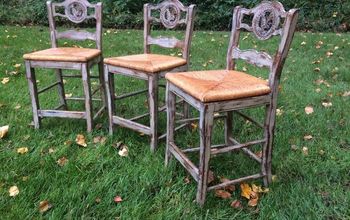
Refinishing Bar Stools to Look New Again
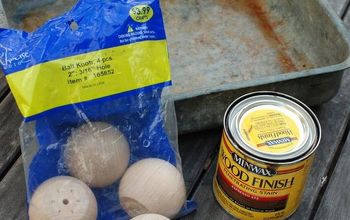
3 Materials
$40
4 Hours
Medium
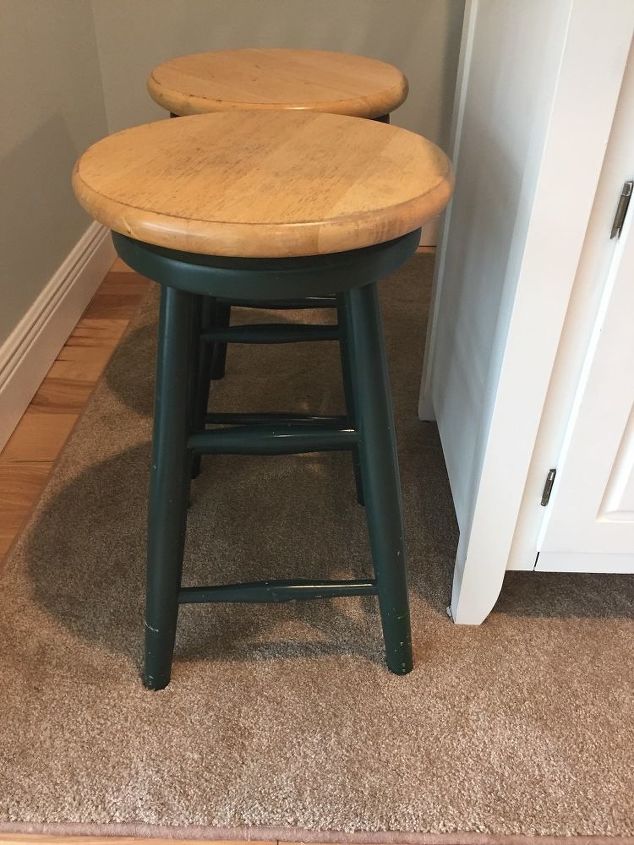
We inherited these hunter green bars stools from a house we bought and then later sold. I’ve wanted to refinish them ever since, and I finally did it! Here is how….
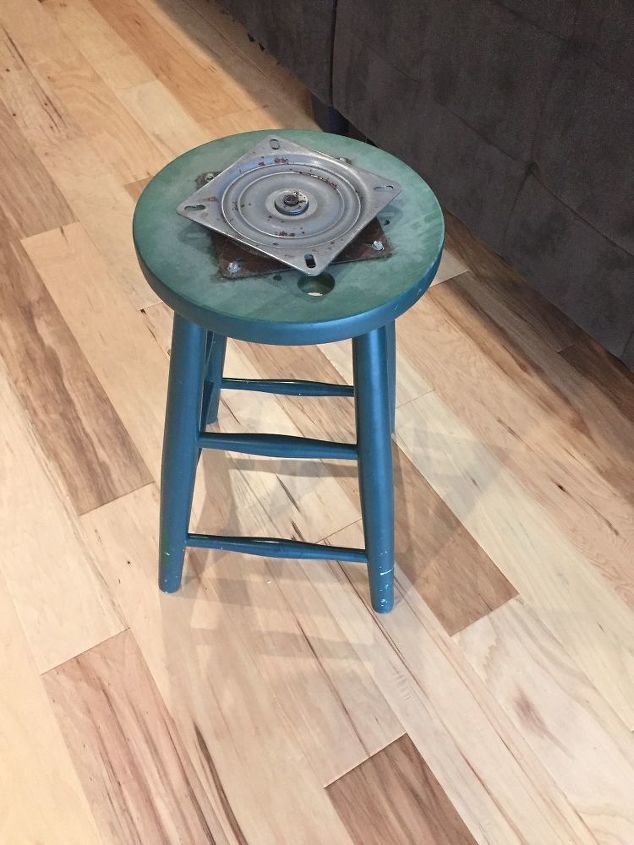
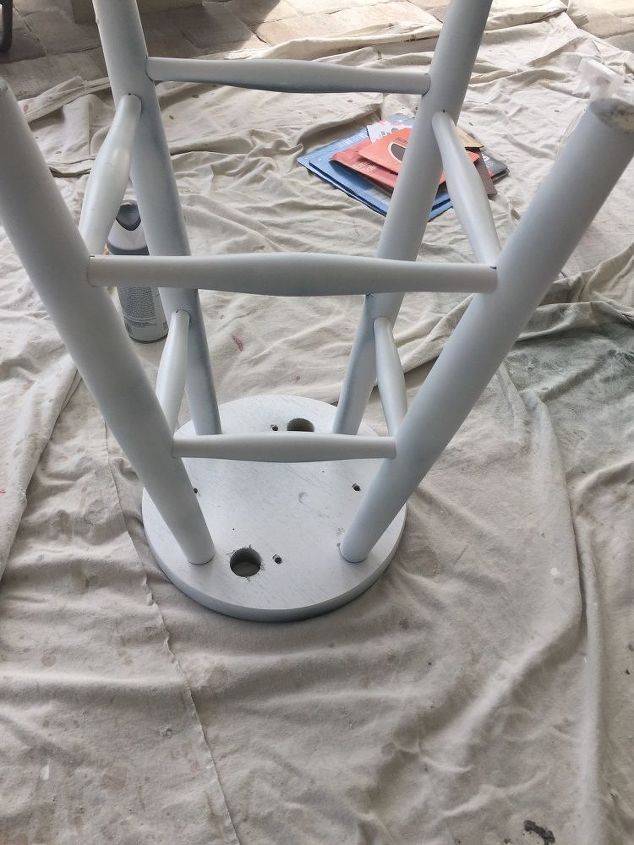
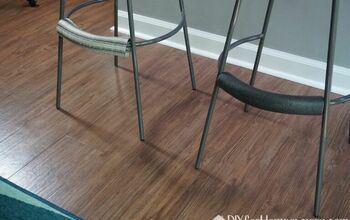
Dealing with the legs…
First, we took the tops off. These are the kind of stools that spin around. The hardware needed some WD40 anyway since some of them didn’t spin so great anymore. My husband took care of that while I did the rest.
I started by lightly sanding the stools legs. I just wanted to scuff them up a bit so the paint would have something to stick to.
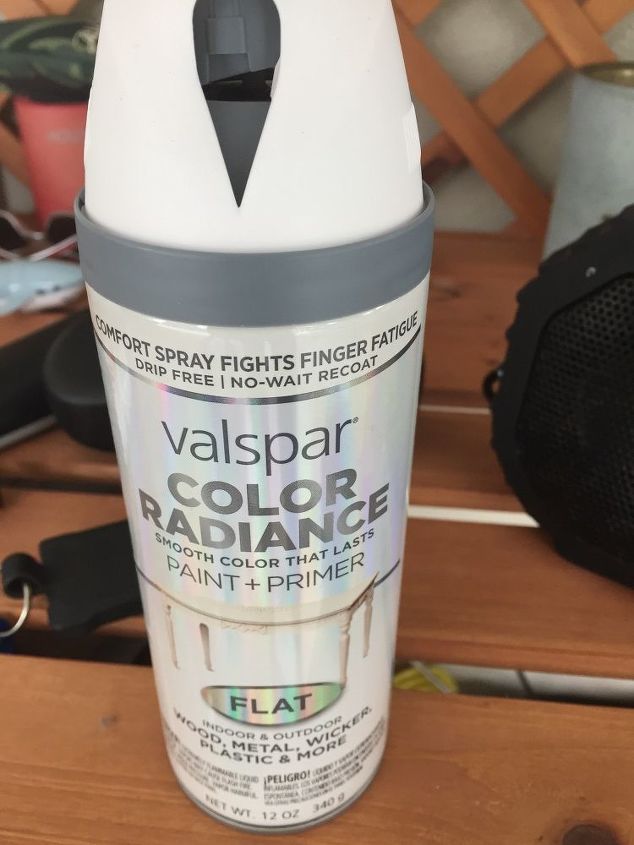
Then, I spray painted the legs using this Valspar paint with a built in primer. I used one whole can per chair, and even bought an extra can, just in case, and used that whole can too doing touch ups. I flipped them upside down, sprayed, waited for them to dry, and then flipped them right side up and did the same, to make sure I didn’t miss any spots.
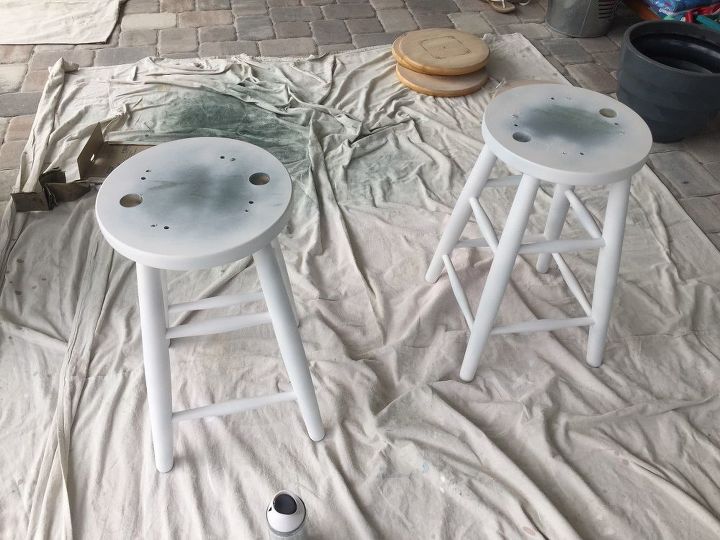
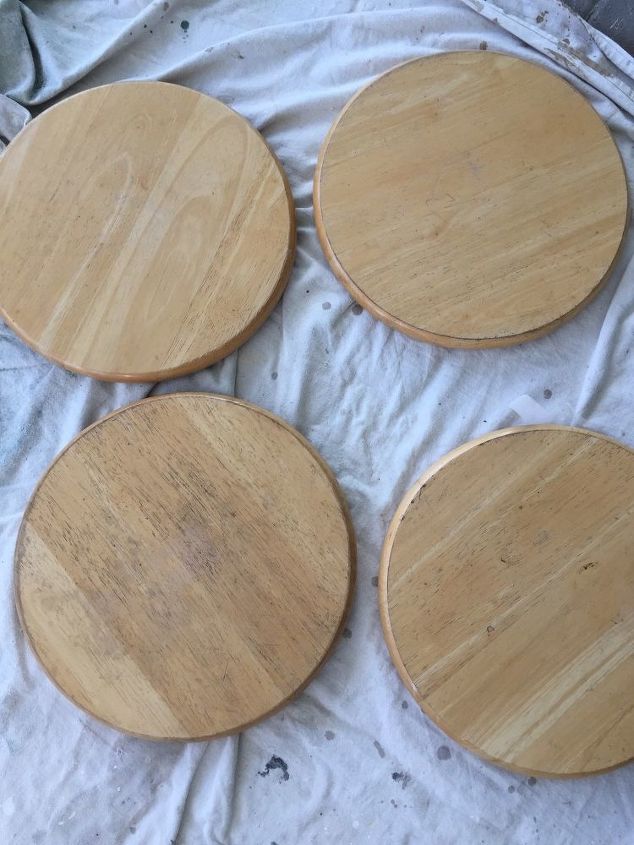
Dealing with the Tops…
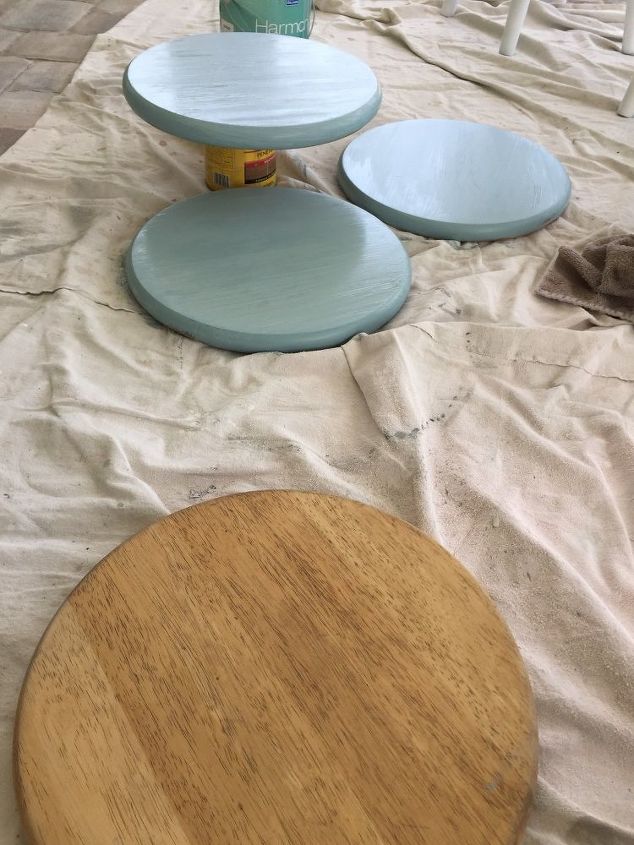
I sanded the tops thinking that I’d try to stain them the same color as the top of this refinished table I did a while ago. However, they looked terrible! They just weren’t taking the stain the same way the table did. We have a lot of left over paint in the garage, so I took a look and decided to use the wall color from our dining room instead of the stain. And yes, that looked much better! You can see in the picture below the one top I hadn’t yet painted. Looked terrible, right? That was with at least 2 coats of stain. Maybe if I keep adding layers of stain it would have looked better? I dunno. I didn’t think so.
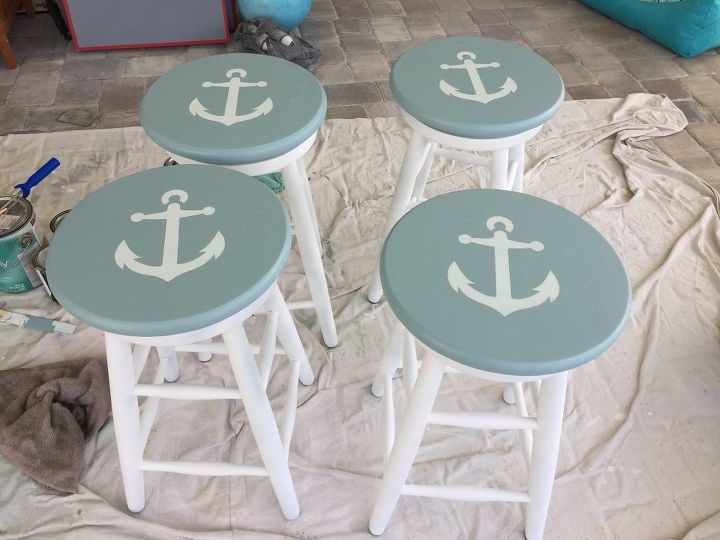
After I painted all of them blue I was thinking, hmmmm, it needs something more. They seemed a little boring. So off to Hobby Lobby I went looking for a stencil. I originally was looking for a shell, preferably a starfish, but they didn’t have one. Then I found this anchor and thought, bingo. I made sure to center the stencil and just dabbed on some white paint.
Last but not least…
I added a few coats of polyurethane to prevent any chipping. I was told to use water based, instead of oil based, to prevent yellowing. We’ll see how it holds up.
And here is one last before and after. I really love how they turned out.


Any price and availability information displayed on [relevant Amazon Site(s), as applicable] at the time of purchase will apply to the purchase of this product.
Hometalk may collect a small share of sales from the links on this page.More info

Want more details about this and other DIY projects? Check out my blog post!
Comments
Join the conversation
4 of 53 comments
-
how easy too would it be to add those swivel pieces to mine as well!!!
-
I will absolutely try this! I've purchased different size stools from flea markets and garage sales for years. I use them on my patio for plants. Once I figure out a design it'll all look so much more cohesive. Thanks for the great idea.


Frequently asked questions
Have a question about this project?
Hi, how did these hold up? I’m thinking about doing that tona couple of my stools , but not sure if I want to go paint or stain for durability.