


How to Make a Chalkboard Pumpkin From a Cutting Board
4 Materials
$1
4 Hours
Easy
I made this cut pumpkin chalkboard out of a wood cutting board that I picked up at the thrift store. I wanted to make something a little different than the pumpkin cutting boards that I have been seeing around. So I decided to add a chalkboard area as well.
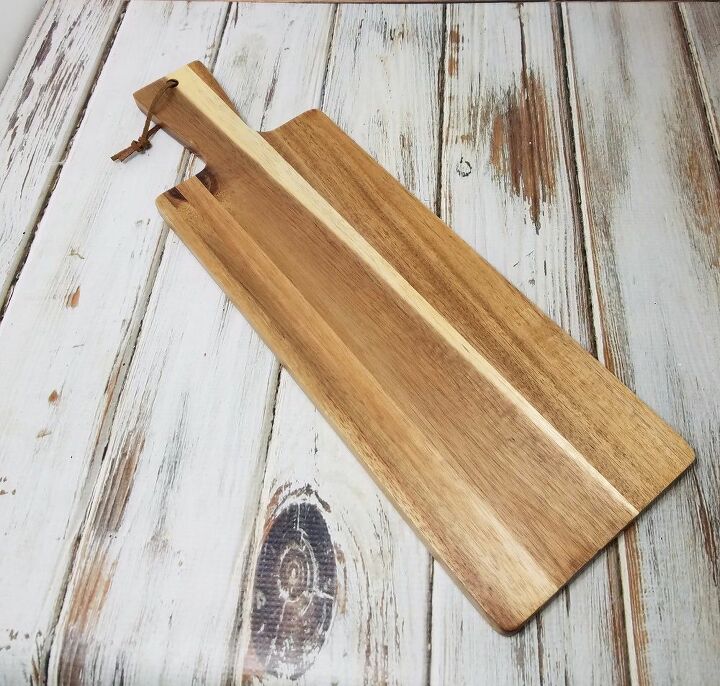
Thrift Store cutting board
I started off by cleaning the cutting board with warm soapy water. Then once dry I gave it two coats of orange chalk paint, letting each coat dry throughly. Then painted the stem with brown chalk paint.
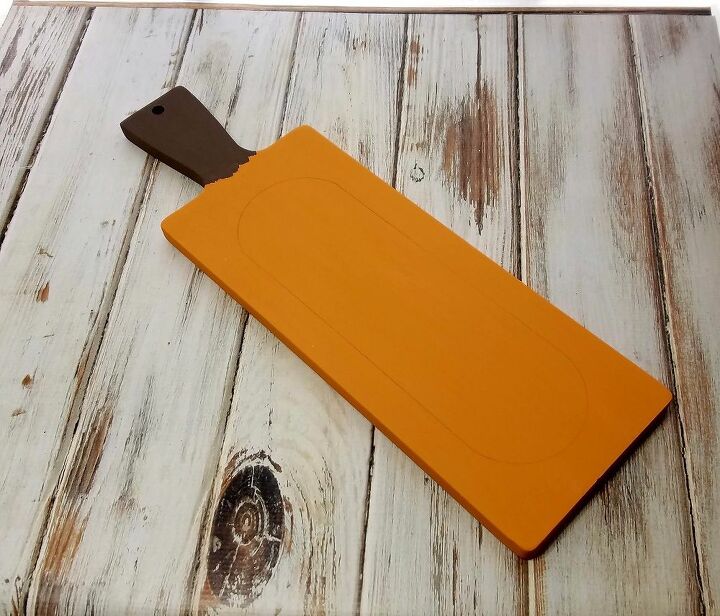
Repurposed cutting board
I penciled in a oblong circle where the chalkboard was going to be. This way it can be used as a menu board, or just add the word for the day. Like Grateful, Blessed, Give Thanks, etc.
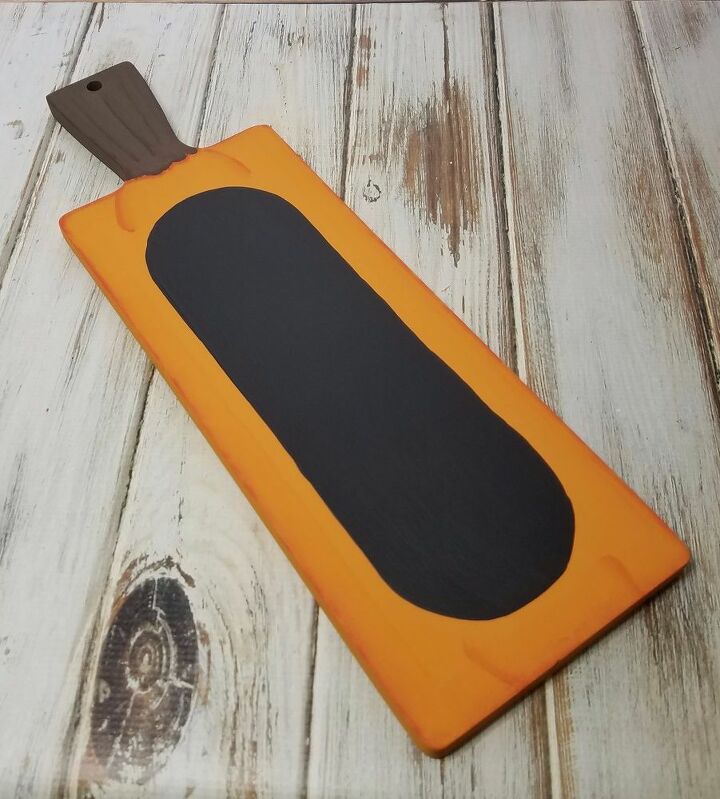
Pumpkin chalkboard
Next I painted in the oblong circle in with chalkboard paint. Used Cadmium Orange, and burnt umber acrylic's to float around the edges of the pumpkin, and stem.
Diy pumpkin chalkboard
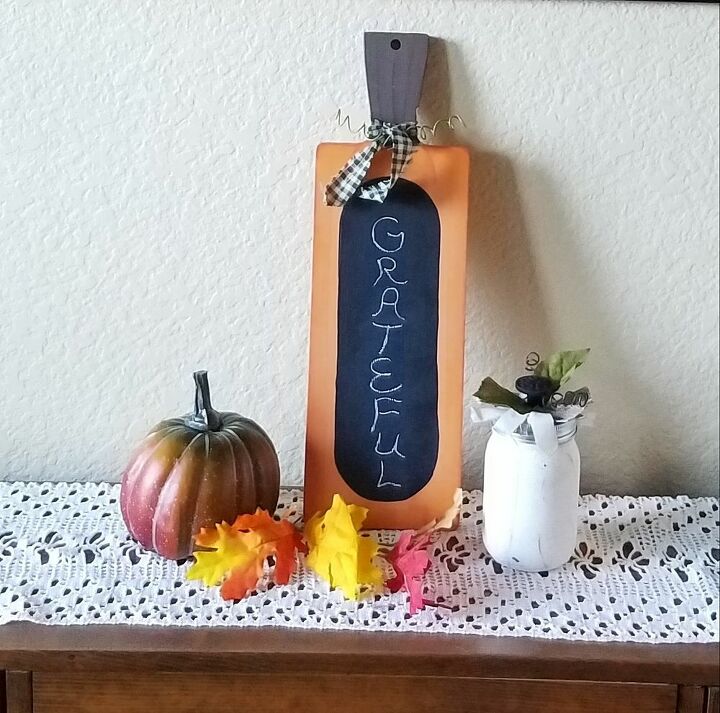
Added a wire tendril that was made by wrapping both end of wire around the end of a paint brush. I used green patina on the wire to make it green, then attached it using some scrap fabric and wrapping around the stem, and that's it.
For an inexpensive, and fun project for the Holiday's pick up a cutting board next time you see one at the thrift store. Then put your own touch on this super easy to make chalkboard pumpkin. .
Resources for this project:
See all materials


Any price and availability information displayed on [relevant Amazon Site(s), as applicable] at the time of purchase will apply to the purchase of this product.
Hometalk may collect a small share of sales from the links on this page.More info

Want more details about this and other DIY projects? Check out my blog post!


Frequently asked questions
Have a question about this project?