


Fun With Pennies

by
Linda Harp
2 Materials
$80
16 Hours
Easy
Have a glue gun, some shiny pennies and time? Bam! Do a fun accent wall!
There are really no instructions other than to use quality glue sticks and a full size glue gun. I think it gets hotter and holds stronger than the mini's. Also, start with a straight line and move in the same direction. The pennies will fit better when you don't change direction. If you start working horizontally, you must finish that way. You can't switch and go vertical mid project. Your pennies will not fit! Learned that the hard way!
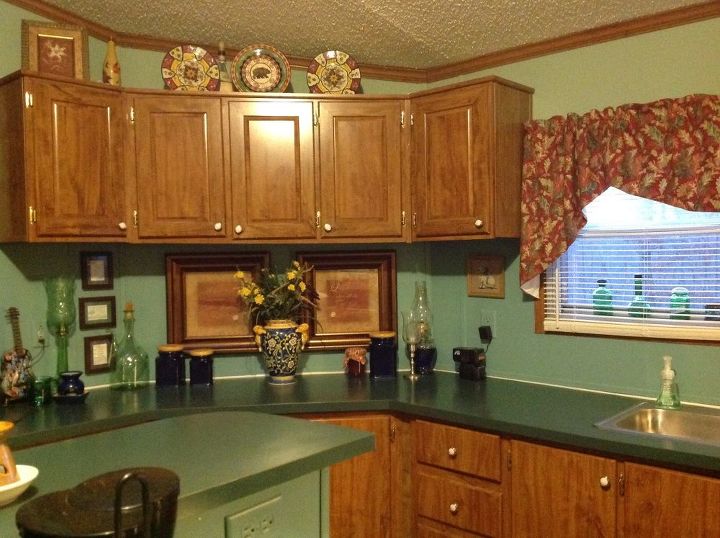
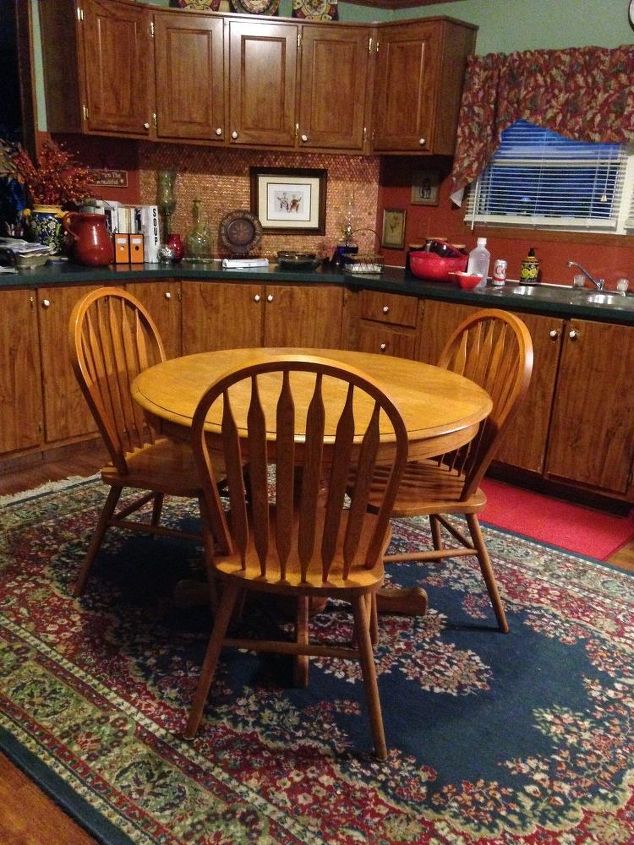
Start by moving all your junk outta the way. Make a clean flat surface. Existing paint has a satin finish. Before.
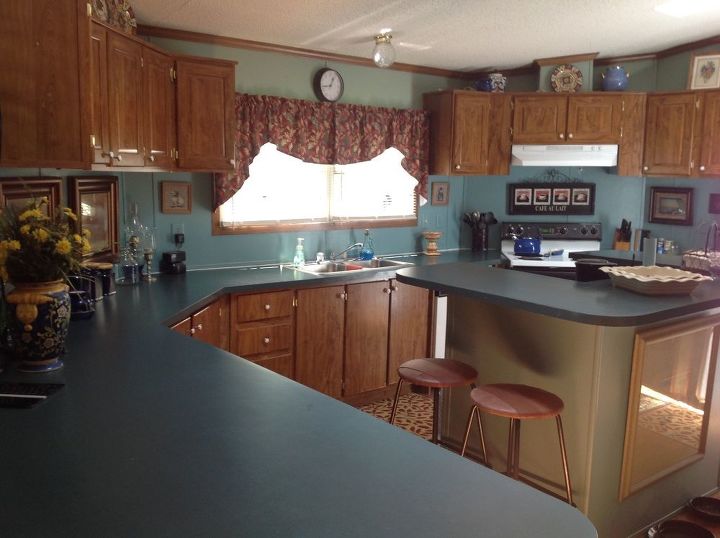
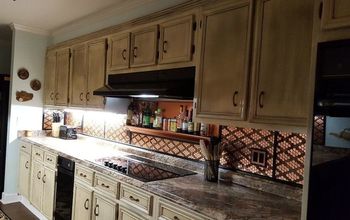
My kitchen before the pennies (and when I still had the island).
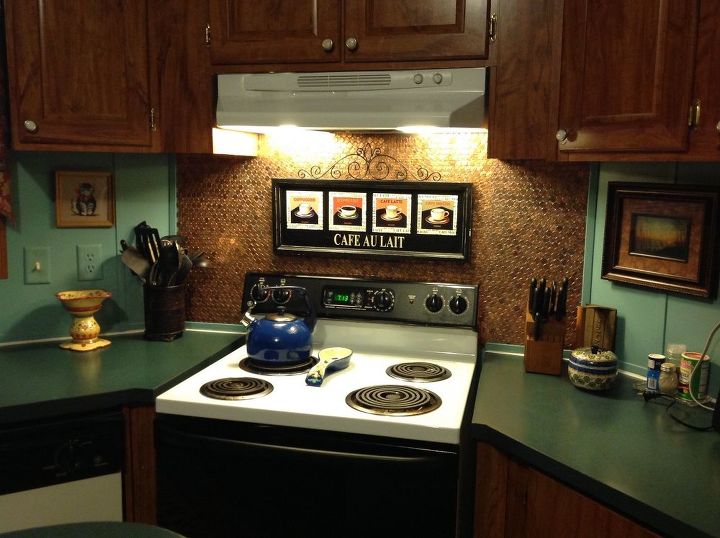
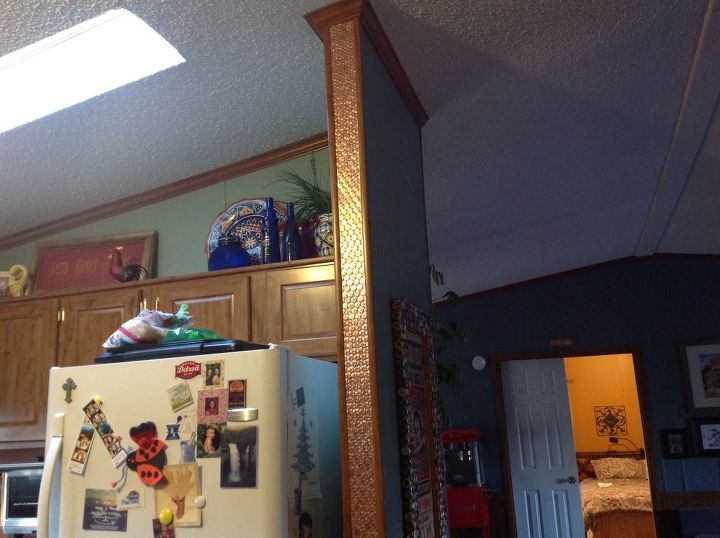
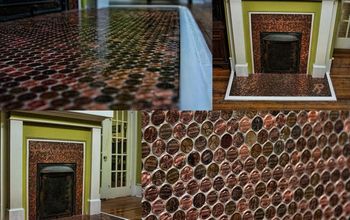
Moved the stove out. Pulled up a folding chair and just started sticking! I used a yardstick and a level to start the first horizontal row. This was my prototype attempt at penny sticking and the project that taught me what not to do! For instance.... if you begin working in a horizontal direction, you must continue in that way until finished. I got bored, or uncomfortable sitting so I stood up, changed direction and began working vertically .... bad idea! You're pennies will get out of whack and won't fit and you'll end up with gaps but you won't notice until you've stuck about $10 worth of pennies! This wall is about $25 in pennies, 4 hours and a 12 pack later....
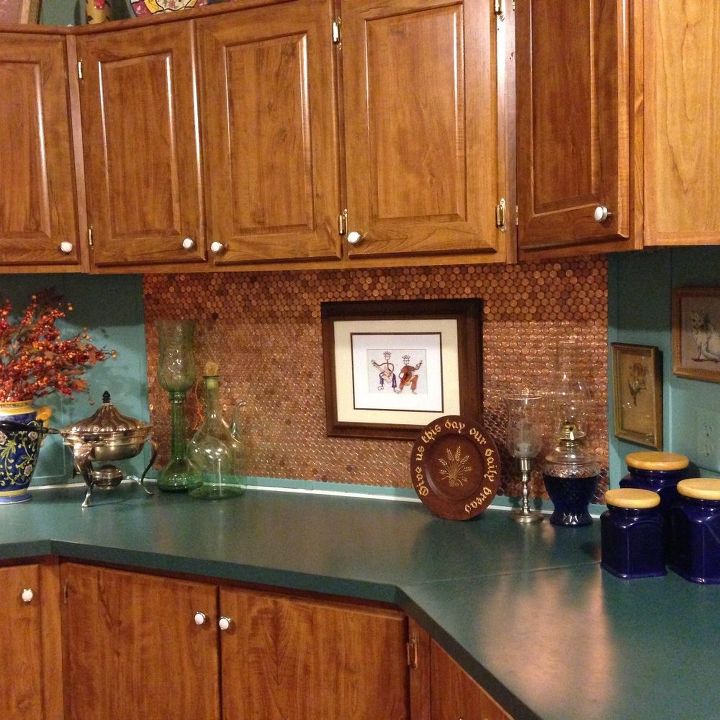
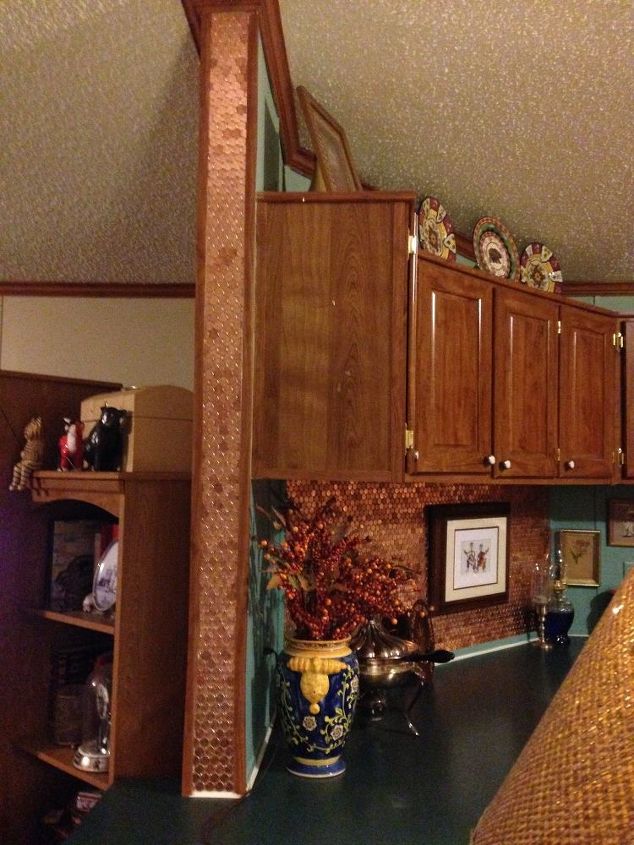
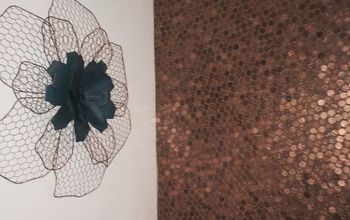
Then a few months later (probably more like a year later), I did the other angled wall. No beer this time and I think this wall came out much better than the first. I used all new pennies and stayed working in a horizontal line. I cut pennies in half for the edges. This wall was roughly about $24 in pennies. With the first wall I used pennies that I had collected in a gallon jar over about 4 years. A bygone time when we carried cash and would get change, remember that? So the first wall was done using old, saved pennies and I wanted them to be shiny, so I began an oddessy of cleaning pennies. Whew! I don't recommend that! It's labor intensive and they just aren't as shiny as new ones. So for this second attempt, I decided to use only new pennies. I worked in a store so it was easy to buy new rolls of pennies whenever I could. In this way I was able to amass lots and lots of new penny rolls.
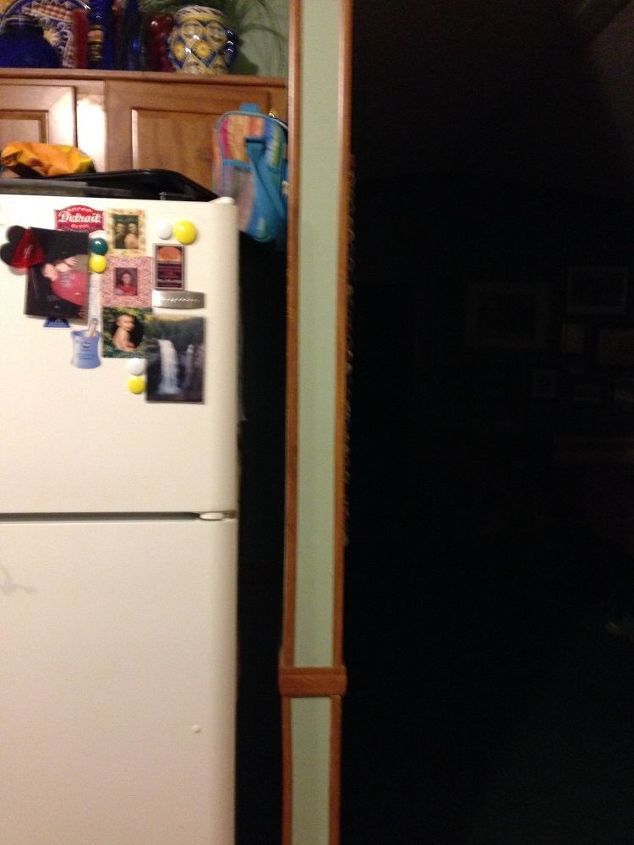
But I still had all these pennies and funky skinny walls, if you can even call it a wall....
There ya go.....
Notes: I did not use any grout or sealer. I've seen other penny projects that do use these things. Grouting is cool I guess if that's the look you want. I think some kind of polyurethane is a good idea. I plan to re-do behind my stove and when I do, I will definately use a sealer there because the pennies have discolored over two years..
Here I go again!
Eventually the island comes out and some rust colored paint goes in and next up... painting those countertops! We'll save that for another time....
I am not sure of the total cost. Probably close to $70 in pennies and the cost of glue sticks, maybe two large packs? Not to mention the cost of your time. As you can imagine, it's rather tedious sticking one penny at a time. It's a labor of love and possibly the sacrifice of a few fingerprints... but it looks really cool!
Comments
Join the conversation
2 of 67 comments
-
luv it but now that pennies r not used here in Canada, what's a girl to do,
-
LOVE what you did with those pennies Linda. I've wanted to do something similar, but have arthritis too bad to take on a project that big. It's BEAUTIFUL !!!


Frequently asked questions
Have a question about this project?
I love the look, but how did you cut the pennies? What tool did you use so they don't curl up as you cut them?
Love this! Quick question... Did you do anything to the wall underneath... before applying the pennies? I mean, did you paint a different color to go with the pennies or did you just leave it as is?
Did you know you could be arrested for using legal tender this way?