


Plant Stand Makeover

by
Lauren Z
3 Materials
$10
3 Days
Easy
This sad plant stand was in desperate need of help. With just a few simple steps it became a wonderful side and accent table.
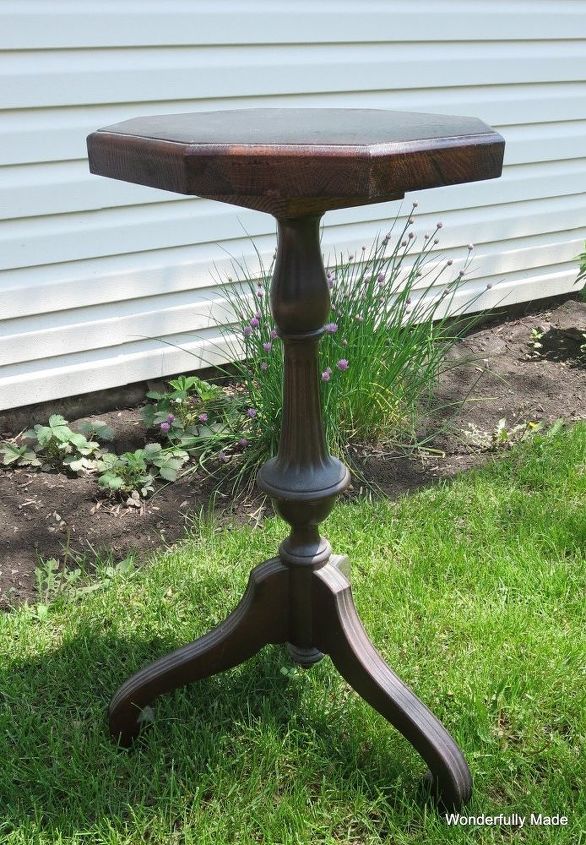
This was a very heavy, solid piece but it had some water damage on top and lots of different layers of varnish and wear.
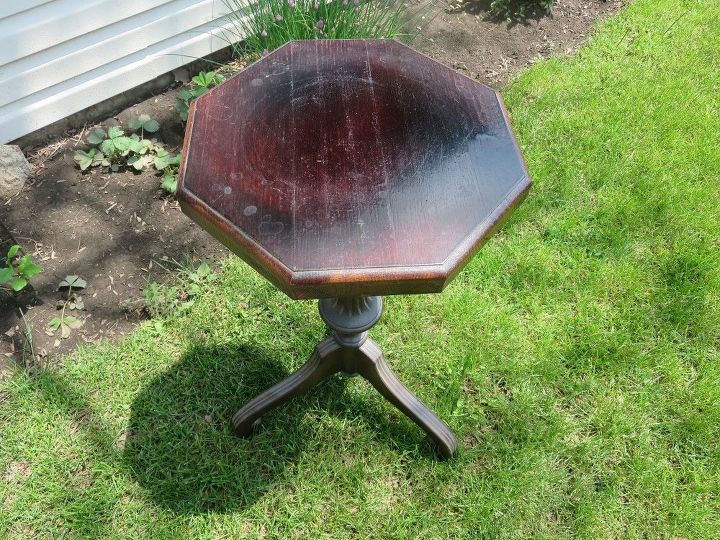
I decided that since this was good quality wood, I wanted to sand and re-stain the top and paint the bottom legs. I used a sanding block and lots of elbow grease to take off the layers of varnish on this piece but you could also use an electric sander.
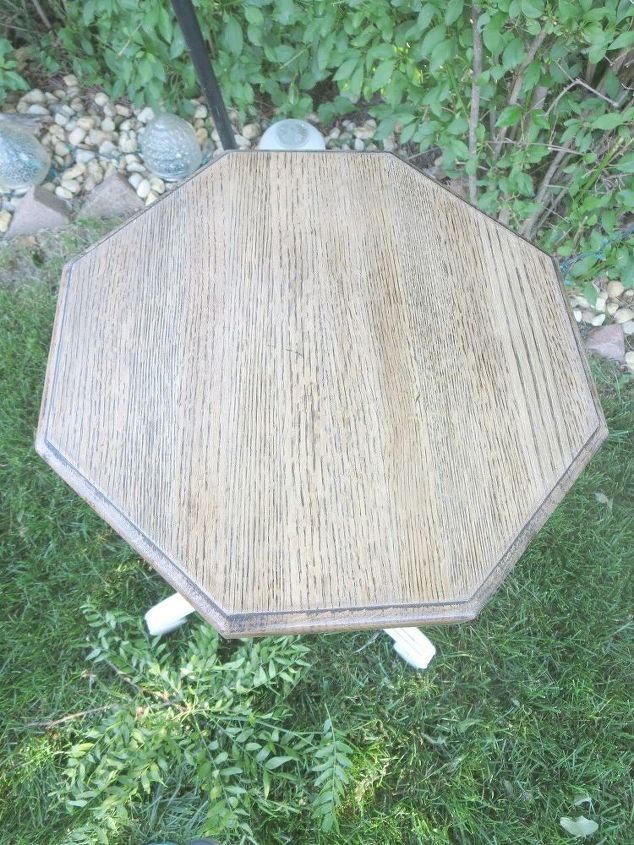
I didn't feel the need to sand down to the bare wood. You really just need to sand down as far as the stains/imperfections go. Once I got to where I could see the grain of the wood, I was ready to stain and seal.
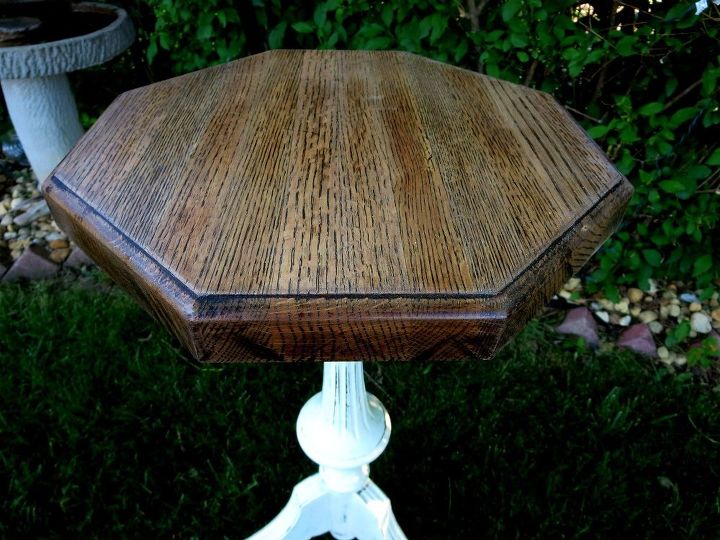
I used a light walnut stain and then sealed with a semi-gloss varnish. Both of these are quite strong so you'll want to do this outside if possible.
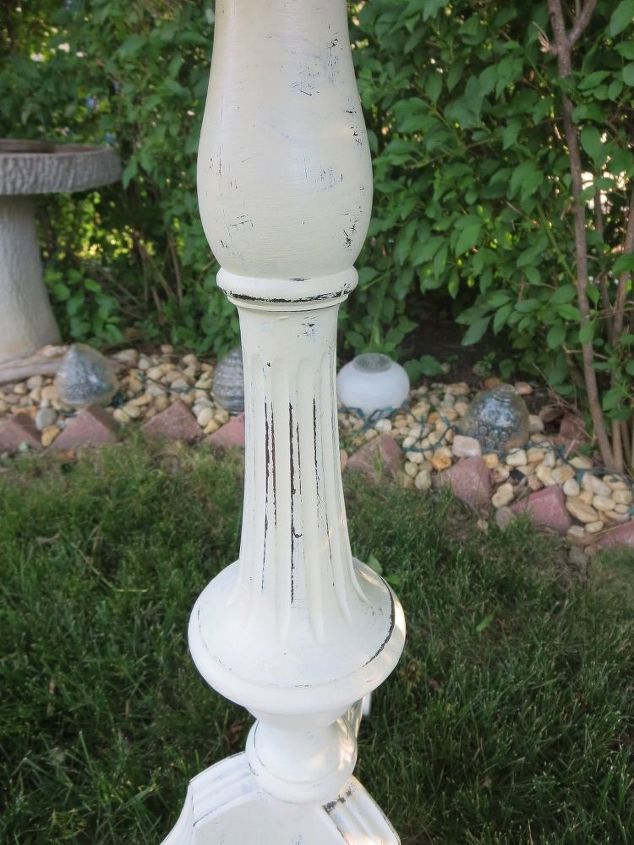
The base has some wonderful lines and details so after a single coat of chalk paint, I was ready to distress and sand to highlight the details.
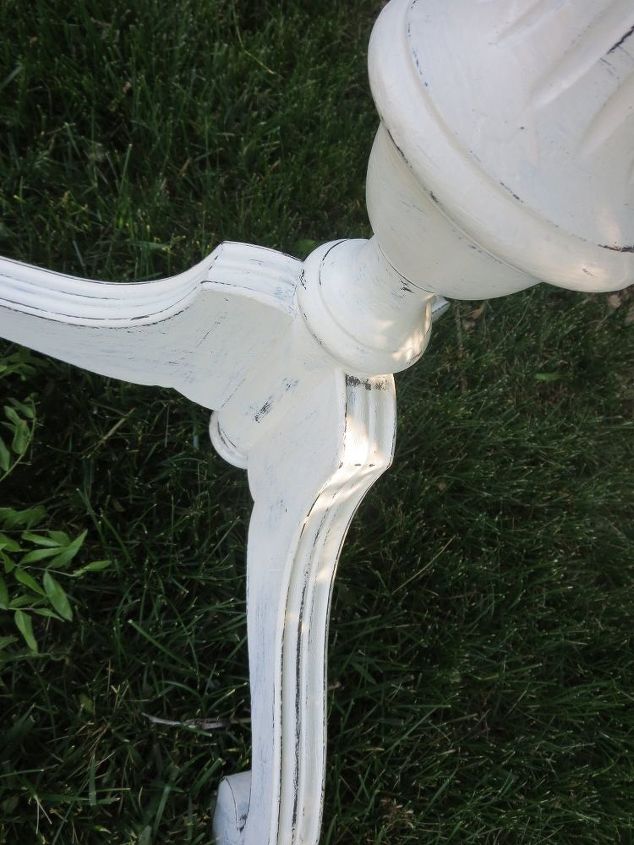
The base was then given a coat of clear wax and buffed to a nice finish.
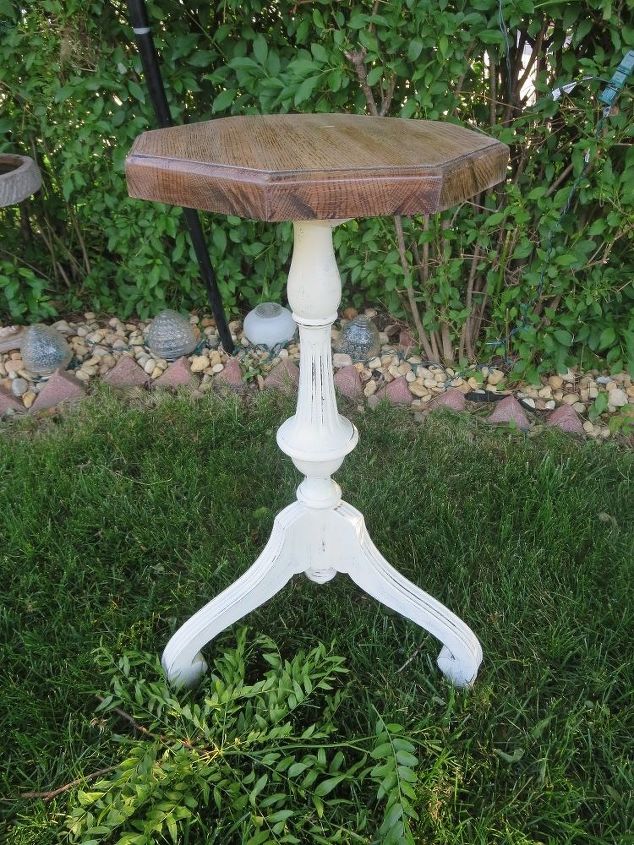
A big difference wouldn't you say? When you find pieces that are made from solid wood, it's nice to try to keep parts in a wood finish and paint others.
Want more details about this and other DIY projects? Check out my blog post!
Comments
Join the conversation
2 comments
-
You did a great job! Your plant stand/table looks all dressed up now.


Frequently asked questions
Have a question about this project?