


Paint and Silver Leaf Wall Effect
3 Materials
$45
3 Days
Medium
In my opinion, every space in your house should be special.
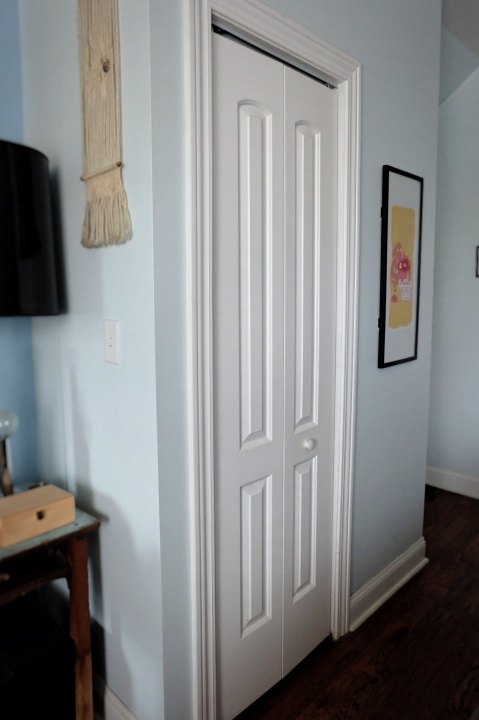
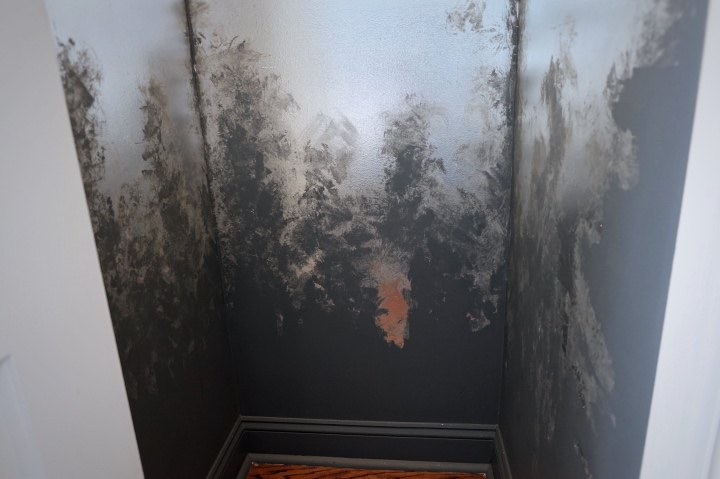
So we have this super tiny coat closet, see. Two feet square. Super not practical for all the types of coats one needs to survive in Chicago.
I had received a comment on Hometalk, or I guess more like a question, on the hoodie racks I had made for my master closet: why do something cool in a place no one will ever see it?
My response: every space in your home should be special. You'll feel special when you see it. And feeling special is key.
That includes coat closets. Especially coat closets because you can have some real fun in there.
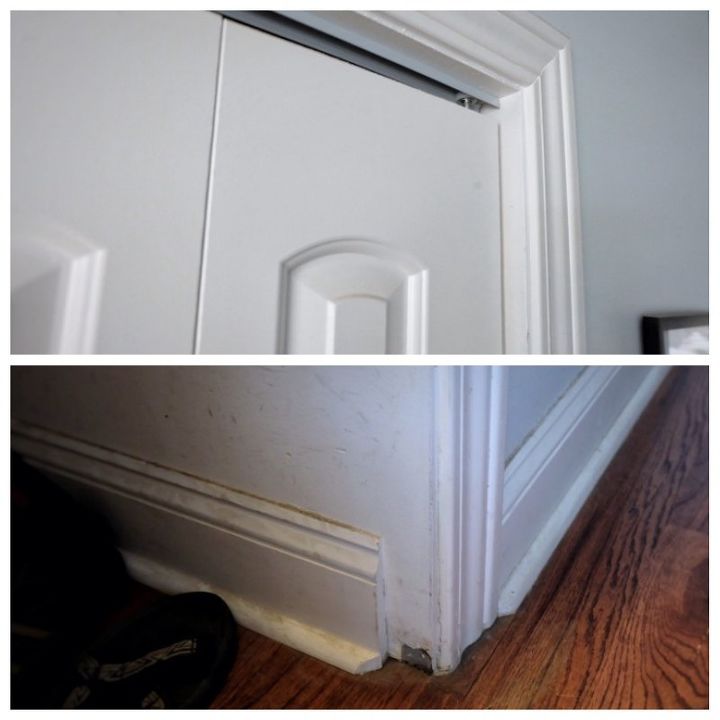
First I needed to rip everything out. Which I did. I then needed to decide where to stop the closet's new paint. Which I did at the edge of the messy dirty baseboard. Pardon that mess, please.
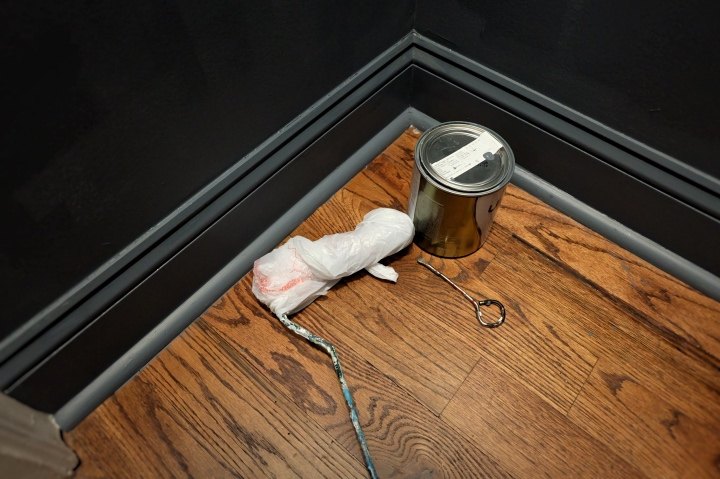
So I painted the closet a nice dark gray. I painted the ceiling and even the baseboards because I figured seeing white at the top and bottom would be disjointing.
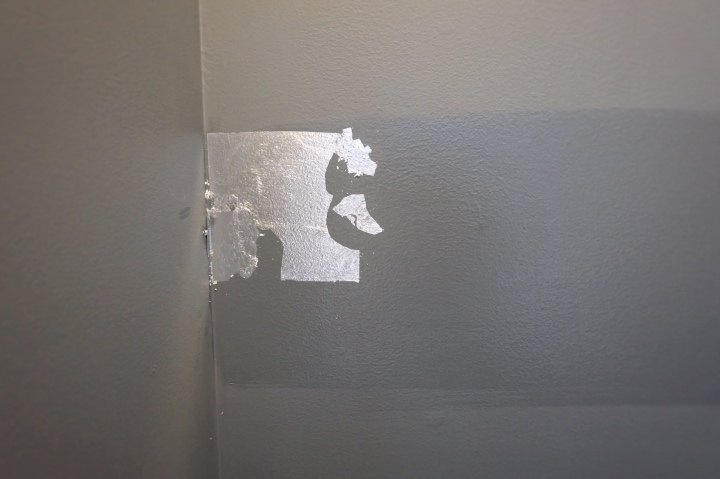
Next, using leaf adhesive, I gooped up a small portion of wall and promptly, immediately, screwed up my first piece. Doh. Nice moves.
No worries. The nice thing about leaf adhesive is that it stays sticky tacky for twenty four hours, allowing you to fix the error of your ways.
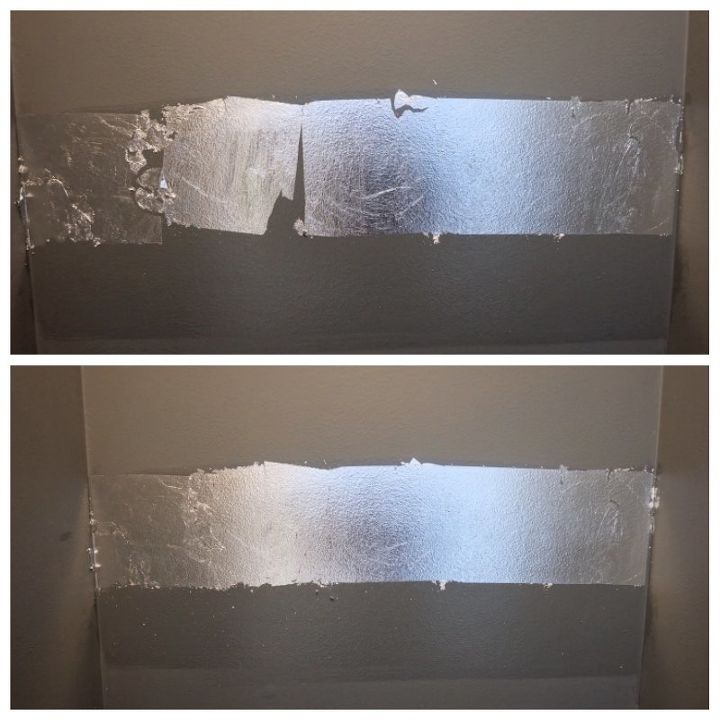
Which I did. As you can see my first row was horrendous but after filling in the gaps and boo boo's, it's much better.
Be sure to come on by my blog, Flipping the Flip, for more on this story and oh so many more!
I did about a three foot wide swath around the three walls. Here's the back wall all set to go.

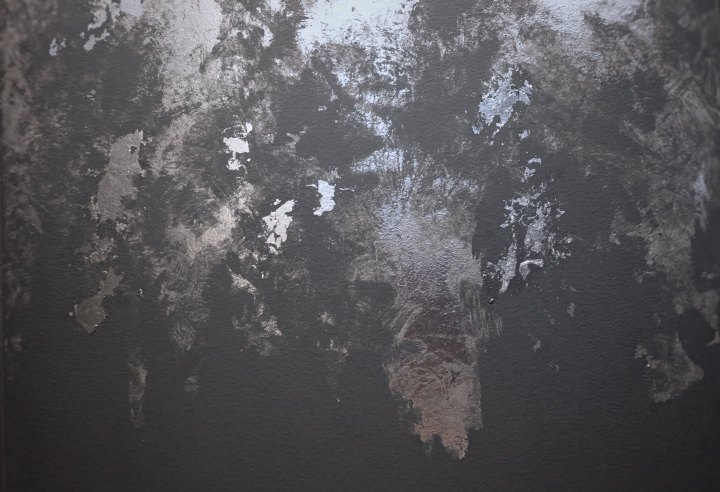
At the top and bottom, I created a ripped, torn, broken up edge. It's in progress here. Just brush on more adhesive randomly and smush on the leaf.
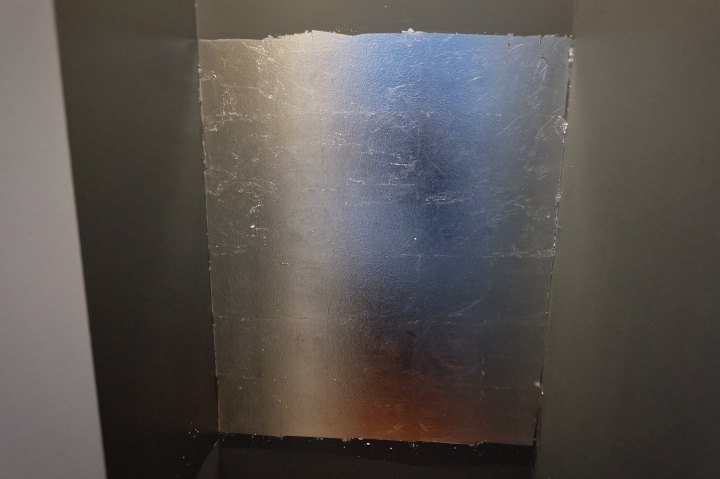
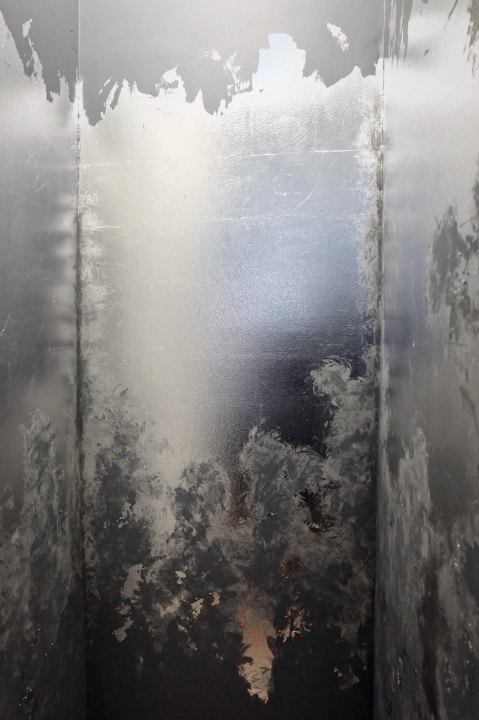
Ok, the leaf is complete! Next....get your paint out again. No, don't panic!
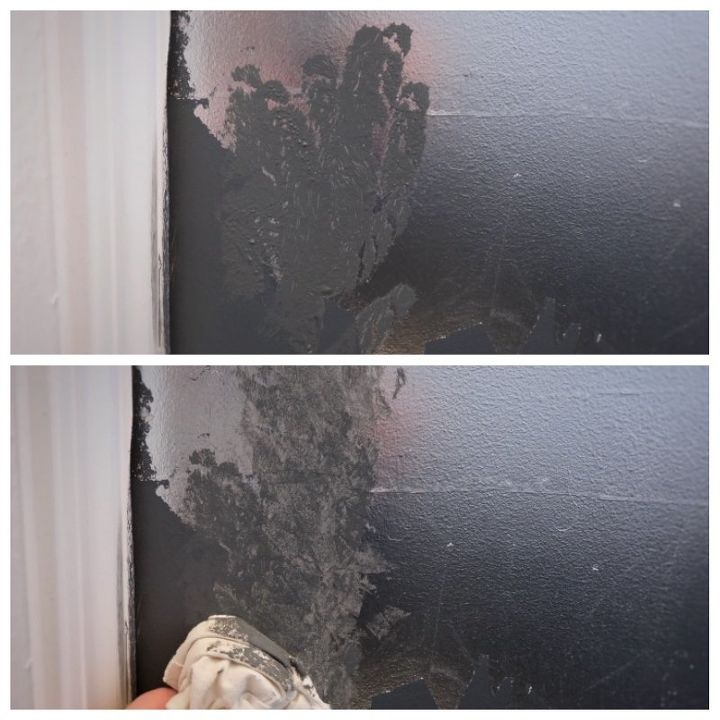
Dab your paint on at the bottom with a brush, yes on the leaf, and dapple it with a rag. You want it to look like the paint is growing up into the leaf from below.
I went back and touched this up a second time, laying the paint on heavier and thicker, as I wasn't thrilled with the first go around.
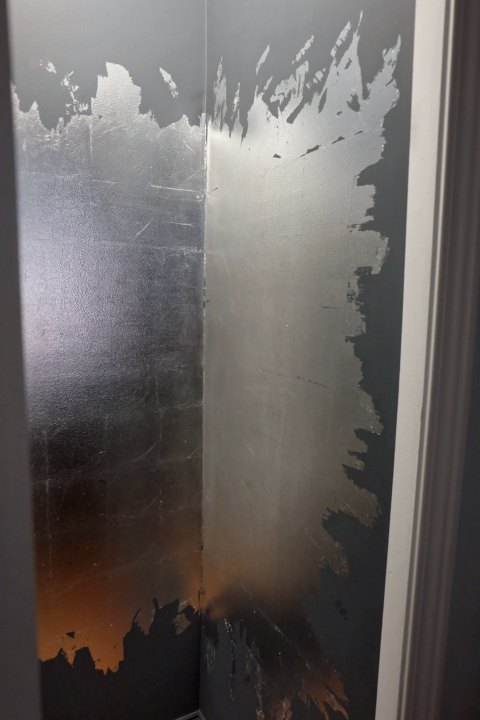
A great paint effect is accomplished by layering. By layering I mean, well, just that, adding depth and character. Wearing a t-shirt and jeans is good but add a cardigan, a belt, a scarf, a necklace, that layering completes the outfit. Same with paint.
So when all the paint was dry, I went back and added some small areas of silver leaf back over it.
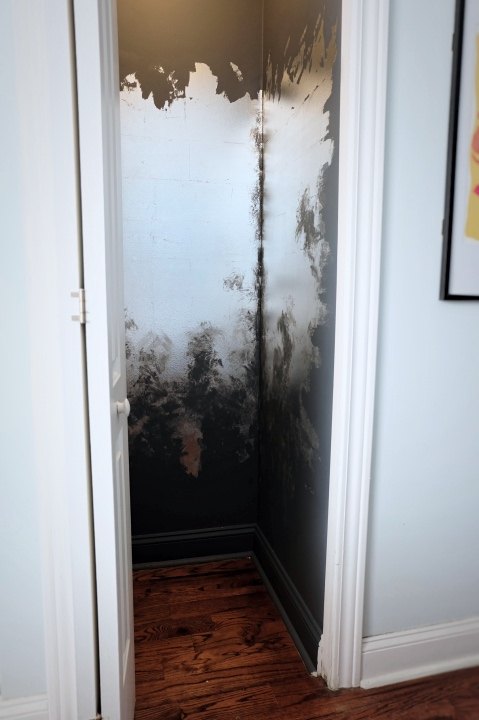
In the end, I think it came out pretty cool. Quite unexpected, no doubt.
Now our closet shines! Aw bad pun.
I'm sure I'll try this again somewhere else someday, maybe with gold and black.
And hey, I know it's not a look for everyone but my true lesson here today is, like I said, every space in your home should be special. Go out on a limb, try something outside the box, make yourself feel good. That's what home is about. YOLO, as the kids say.

Want more details about this and other DIY projects? Check out my blog post!
Comments
Join the conversation
4 of 5 comments
-
Interesting. Is it shiny in person because in the photos it sort of looks like old peeling walls with well, mold! Totally not trying to insult or make fun just hard to see the concept from the photos.
-
You are so innovative! What type of lighting fixture did you add? Even without electricity it would look pretty.


Frequently asked questions
Have a question about this project?