


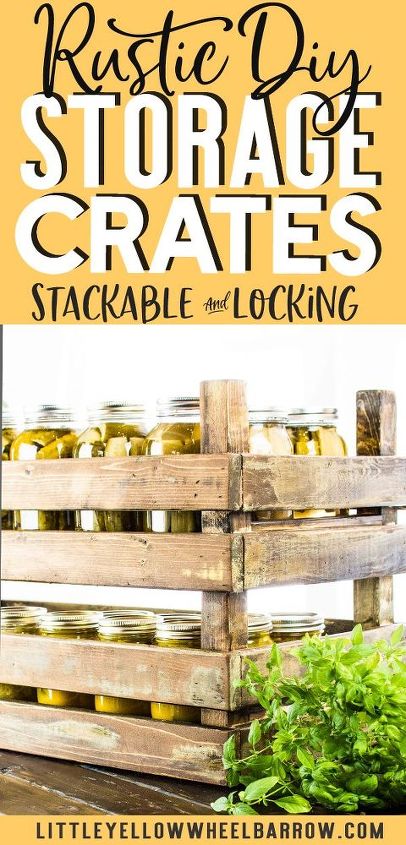
How to Make These Rustic Stackable Storage Crates
3 Materials
$15
1 Hour
Easy
I made these stackable storage bins in a single afternoon. They were incredibly easy to build.
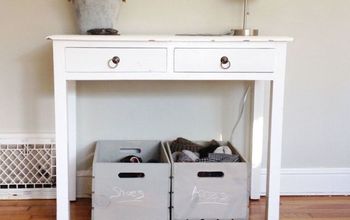
Initially I wanted to design something that I could use to store and stack my mason jars. But once I had them built I liked them so much that I decided I wanted a few more around the house.

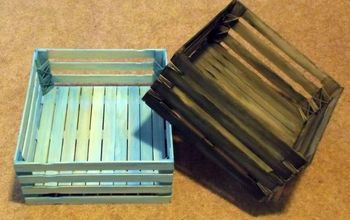
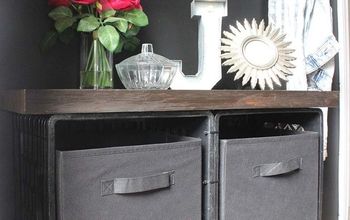
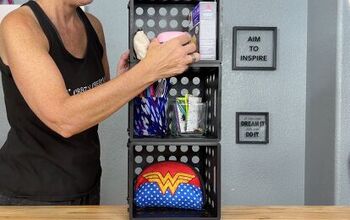
These bins stack and lock into one another and are quite sturdy.
I fashioned them from vintage tulip crates and although they are a practical storage method they are also quite decorative.
They would look beautifully unstacked on a deck in the summer filled with lots of brightly colored flowers!
Supplies (for 1 tray)
- Carpenters glue
- screws
- 2 (1x3x8)
- 1 (2x2x8)
- 1 (1x4x8)
- stain or paint
- finishing nails
- screws
Cut List
- (4) 1x3x 30 inch
- (4) 1x3x 12 3/4 inch
- (2) 2x2x 9 3/4 inch
- (4) 2x2x 7 1/2 inch
- (3) 1x4x 28 1/2 inch
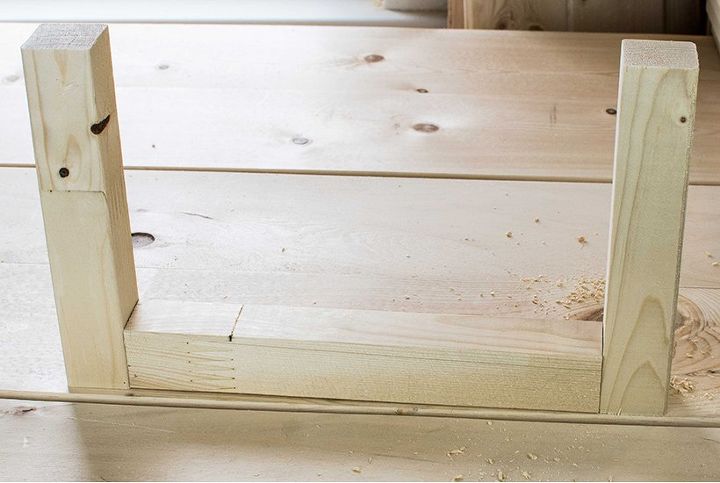
Glue and screw the 2×2’s into a “U” shape, with the longer 2×2 along the bottom. We use the drill bit from our Kreg-Jig set to counter-sink and pilot hole our projects – it has a tapered end and a depth-stopper, eliminating the need to swap bits.
If you don’t have one, you can achieve the same effect by drilling partway through the wood with a 1/4″ bit, then the rest of the way through with a 1/8″ bit. Repeat this process to make a second “U”.
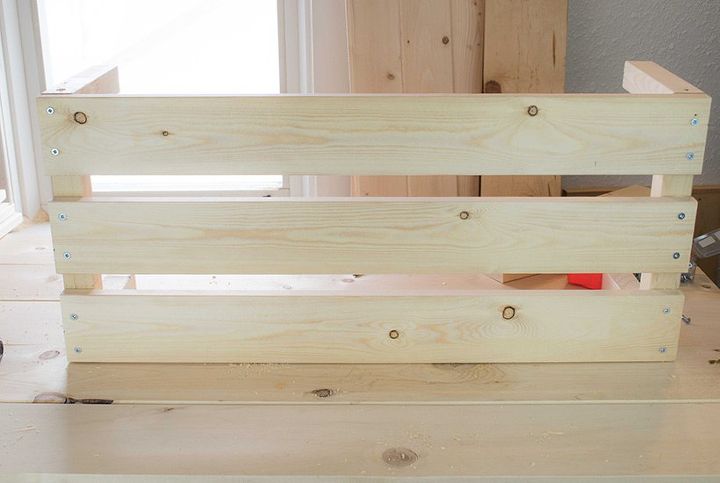
You are going to add the three 1-inch x 4-inch x 28.5-inch boards to the bottom of your frames. To ensure sturdiness, you will be adding two 1.5 inch screws through each board into the frame on each end.
Add a bead of glue along the width of your board before putting it in place. Do not skip the glue; it adds a significant amount of structural strength to the stackable storage bin.
Once your board is in place, add two screws and fasten the board to the frame.
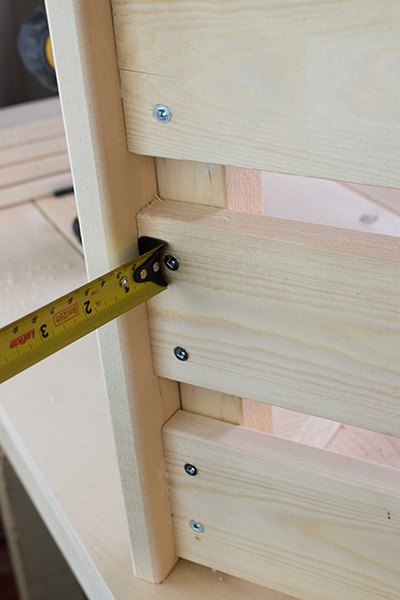
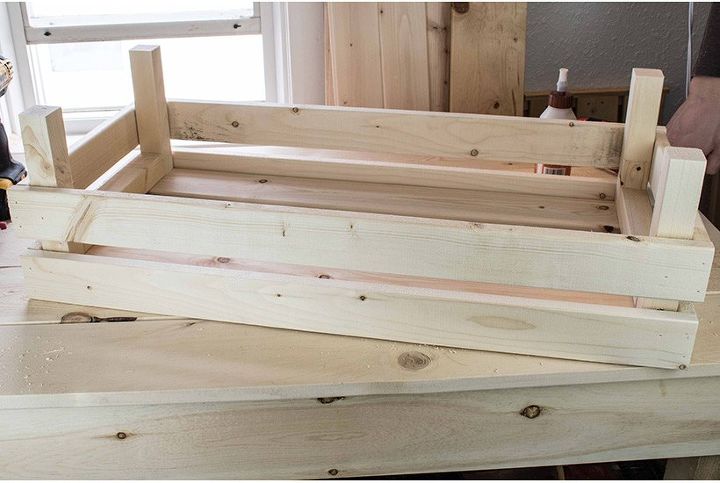
We need to create a lip all around the stackable storage crate to enable the crates to lock into one another. When you place your first side piece, you will add 3/4-inch overhang as shown above.
Attach your two 1-inch x 3-inch x 12 3/4-inch boards to each end, leaving a 1 inch between the bottom and top board. Add a bead of glue and nail in place.
If you want to carry these bins around by the side, I would suggest using screws instead of nails to add additional structural strength.
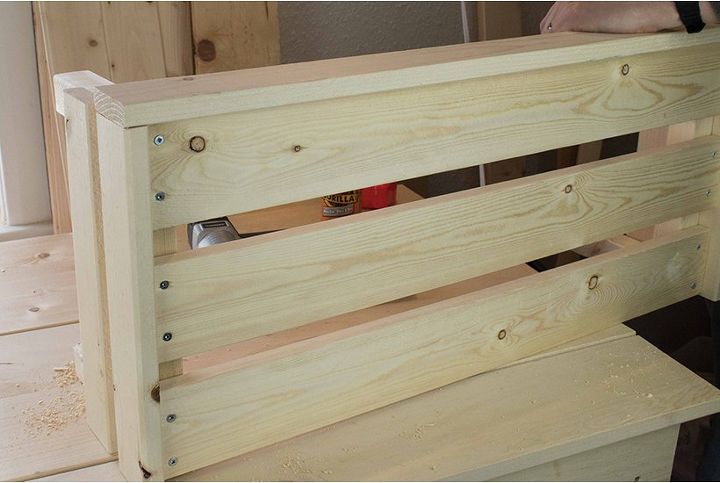
Now you can add your 1-inch x 3-inch x 30-inch front and back pieces.
Be sure to leave the same 3/4 inch overhang on the bottom board. Make sure to add glue to each piece and nail in place.
Now you can finish your stackable storage bins however you like. I made mine look old, messy and chippy because I wanted them to look vintage. Any finish here would work!
If you like an old worn texture finish, you can check out the method that I use in this tutorial: BUILD AN EASY DIY HEADBOARD.
For additional pictures and more detailed instructions you can head over to the website.

Want more details about this and other DIY projects? Check out my blog post!


Frequently asked questions
Have a question about this project?
Wow! Now that is really clever. Did you can all those pickles? My mouth puckers up just looking at them.