


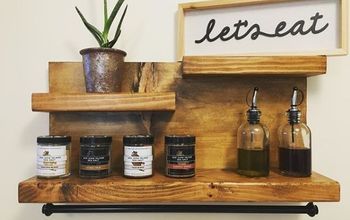
EASY DIY FLOATING SHELVES
2 Materials
$40
2 Hours
Medium
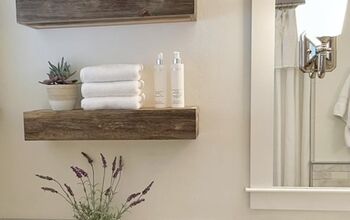
Like many rooms in our home, our second floor kids/guest bathroom got like 75% of the way there (painted, tiled, new bath and shower, vanities, mirrors, lighting), but then none of the finishing projects happened. That seems to have happened all across our house – needing to get the essentials done, but then never finding the time to get to the more fun decorating and accessorizing part!
Luckily, with this simple DIY, we knocked this project out in an afternoon: some above-the-toilet bathroom shelves. Let me show you how we did it...

SUPPLIES YOU’LL NEED:
- Lumber: This will depend on the size and space in your bathroom, but we went a 2×6 piece of pine from The Home Depot.
- Stain: I used Minwax’s “special walnut” stain. You only need a small amount, so a 1/2 pint is plenty!
- Wood Conditioner: (the full blog post will have the specific one I love)
- Paintbrush: This is for applying your wood conditioner and stain. Any paintbrush will work. Have an old rag or washcloth with you for removing excess stain.
- Corner Braces: 4 or 5 inch metal corner braces – (again the blog post will have further details on this)
- Drywall Anchors: Use these to make sure your shelves are nice and sturdy.
- Art Prints: See the sources for the art prints used in the full blog post
STEP 1 / MEASURE & PLAN PLACEMENT
The first thing you’ll want to do is measure your space and plan out the number and size of shelves you’ll need.
Plan for big art – don’t use teeny tiny 4×6 frames as they just won’t add the same amount of drama or interest. Go for frames that are 8×10, 11×17, or larger. This means you’ll need to give enough space between your shelves. Keep symmetry in mind, whatever the space you’re working in.
I knew I wanted just two shelves and wanted them to be not much wider than the toilet itself.
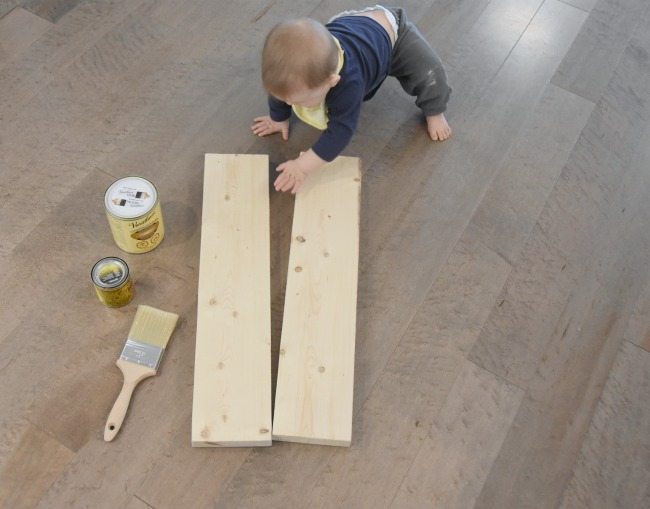
STEP 2 / GET YOUR LUMBER
The beauty of getting your lumber from a hardware store like The Home Depot is that they will actually cut it for you in the store.
This is THE BEST. No power tools needed and saves you tons of time!
I grabbed a piece of 2×6 pine in an 8 foot length, and had them cut it down to the two pieces I needed for my space.
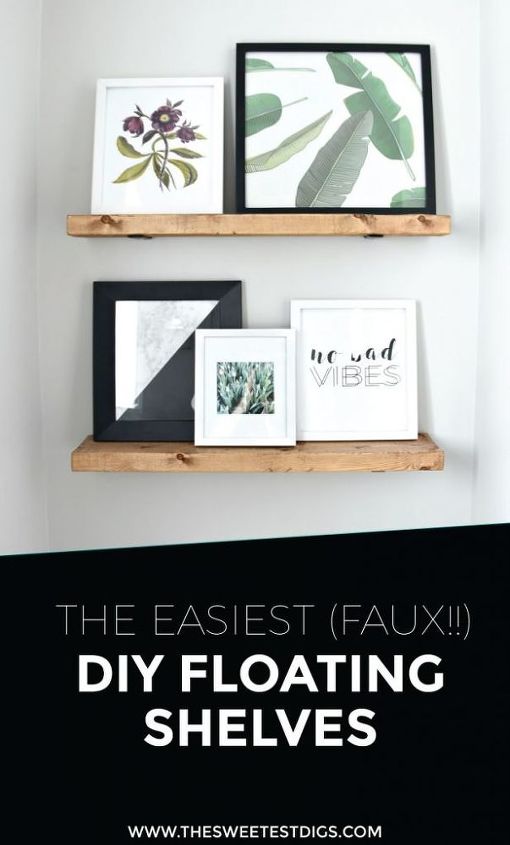
Pop over to the blog to see the rest of the tutorial and finishes space! (Bonus - I even included how to copy my art collection pictured above!).

Want more details about this and other DIY projects? Check out my blog post!


Frequently asked questions
Have a question about this project?
How did you hang on the wall