


Vintage Trunk Makeover
2 Materials
$25
5 Hours
Easy
This vintage trunk makeover was a project I completed while I was working on our mudroom makeover last Spring. I absolutely love this project, so I’m excited to finally be sharing it with you today.

Here it is before, I took this photo right after my husband gave it to me. I did share this with a friend who knows a great deal about antiques before I even touched it, and she assured me it was OK to paint it. I knew I wanted to go with white chalk paint.
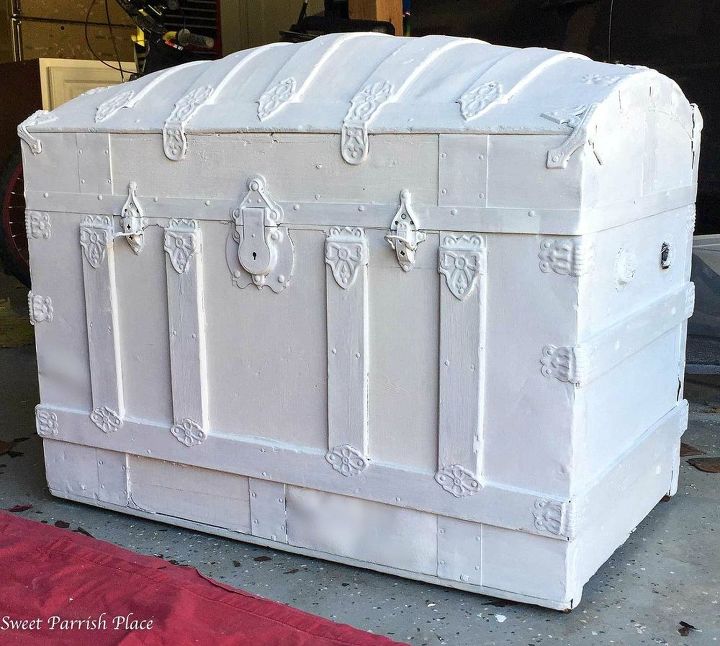
And here is the trunk after the second coat. I opted to paint all of the hardware. That is because I wanted to be able to go back and distress all of the hardware after.
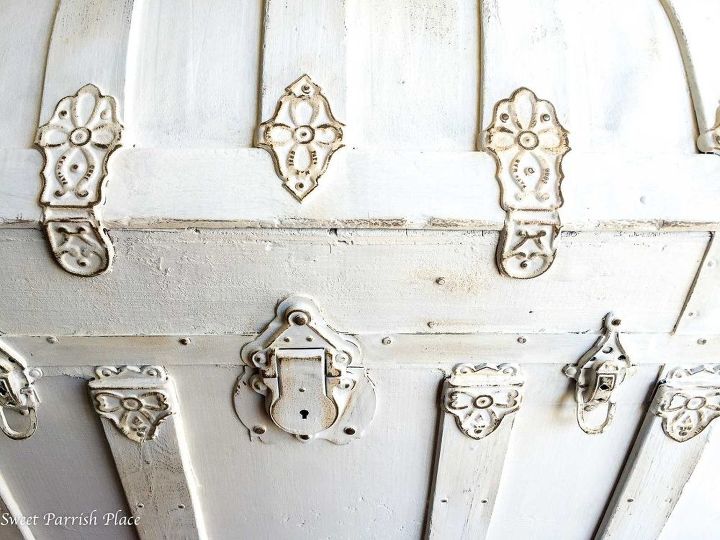
Use a find grit sanding pad to distress all of the hardware and the detailed wooden trim so that it looks distressed.
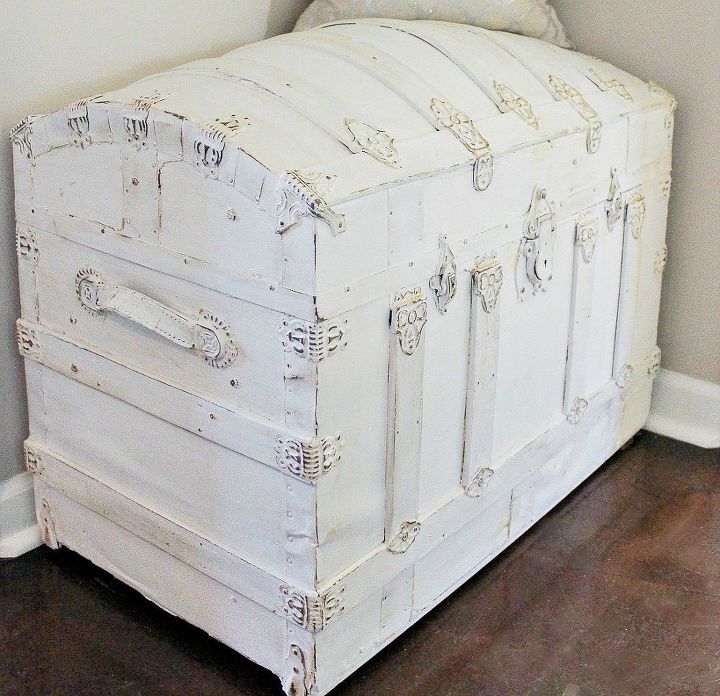
After you have sanded and distressed the paint to your liking, seal it using a clear wax. You can read the full tutorial for this project on the blog!

Want more details about this and other DIY projects? Check out my blog post!
Comments
Join the conversation
2 comments
-
Beautiful! Great job!
-
I have a metal trunk I didn't know what to do with, now I do. Thank you so much


Frequently asked questions
Have a question about this project?
Would you do a project/video on how to remove the fabric off of an old truck to reveal the wood. Then refinish the wood both inside and outside and then paint the hardware gold?